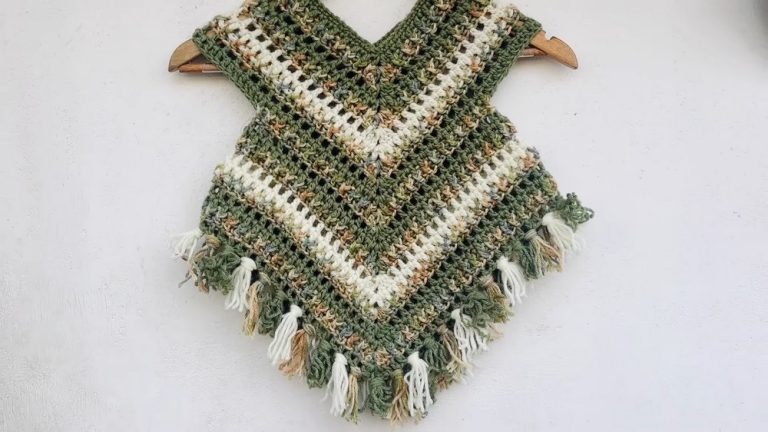
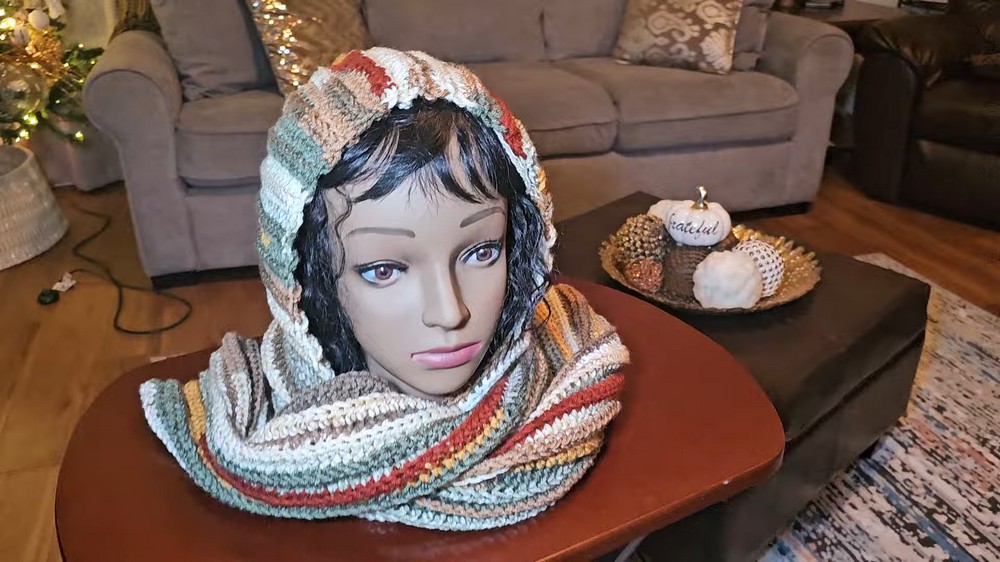
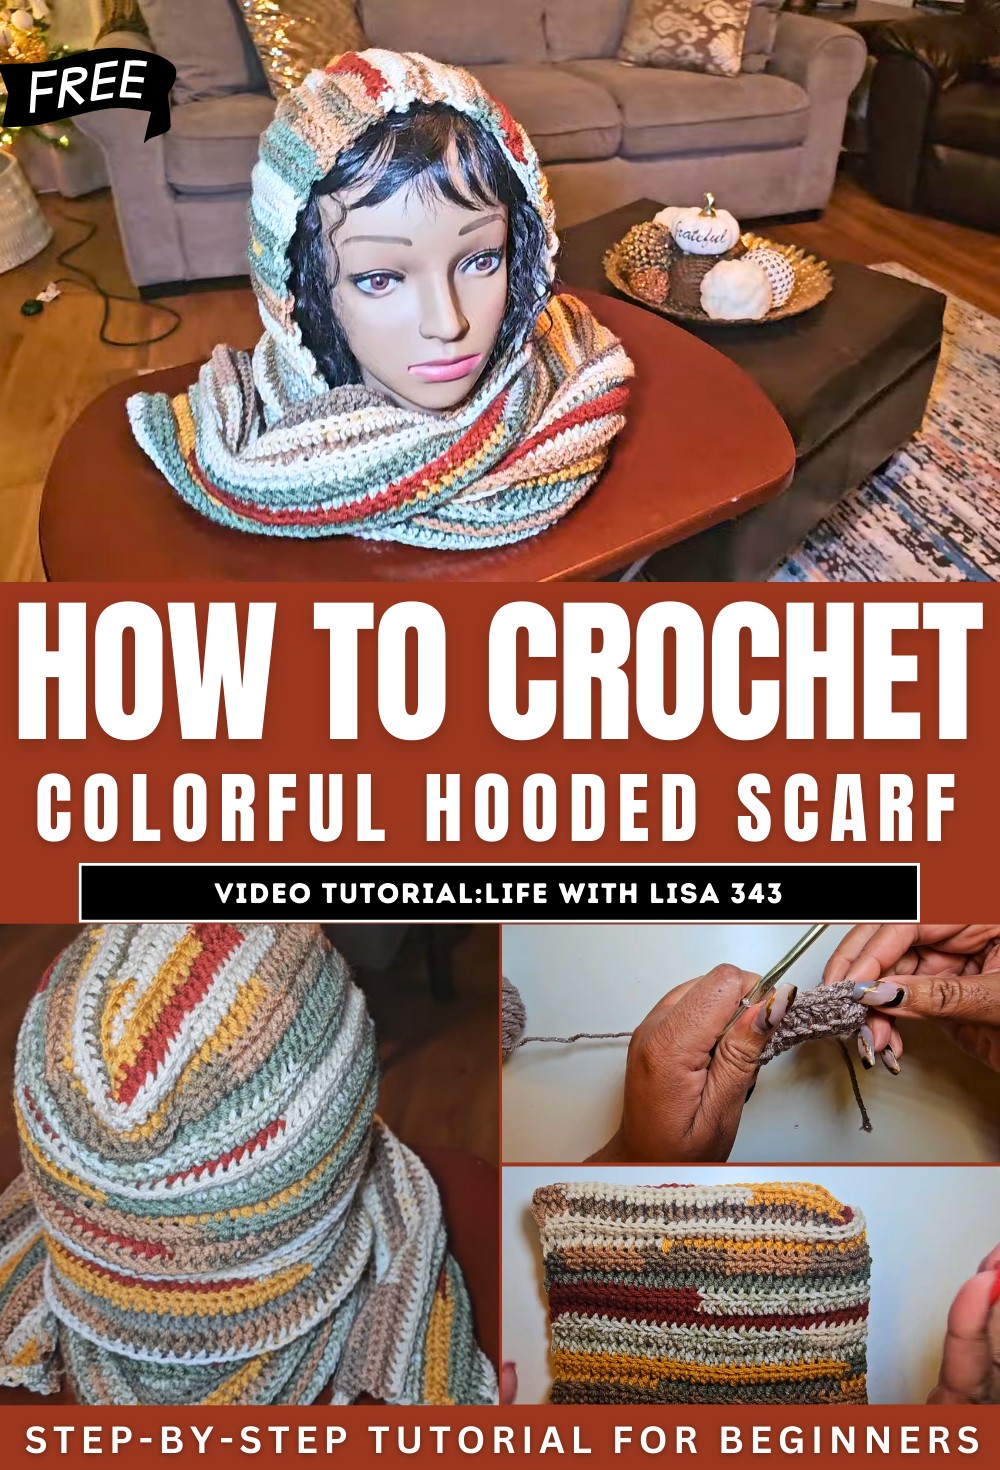
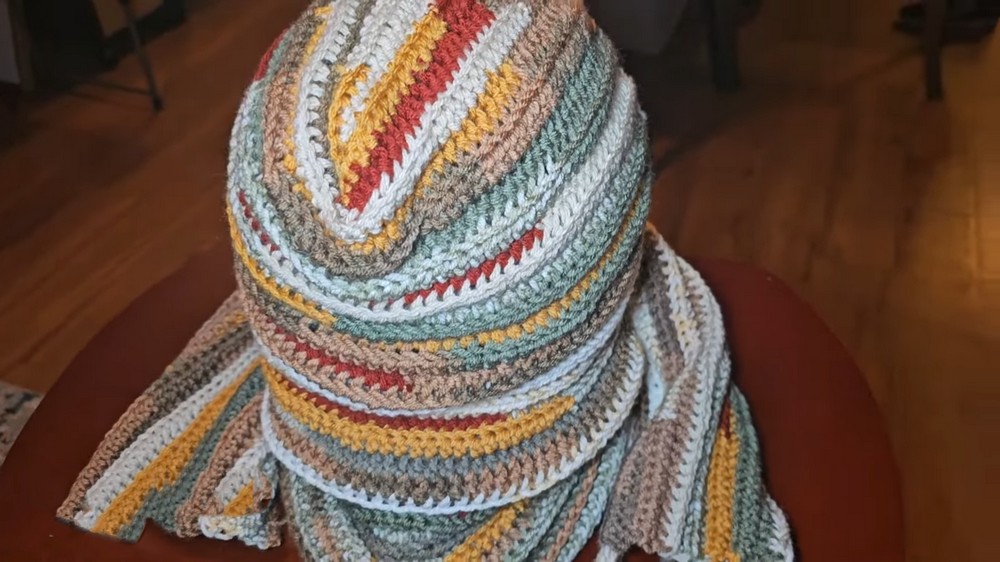
How to Crochet Colorful Hooded Scarf for Fall
In this post, learn how to crochet a beautiful, beginner-friendly hooded scarf with a striped pattern for beginners and experts. The design features a one-row repeat, making it simple even for newcomers. The creator demonstrates chaining 200 stitches as the base and using a half double crochet stitch throughout, with tips on maintaining tension and creating clean edges. The tutorial also explains how to join multiple yarns for a colorful design and assemble the hood seamlessly.
Personal touches, like rounding the hood’s tip, are shared to enhance the final look. This calming hobby is both satisfying and customizable—perfect for gifts or personal use. So, follow through with us for the complete tutorial.
Hooded Scarf Crochet Tutorial
The tutorial focuses on creating a stylish and easy hooded scarf. The project uses a one-row-repeat pattern, ideal for beginners. You can gift this to your mother for Christmas.
Materials Needed
- Yarn: Multiple yarns can be used for customization; the instructor used a combination of different colors and textures. Examples include Big Twist and Hobby Lobby’s “I Love This Yarn!”
- Hook: A 5.5mm crochet hook is used for this project.
- Tools: Scissors and a tapestry needle are required for finishing touches.
Starting the Scarf
-
Beginning with a Slip Knot
- Create a slip knot to start. Any preferred method is acceptable.
-
Foundation Chain
- Begin with a long foundation chain to start the scarf. This chain creates the base for the project.
-
First Row
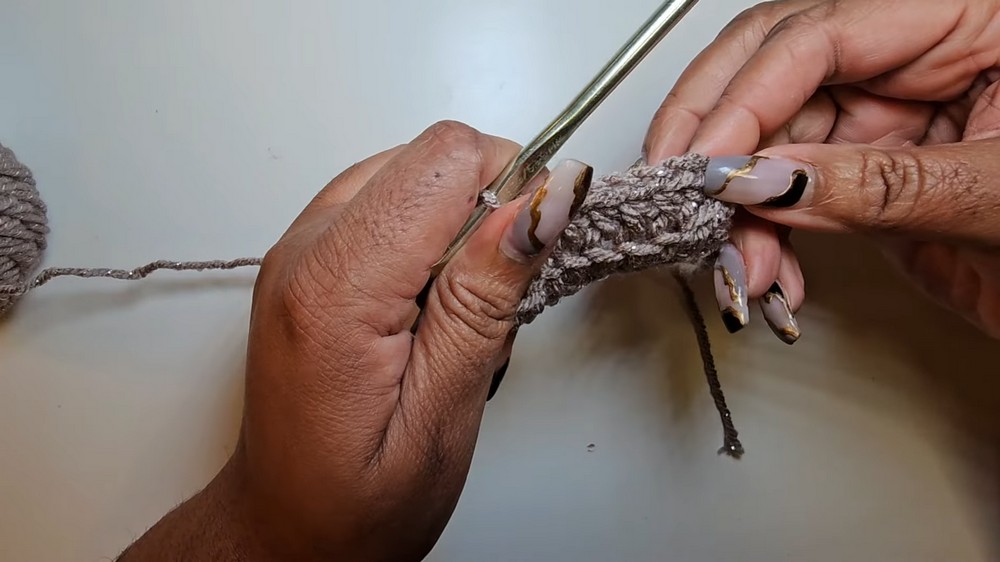
- Use a half double crochet (HDC) stitch for the first row, placing it into the specified chain.
- The instructor explains the process of yarning over, inserting into the chain, and pulling through loops to create the stitch.
- Important: Maintain consistent tension throughout.
Building Rows – One-Row Repeat
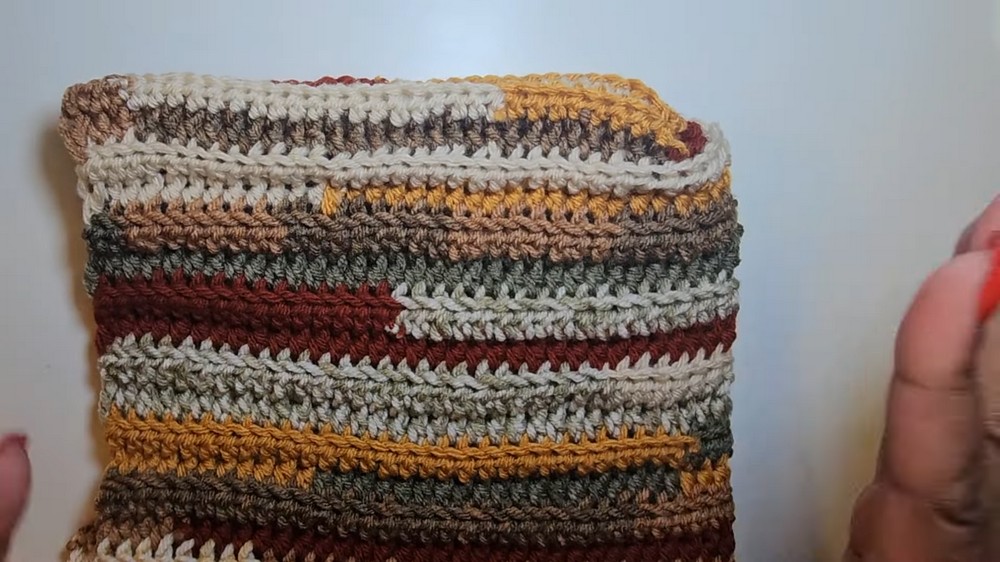
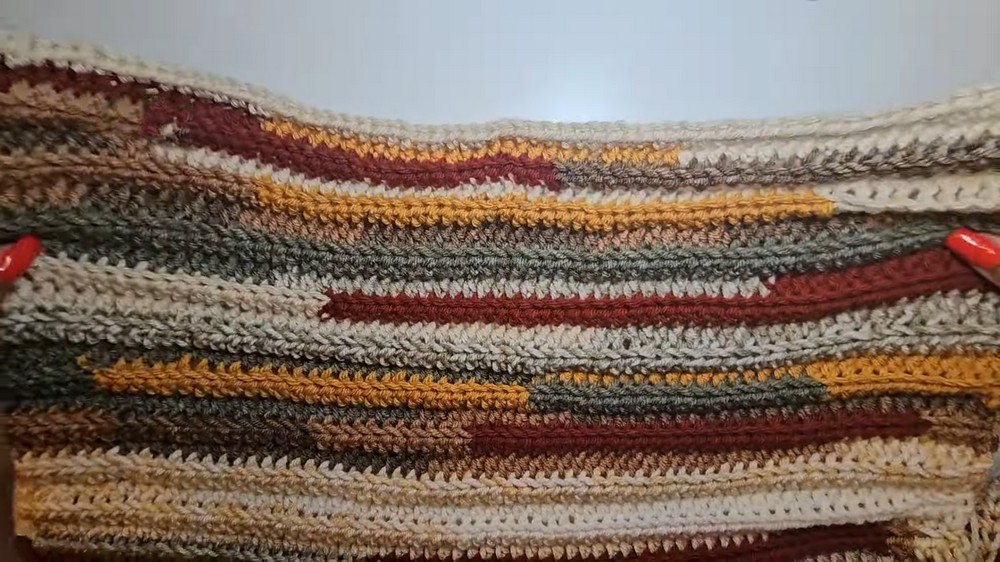
- The pattern is a simple one-row repeat, working primarily with half double crochet stitches into the back loops only.
- Crocheting into the back loop creates a distinct ridged texture.
- At the start of a new row, turn the work and chain once.
Completing the Scarf
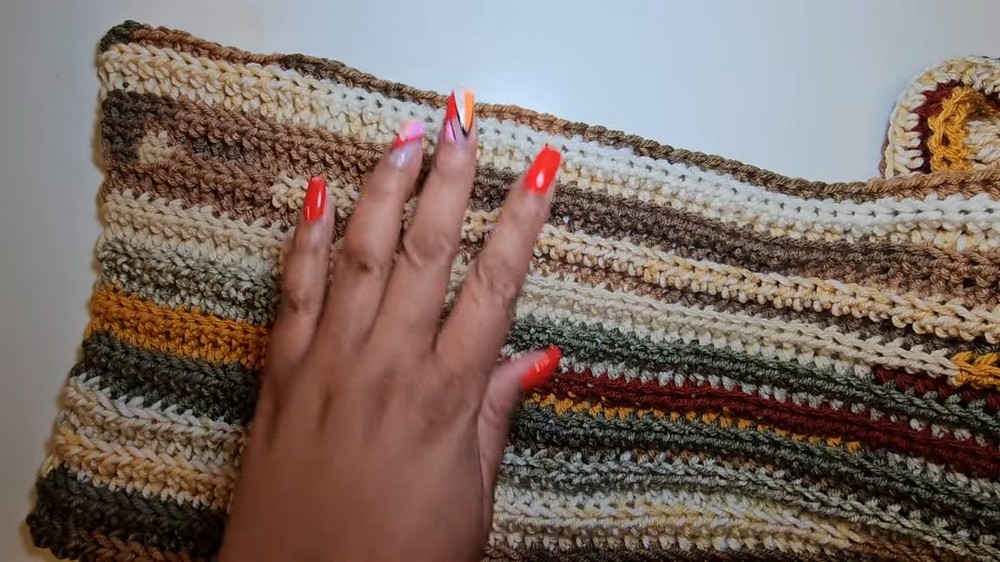
- Repeat rows until the scarf reaches the desired width.
- Customize the length to your preference or according to the recipient’s size requirements.
Constructing the Hood
-
Measuring and Marking
- Measure from your earlobe to the back of your head to determine the size of the hood.
- Use stitch markers to indicate where the hood will join the scarf.
-
Attaching the Hood
- Begin attaching yarn near the marked area, starting with a slip stitch.
- The first row is worked under the full stitch (under the “V”), ensuring it is secure.
-
Building the Hood
- Use rows of half double crochets, tapering or adjusting as necessary.
- Suggestions for changing colors (if needed) are provided, with tips for using the magic knot technique for seamless transitions.
Joining the Hood
- Fold the scarf to align the two edges of the hood.
- Use a slip stitch to seam the edges together.
- To avoid a pointed tip (common in hood construction), round the edges by manipulating stitches until the desired look is achieved.
Final Touches and Customization
- Flip the project right-side out to reveal the finished hood and scarf.
- Choose the side of the project you prefer as the “outside” and adjust accordingly.
- The creator encourages adding your own flair, such as selecting unique color combinations or yarn textures.