How to Crochet Earring Pattern Beginners Friendly
With a step-by-step tutorial, learn how to crochet a pair of floral earrings for beginners and experts. It provides a detailed guide on the materials needed, including Anchor thread, a 0.5 mm crochet hook, and earring hooks. The tutorial then walks you through the steps to create the earrings, from the initial magic ring and base to the final row where you form the flower petals with a sequence of different crochet stitches.
The video concludes by showing you how to attach the earring hooks to finish the project. So, follow through with us for the complete tutorial.
Crochet Earring Tutorial
This tutorial walks you through the step-by-step process of creating gorgeous handmade crochet earrings. The presenter provides detailed guidance, making this project suitable even for beginners. Below is a structured summary of the tutorial.
Introduction
The tutorial begins with the presenter introducing the project: beautiful and easy-to-make crochet earrings. She lists the required tools and materials and explains that a larger-sized hook and yarn will be used during the tutorial for better visibility.
Materials Needed:
- Anchor thread (No. 8)
- 0.5 mm crochet hook
- Earring hooks
- Jump rings
- Scissors
- Pliers
- Glue
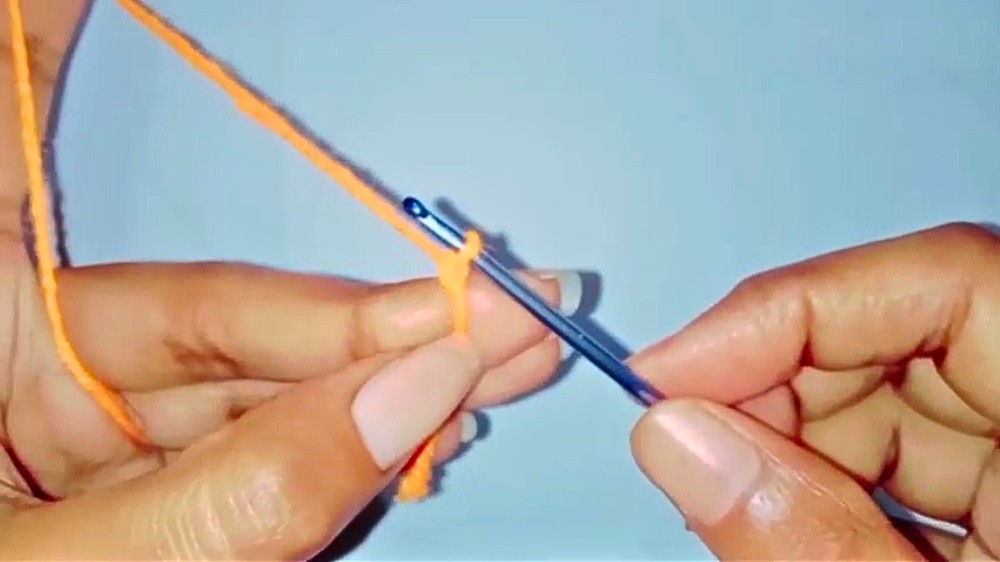
Step 1: Creating the Base
The earrings start with the creation of a circular base.
Steps to Create the Base:
- Use a magic ring to begin the pattern, securing the foundation of the earring.
- Work single crochets into the magic ring to form a neat and stable circular base.
- Close the base with a slip stitch, fasten off the thread, and weave in the ends for a clean finish.
This base acts as the starting point for designing the earrings.
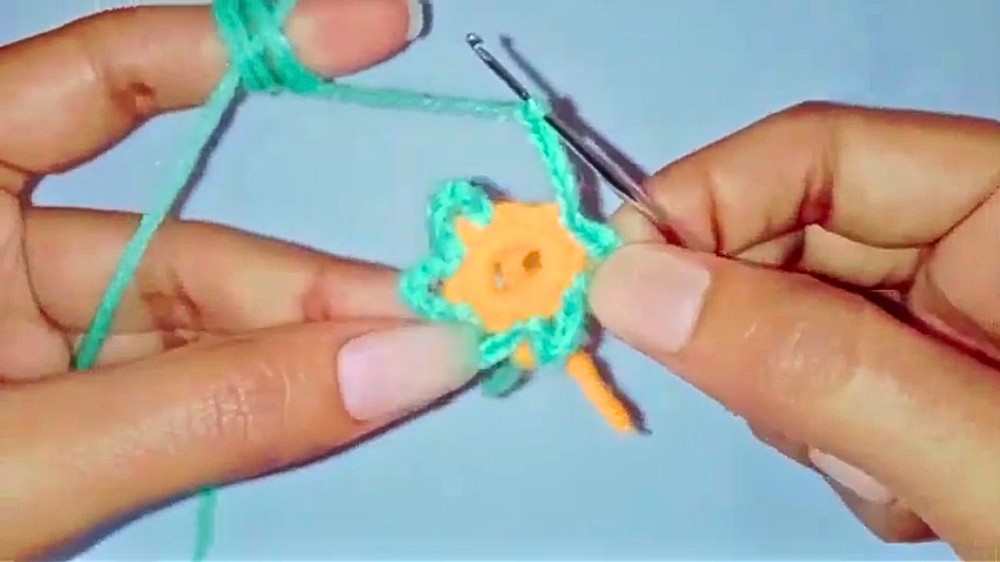
Step 2: Adding the Chain Spaces
The second row involves creating chain spaces that will later be embellished to form the petals of the flower-shaped earrings.
Steps to Add the Chain Spaces:
- Attach a different color yarn using a slip knot in any of the base stitches.
- Work chain spaces around the base by alternating slip stitches and chains.
- Continue this process around the entire base to create six chain spaces.
Once this row is completed, the earrings will have their foundational structure for the floral design.
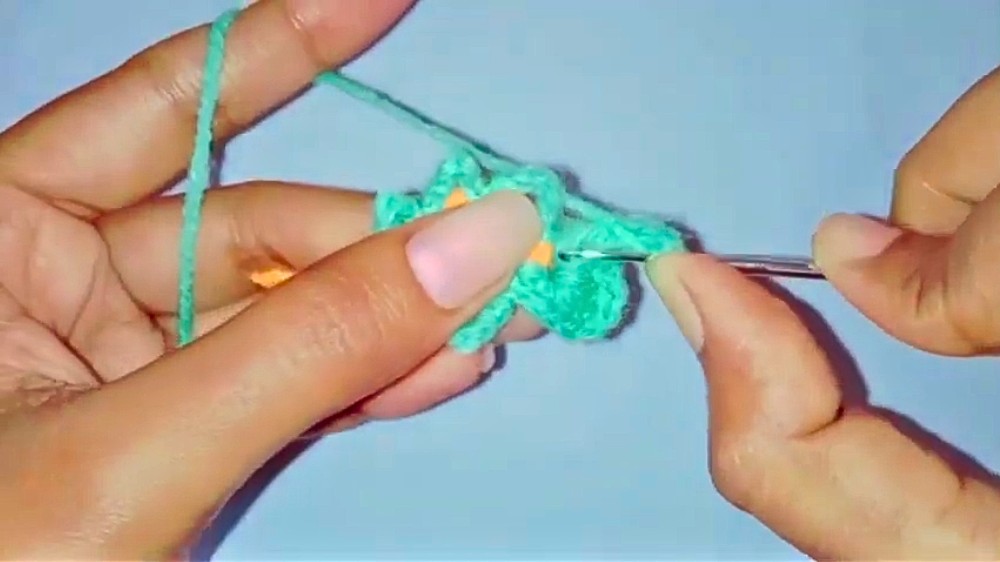
Step 3: Forming the Petals
In this step, each of the chain spaces is worked on to form petals, giving the earrings their decorative and unique floral look.
Steps to Create Petals:
- Work multiple stitches (single crochet, half double crochet, double crochet, and treble crochet) into one side of the chain space.
- Add chains in the center to define the midpoint of the petal.
- Mirror the stitches on the other side of the chain space to complete the petal.
This process is repeated for all chain spaces, resulting in six evenly spaced petals. The tutorial demonstrates how to maintain symmetry and consistency in the pattern.
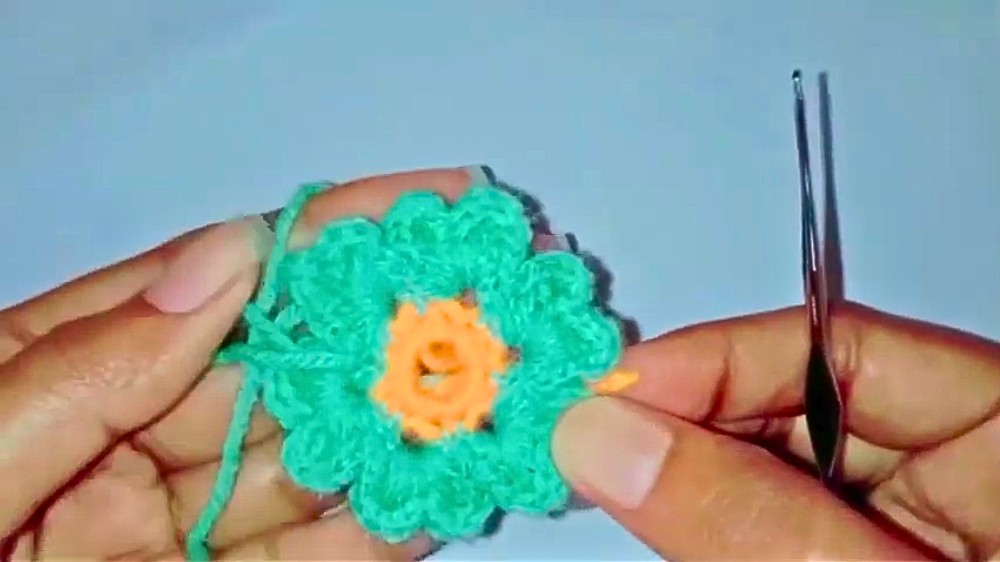
Step 4: Completing the Flower and Assembling the Earrings
Once all the petals are finished, the flower-shaped earring is complete. The next step involves turning this design into wearable jewelry.
Steps for Assembly:
- Secure the final petal with a slip stitch and fasten off the yarn.
- Weave in any loose ends to ensure the design is neat.
- Attach the earring hook to the top of the flower using a jump ring and pliers.
- Apply a small amount of glue if necessary for added security.
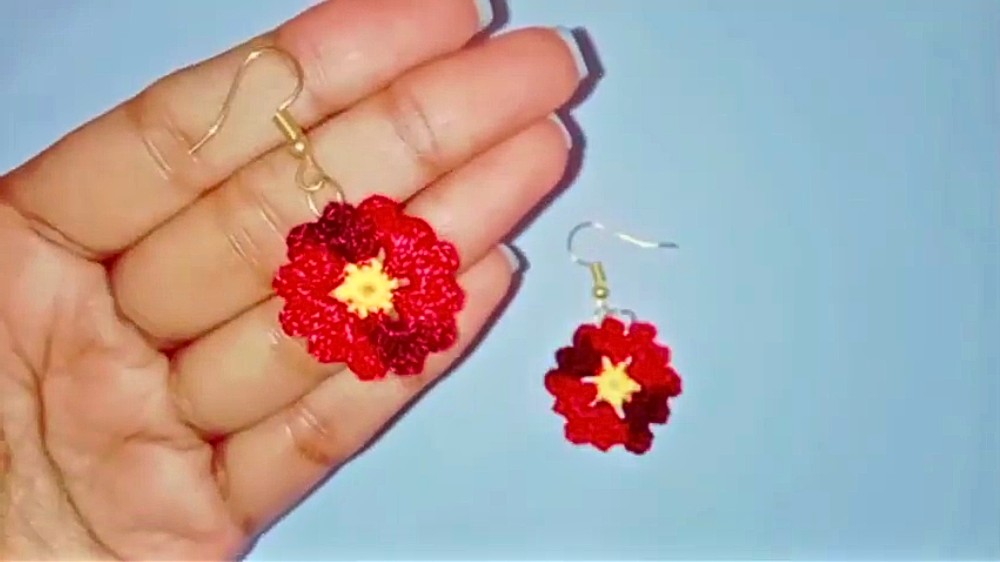
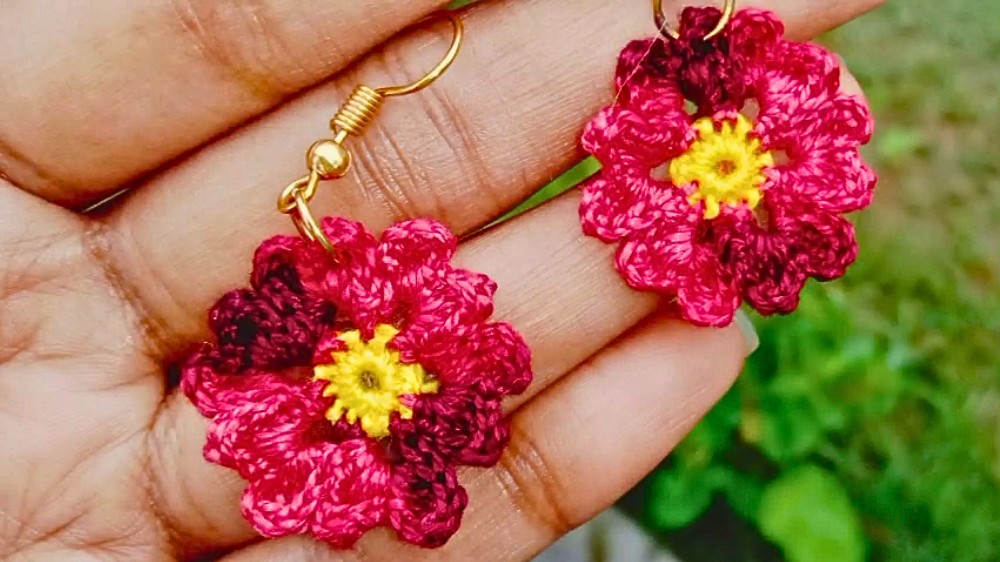
Final Thoughts
The presenter concludes by showcasing the completed earrings, emphasizing their elegance and ease of creation. She encourages viewers to try the pattern and experiment with different color combinations to make the earrings unique. This beginner-friendly project is perfect for anyone looking to create handmade accessories with a personal touch.