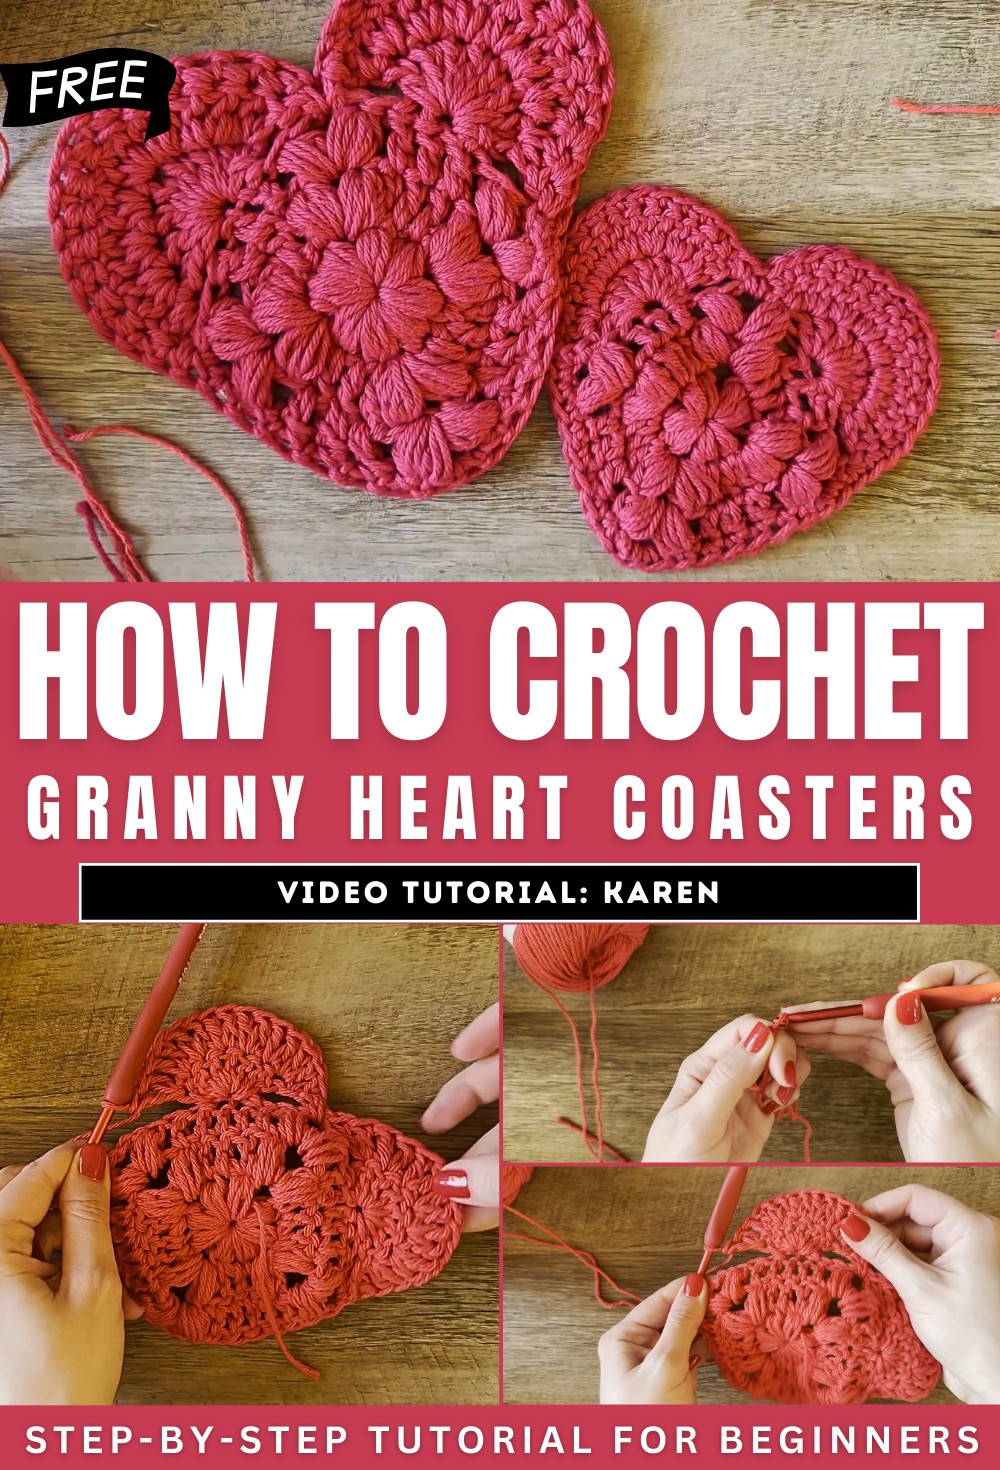
How to Crochet Granny Square Heart Coasters
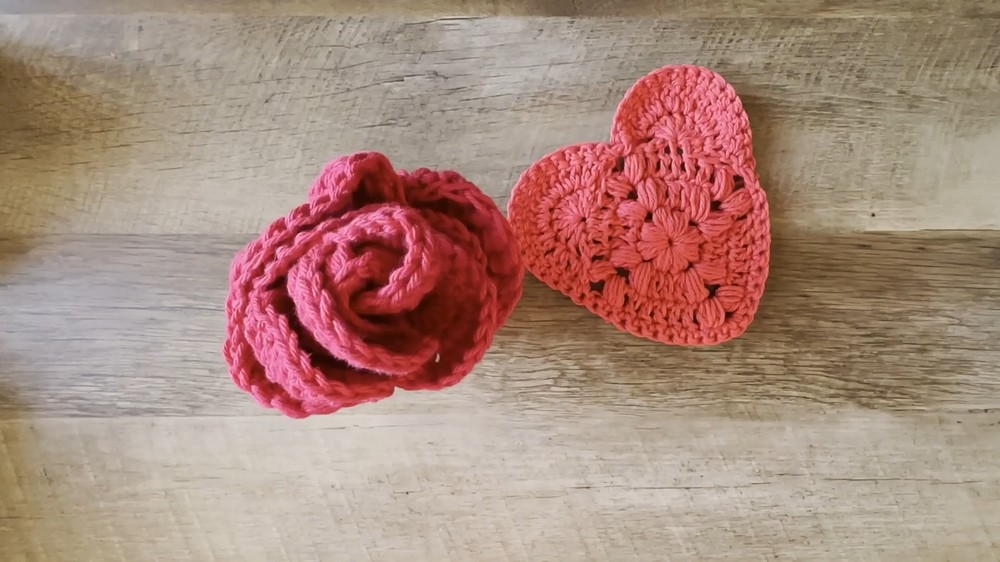
Learn how to crochet heart-shaped granny square coasters that are both functional and decorative. The project starts with crafting a basic granny square using puff stitches, double crochet, and chain stitches, gradually evolving into a charming heart shape. Karen provides step-by-step instructions, from forming the magic circle to shaping the heart and adding clean single crochet edges. She also creatively transforms multiple coasters into a rose-shaped arrangement using a small clay pot for display.
Perfect for Valentine’s Day or everyday use, this pattern is beginner-friendly with intermediate techniques like puff stitching. So, follow through with us for the complete tutorial.
Granny Square Heart Coaster Tutorial
In this detailed video by Karen from Daisy Knits by K, she explains how to crochet adorable granny square heart coasters. The tutorial is beginner-friendly and features the puff stitch to create textured, decorative coasters. Karen provides step-by-step guidance, from materials required to finishing techniques. Below is a complete breakdown of the tutorial.
Materials Needed
- 4-weight cotton yarn (Karen uses Loops and Threads in the “Tomato” color).
- Size 5mm crochet hook.
- Scissors.
- Tapestry needle.
- Stitch marker (optional).
- A small clay pot (optional, for creating a rose-shaped decor piece with the coasters).
Steps to Create the Coaster
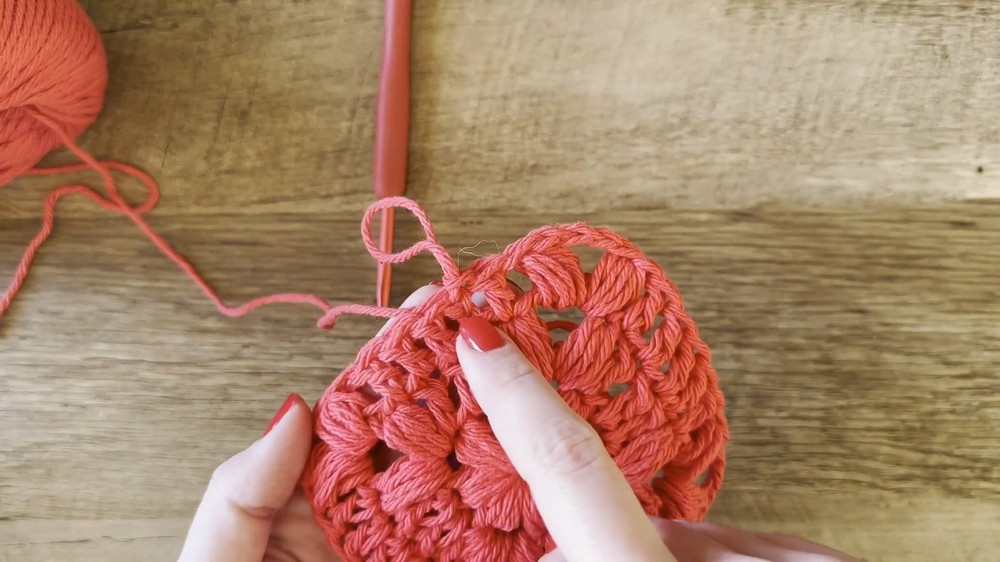
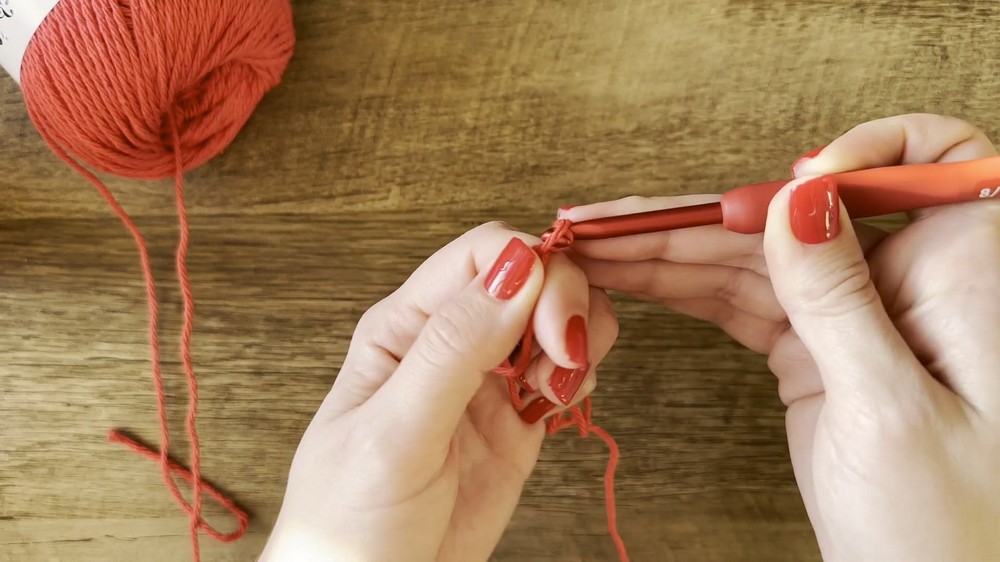
1. Start with the Magic Circle
- Karen begins the tutorial by explaining how to make a magic circle, which forms the base of the project.
- Follow the process of inserting the hook and completing the initial chain.
2. Work the Puff Stitches
- Karen demonstrates how to create puff stitches, which add texture to the design.
- For viewers unfamiliar with this stitch, she provides a link to a separate tutorial on how to master it.
- The puff stitches are worked to form the center of the granny square.
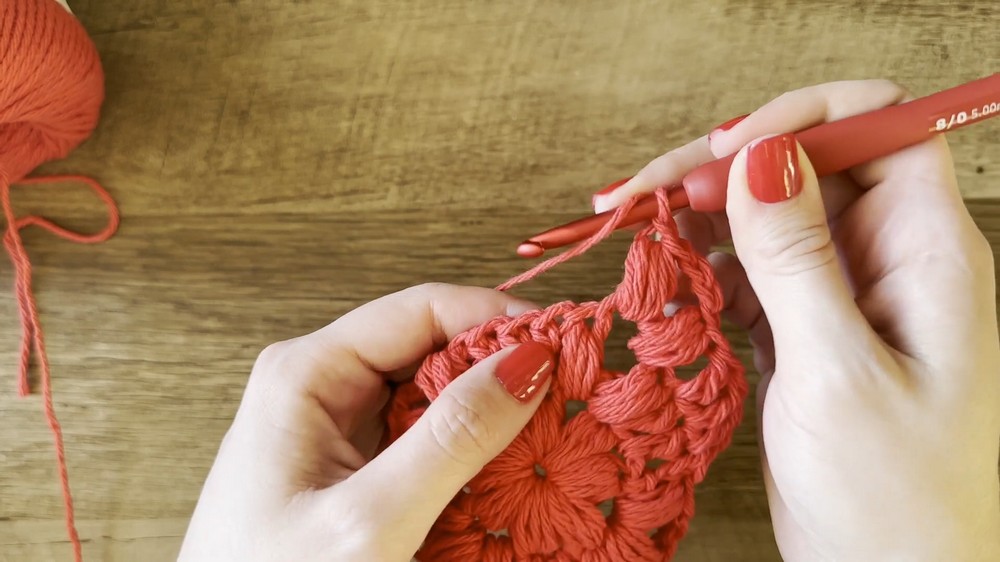
3. Complete Row One
- Karen walks through the process of creating a flower-like square by adding more puff stitches.
- The row is completed by closing the magic circle and shaping the square.
4. Build Row Two
- In row two, double crochets are introduced, adding to the square design.
- Corners are formed by creating puff stitches and chaining in between them.
- Karen explains how to repeat this pattern for all sides of the square before closing the row.
5. Add Row Three
- Row three is built by adding more double crochets.
- The puff stitch corner design is repeated, expanding the square.
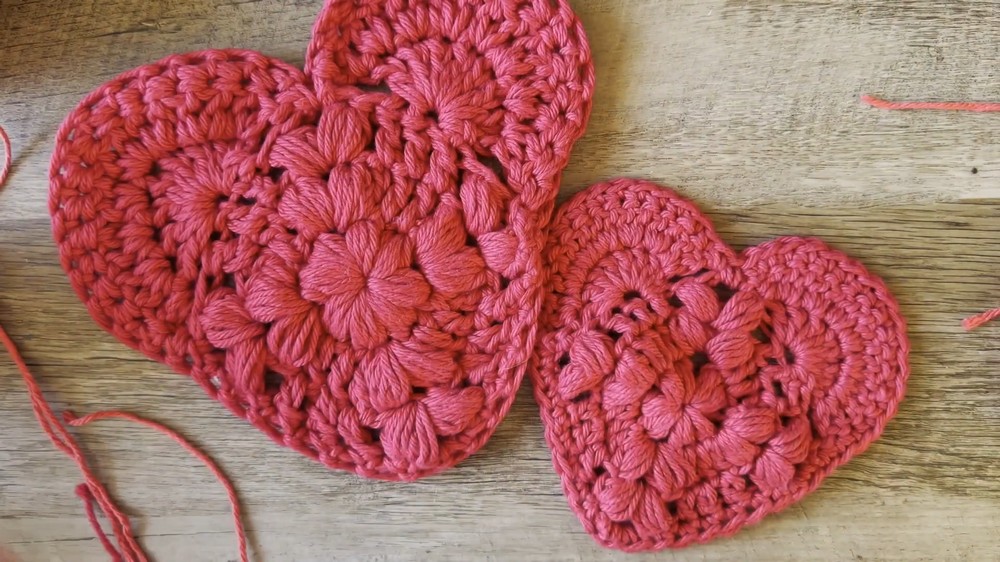
- The result is a fully formed granny square, ready to be transformed into a heart shape.
Transforming the Square into a Heart
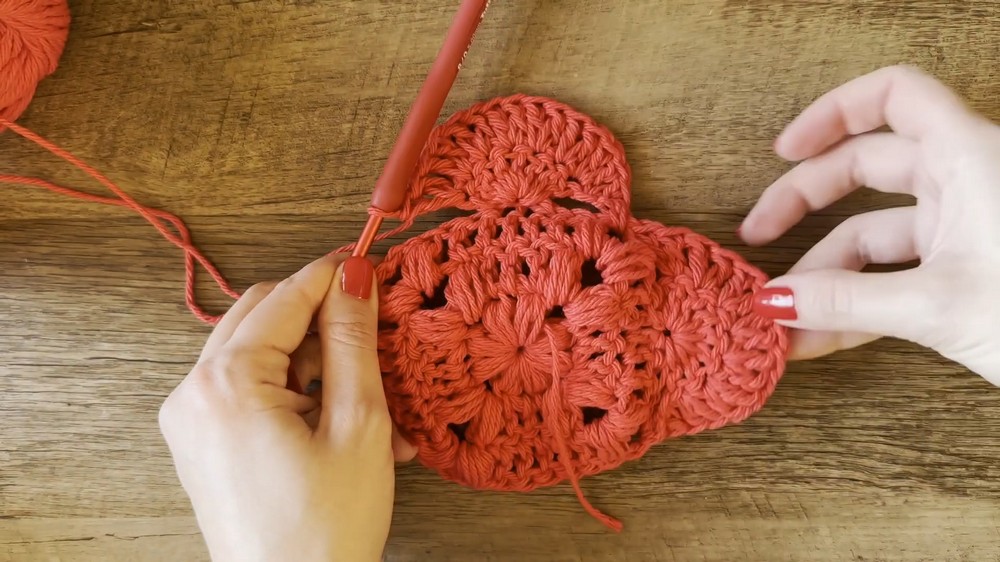
1. Modify the Top Edges
- Karen explains how to turn the top side of the square into the rounded edges of the heart.
- Double crochets are used to create the desired shape on the first half.
- After finishing one side, Karen provides two options to begin the second side: cutting the yarn or continuing with slip stitches.
2. Add Final Touches
- Once both sides are complete, Karen provides tips for cleaning the edges with single crochets around the entire project.
- Corners are completed with extra single crochets for a polished look.
Creating Variations
- Karen suggests using thicker yarn and a larger crochet hook to make a bigger coaster for a kettle or as a statement piece.
Turning Coasters into a Rose
- For a creative touch, Karen explains how to turn three to four coasters into a rose-shaped decor piece.
- By folding and layering the coasters in a clay pot, you can create a beautiful display.
Conclusion
- Karen concludes the tutorial by encouraging viewers to try the project, tag her in their creations, and share suggestions for future videos. Whether for Valentine’s Day or as a general gift idea, this project is simple, quick, and makes for a thoughtful handmade item.