Mask Connector Free Crochet Pattern for Ultimate Comfort
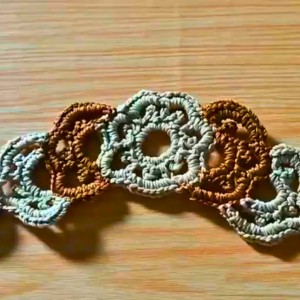
Minimize irritation quickly using this free crochet mask connector pattern that’s created to keep mask straps comfortably snug without sacrificing style or function.
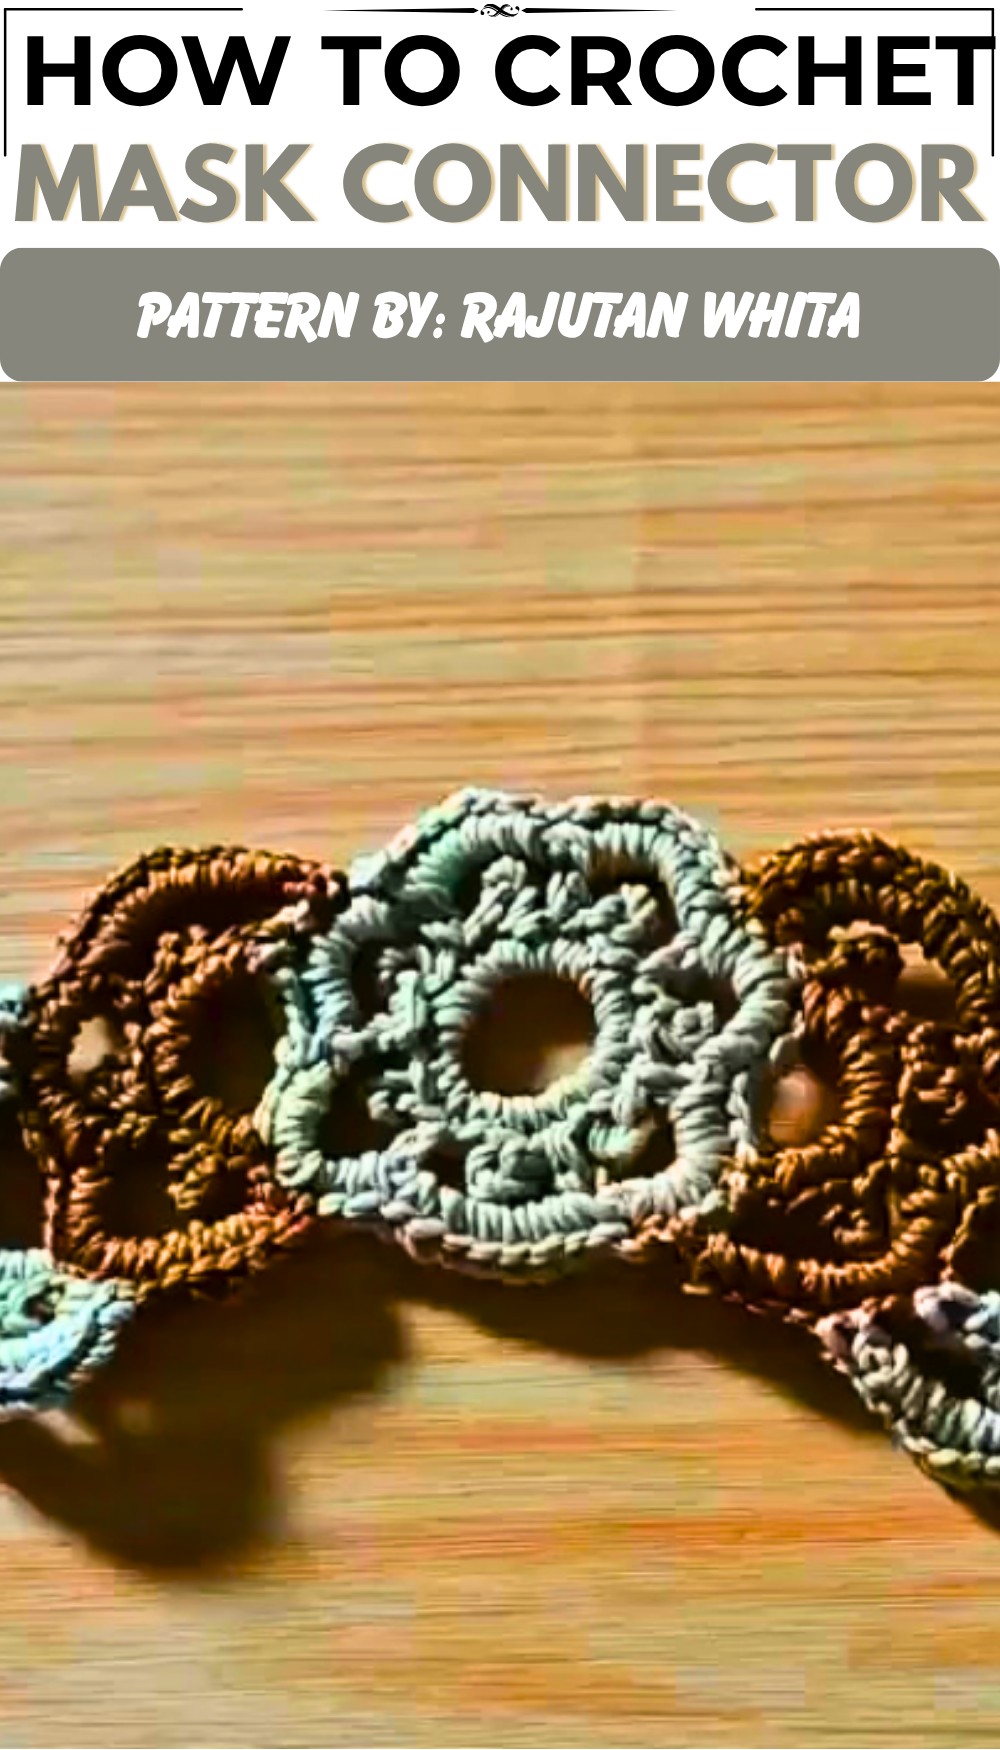
Wearing a mask for a long time can hurt your ears, but there’s a simple and pretty solution to help! The Free Crochet Face Mask Connector Pattern is a clever way to keep your mask straps comfortable and secure. This small accessory has a sweet and neat look, shaped like little stars or buttons, making it very charming. It fits behind your head, holding the mask straps together so your ears don’t feel sore.
This connector is not only useful but also stylish. It looks lovely on any mask and adds a handmade touch that many will admire. Its soft and lightweight design means it won’t bother you during the day. Whether you’re at school, the store, or visiting friends, this connector makes wearing a mask easier to handle.
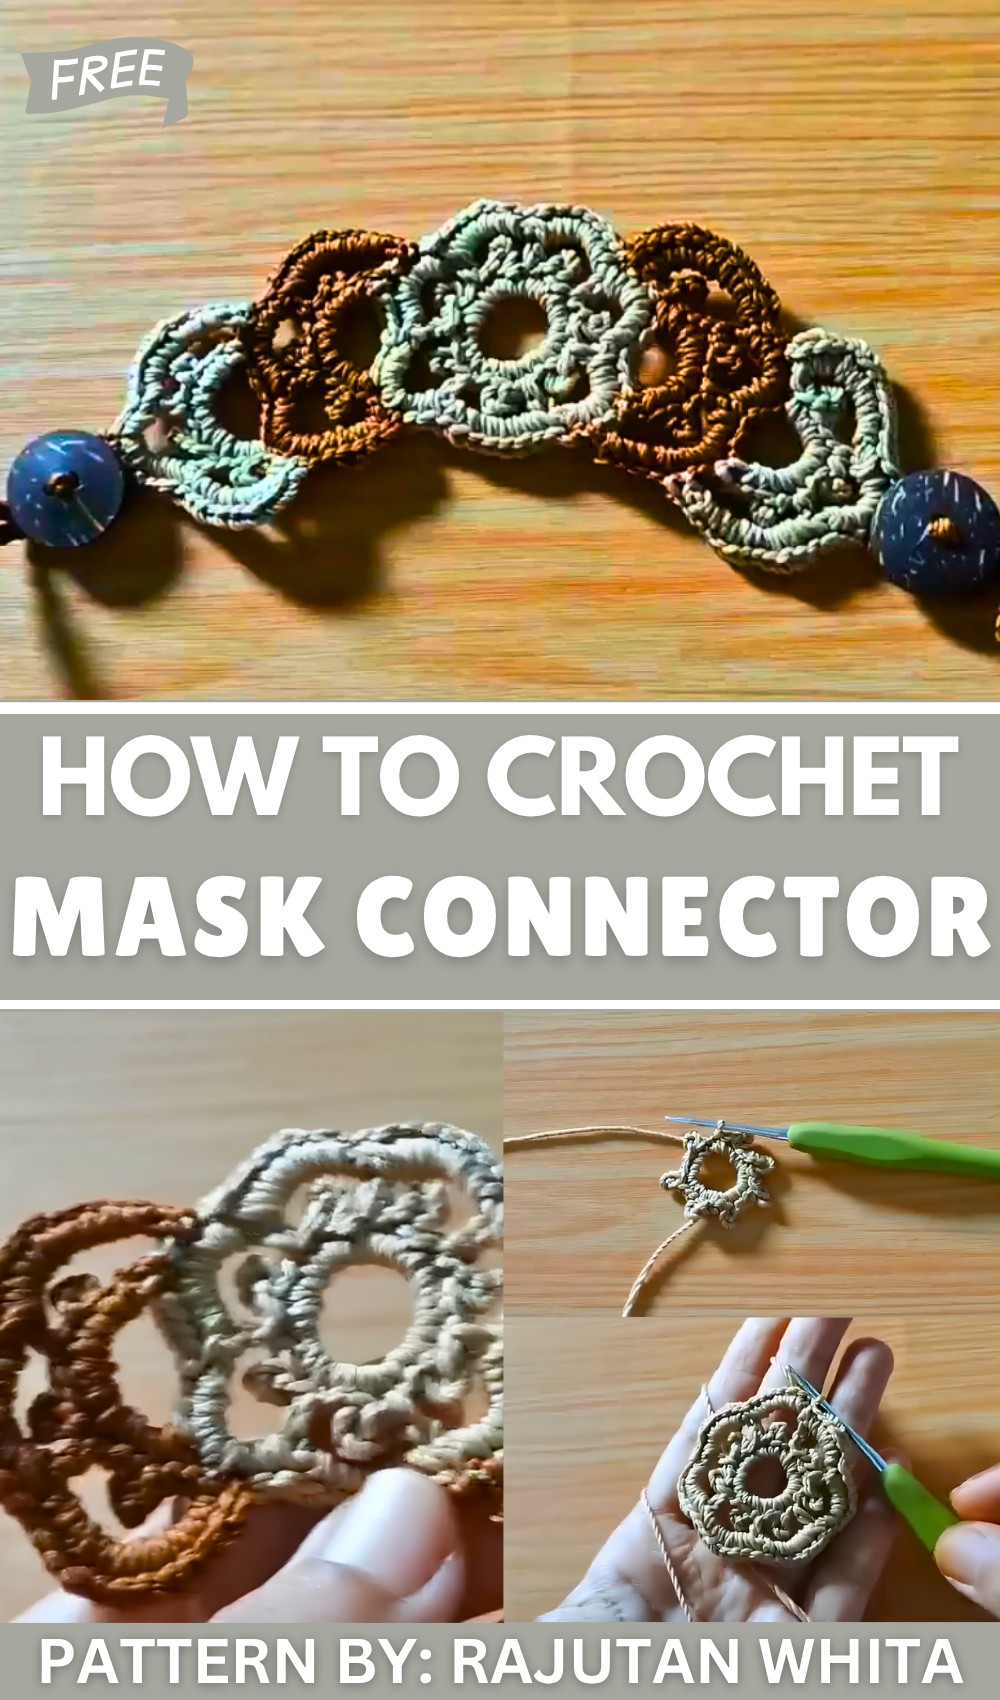
Stylish Free Mask Connector Crochet Pattern You’ll Love to Make
The pattern comes from a creative person who shares easy-to-follow videos. Rajutan Whita is the YouTube channel where you can watch and learn how to make this lovely piece. Their warm and clear instructions make it fun for beginners and experienced crocheters alike.
People will love this finished piece because it’s small but makes a big difference in comfort. It’s also a thoughtful gift for family or friends who wear masks every day. By using this Free Crochet Face Mask Connector Pattern, you get both comfort and charm in one simple project.
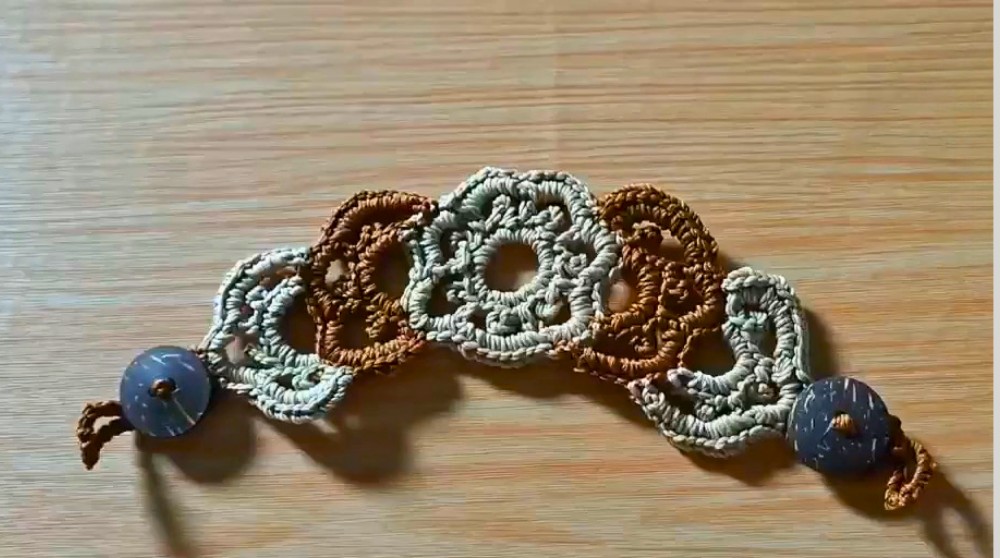
In short, this connector is practical, pretty, and easy to make. It helps you feel better while wearing a mask and adds a little sparkle to an important accessory. Give it a try, and you might find it becomes your favorite mask helper!
Floral Motif Mask Connector Crochet Pattern
This pattern guides you step-by-step to create a floral motif mask connector using simple crochet stitches and techniques. The resulting accessory beautifully connects mask straps behind the head, providing comfort and style. Follow this easy, well-organized tutorial designed for intermediate beginners who want clear instructions.
Pattern Highlights
- Uses Magic Ring, Single Crochet (SC), Half Double Crochet (HDC), and Picot stitches.
- Floral motifs are connected to form a mask connector.
- Decorative buttons and loops complete the closure.
- Two yarn colors create contrast and attractive detailing.
Important Notes
- Use a consistent tension for even motifs.
- Take time counting stitches carefully.
- Finish yarn ends cleanly by weaving or carefully burning with a lighter.
- Adjust the number of motifs based on your mask size and preference.
Skill Level
Intermediate-Beginner: Basic knowledge of crochet stitches required; detailed instructions provided.
Materials Needed
- Yarn: Polycherry yarn, colors Mocca and Cream (Light Brown shades)
- Hook: 2.0 mm (Size 3) crochet hook
- Other: 5 decorative buttons, yarn needle, scissors, lighter (for finishing yarn ends)
Crochet Abbreviations
- ch: Chain
- sl st: Slip Stitch
- sc: Single Crochet
- hdc: Half Double Crochet
- picot: Chain 3, slip stitch into the base of the stitch (creates small decorative loops)
- MR: Magic Ring
Special Stitches Explained
Magic Ring (MR):
An adjustable ring that allows you to crochet the first round without leaving a hole. The loop can be tightened after working the stitches.
Picot Stitch:
- Chain 3
- Slip stitch back into the base of the stitch to form a small loop or bump used for decoration.
Step-by-Step Crochet Pattern
Round 1: The Core (Magic Ring with 7 Picots)
- Start: Make a Magic Ring (MR).
- Step 1: Chain 1 (does NOT count as a stitch).
- Step 2: Make 2 Single Crochet (SC) stitches into the MR.
- Step 3: Make a 3rd SC, then create a Picot: Chain 3, slip stitch back into the base of this 3rd SC.
- Step 4: Repeat the pattern: 3 SC stitches, then a Picot stitch on the third SC.
- Step 5: Continue repeating until you have 7 Picots evenly spaced around the ring.
- Step 6: Slip stitch into the first SC to close the round.
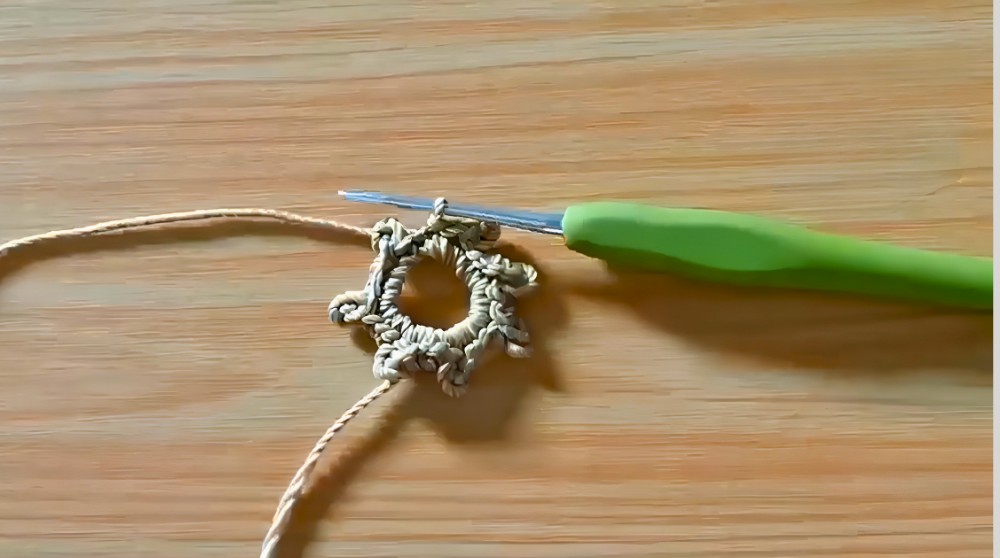
Visual tip: You’ll have a circular motif with 7 small loops (picots) around the edge.
Round 2: Petal Foundations
- Step 1: Chain 2 (counts as 1 Half Double Crochet (HDC)).
- Step 2: Chain 4 to create a loop.
- Step 3: Work 1 HDC into the center stitch located between the picots from Round 1.
- Step 4: Repeat chaining 4, then 1 HDC into the next center stitch between picots around the entire motif.
- Step 5: Slip stitch into the 2nd chain of the initial chain 2 to close the round.
Tip: These loops form the bases for petals.
Round 3: Petal Filling
- Step 1: Slip stitch into the first 4-chain space created in Round 2.
- Step 2: Chain 1 to prepare for working SC.
- Step 3: Work 8 Single Crochet (SC) stitches into each 4-chain space all around the motif, fully filling the ‘petal’ loops.
- Step 4: Slip stitch into the first SC to complete the round.
- Step 5: Cut the yarn and fasten off securely.
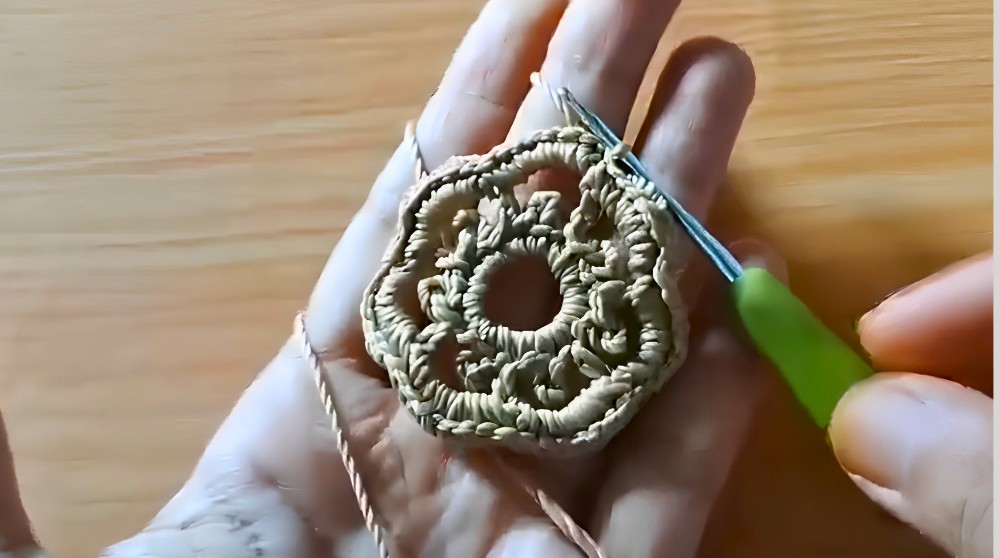
Result: The motif’s petals become dense and textured.
Creating the Connector Sides
You will now add loops on the sides to connect the floral motifs together.
Attach Darker Yarn:
- Attach darker yarn at the back of the motif counting 4 stitches from the edge. Secure the yarn here.
Make Side Loops:
- Chain 6 to form a loop.
- Skip appropriate stitches (typically 5 stitches), then slip stitch to the 7th stitch to form this loop.
- Turn your work.
Fill Loop Space:
- Work 1 SC, then 1 Picot stitch, followed by 3 SC into the loop space.
- Repeat this “1 SC + Picot + 3 SC” sequence to fill the loop space neatly.
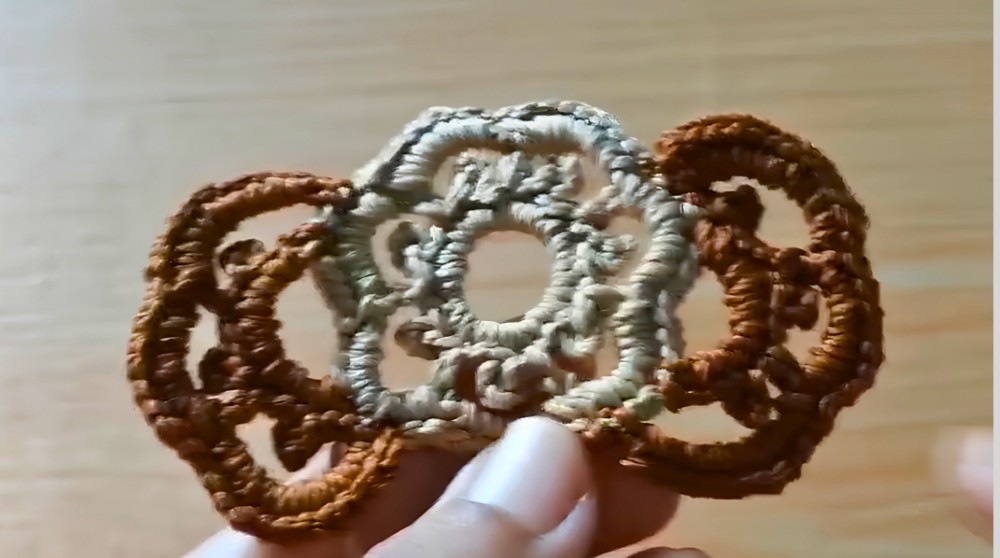
Continue Pattern:
- Repeat making 6-chain loops and fill them with half double crochets (HDC), 12 SC, and 8 SC alternatingly around the side as per design (refer to stitch counts in the video).
Final Assembly
- Connect Motifs: Repeat the side loop and filling pattern to connect 5 floral motifs in a row, creating the required length for your mask connector.
- Create Button Loops: On one end of the connected motifs:
- Chain 12 (to create a loop).
- Slip stitch to the base to form a button loop.
- Finish with 2 SC stitches to secure.
- Attach Buttons: Sew decorative buttons onto the opposite end of the connector strip, aligning with the button loop for closure.
- Finishing Touch: Weave ends securely or carefully use a lighter to burn the yarn ends, preventing any unraveling and lending a polished look.
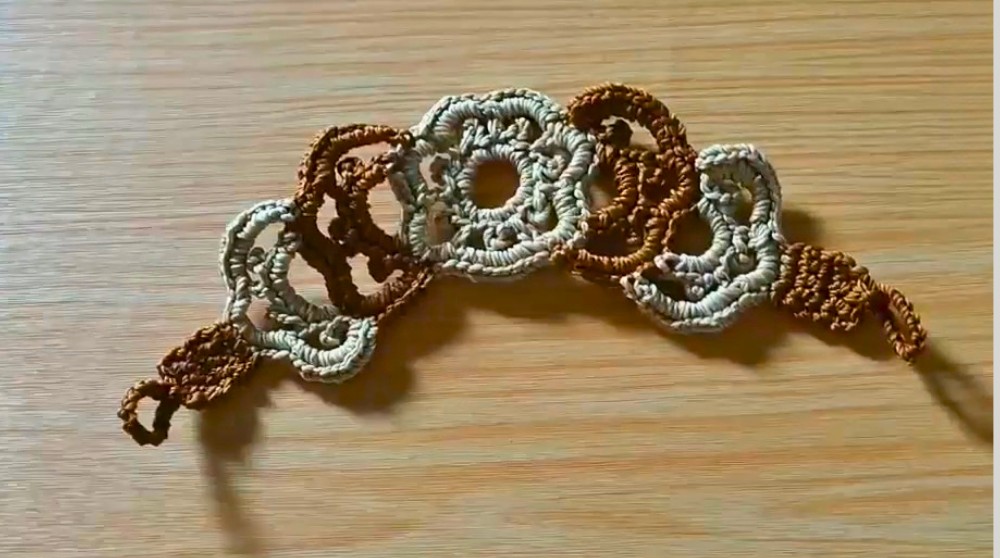
Assembly & Finished Size
- The final project measures approximately 15–18 cm based on yarn tension and number of motifs made.
- The 5 connected floral motifs fitted with button loops create a comfortable strap extender connecting mask loops behind the head.
- Adjust the number of motifs for different sizes as needed.
Conclusion
This floral motif mask connector offers a functional and stylish way to ease mask-wearing discomfort with a handcrafted touch. It combines simple and decorative crochet techniques making it both a rewarding and practical project for intermediate beginners. With detailed instructions and clear stitch explanations, this pattern sets a clear path to success. Celebrate your handiwork by wearing this elegant accessory or gifting it to loved ones for safe and comfortable mask use.