Easy Free Crochet Mask Connector Pattern for Beginners
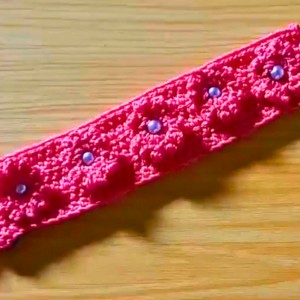
Ease mask-wearing discomfort by applying this free crochet mask connector pattern that balances comfort and style for all day support behind your ears.
About the Channel: The tutorial shared by Rajutan Whita gives crochet lovers a helpful way to see this useful little project. It is a nice choice for people who enjoy making quick crochet accessories that have a clear purpose.
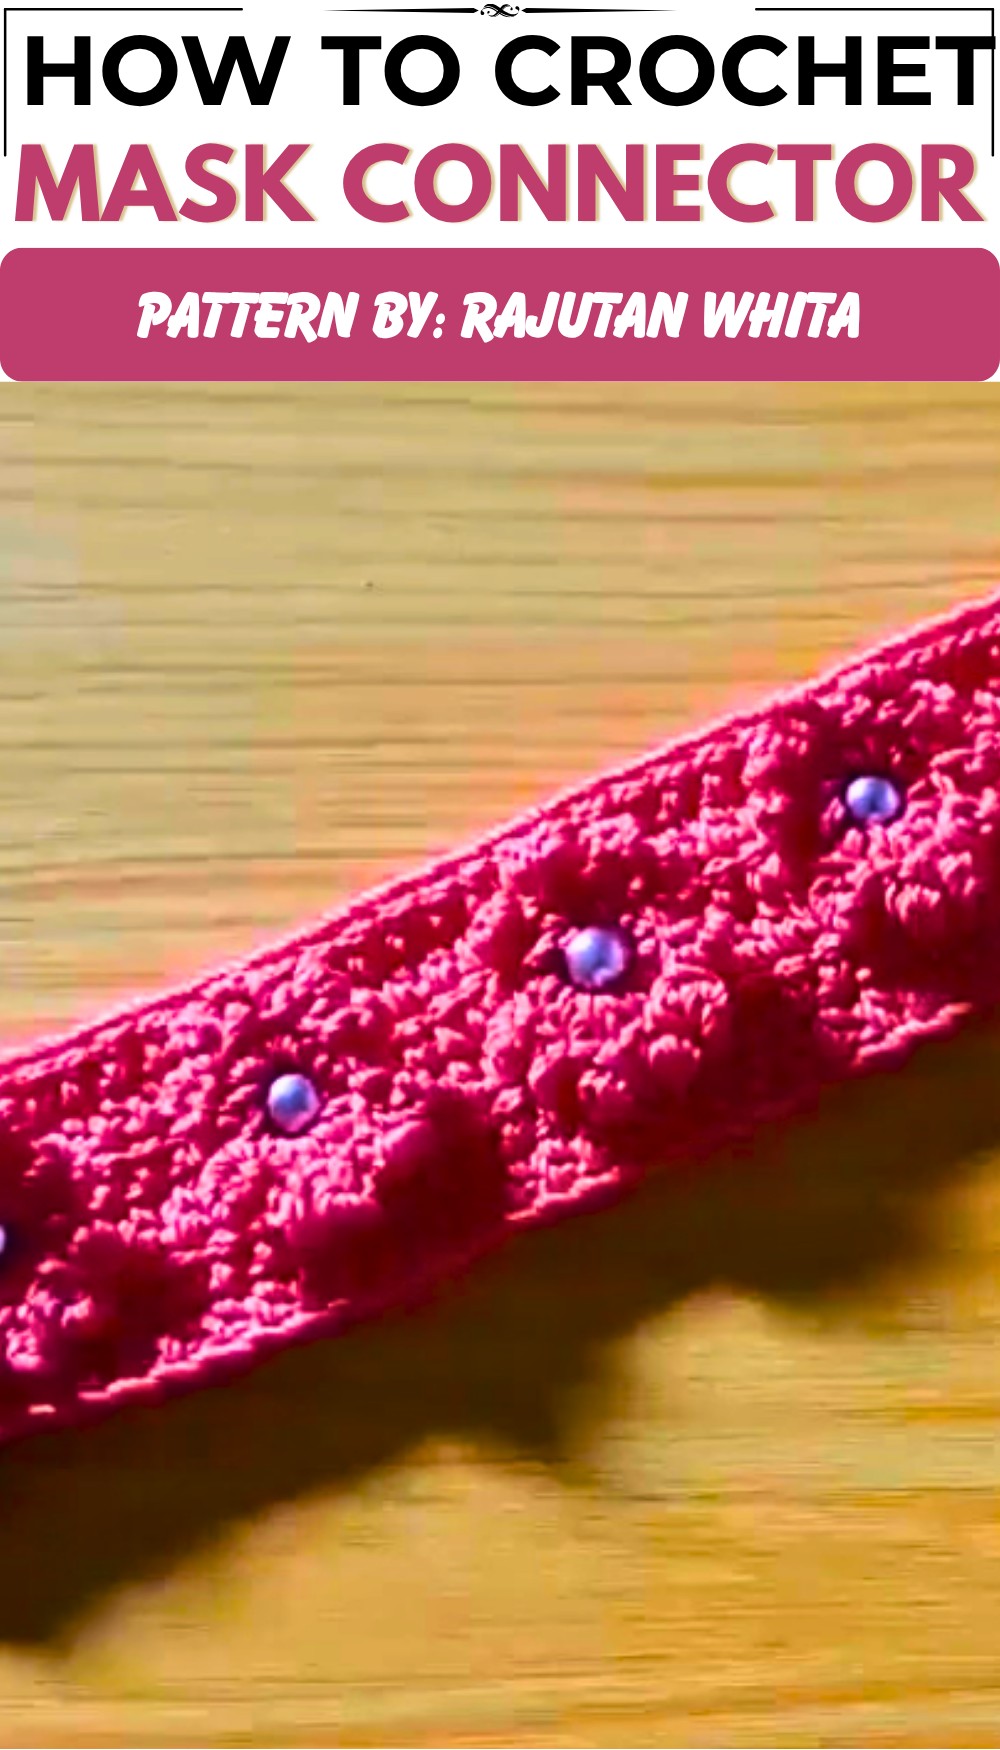
Small crochet items can be very useful in daily life. The Free Crochet Mask Connector Pattern is a simple face mask accessory that joins the mask loops and helps keep them in place. The finished connector has a thin and small shape, so it does not feel heavy around the head or neck. Its soft crochet texture gives it a warm handmade look. Neat stitches and simple ends add a clean style, while the small size makes it easy to carry anywhere.
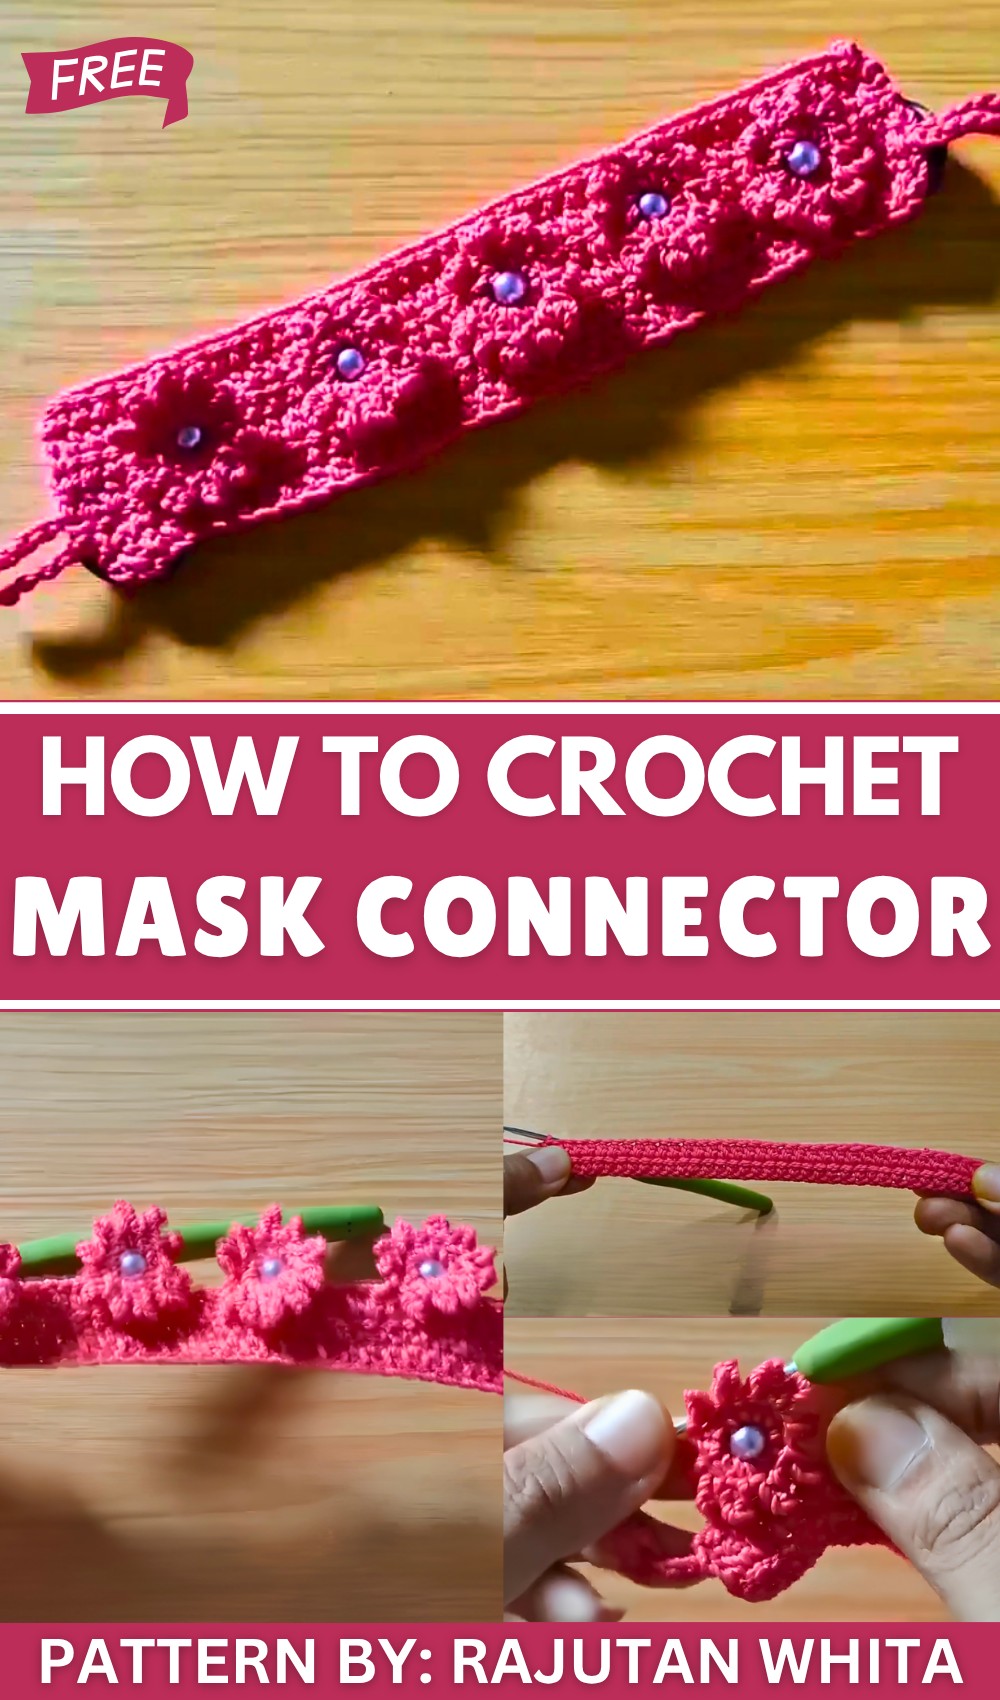
Free Crochet Pattern Mask Connector in No Time
This mask holder can be useful at work, school, while shopping, during travel, or on busy days outside. It can help keep mask straps from slipping away and may also make them feel easier to wear. The simple design looks nice with many mask colors and outfits.
One lovely part of this project is that it does not need a large amount of yarn. Small pieces of leftover yarn can be used to make different connectors. Bright shades can give the item a fun look, while soft colors can keep the style calm and simple. The crochet stitches also give the piece more charm than a plain plastic connector.
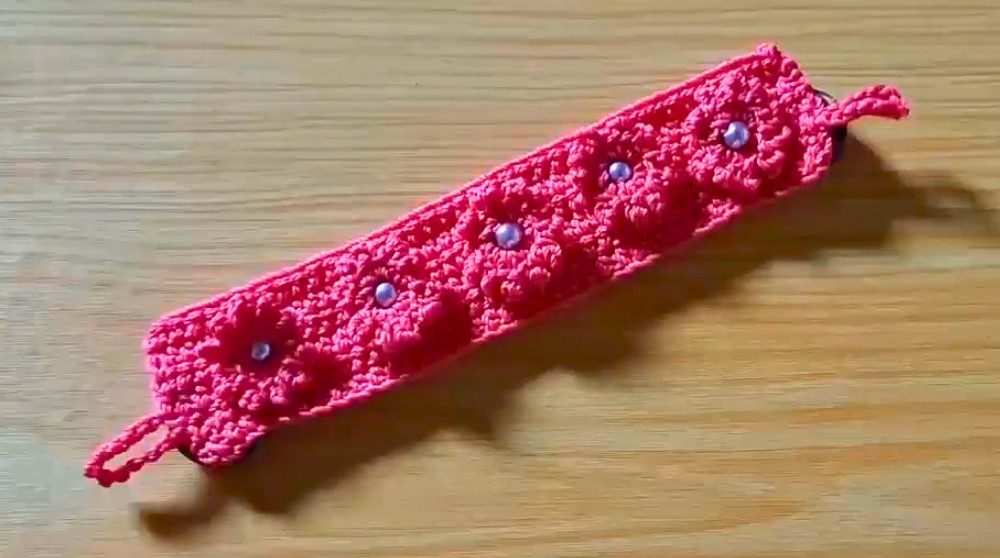
This connector can be a sweet gift for friends, family, teachers, or anyone who wears face masks. Several colors can also be made as a small matching set. Its cute look adds a handmade touch to an everyday item, while its light shape makes it easy to wear and carry. This is a simple project that brings beauty and use together in one small piece.
Flower-Motif Mask Connector Crochet Pattern
This guide will teach you how to crochet a charming flower-motif mask connector with a sparkling pearl center. Designed with care, this mask connector not only adds elegance but also offers comfort by holding your mask straps behind your head. Using Poly Cherry yarn in a pink fanta shade and a 2.0 mm hook, you’ll create flower motifs integrated into a sturdy half double crochet base, finished with button closures.
Pattern Highlights
- Foundation chain and rows in Half Double Crochet (HDC) for structure
- Flower motifs crafted with chain segments and detailed petal formations
- Elegant pearl beads sewn into the flower centers
- Decorative Picot stitches for delicate petals
- Button loops and closures attached for a secure fit
Notes for Beginners
- Work with consistent tension for even flowers and edges.
- Use stitch markers if it helps keep track of chain segments or rows.
- Sew pearls firmly to avoid shifting.
- The number of HDC rows can be adjusted to make your mask connector wider or narrower.
- Secure your yarn ends well; use a lighter if your yarn allows.
Skill Level
Beginner to Intermediate – basic knowledge of:
- Chain (ch)
- Half Double Crochet (HDC)
- Single Crochet (SC)
- Slip Stitch (sl st)
- Picot Stitch (chain 3, slip stitch into first chain)
- Sewing beads into crochet fabric
Materials
- Poly Cherry yarn, pink fanta color
- Crochet hook 2.0 mm (size 3)
- Pearl beads (for flower centers)
- Buttons for closure
- Sewing needle and matching thread
- Scissors
- Lighter (optional, for synthetic yarn ends)
Measurements
- Foundation chain: 39 chains (38 + 1 turning chain)
- Approximate finished length: 18–20 cm
- Width depends on added rows; adjust to your liking
- Pearl bead size: fits nicely in flower center without overwhelming stitches
Stitch Abbreviations
- ch = chain
- sc = single crochet
- hdc = half double crochet
- sl st = slip stitch
- picot = chain 3, slip stitch into first chain to make a small decorative loop
Special Stitches
Picot Stitch
- Chain 3
- Insert hook in first chain of the 3-chain loop
- Yarn over and pull through both loops to complete a slip stitch
- Creates a small pointed edge, perfect for petals
Step-by-Step Crochet Pattern
Step 1: Foundation Chain
- Using your 2.0 mm hook and yarn, chain 39 (38 base + 1 for turning).
- This sets the connector’s width.
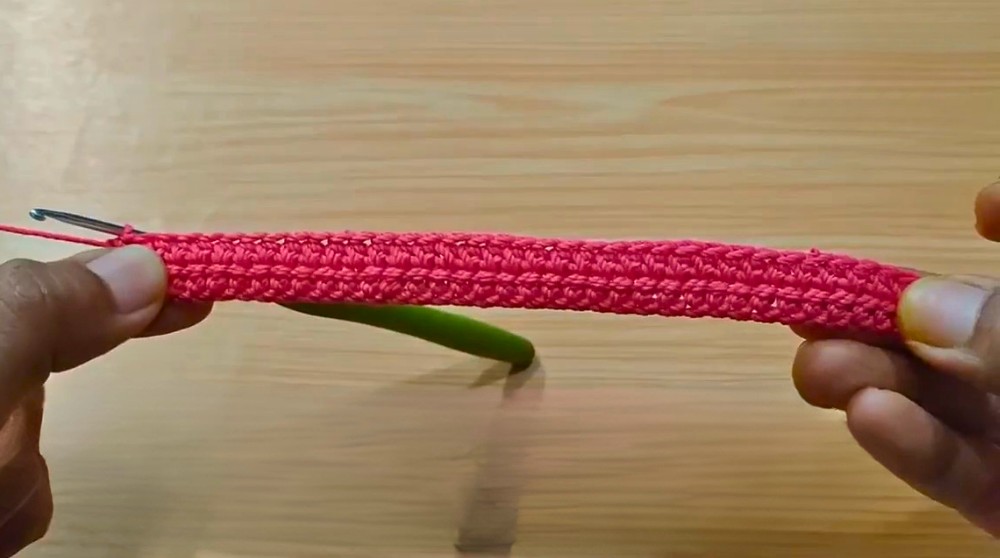
Step 2: First Half Double Crochet Row
- Make 1 HDC into the second chain from your hook.
- Continue across the foundation chain, making one HDC in each chain until you have 38 stitches.
- Chain 1, then turn your work.
Step 3: Preparing Flower Bases (Chain Segments)
- Chain 12.
- Slip stitch back down into the HDC row at your chosen spot to anchor the chain.
- Resume making HDC stitches in the base row until you reach the next flower base point.
- Repeat the process: chain 12 and slip stitch to anchor.
- This creates separated chain loops that form the base for flower petals.
Step 4: Starting the Flower Petals
- Work 5 HDC stitches evenly along the anchor base forming the flower.
- Chain 1 to create space.
- Pull your working loop longer than usual to allow for petal shaping.
Step 5: Adding the Pearl Center
- Use a sewing needle threaded with yarn or thread.
- Pass your yarn through the center of the pearl bead, sewing it securely to the flower center.
- Repeat as needed, ensuring the bead is firmly attached.
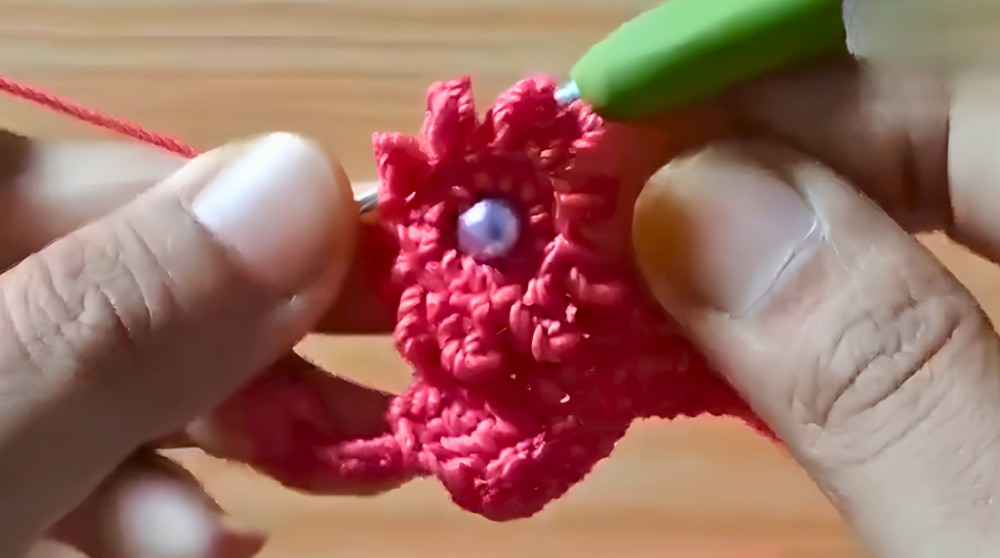
Step 6: Creating Flower Petals
- Around the pearl and chain loops, secure the pearl using chain stitches.
- In each 3-chain loop forming petals:
- Make 1 Single Crochet (SC) into the loop.
- Crochet a Picot stitch: chain 3, slip stitch into the same SC.
- Repeat this SC + picot sequence 5 times per petal.
- Continue this pattern around each flower segment evenly.
Step 7: Completing the Connector Body
- After finishing flower motifs, continue working rows of HDC across the connector to fill the space.
- Between flowers, work 7 HDC stitches to maintain even spacing.
- Add more HDC rows if you want a thicker or wider connector.
- Once the desired size is reached, fasten off and weave in ends.
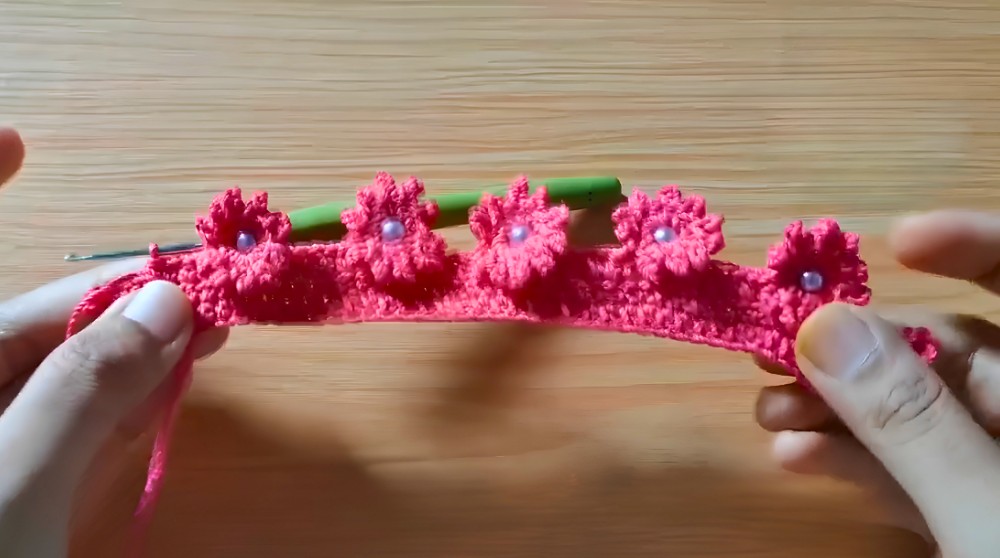
Step 8: Attaching Button Closures
- Sew buttons onto the back side of the connector for a neat appearance.
- Ensure button placement aligns with your button loops or strap ends.
- Test fit with your mask straps to confirm comfort and security.
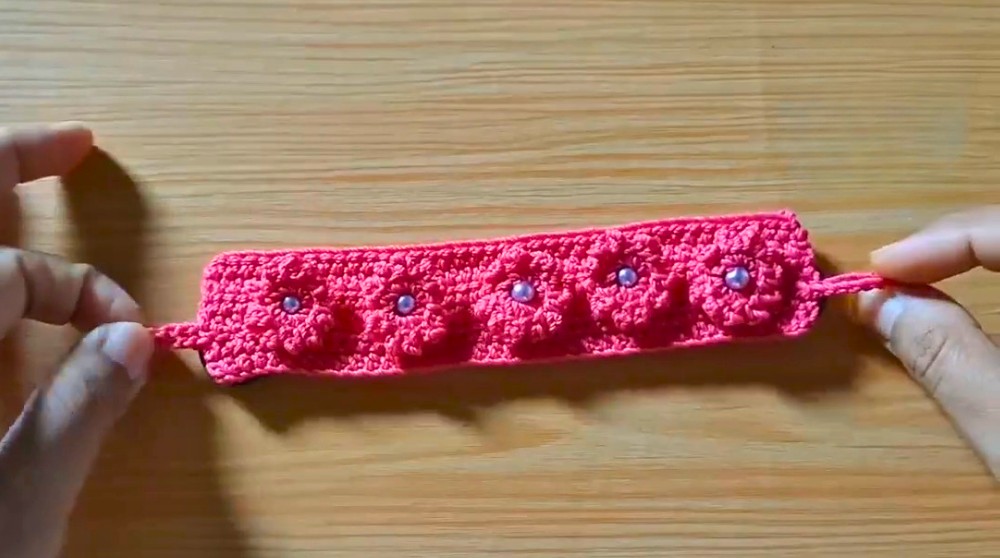
Assembly & Finished Size
- The completed mask connector will measure about 18 to 20 cm long, depending on your tension and number of rows worked.
- The width can be adjusted by adding or reducing the number of HDC rows.
- The pearl-centered flowers add a lovely visual focal point while the button closures keep mask straps secure and comfortable.
Conclusion
By following this simple, well-structured pattern, you will create a beautiful and functional flower-motif mask connector that brings both comfort and style. The use of HDC, SC, and picot stitches combined with carefully sewn pearl beads provides texture and elegance. Adjust widths as needed, and enjoy making this charming accessory.