Mini Free Crochet Drawstring Bag Pattern for Tiny Treasures

Personalize your accessories with free crochet drawstring pouch pattern for a fun and simple way to organize coins jewelry or tiny treasures.
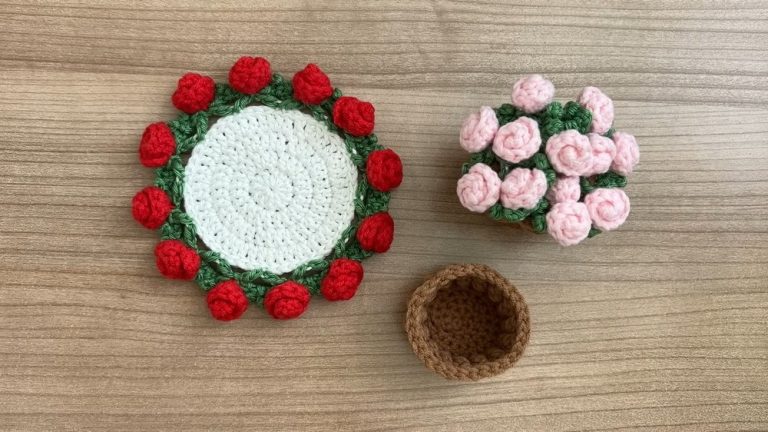
Elegant charm shines through a carefully made pouch, turning ordinary yarn into a stylish accessory you’ll love to hold. Using a crochet drawstring pouch pattern transforms simple threads into a practical yet beautiful bag, highlighted by neat stitches, vibrant or soft hues, and a dainty string that keeps your treasures secure with just a gentle pull. This classic beauty fits seamlessly into any setting—perfect for storing coins, presenting jewelry, organizing tiny keepsakes, or carrying a few essentials for your day out.
Free Crochet Drawstring Bag Pattern for a Cozy Look

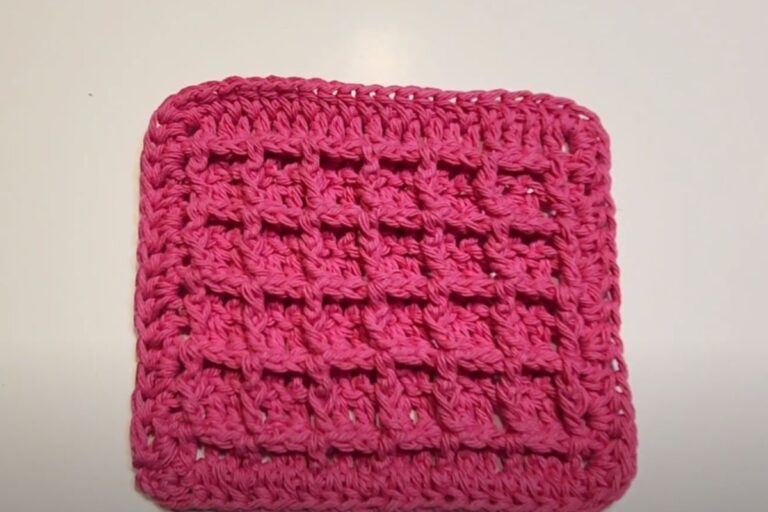
Unique textures and special shaping give the pouch a one-of-a-kind appeal, turning even the simplest piece into something delightful. With a well-crafted crochet drawstring pouch pattern, you enjoy both sophistication and resilience, making everyday organization just as lovely as it is useful. Whether it’s a thoughtful handmade gift or a personal favorite, this pouch brings a touch of style and order wherever you take it, catching the eye with its timeless design.

Crochet Drawstring Bag Pattern
Materials
- Light worsted/DK weight cotton yarn (~120g)
- Hook: 3.75 mm
- Yarn needle (for weaving/sewing)
- Scissors
- 2 stitch markers (recommended for tracking positions)
- Measuring tape (optional, for sizing)
- Optional: Beads or tassels for string ends
Key Abbreviations
| Abbreviation | Meaning |
|---|---|
| ch | Chain |
| st | Stitch |
| sl st | Slip stitch |
| sc | Single crochet |
| dc | Double crochet |
| long dc | Double crochet worked into lower row st |
| rep | Repeat |
Special Notes
- The ch 2 at the start of DC rounds does NOT count as a stitch.
- Turn your work every round for the body for correct texture.
- Create a foundation of 24 ch for an approx. 14 cm x 15 cm bag.
- Make drawstring chains to your preferred length; sample uses ch 90 (~49 cm).
Pattern
Bag Base
- Ch 24.
- Row 1:
- Sc in 2nd ch from hook (work in bottom loop for neat edge).
- Sc in each ch across until 1 ch remains.
- In last ch: 3 sc (turning around the end).
- Rotate work; sc in opposite side of each starting ch, working over yarn tail.
- In last st: 2 sc (for a total of 3 sc at this end).
- Join with a sl st to the first sc. (48 sc total)

Bag Body
Round 1:
- Ch 2 (does not count as st).
- 3 dc in same st, skip 3 sts, 3 dc in next st.
- Rep from * to * around (should be 12 groups of 3 dc and 3 unworked sts at end).
- Sl st to the top of first dc (ignore ch-2).
Rounds 2–15:
5. Alternate INSIDE/OUTSIDE each round:
- Turn your work at the start of each round for the signature flowing texture.
- Ch 2 (does NOT count as st).
- In each space between dc groups:
- [Dc in the space, long dc in center st of skipped group below, dc in same space]
(A “long dc” means you insert your hook into the specified skipped stitch of 2 rounds below and work a dc as normal—this creates the unique texture.)
- [Dc in the space, long dc in center st of skipped group below, dc in same space]
- Continue [dc, long dc, dc] in each space around.
- Sl st to top of first dc to join.
- Repeat for 15 rounds, turning work at the start of EVERY round.
- Adjust if desired: odd-numbered rows are recommended to end on the right side.


Top Frill/Ruffle Edge
- Ch 1 (does not count as st).
- [Sc in next st, ch 3]; rep brackets all the way around (36 sc, 36 ch-3 sps).
- After last sc & ch 3, join with a sl st to first sc (yarn under for a neat join).
- Cut yarn and weave in end.

Drawstrings (Make 2)
- Ch 90 (or length to desired measurement, approx. 49 cm)
- Fasten off.
Assembly
- Weave in all yarn ends on bag.
- Using a yarn needle, weave one drawstring under and over the dc-groups (eyelets at the top, Round 15), entering at the first marked group and exiting at the opposite marker (should be 5 groups between markers).
- Weave in second drawstring from the opposite side in the same manner.
- Adjust both drawstrings so ends are even and the groups between string ends are equal.
- Tie knots, add beads or tassels if desired, and trim extras.

Conclusion
You have finished a chic, easy-flowing texture drawstring bag with a delicate frilly top!
Use as a project bag, mini purse, or gift bag.
Pattern Corrections
- Stitch Counts: Foundation round must be 48 sc after joining.
- Body Groups: Should always end with full “3-dc” groups and join neatly; don’t count turning chains as sts.
- Rounds: For the wavy effect, never skip a “turn work” at the start of a new round.
Tips
- Use stitch markers for entry/exit points of strings to keep the bag symmetrical.
- For a larger or smaller bag, alter the foundation chain in multiples of 4.
- Block bag lightly to set the shape before adding strings.
- Make “long” dc’s as tall and loose as needed for a flowing look.
- Securely weave in all ends for durability.