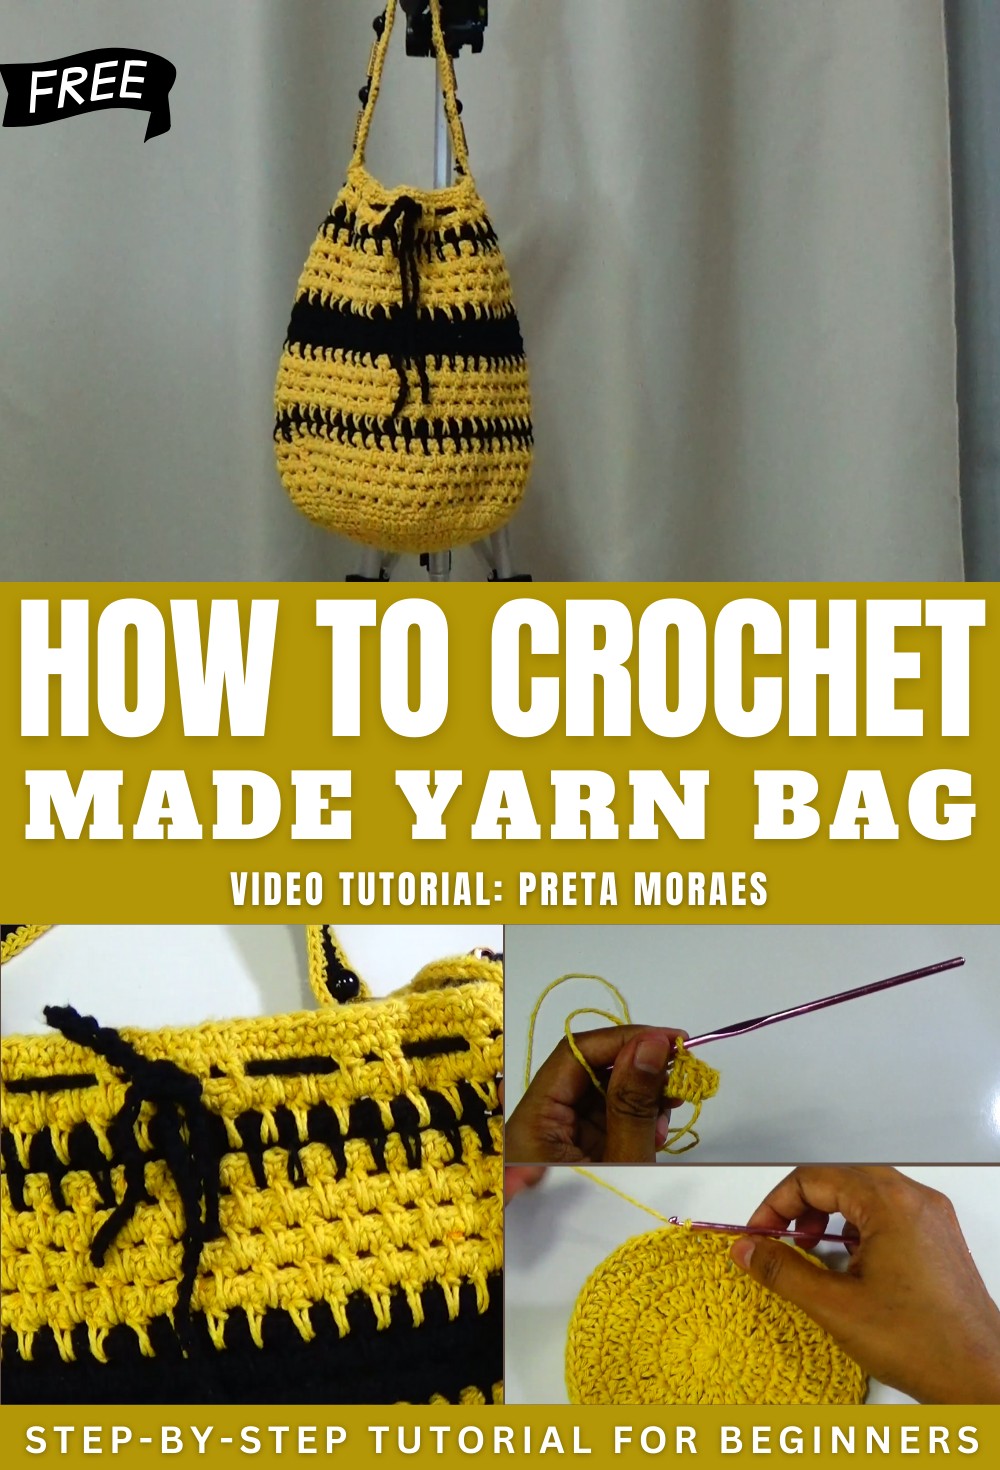
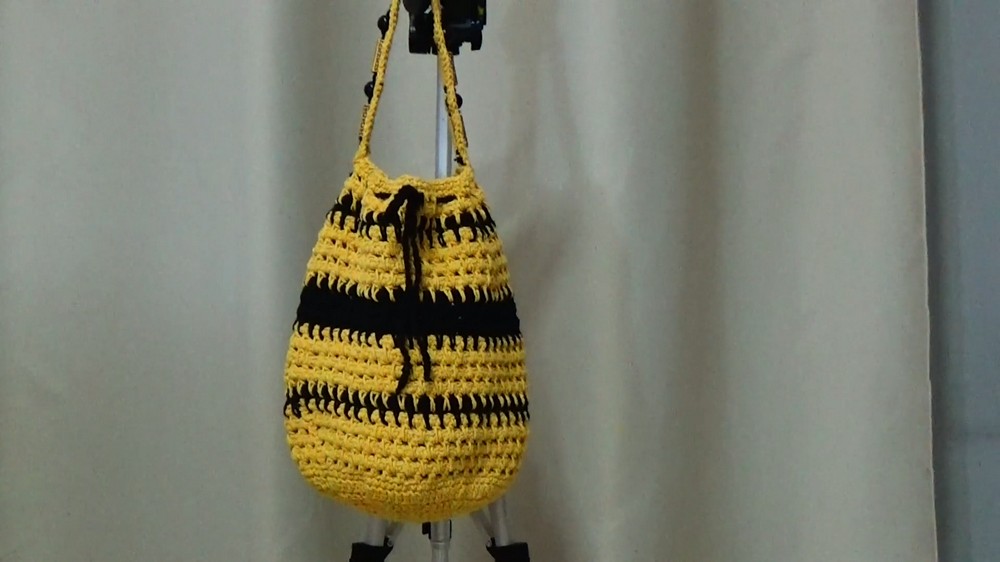
Sleek Crochet Bag Pattern Perfect for Urban Fashion
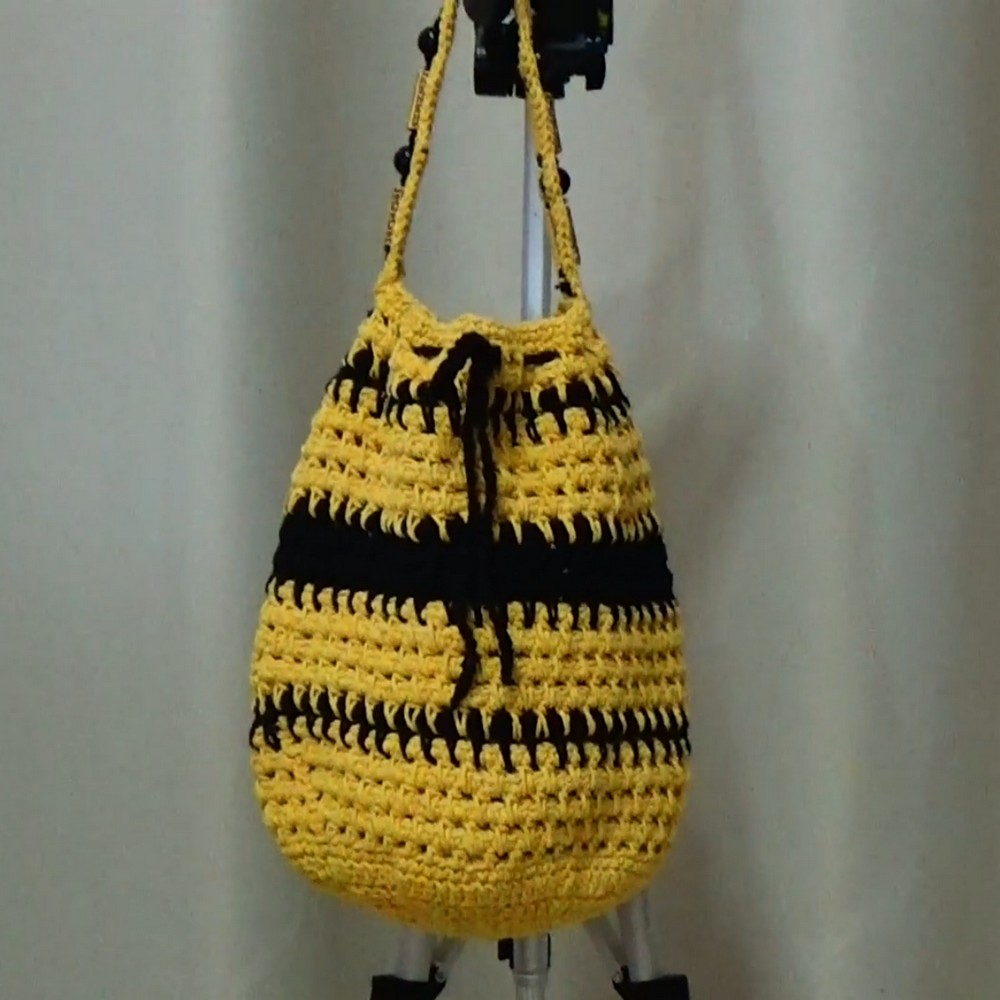
Refresh your accessory collection with this Free Crochet Bag Pattern that perfect way to make a stylish tote for your next trip to the beach.
Eco-Friendly Crochet Bag Pattern for Busy Lifestyles
Making your own bag with easy instructions brings many benefits and helps you show off your unique style every day. A Crochet Bag Pattern is loved for its beauty because you can choose colors and patterns that suit you, and use stitches that add special texture and charm. Useful for many purposes, the finished piece can carry groceries, books, or work as a lovely purse for special outings. One big advantage is its durability, as it often lasts longer than a store-bought option and feels comfortable to hold.
Since you can pick the size and decorations, the bag matches your needs perfectly, blending function with elegance. Its eco-friendly quality means you help the environment by using materials wisely. The specialty of a crochet bag pattern is that it offers endless design ideas, strong handles, and a beautiful look, turning a simple item into something truly special and eye-catching.
Special Features
- Round Single-Piece Construction: Simple increases for a seamless base and body.
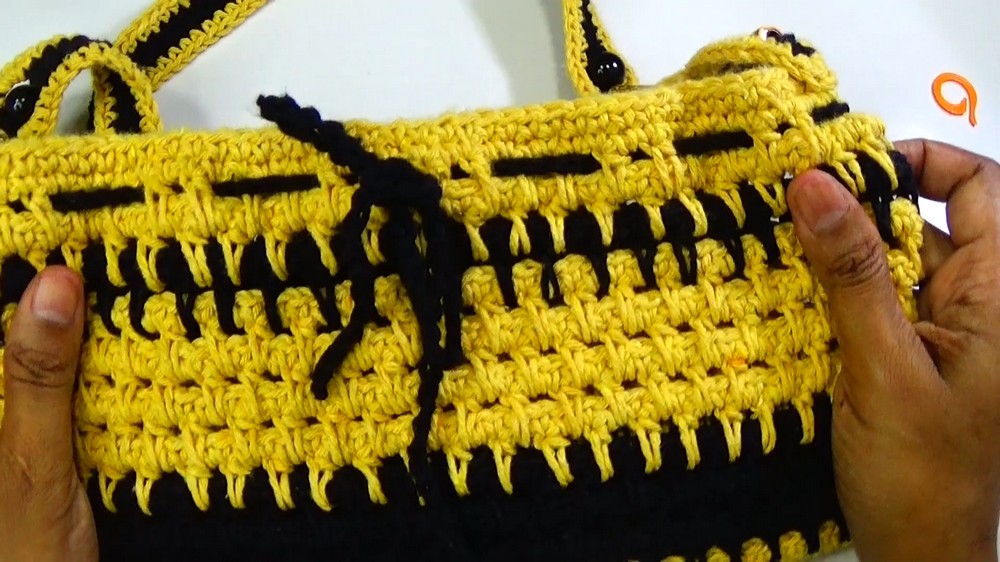
- Two-Row Repeating Textured Body: Easy stitch repeat for visual depth—great for beginners!
- Drawstring Closure: Crocheted cord or shop-bought ribbon for an adjustable, secure top.
- Customizable Size & Strap: Adjust bag height/width and make the handle any length.
- Quick & Sturdy: Size 6 yarn means fast progress and durability.
Level of Difficulty
Beginner / Advanced Beginner
- If you can crochet in the round, work basic increases, half double crochet, and sew on a strap, you can make this bag!
Tutor’s Suggestions
- Mark your rounds and increases for an even base.
- Pause to stretch and shape your work before starting the body pattern for best results.
- Switch colors for fun stripes, or keep it classic with a solid palette.
- Make the cord a bit longer so you can tie it in a bow or knot for extra security.
Uses
- Everyday tote or project bag
- Gift bag or market bag
- Great as a stylish purse or as an organizer
Materials
- Yarn: Approx. 200–350g size 6 yarn, multiple colors if desired
- Hook: 3.5 mm
- Sturdy sewing/yarn needle
- Scissors
- Optional: Pre-made cord/ribbon for the drawstring
- Optional: Bag strap or supplies to crochet one
Step-by-Step Pattern
1. Make the Base (Round Bottom)
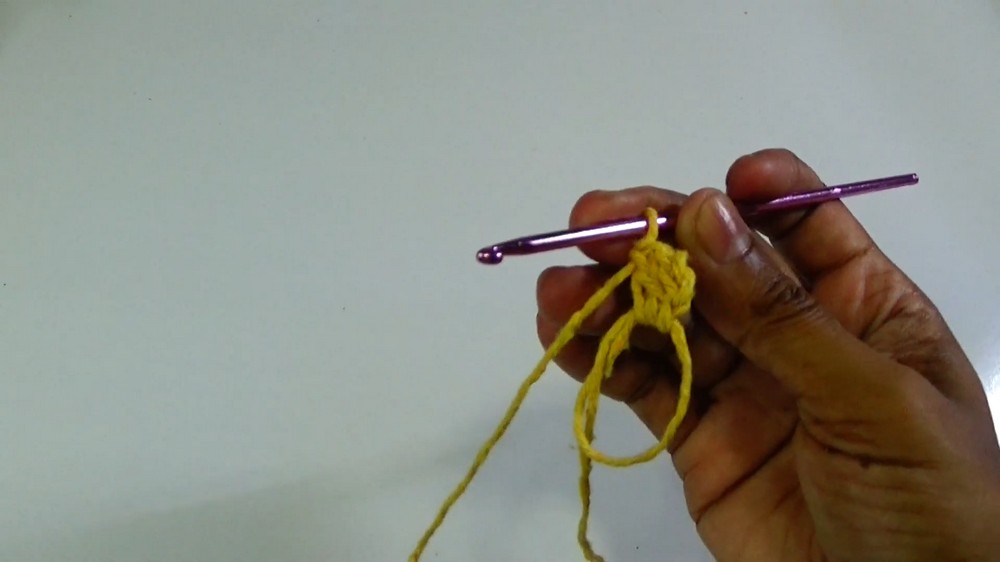
- Magic ring or ch 4 and sl st to form a ring.
- Rnd 1: Ch 3 (counts as dc), work 11 dc into the ring (total 12 dc). Join with sl st to top of ch-3.
- Rnd 2: Ch 2 (counts as dc), dc in same st, 2 dc in each st around (24 dc). Join with sl st.
- Rnd 3: Ch 2, dc in next st, 2 dc in next st around (36 dc). Join.
- Rnd 4: Ch 2, dc in next 2 sts, 2 dc in next st around (48 dc). Join.
- Continue Increasing: Continue in this way, spacing increases as follows:
- Rnd 5: dc in next 3 sts, 2 dc in next st around
- Rnd 6: dc in next 4 sts, 2 dc in next st around
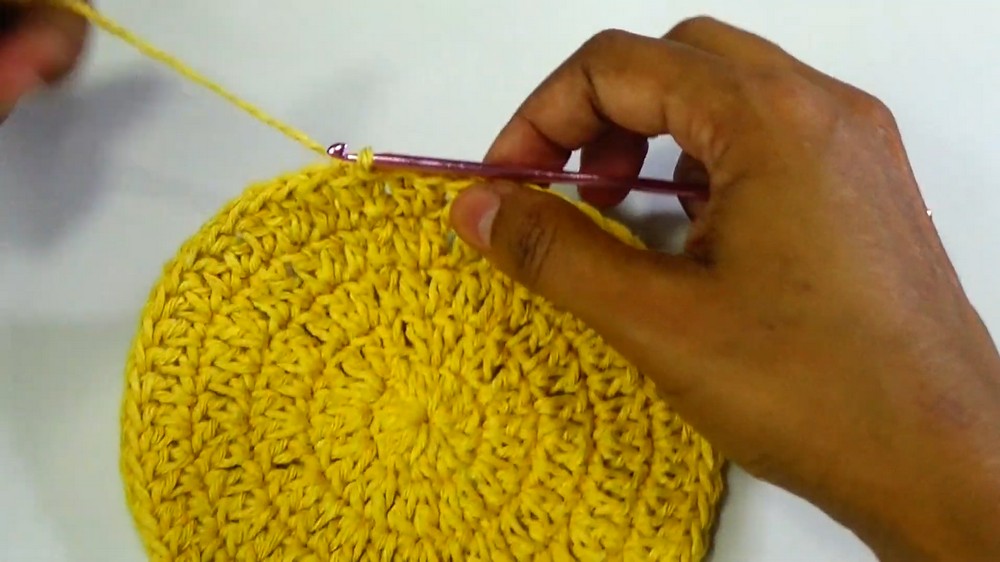
- Repeat until you have 7 total rounds (or until your desired base width). Example here uses 7 rounds.
- Finish the base: One round of sc in each st, no increases, to firm up the base. Sl st to join.
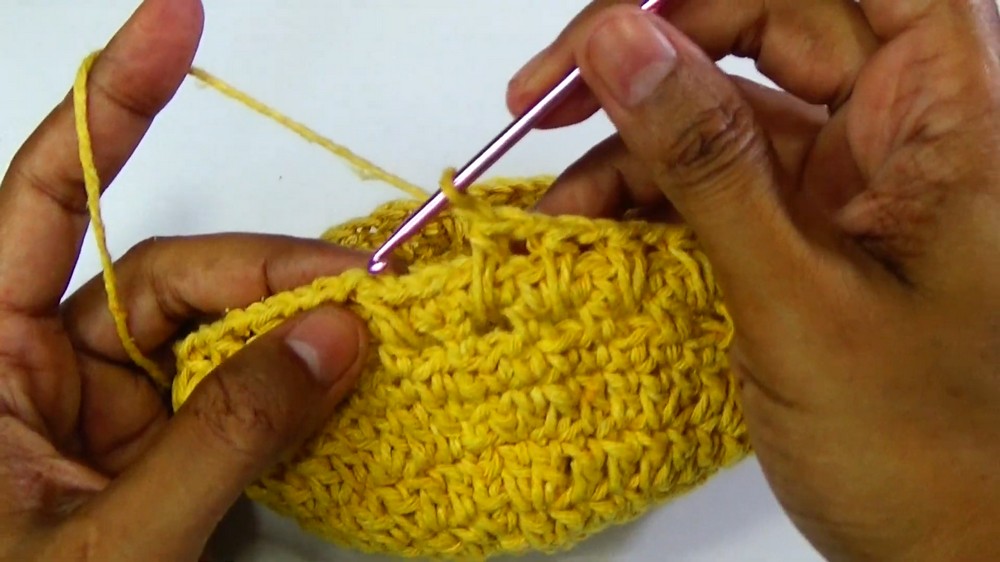
2. Begin the Bag Body (Textured Pattern)
Two-Row Repeat Pattern:
- Row A: (creates open, textured look)
- Ch 2 (counts as hdc), ch 1, skip next st, hdc in next st repeat around.
- Join with sl st to top of ch-2.
- Row B: (fills in)
- Ch 1, sc in same st, sc in next ch-1 space, sc in next st repeat around.
- Join with sl st.
How to Continue:
- After the setup round, repeat Rows A & Rows B alternately.
- On Row A after the first round, start by walking the yarn with a slip stitch to the next ch-1 space, so all hdc/ch 1 pairs are “stacked.”
- Repeat until you complete 19 sets (blocks) of the texture—that is, a total of 19 “Row A + Row B” pairs, making 38 rounds. (You may substitute more or fewer blocks for a taller or shorter bag.)
Tip: Add color changes between sets as desired.
3. Final Border Rounds
- Work 1–2 rounds of sc evenly around the top of the bag to finish.
- Use an invisible join and weave in all ends for a clean look.
4. Make and Insert the Drawstring Cord
- With chosen yarn color, ch 70–100 (or as long as needed for the bag’s circumference + ties).
- Weave the cord in and out of the “holes” near the top (between ch-1 spaces from Row A of any set).
- Evenly space your weaving, pulling through every 1 or 2 holes, as preferred.
- Pull drawstring tight to cinch the bag.
- Optional: Use a bought cord or ribbon for a different look.
5. Attach or Make the Strap
To Use a Pre-made Strap:
- Mark the position of each end of the strap, centered at the sides of the bag for even hanging.
- Sew each strap end thoroughly to the bag with yarn and a sturdy needle.
To Crochet a Corded Strap:
- Mark placement as above.
- With yarn, ch to desired handle length.
- Row 1: Sc back along the chain, ch 1, turn.
- Row 2: Sc in each st, ch 1, turn.
- Repeat for a 2-4 row width. Fasten off, sew ends to bag firmly.
6. Finishing Touches
- Weave in all ends on the inside of the bag.
- Add a fabric lining for more structure if desired (optional).
- Stretch the bag gently and block if needed for best shape.
Tip
For a neater cord channel, weave the drawstring through every other space and double-knot the ends or add tassels for extra flair!
Conclusion
You now have a roomy, modern, and easy-to-make drawstring crochet bag! Adjust the size, colors, and cord as you wish for a custom result. Use your bag for daily errands, as a cute project tote, or for gifts—pairing style with hand-crocheted charm.