How to Crochet Mosaic Table Runner (Tutorial for Beginners)
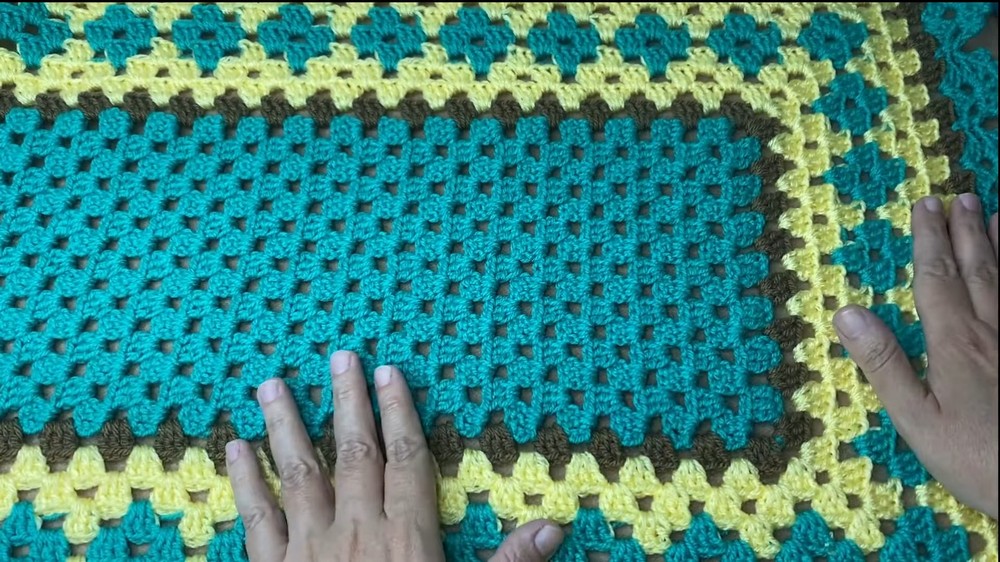
Learn how to crochet a beautiful mosaic table runner using three colors and a simple repeating pattern with a step-by-step tutorial. Beginning with 35 chains, the tutorial explains each step clearly, from creating the base of 35 rows to adding colorful rounds and intricate finishing touches like corners and picots.
Suitable for beginners and intermediate crocheters, this project uses medium-weight yarn and a 4mm hook. Follow along to crochet your own elegant table runner!
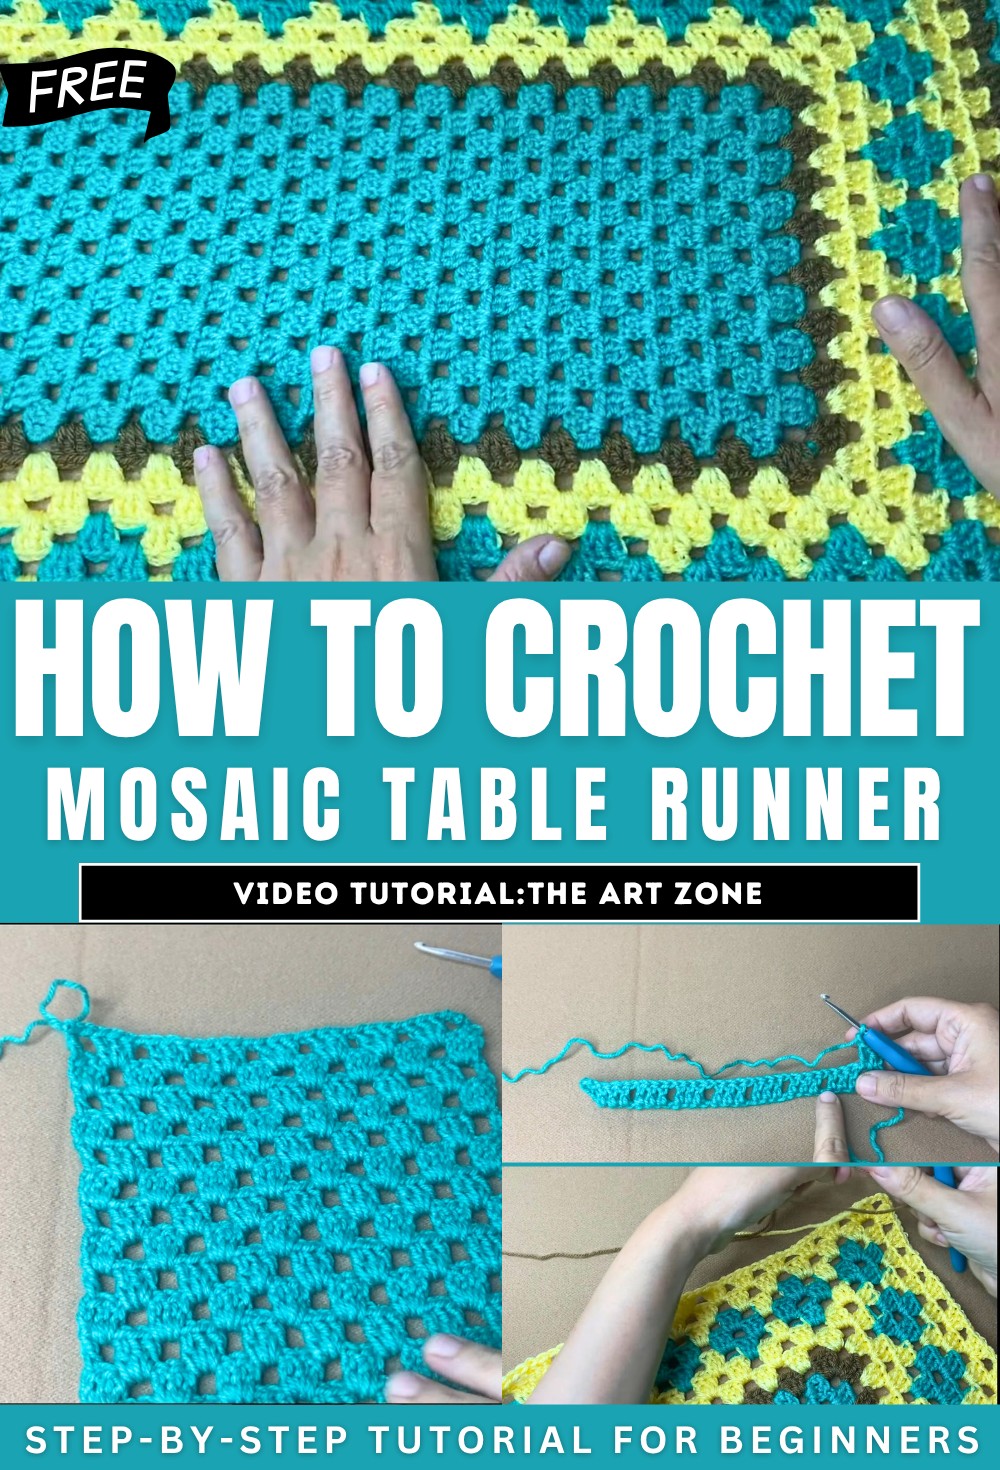
Table Runner Crochet Tutorial
This tutorial from The Art Zone demonstrates how to crochet a beautiful and elegant table runner using a combination of three colors and a straightforward, repeating pattern. The video provides step-by-step guidance, making it suitable for beginners and experienced crocheters alike. Below is a structured breakdown of the tutorial:
Materials Required
- Medium-weight #4 yarn in three different colors.
- A 4mm crochet hook.
- Scissors.
- A tapestry needle for weaving in ends.
Creating the Base of the Table Runner
Starting with the Foundation Chains
- The tutorial begins with the creation of the foundation chains.
- Crocheters can adjust the size of the runner by increasing the chains in multiples of eight.
- A slip knot is made, followed by a specific number of chain stitches.
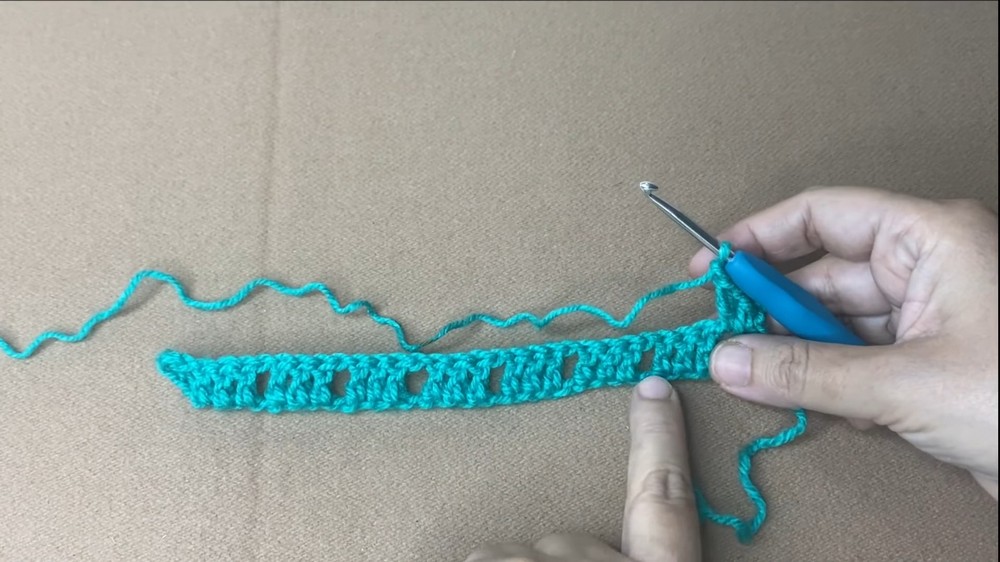
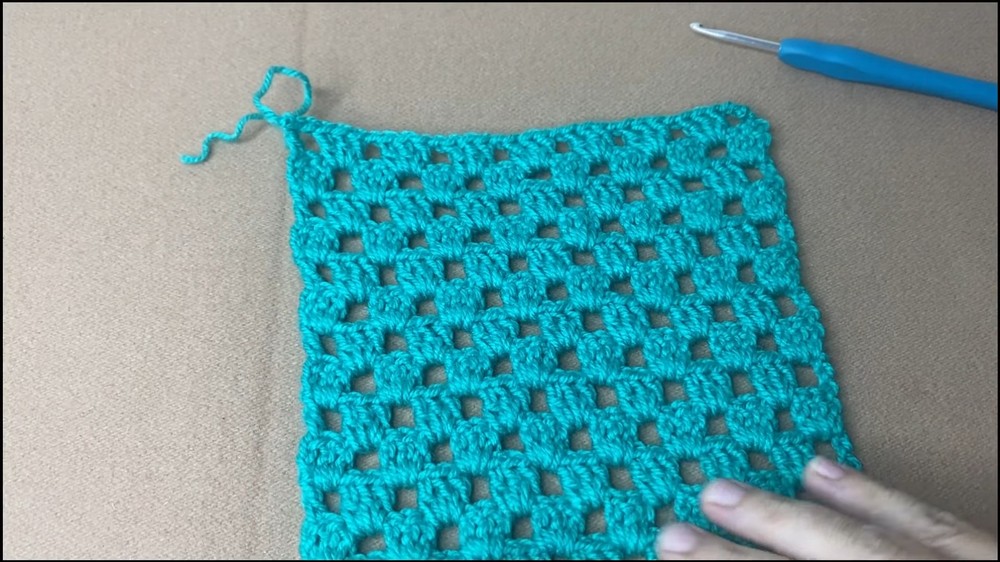
Working the Base Rows
- The base rows consist of repeating groups of double crochet clusters with chain spaces in between.
- The row starts with a certain number of skipped chains, then progresses with alternating clusters of double crochet and chain spaces.
- The end of each row is completed with a double crochet stitch to maintain symmetry.
Repeating the Pattern
- The main body of the table runner consists of repeating the base row pattern.
- The tutorial demonstrates how to create uniform rows by alternating chain spaces and double crochet clusters.
- The base is built up row by row to reach the desired length of the table runner, forming a grid-like pattern.
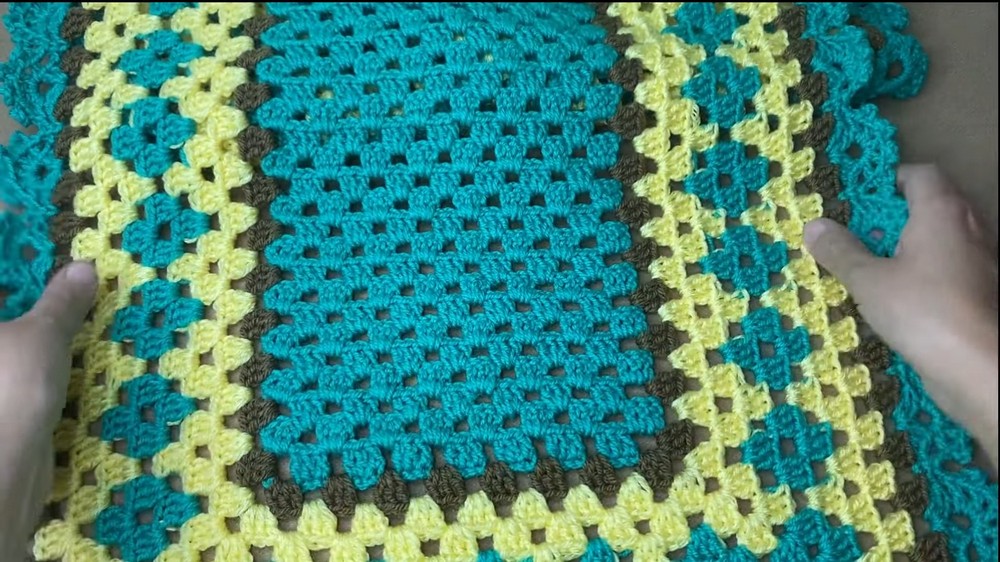
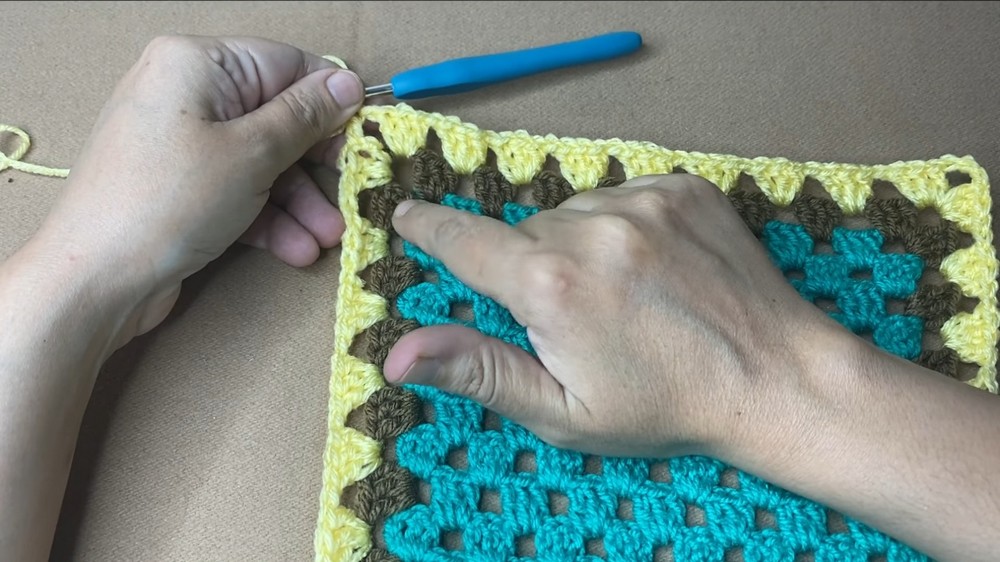
Adding the First Round of Borders
Creating the First Border Round
- After completing the main body, the first border round is started.
- Double crochet clusters are created in the chain spaces along the edges, with specific stitches used at the corners to provide a proper framework.
- The corner spaces are expanded using a combination of double crochet stitches, chain spaces, and clusters.
Working Additional Rounds
- Multiple border rounds are added using the same pattern, with the yarn color changing in subsequent rounds.
- The process introduces simple techniques to add dimensions and enhance the runner’s visual appeal.

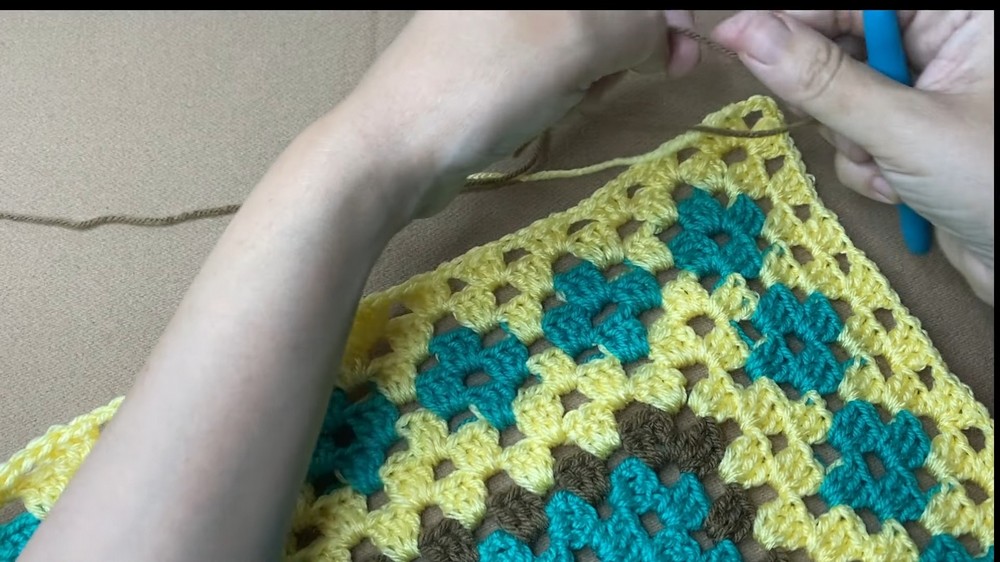
Adding Color Changes
- Starting from round four, alternating colors are incorporated into the design.
- Incomplete double crochets are used to switch between colors seamlessly.
- The video explains how to alternate between the three chosen colors while maintaining the pattern integrity.
Final Rounds and Finishing Touches
Decorative Picots
- The tutorial demonstrates how to enhance the runner with decorative picots in the final border round.
- Each chain space is adorned with multiple picots, giving the runner a lace-like appearance.
Corners and Edging
- The corners in the final round include additional double crochets and more picots, creating a statement feature.
- The final row ties the design together, blending the decorative stitches with the overall pattern.
Finishing Steps
- The yarn is cut and secured, and any loose ends are woven in using a tapestry needle.
- The finished table runner is shown as a balanced and intricate design, ready for display.
Conclusion
The tutorial concludes with a demonstration of the completed table runner and final words of encouragement. The instructor emphasizes how easy it is to customize the size and color combination of the runner while following the same basic pattern. This project is beginner-friendly but creates a professional, elegant piece of décor.