Must-Try Free Crochet Bubble Stitch Bag Pattern – Perfect Summer Tote
Make a statement with our free crochet bubble stitch bag pattern learn how to make a fun and fashionable bag that’s perfect for all occasions.
A stylish and textured accessory can brighten any outfit while offering practical use for daily needs. Among such unique designs, the bubble stitch bag stands out as a lovely blend of charm and function. On the Rajutan Whita channel, you’ll find a beautifully detailed tutorial that guides you through creating this eye-catching bag filled with rich patterns and a cozy feel.
Easy & Free Crochet Bubble Stitch Bag Pattern – Trendy Accessory
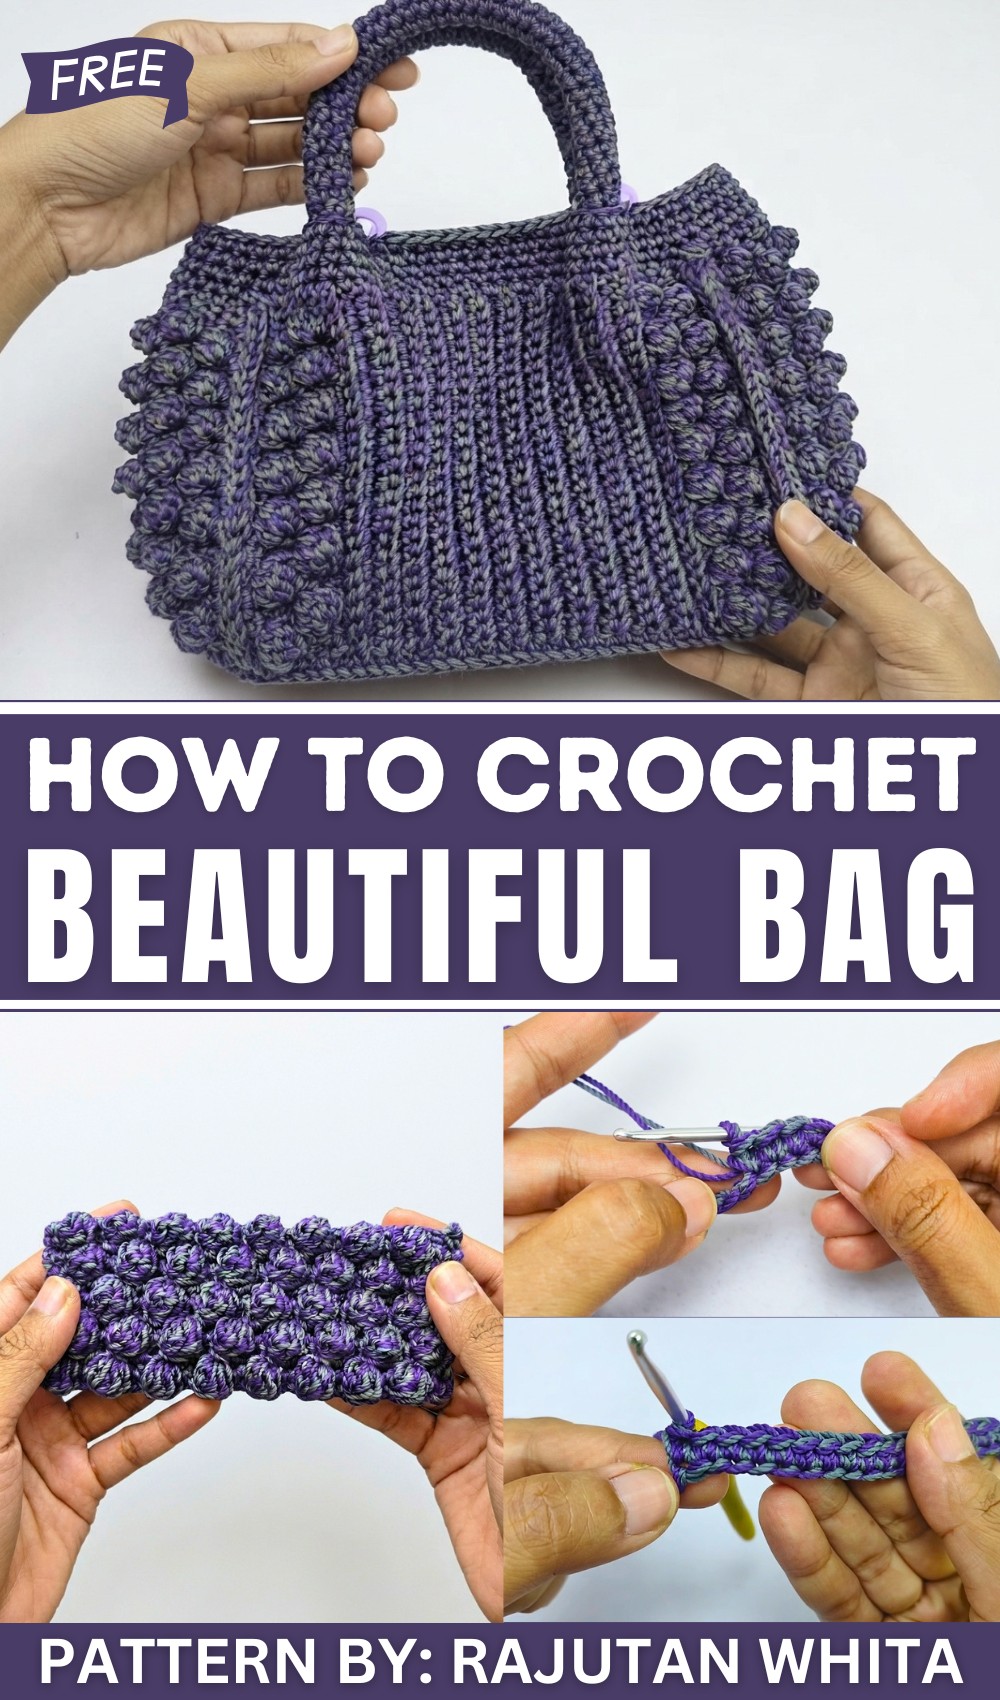
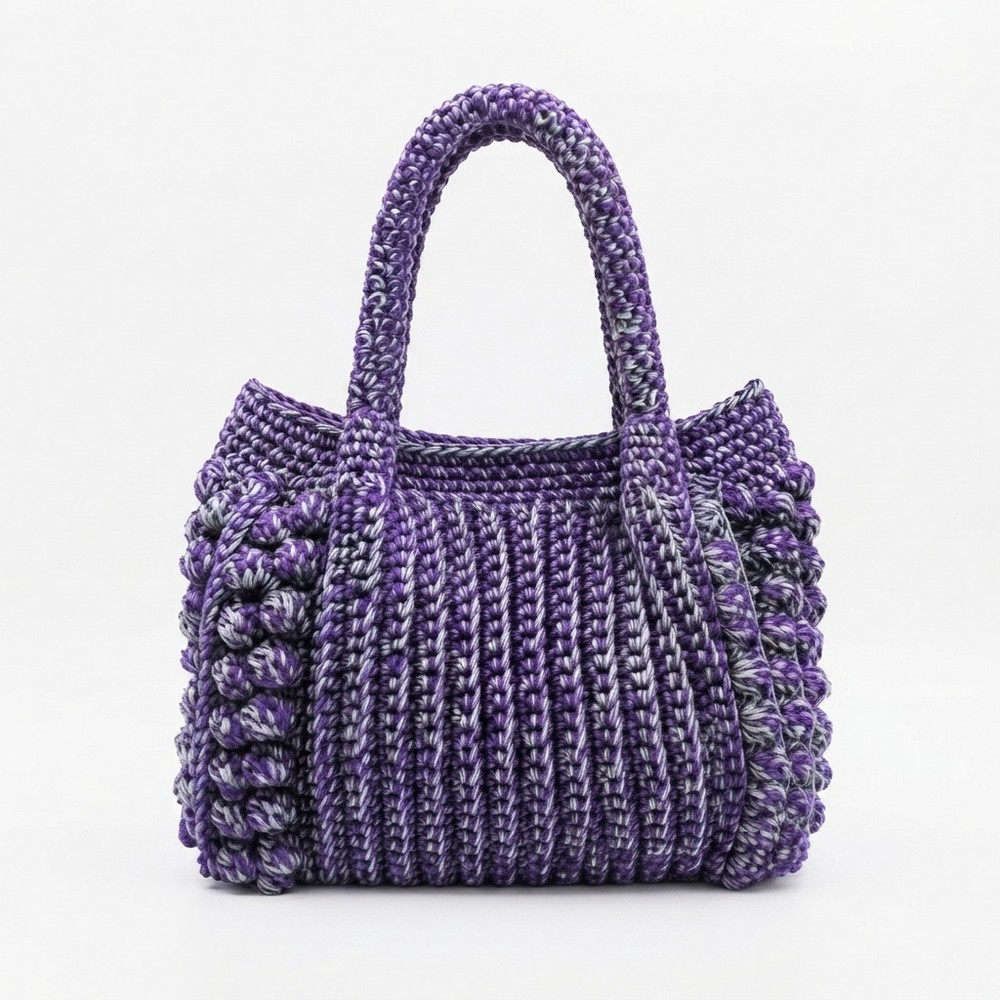
The free crochet Bubble Stitch Bag pattern offers a delightful mix of texture thanks to the raised bubble stitch motifs paired with neat ribbing-like rows, creating a sturdy yet soft material. The bag’s compact and elegant shape makes it perfect for carrying essentials like a wallet, phone, or small personal items, making it both decorative and practical. This accessory lends itself well to gifting, as it suits many tastes with its comfortable handle options and a choice between classic or vibrant two-color combinations.
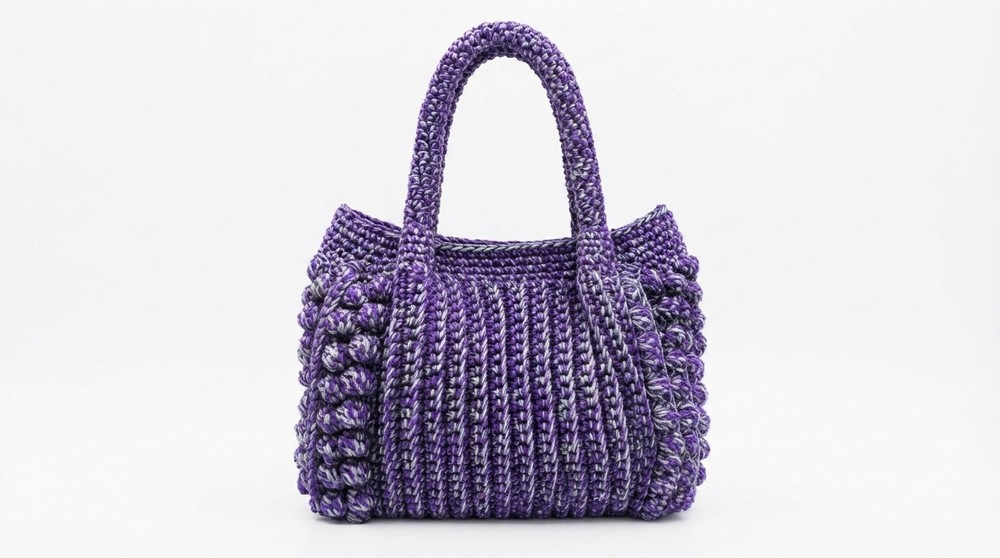
What makes this bag especially attractive is the interplay of the bubble designs, which add depth and interest without overwhelming the style. Its neat edging and carefully crocheted handle provide a polished look that fits casual or slightly dressier occasions. The thoughtful positioning of bubble motifs creates a rhythmic pattern that’s satisfying to the eye, making it a fashion statement as well as a functional item.
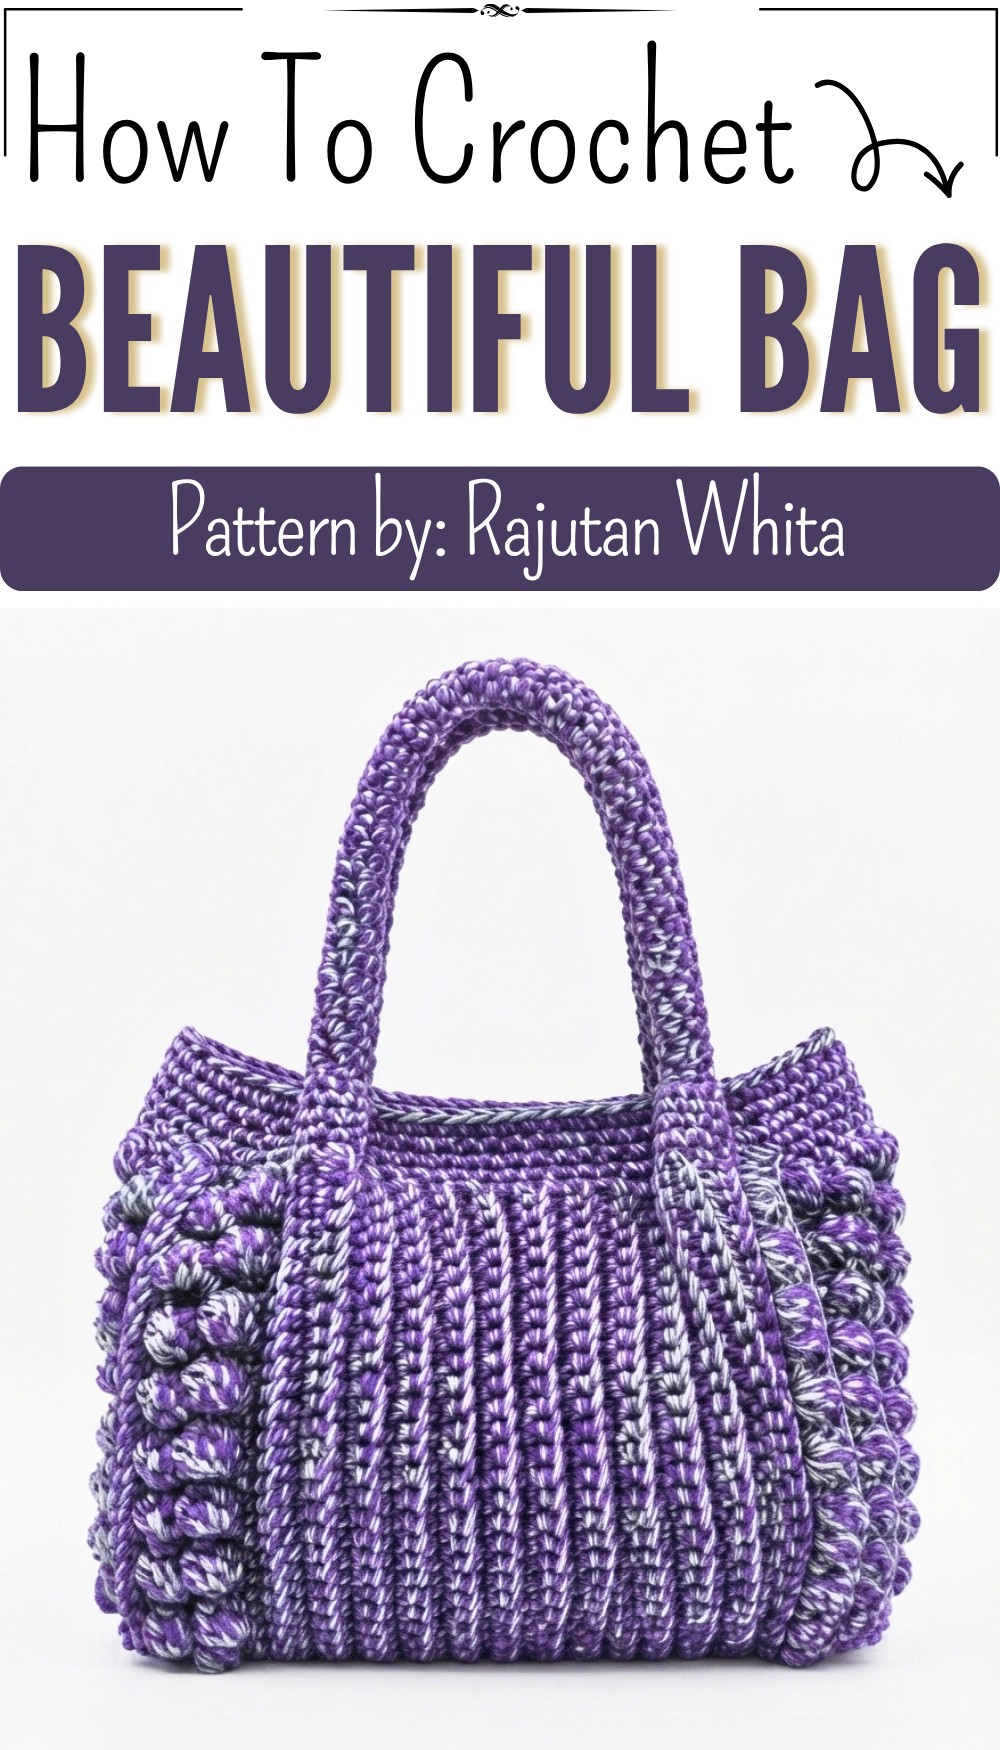
Bubble-Textured Crochet Bag Pattern
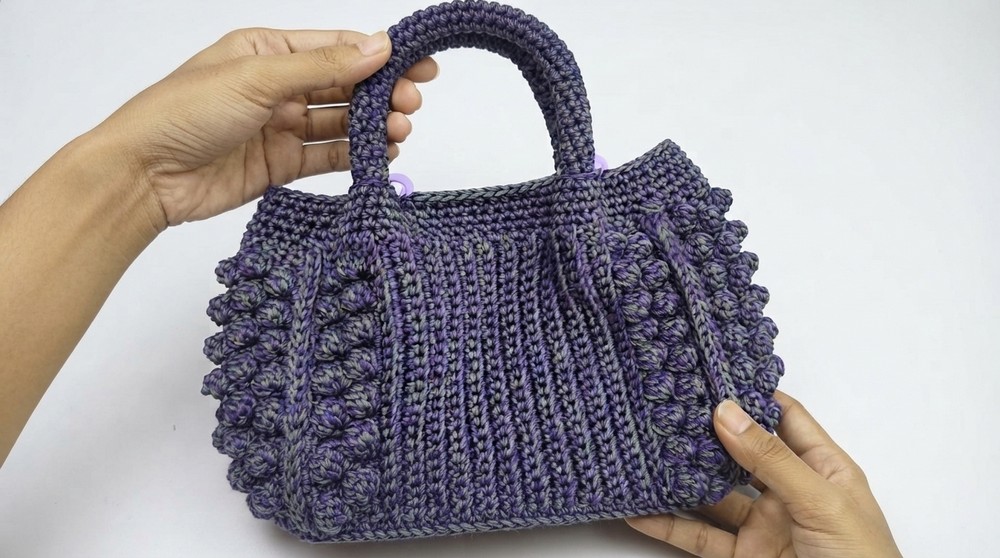
This crochet bag pattern features a unique and eye-catching bubble texture motif, alternating with ribbing motifs for added depth and dimension. The stylish and versatile design is perfect for daily use. The handles are crafted from thread, offering both durability and aesthetic appeal. The finished bag is small yet practical, making it great for those who enjoy handmade accessories.
Skill Level
Intermediate
Materials
To create this bag, you will need the following tools and materials:
- Yarn: Two different colors of yarn (double strands of medium-weight yarn). Choose colors that complement each other for a visually striking combination.
- Crochet Hook:
- 3.5mm (6/0) hook for a softer texture.
- 3.0mm (5/0) hook for a tighter and denser finish.
- Scissors: For cutting yarn tails.
- Stitch Marker: To help track the start and end of rounds or motifs.
- Tapestry Needle: For sewing pieces together and weaving in ends.
- Magnetic Button: Optional, for securing the opening of the bag.
Special Stitches Used
The following stitches and techniques are used in this pattern:
- Slip Knot: Used to create an adjustable knot for starting chains.
- Chain (ch): A simple foundational stitch to build the base.
- Single Crochet (sc): Insert the hook into the stitch, yarn over, pull up a loop, yarn over again, and pull through both loops on the hook.
- Back Loop Only (SC BLO): A single crochet worked into the back loop of the stitch, creating a ribbed texture.
- Bubble Stitch: Worked by combining several partially completed double crochets (dc) into a single stitch for a raised “bubble” effect.
- To create a bubble stitch: Yarn over, insert the hook in the stitch, yarn over again, pull through two loops, and repeat this process (dc) 3–5 times. Yarn over once more and pull through all loops on the hook.
Stitch Abbreviations
- ch = Chain
- sc = Single Crochet
- BLO = Back Loop Only
- dc = Double Crochet
- sl st = Slip Stitch
Useful Tips
- Start with a slightly loose tension for long foundation chains to make it easier to work into the back loops.
- Adjust the bubble stitch size based on your preference by using 3, 4, or 5 dc for each bubble.
- Ensure that the motifs are tightly secured by pulling the yarn after completing each bubble stitch.
- Use contrasting yet complementary colors for added visual interest.
Detailed Pattern Instructions
Part 1: Front Panel
Foundation Chain & Row 1:
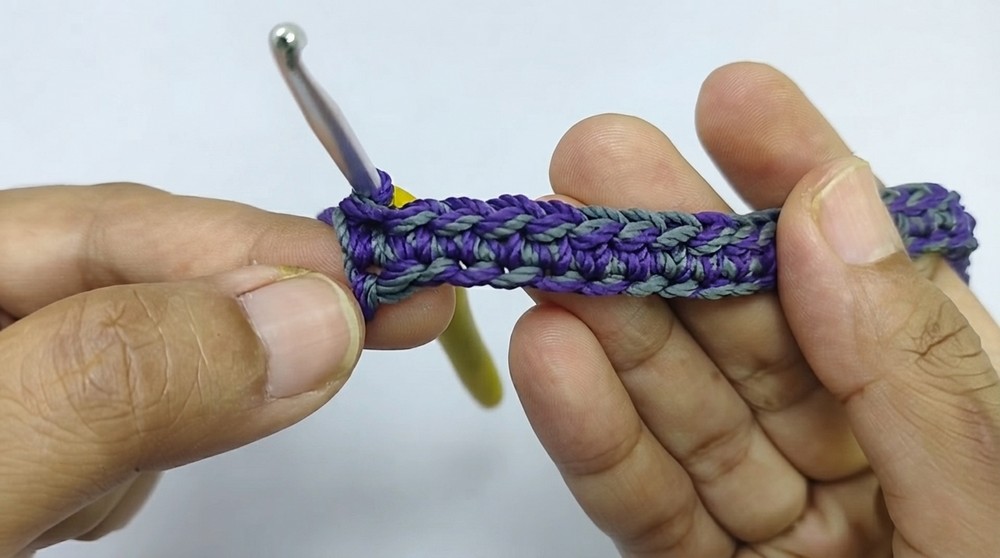
- Begin with a slip knot and chain 63 stitches. Make the foundation chain slightly loose.
- Starting from the second chain from the hook, work 62 single crochet (sc) into the back loop of the chain.
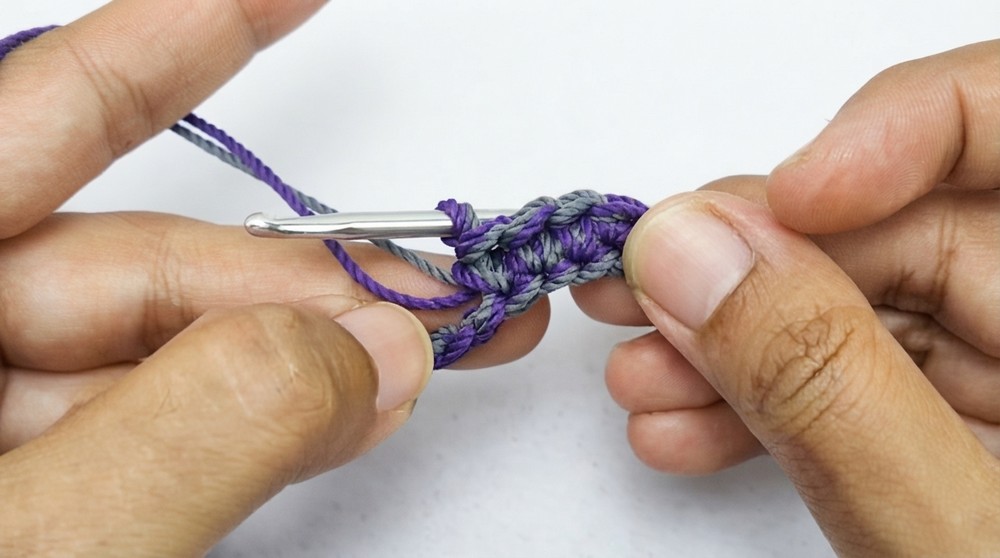
Row 2 (Bubble Row):
- Chain 1 for turning.
- Work 1 sc in each of the first 2 stitches.
- In the third stitch, create a bubble stitch:
- Yarn over, insert the hook into the stitch, pull up a loop, yarn over, and pull through two loops. Repeat this step 4 times to create 4 partial double crochets (dc), leaving 5 loops on the hook.
- Yarn over and pull through all 5 loops on the hook to complete the bubble. Tighten the stitch and push it to face the back.
- Work 1 sc in each of the next 2 stitches.
- Repeat the pattern of 1 bubble stitch followed by 2 sc until the end of the row. You should have 20 bubble motifs total.
Row 3:
- Chain 1 for turning.
- Work 1 sc in each stitch across the row (total 62 sc).
Row 4 (Alternating Bubble Row):
- Chain 1 for turning.
- Work 1 sc in the first stitch, then a bubble stitch in the second stitch.
- Work 2 sc in the next two stitches.
- Repeat the pattern of 1 bubble stitch and 2 sc until the end of the row.
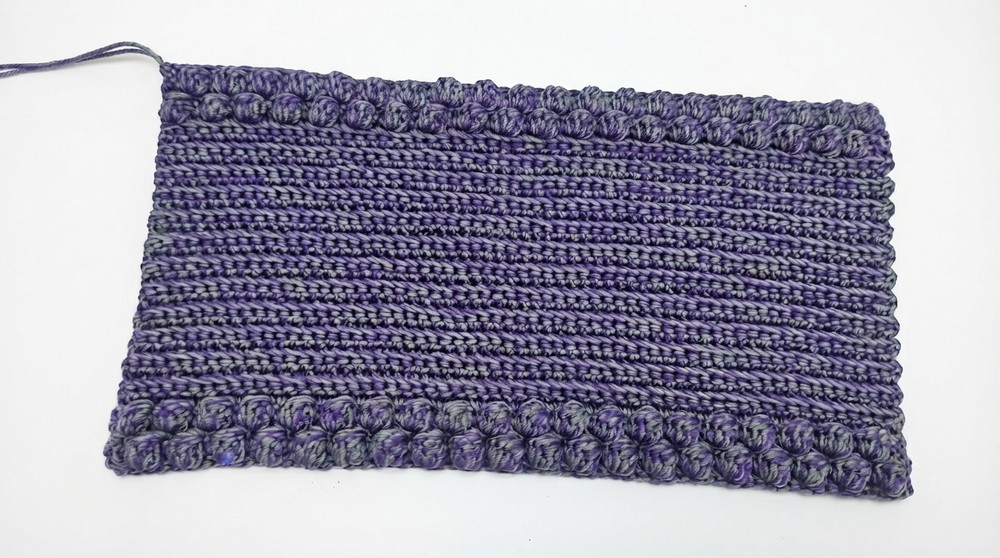
Rows 5 to 29 (Ribbing Section):
- Chain 1 for turning at the start of each row.
- Work 1 Single Crochet Back Loop Only (SC BLO) into each stitch. This creates a ribbing texture.
- Ensure 62 stitches per row.
Row 30:
- Chain 1 and repeat the pattern from Row 4 (1 bubble stitch and 2 sc).
Rows 31–33:
- Alternate between rows of bubble stitch motifs and sc rows, following the same pattern as earlier.
Edging for Front Panel:
- Once the last row is complete, work 1 sc evenly around the edges of the panel:
- 62 single crochet stitches along the long sides.
- 33 single crochet stitches along the shorter sides.
- Join with a slip stitch at the first stitch, cut the yarn, and weave in the ends.
Part 2: Side Panels
Foundation Chain & Row 1:
- Use a double strand of yarn and make a slip knot.
- Chain 27 stitches.
- Starting from the second chain from the hook, work 26 sc across the row.
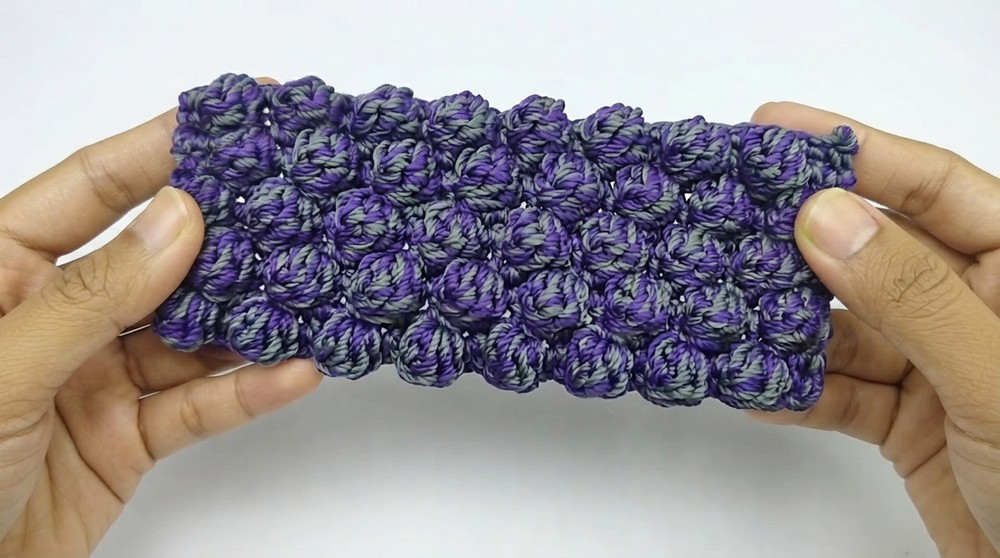
Rows 2–10:
- Alternate between bubble rows and sc rows as follows:
- Even Rows: Bubble stitch pattern (1 bubble stitch followed by 2 sc).
- Odd Rows: Work 1 sc in each stitch across.
Edging for Side Panels:
- Once the last row is complete, work 1 sc evenly around the edges:
- 26 single crochet stitches along the long sides.
- 10 single crochet stitches along the shorter sides.
- Join with a slip stitch, cut the yarn, and weave in the ends.
Part 3: Thread Handles
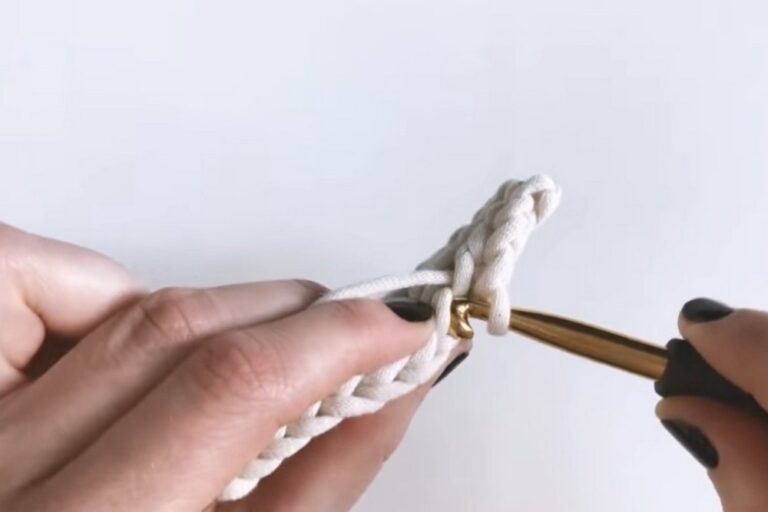
- Begin with a slip knot and chain 7 stitches.
- Starting from the second chain, work 6 sc in the back loop of the chain.
- Fold the piece so the wrong sides face outward.
- Continue working 6 sc per round to create a tube for the handle.
- Repeat until the handle reaches 28 cm in length. Slip stitch to close and cut the yarn.
- Make a second handle using the same pattern.
Part 4: Assembly
- Lay the front panel flat and use markers to identify the positions of the side panels. Ensure each side panel is evenly spaced.
- Attach the panels using slip stitches, sewing along the edges as needed.
- Attach handles to the desired points on the bag, choosing either the connecting sections or the motifs for placement.
Conclusion
This textured bubble bag is both stylish and functional, with its playful bubble stitch motifs and sturdy ribbed sections. The detailed handles and versatile size make it an ideal choice for carrying everyday essentials. Whether as a handmade gift or personal accessory, this crochet bag is sure to impress with its unique design and practical finish.