How to Crochet Collared Top | Easy Step-by-Step Tutorial

Step up your fashion game with our free crochet collared top pattern a perfect blend of classic charm and modern crochet techniques.
A beautifully detailed top with a unique neckline can instantly uplift any wardrobe, giving an elegant yet comfortable touch to everyday dressing. On the Ler Crochet channel, you can find a wonderful tutorial that introduces a charming collared design, bringing a fresh take to lightweight tops perfect for warm weather or layering. This stylish piece combines delicate open spaces with solid textured areas, creating both breathability and structure.
Crochet Collared Top With Free Pattern
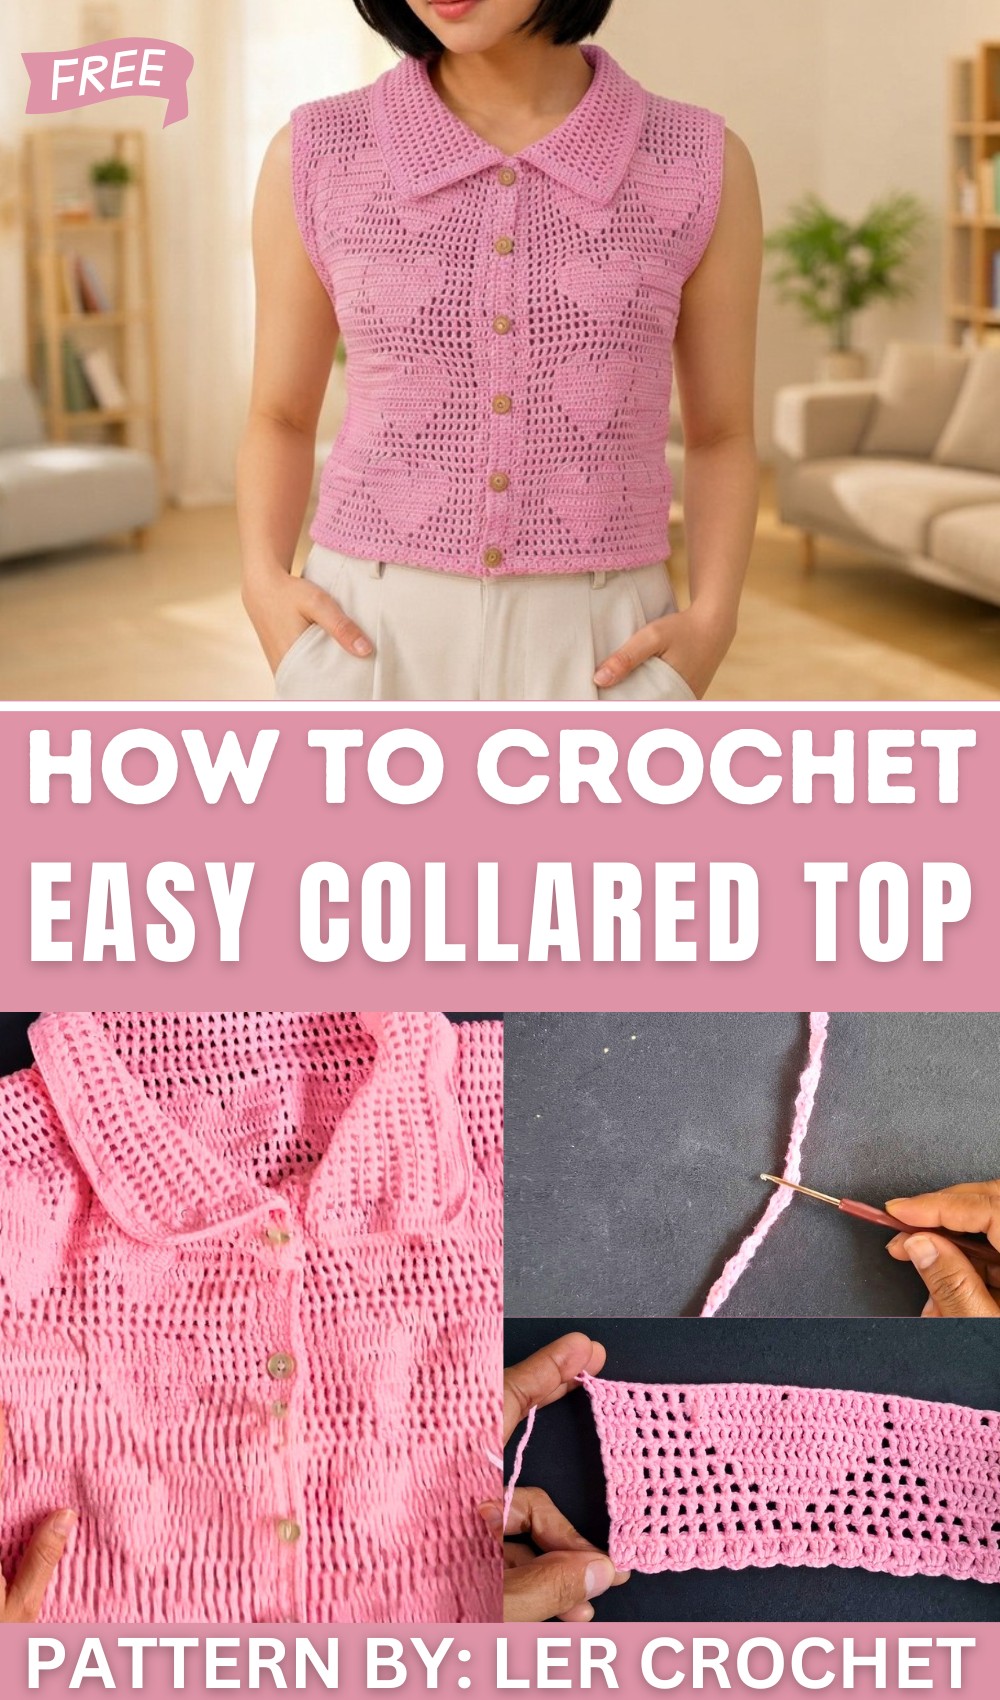
The free crochet Collared Top pattern offers a versatile garment suitable for casual outings or semi-formal occasions. Its neat collar adds a polished finish that enhances the overall look, making it a smart choice for someone wanting something simple yet distinctive. The top hangs gracefully with balanced proportions, featuring an easy-to-wear silhouette that flatters many body types.
Beyond just its fashionable appeal, this crochet top makes an excellent gift, as it reflects thoughtful care and handmade charm. Its airy design adds decorative value to a closet, serving both as a statement piece and a comfortable garment. The combination of open mesh squares and solid stitch areas adds depth and an artisan feel while maintaining lightness, which is perfect for warm seasons.
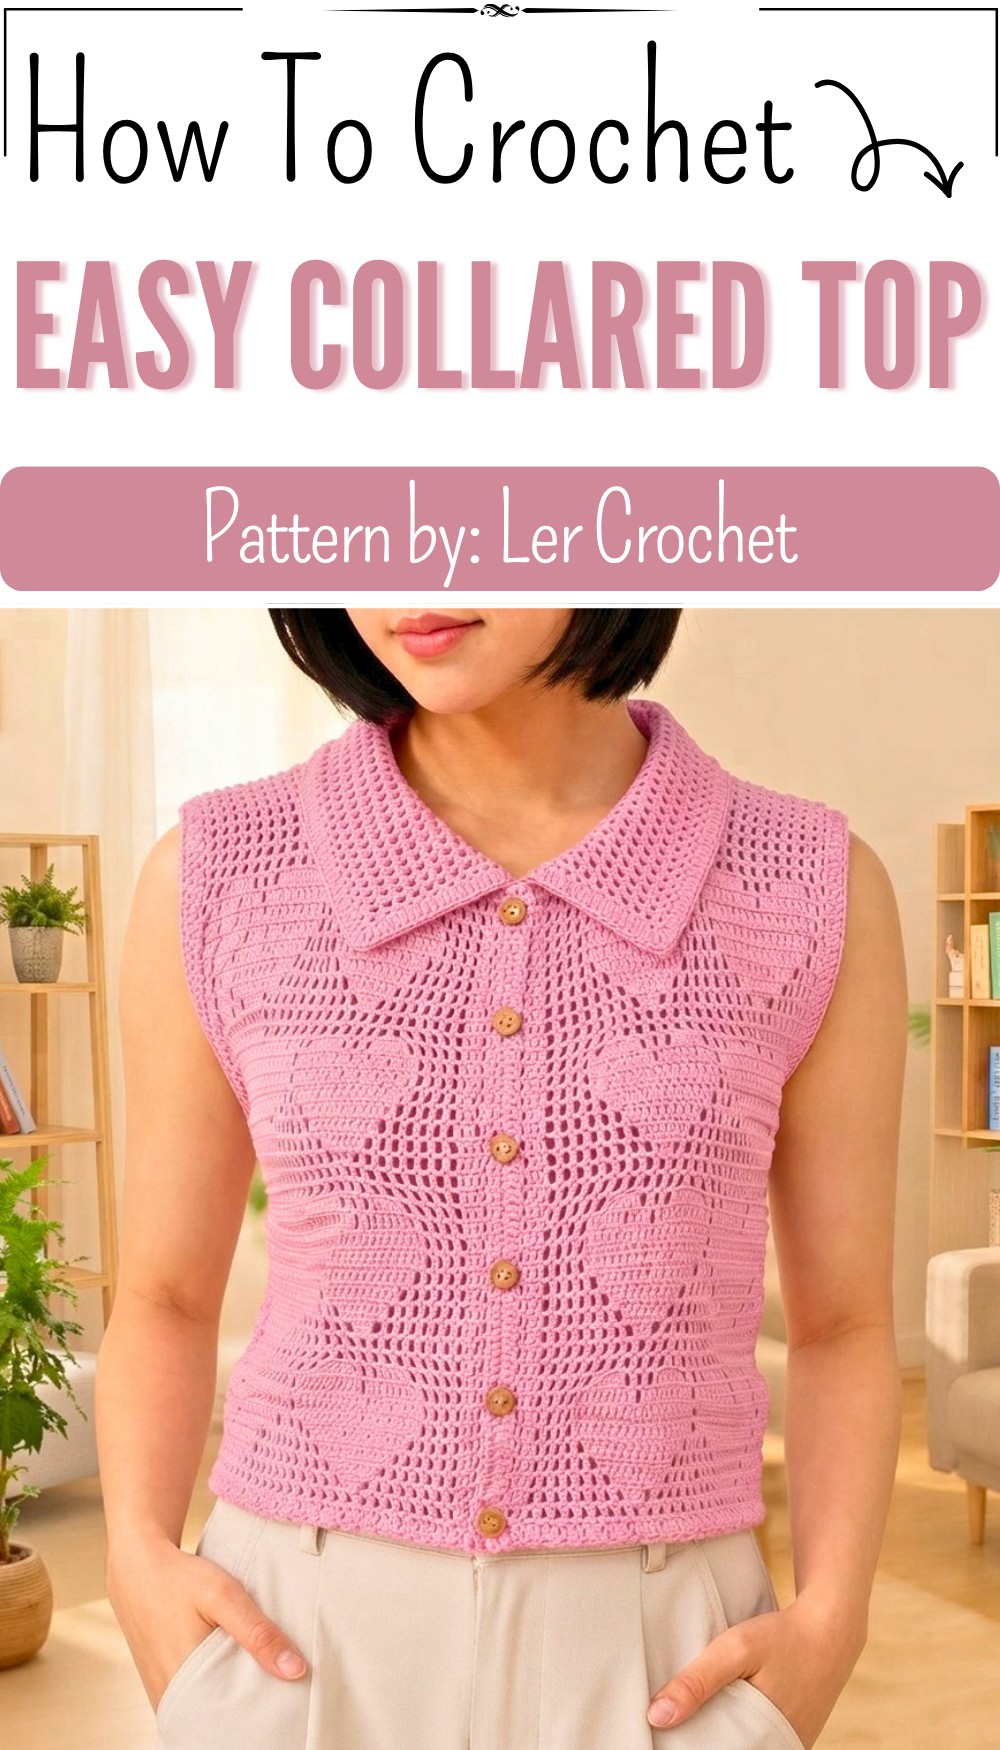
Crochet Filet Top Pattern with Heart Motif and Buttoned Collar
Introduction
This crochet top project is designed using four-ply cotton yarn and a 2.5 mm crochet hook to create a delicate, lightweight garment ideal for warm weather or layering. The pattern utilizes classic filet crochet techniques combining open mesh squares and solid stitch blocks to produce a visually appealing fabric with ornate detailing. An attractive 3-heart motif adorns the front panel, while a practical and elegant buttoned collar completes the design. Along with shaping armholes through strategic stitch marker placement, this project teaches essential garment construction skills, making it an excellent choice for intermediate crocheters or confident beginners looking to challenge themselves.
This comprehensive, step-by-step pattern walks you through the entire process starting from foundation chains to joining panels and finishing with edging and button placement, ensuring clarity and accessibility throughout.
Pattern Highlights
- Foundation of 80 eyelets forming the base width, adjustable by adding multiples of 10.
- Foundation Round: Clusters of three double crochets (dc) in each eyelet create a sturdy and textured base.
- Filet Crochet Mesh: Alternating double crochet (dc) stitches and chain (ch) 1 spaces crafted to form openwork squares.
- Solid Block Rows: Rows featuring consecutive dc stitches increase fabric density and stability.
- 3-Heart Motif: An elegant visual element combining mesh and solid stitches creating a classic design.
- Armhole Shaping: Strategic stitch marker placement guides separate front and back panel work for comfortable armholes.
- Seam Joining: Panels are joined neatly with slip stitches (sl st) along sides and shoulders.
- Buttoned Collar: Mesh squares are worked along the neckline with adjustable buttonholes for practical closure.
- Finishing Edges: Borders enhanced with rounds of double crochet (dc) and single crochet (sc) to create polished, durable edges.
Notes
- The foundation chain and eyelet count can be adjusted in multiples of 10 to accommodate different sizes.
- Throughout the pattern maintain consistent tension to ensure an even fabric and accurate sizing.
- Stitch markers are essential tools to mark armhole position and buttonhole placement; do not skip using them.
- Buttonhole chains are adjustable for different button sizes—measure buttons before starting buttonholes.
- Weaving ends in securely ensures a professional finish and garment longevity.
- Blocking the finished garment lightly will help achieve proper drape and shape.
Skill Level
Intermediate — This pattern is ideal for crocheters who are familiar with double crochet, chain stitches, slip stitches, and have some experience reading stitch patterns and shaping garments. Confident beginners willing to learn these techniques can also follow along with patience and practice.
Materials
- Four-ply cotton yarn (quantity varies by size and length preference)
- 2.5 mm crochet hook
- Stitch markers
- Buttons (number depends on collar design choice)
- Tapestry needle for weaving in ends
- Scissors
Measurements / Sizing
- The top’s base width is built from a foundation of 80 eyelets; increase this by adding multiples of 10 for larger sizes.
- Length is flexible, determined by the number of filet rows worked and can be customized for personal preference.
- Armhole depth and width rely on stitch marker placement and individual shaping during panel work.
- Collar dimensions and buttonhole count should be measured and adjusted according to style and button size.
Gauge and Stitch Pattern
- Gauge depends on individual tension but consistency is vital for a professional-looking garment.
- The stitch pattern revolves around:
- Filet mesh squares created through sequences of dc, ch 1, skip 1 stitch for an open lattice effect.
- Solid blocks of consecutive dc stitches provide lace contrast and structure.
Stitch Abbreviations
| Abbreviation | Full Name | Description |
|---|---|---|
| ch | Chain | Yarn over, pull through loop on hook |
| dc | Double crochet | Yarn over, insert into stitch, yarn over, pull through, yarn over, pull through two loops, yarn over, pull through remaining two loops |
| sl st | Slip stitch | Insert hook in stitch, yarn over, pull through loop on hook |
Special Stitches
- Filet Mesh Square:
Work 1 dc, then ch 1, skip next stitch; this forms an open square in the filet mesh. - Solid Block:
Work consecutive dc stitches without chain spaces to form a solid block in the pattern.
Detailed Step-by-Step Crochet Pattern
Step 1: Foundation and Base Rows
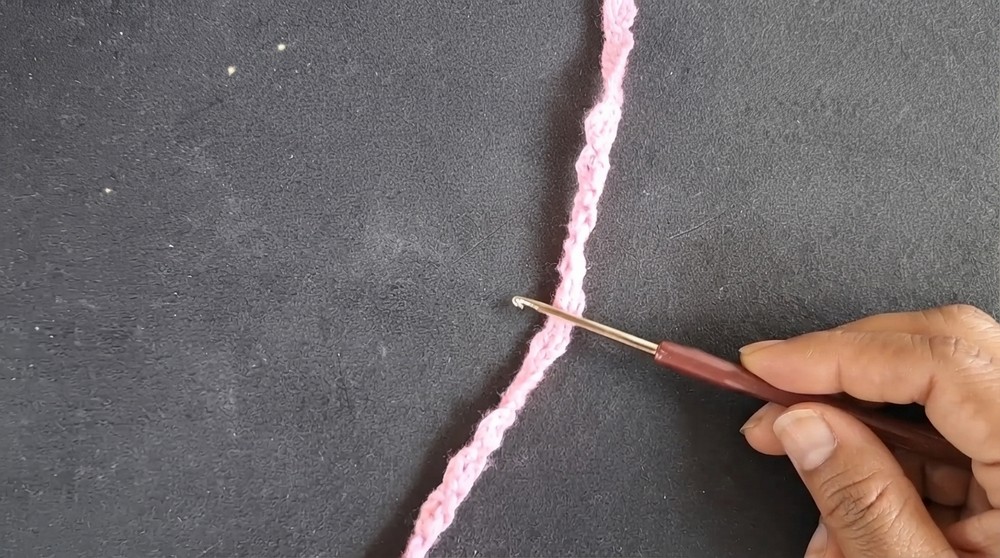
Foundation Chain and Eyelets
- Chain 3 (this counts as the first dc).
- Repeat double crochet stitches into the chain to create 80 eyelets, i.e., 80 sets of dc + ch 1 (or a chain foundation of appropriate length corresponding to eyelets).
- Note: For larger sizes, add multiples of 10 to your foundation chain to increase width while maintaining pattern balance.
Foundation Round
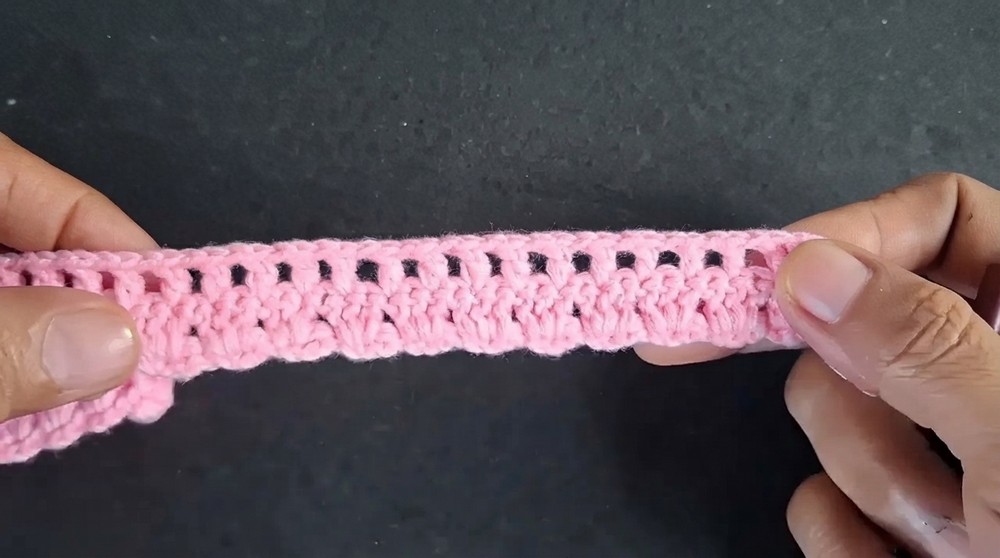
- Chain 3 (counts as first double crochet).
- In each eyelet across the foundation, work 3 double crochets (3 dc) into the same space to create a textured, solid base round.
- Join with a slip stitch (sl st) at the top of the starting chain 3 to complete the round.
Step 2: Filet Crochet Pattern Development
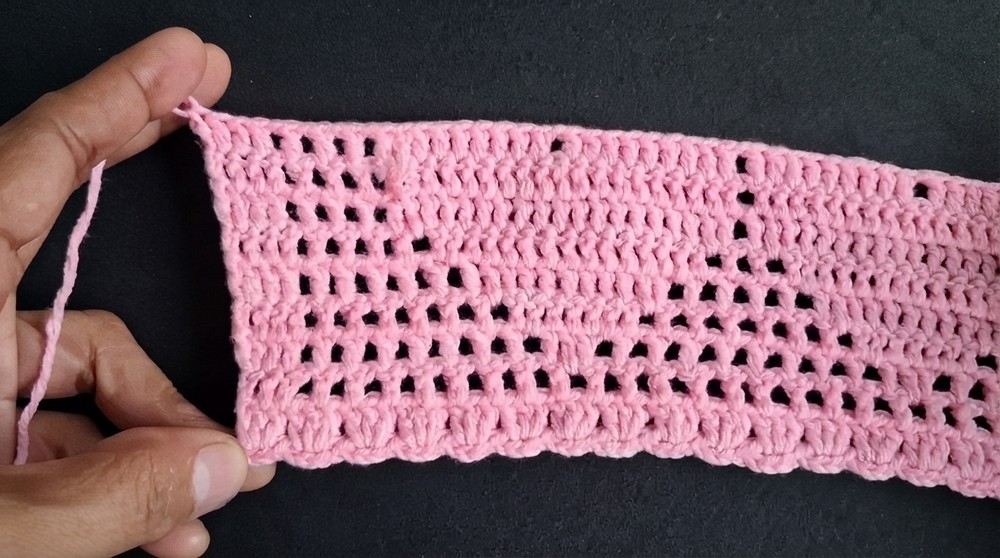
Mesh Square Rows
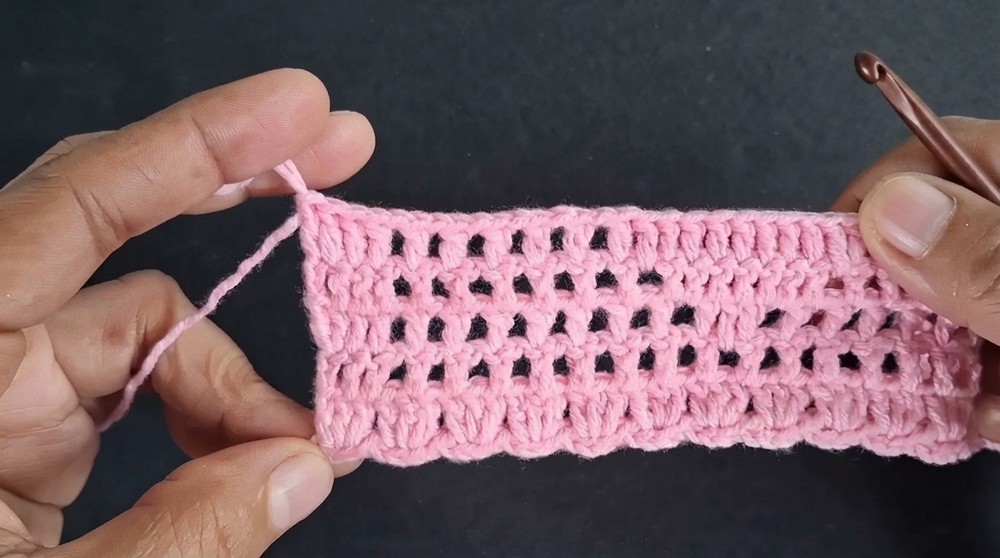
- Begin working rows of filet mesh:
- Pattern repeat: 1 dc, ch 1, skip 1 stitch, repeat across the row creating open squares formed by chain spaces.
- This mesh foundation visually lightens the fabric and forms the iconic lacy filet crochet appearance.
Increasing Width and Complexity
- Start with 8 mesh squares wide for the initial rows, gradually increasing to 9 mesh squares to subtly widen the garment.
- Introduce solid blocks of double crochets between mesh squares to add structure and visual interest according to the following progression:
- Rows featuring 6, then 10, followed by 14 and finally 18 consecutive dc stitches integrated amidst the mesh.
- Repeat these rows systematically to build the desired length and shape of the top, paying attention to stitch counts and consistency.
Step 3: Shaping and Armholes
Full Mesh Rows
- Work several full rows of mesh squares (alternating dc and ch 1) to the height where armholes will begin.
Incorporating the 3-Heart Motif
- The heart motif is created by strategically placing solid blocks of dc stitches within the filet mesh to draw three hearts across the front panel.
- Follow the stitch chart or detailed written instructions for the heart placement to ensure accurate representation.
Marking Armholes
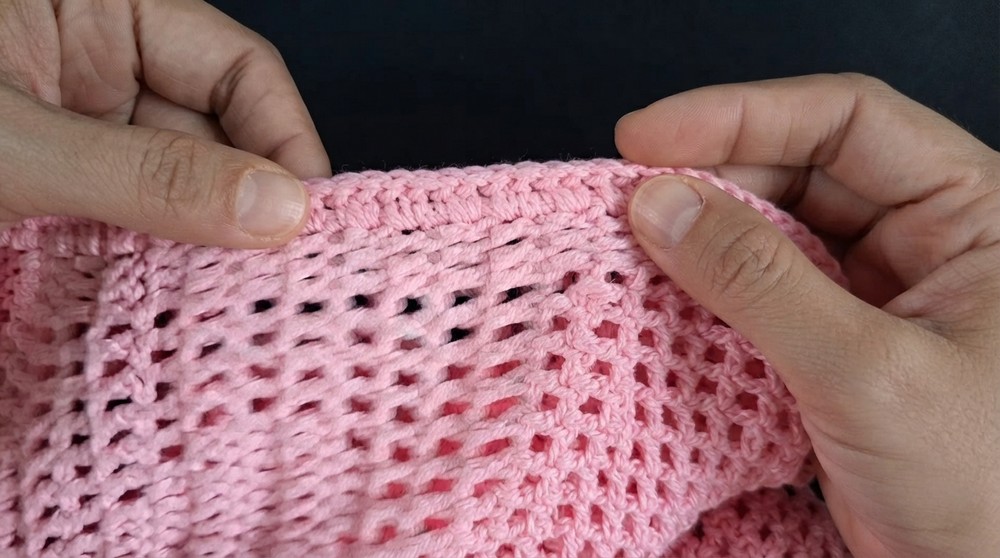
- Place stitch markers at the locations that define armhole boundaries on both front and back panels.
- This guides separate work on the panels and helps maintain symmetry.
Working Panels Separately
- Work front and back panels up to the armhole markers separately, maintaining mesh and solid block patterns appropriate for each.
- Shape armholes carefully by reducing stitches or modifying pattern repeats as needed for fit.
Joining Panels
- Use slip stitches (sl st) to join sides and shoulders cleanly, ensuring flat seams and comfortable wear.
- Check the garment fit and adjust as necessary before finishing seams completely.
Step 4: Collar and Finishing
Working the Collar
- Along the neckline edge, work rows of mesh squares (dc, ch 1, skip stitches) back and forth to create a light, airy collar.
- Collar width and length are customizable depending on desired style.
Creating Buttonholes
- Mark button positions with stitch markers evenly along the collar edge.
- Within the collar rows, integrate chain spaces (buttonholes) by adjusting the chain length to fit the buttons you select.
- Count the number of buttonholes and chains carefully to ensure functionality.
Edging the Garment
- Work rounds of double crochet (dc) along the collar, front edges, and body for a smooth border.
- Follow with one or two rounds of single crochet (sc) stitches for a refined finish and durability.
- Maintain consistent stitch tension for polished appearance.
Attaching Buttons
- Sew buttons securely over the marked buttonhole positions using yarn or sewing thread.
- Ensure they fasten comfortably without pulling on the fabric.
Assembly & Finished Size
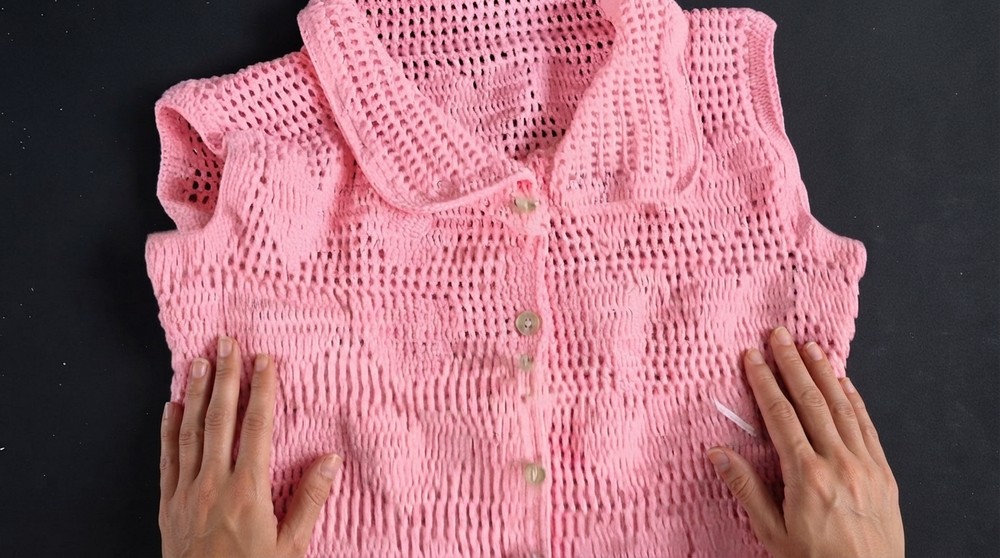
- The top is composed of a foundation base with multiple filet crochet rows shaping the body.
- Armholes are carefully formed by shaping and panel separation on stitch marker guidelines.
- Sides and shoulders are joined by slip stitches, giving a neat seam.
- Collar worked and finished with coordinating mesh squares and edging create a cohesive and elegant finish.
- Final size depends on foundation chain length, row count, and individual tension but can be adjusted easily for various fits.

Conclusion
This filet crochet top offers an elegant balance of openwork mesh and solid stitches enriched with a charming 3-heart motif, making it perfect for those seeking a lightweight yet structured garment. The pattern emphasizes essential garment construction techniques such as foundation work, stitch count increases, shaping by stitch markers, panel work, joining, and finishing with buttoned collar and edging. Although described in depth, it remains accessible for confident beginners and intermediate crocheters eager to refine their filet crochet and shaping skills.
By following clear, detailed steps and highlighted stitches, you will confidently create a timeless crochet top tailored to your size and style preferences. Customize the foundation length, motif placement, collar width, and buttonholes with ease, making this project adaptable and personally rewarding.