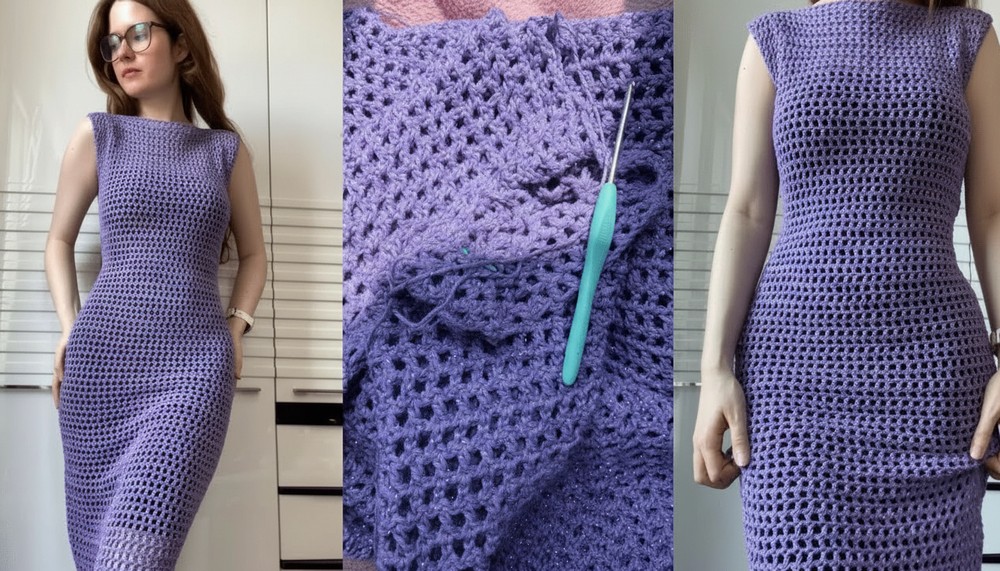
Graceful Crochet Maxi Dress Pattern Made for Warm Days

Step into flowing elegance with this Free Crochet Maxi Dress Pattern that’s offers graceful length, comfy wear, and a standout feel.

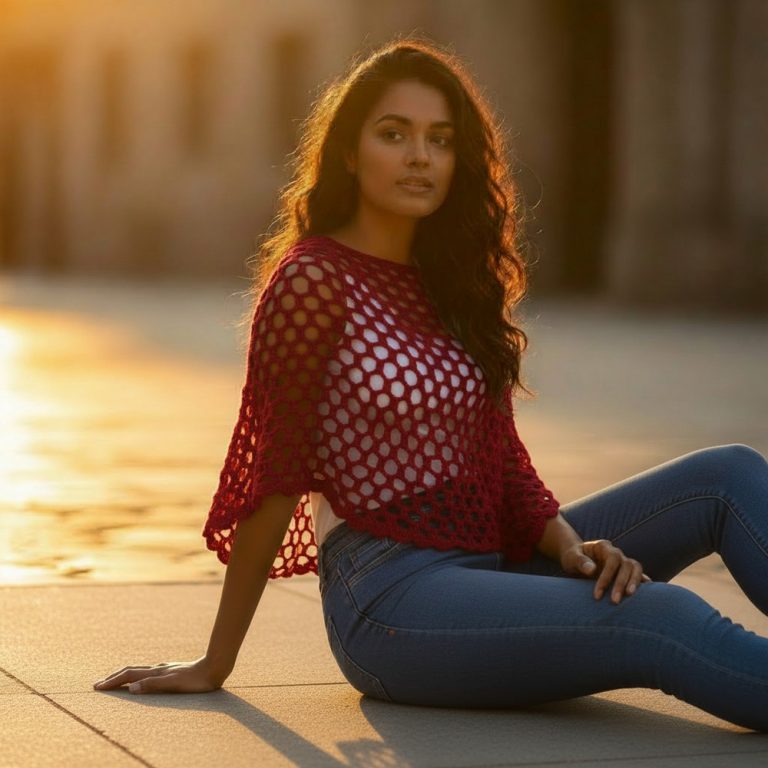
Alluring Crochet Maxi Dress Pattern With Soft Movement
A long, gentle style offers both comfort and charm, making it great for many occasions. The crochet maxi dress pattern uses simple stitches to create a soft, flowy dress that feels light and pleasant. Perfect for summer days, beach trips, or even casual gatherings, this dress keeps you cool while adding a little warmth when needed. The floor-length design makes you look graceful and adds a touch of beauty to your look.
Its specialty lies in being easy to make and suitable for beginners as well as experienced crocheters. This dress can be dressed up with a belt and jewelry for a night out or kept simple for a relaxed day. With the crochet maxi dress pattern, you enjoy a mix of style, comfort, and versatility in your wardrobe.
Materials Needed
-
Yarn: Cotton yarn (approximately 500g for a Maxi version; less for a Mini).
-
Hook Size: 4.0 mm.
-
Extras: Tape measure, stitch markers, scissors, and a tapestry needle.
Pattern Notes
-
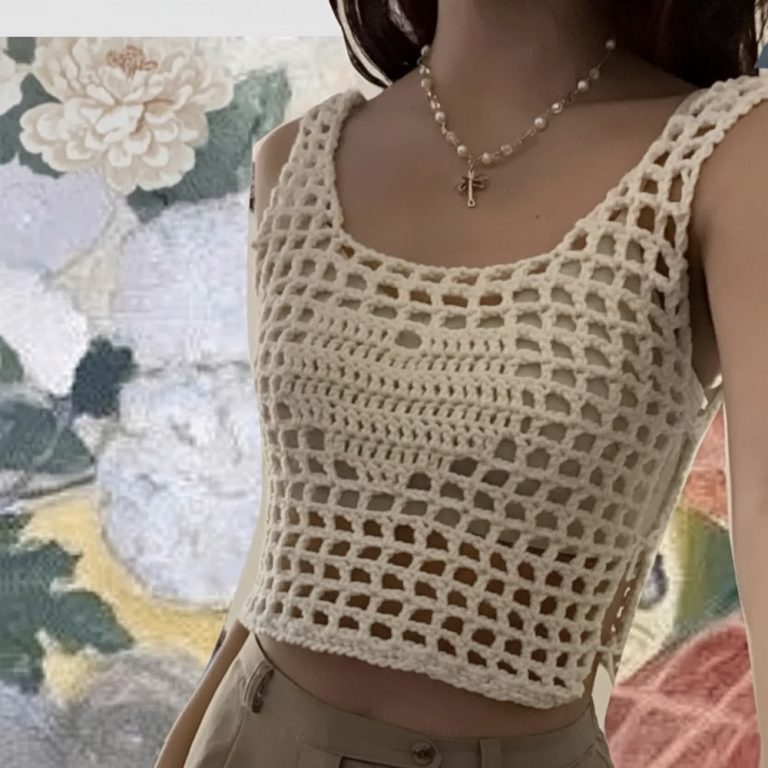
The Stitch: This dress uses the “Filet” or “Mesh” stitch, consisting of double crochets and chain spaces.
-
Sizing: The dress is worked as one long continuous piece (front and back) with a hole left for the neck, then sewn up the sides.
-
Foundation Rule: You must start with an odd number of chains.
-
Measurement Tip: The foundation chain should be about 5 cm smaller than half of your widest body measurement (usually hips/bust) because the mesh stitch is quite stretchy. For example, if your hips are 90 cm, aim for a 40–45 cm wide chain.
Part 1: The Front Panel
-
Foundation: Chain an odd number until you reach your desired width (approx. 40–45 cm).
-
Row 1 (Setup): Double crochet (dc) into the 5th chain from the hook (this creates your first “square”). Chain 1, skip 1 foundation chain, dc into the next chain. Repeat from * to the end of the row. You should end with a double crochet.
-
Row 2: Chain 4 (counts as 1 dc + 1 ch) and turn. Skip the first ch-1 space. dc into the next dc stitch, ch 1. Repeat from * across.
-
Crucial: Always dc into the previous dc, never into the chain space.
-
End of row: dc into the 2nd chain of the turning chain from the row below.
-
-
Growth: Repeat Row 2 until the piece reaches from your shoulders to your desired length (Mini or Maxi).


Part 2: The Neckline (The Head Hole)
-
Marking: Identify the center of your row. Leave an equal number of squares on both sides for shoulders (e.g., 7 squares each).
-
The Gap: * Work the mesh stitch across the first shoulder.
-
To skip the middle section: Chain a number of stitches equal to (number of squares to skip × 2) – 1. (e.g., if skipping 20 squares, chain 39).
-
dc into the stitch where your second shoulder marker is.
-
Continue the mesh stitch to the end of the row.
-
-
Next Row: Work across the shoulder as usual. When you reach the long chain, treat it like the foundation row: ch 1, skip 1, dc into the next chain. —

Part 3: The Back Panel
-
Consistency: Continue working Row 2 logic. You must work the exact same number of rows as the front panel to ensure the dress is symmetrical.
-
Finish: Fasten off once the front and back lengths match.
Part 4: Assembly
-
Side Seams: Fold the dress at the shoulders.
-
Armholes: Measure the width of your arms. Mark how much space you need to leave open at the top.
-
Sewing: Using a tapestry needle and yarn, sew the sides together starting from the bottom hem up to the armpit marker. Repeat on the other side.

Part 5: Optional Waist Ties (The Belt)
If you want a more cinched look, follow these steps:
-
Marking: Put the dress on and mark the narrowest part of your waist on both side seams.
-
The Tie: * Attach yarn at the side seam marker.
-
Row 1: Ch 4, skip a small space, dc. Ch 1, dc. (You are creating a narrow strip of 2 squares).
-
Repeat until the tie is approx. 75 cm long.
-
-
Repeat: Make an identical tie on the opposite side seam. Tie them in the back to cinch the waist.
Final Touches
Weave in all loose ends with your tapestry needle. The dress is designed to be worn over a bikini or a slip dress.