Must-Try Free Crochet Amigurumi Butterfly Pattern – Adorable Toy
Bring whimsy to life with our free crochet amigurumi butterfly pattern a charming project that adds adorable handmade magic to your décor or gifts.
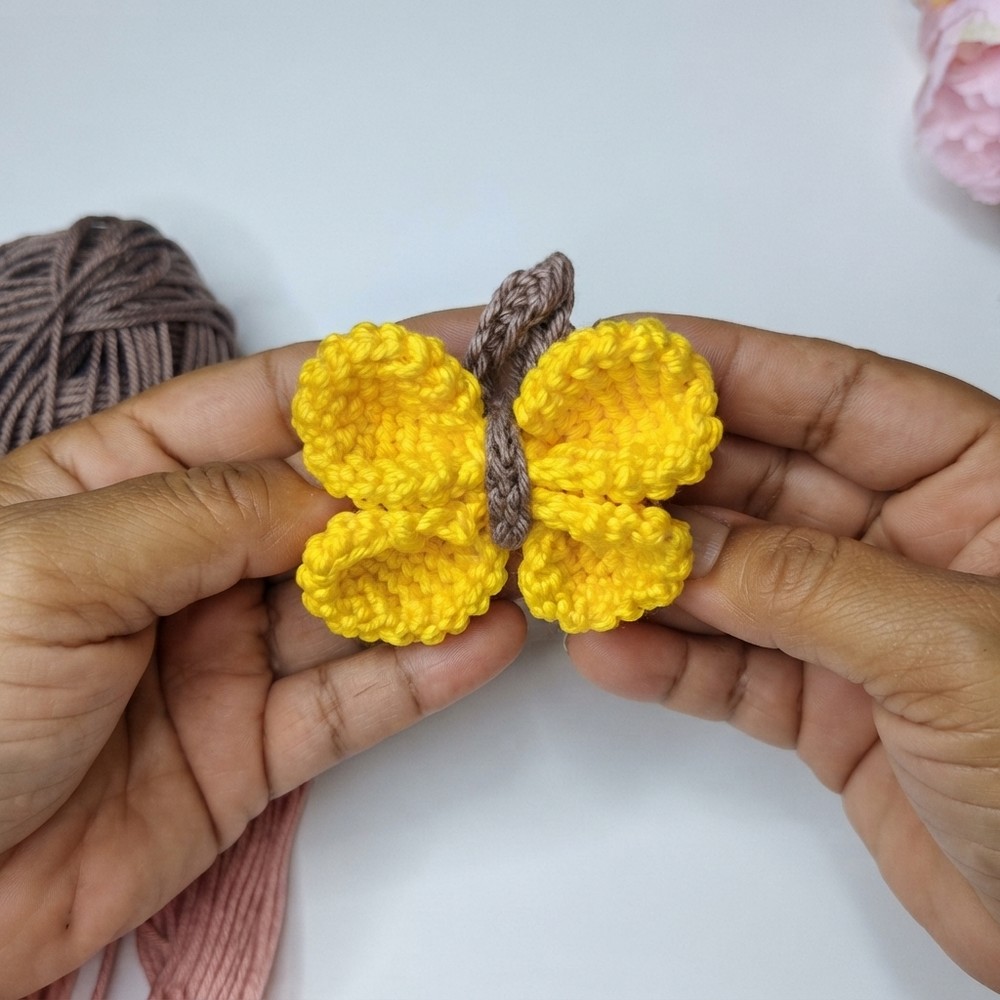
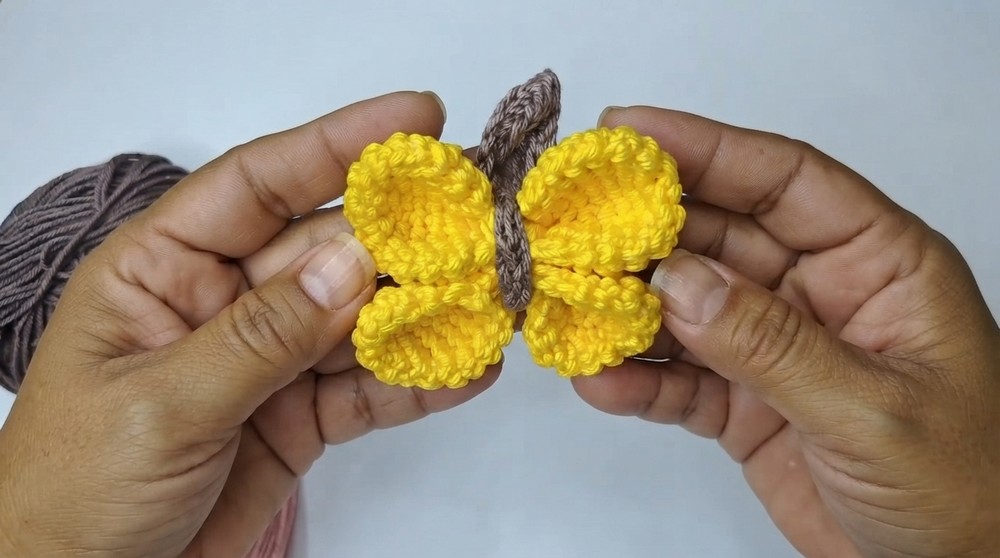
Bright and vibrant, this small butterfly with delicate wings brings a beautiful touch to many items or spaces. Created by the Meu crochê ponto a ponto channel, the design features a neat and lifelike shape measuring around 6 centimeters. Smooth curves and carefully raised wings give it a three-dimensional effect that looks almost real, making it perfect for decorating accessories like bags and keychains or adding charm to home décor.
Beginner Friendly Free Crochet Amigurumi Butterfly Pattern
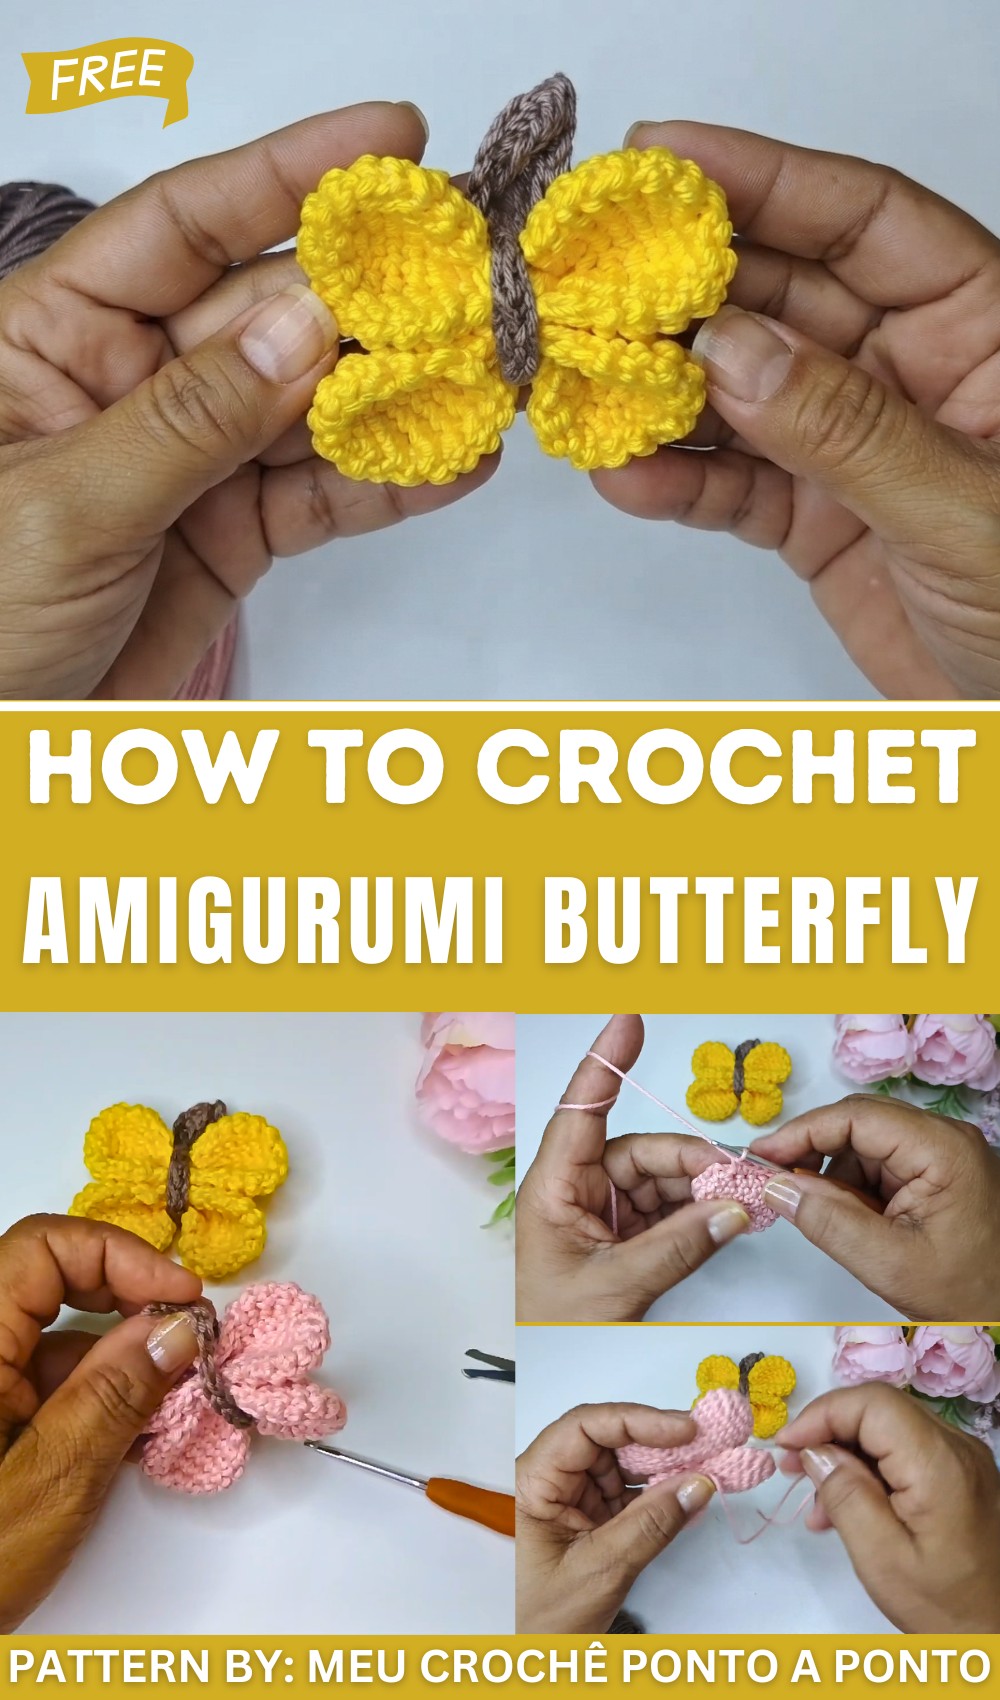
What makes this butterfly design especially appealing is its simple construction requiring little time and yarn. The pattern skillfully joins smaller parts to create perfectly symmetrical wings with a gentle fold at the center. Small details such as antennae and a defined body add to its realistic and attractive appearance, making it more than just a basic shape.
This butterfly offers many benefits. It’s a quick project resulting in a soft and colorful piece, ideal for gifting or personal use. Its small size allows easy attachment to various items, adding a lively splash of color wherever it goes. Designed for comfort and enjoyment, this butterfly brings a touch of nature’s charm indoors.

Crochet Butterfly Pattern
This crochet butterfly is a versatile and charming piece that can be used as a keychain, an applique, or an embellishment for various projects. It is small in size, measuring approximately 6 cm, and the design allows for easy customization using different yarn weights or colors, making it smaller or larger according to your preference. The pattern uses simple amigurumi techniques, making it quick and fun to make while requiring minimal materials.
Skill Level
Beginner
Materials
To create a crochet butterfly, you will need:
- Yarn:
- Canary yellow: Body and wings.
- Brown (no shade provided): Antennae and center.
- Crochet Hook: Appropriate size to match your yarn weight (used 1.5mm in the example).
- Scissors: For cutting yarn and finishing ends.
- Tapestry Needle: For weaving in ends and assembling the pieces.
- Stitch Marker: Optional, but helpful for tracking rounds.
- Silicone Glue: For securing parts if desired.
Special Stitches
The following stitches are used:
- Magic Ring: A tightly closed loop made with yarn as the base for circular crochet projects.
- Single Crochet (sc): Insert the hook into a stitch, yarn over, pull up a loop, yarn over again and pull through both loops.
- Increase: Two single crochets (sc) worked in the same stitch.
- Decrease: Insert hook into the next stitch, pull up a loop, insert hook into the next stitch, pull up a loop (three loops on hook), yarn over and pull through all loops on hook.
- Slip Stitch (sl st): Insert hook into stitch, yarn over, and pull through both the stitch and the loop on the hook.
- Very Low Stitch: Similar to a slip stitch, used for finishing or creating delicate details.
Stitch Abbreviations
- ch = Chain
- sc = Single Crochet
- inc = Increase
- dec = Decrease
- sl st = Slip Stitch
Useful Tips
- Keep your tension consistent to ensure that the wings align neatly once joined.
- Use smaller hooks for tighter stitches or larger hooks for a more open texture.
- Shape and adjust the wings during assembly; crochet allows easy manipulation for symmetry.
- For durability, glue the antennae securely if sewing is not your preferred method.
Detailed Pattern Instructions
Part 1: Butterfly Wings (Make 4)
Round 1:
- Start with a magic ring.
- Work 6 sc into the magic ring.
- Pull the ring tightly closed and place a stitch marker to indicate the start of the next round.
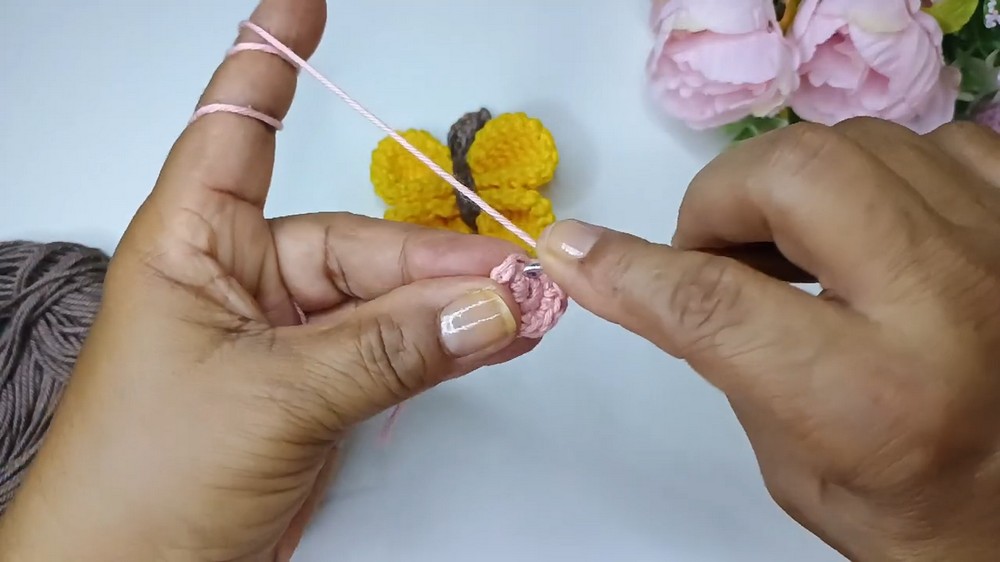
Round 2:
- Work 6 increases (2 sc in each stitch) around. At the end of the round, you should have 12 stitches.
Round 3:
- Alternate between 1 sc and 1 inc (2 sc in one stitch). This will give 18 stitches at the end of the round.
Rounds 4–6:
- Work 18 sc evenly across all three rounds (straight rows with no increases).
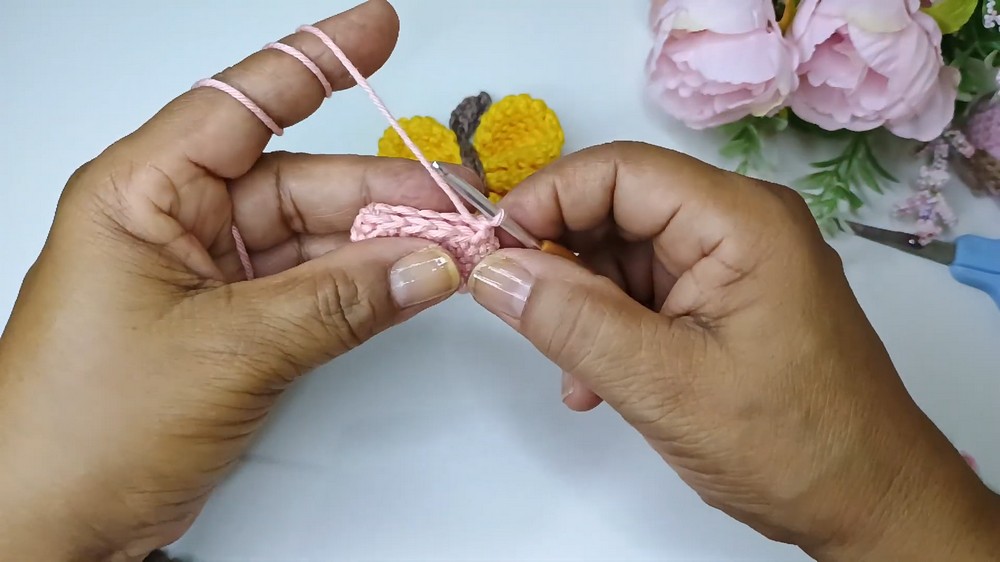
Round 7:
- Alternate between 1 sc and 1 dec (single crochet decrease) around to reduce the stitch count to 12 stitches.
Closing the Wing:
- Fold the piece in half, matching the edges.
- Using your crochet hook, work 6 sc across the folded edge to close the wing.
- Crochet a final stitch at the corner for neatness and trim the yarn, leaving a length for sewing or weaving.

Repeat Steps to Create 4 Wings:
- Two wings will need finishing off completely, while the other two will have threads left for joining later.
Part 2: Wing Assembly
- Prepare the Wings: Place two wings together with the wrong sides facing outward.
- Use a crochet hook or tapestry needle for stitching the edges, securing them evenly.
- If preferred, trim the yarn and sew with a tapestry needle.
- Repeat the process for the other pair of wings to create two large wing “packs.”
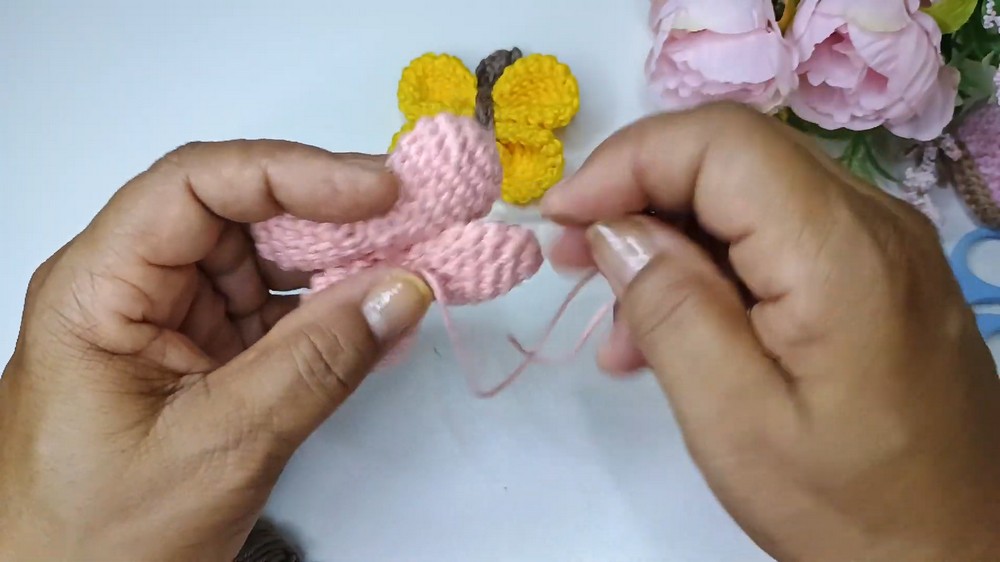
Joining the Wings:
- Position the two sets of wings together, aligning them neatly.
- Use stitches or silicone glue to bind the center points of both sets.
- Stitch or glue additional points to secure the edges.
Part 3: Butterfly’s Body and Antennae
Body:
- Using brown yarn, create the butterfly’s body:
- Chain 22 stitches loosely to form the base.
- Starting from the second chain:
- Work 1 sl st in each chain across.
- The slip stitches create a firm yet flexible structure for the body.
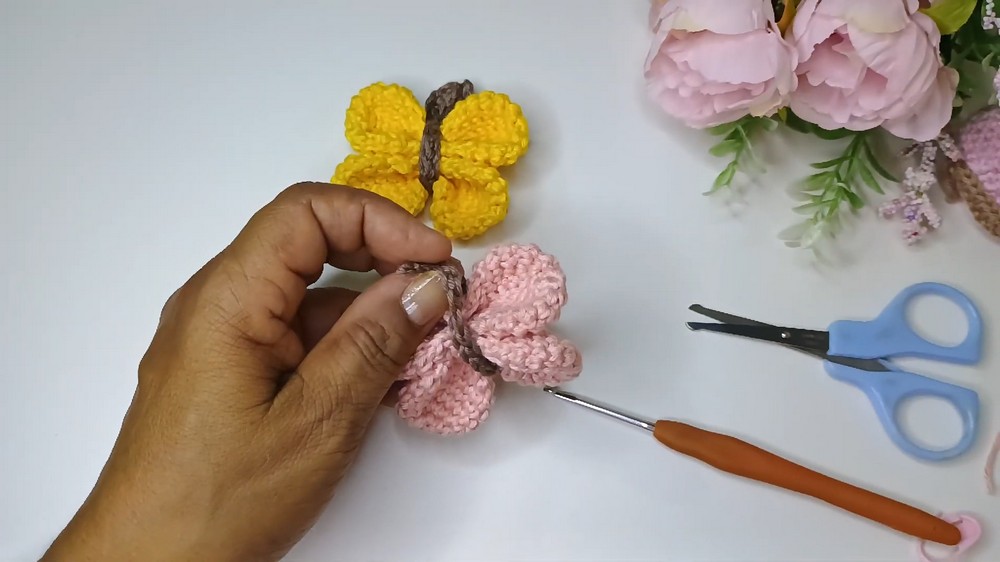
Antennae:
- With brown yarn, chain 22 stitches loosely.
- Starting at the second chain from the hook, work very low stitches (sl st) across the chain.
- Once completed, tie both ends together and trim excess yarn.
Assembly:
- Position the body along the vertical center of the joined wings.
- Use yarn threads or glue to secure the body firmly to the wing sets.
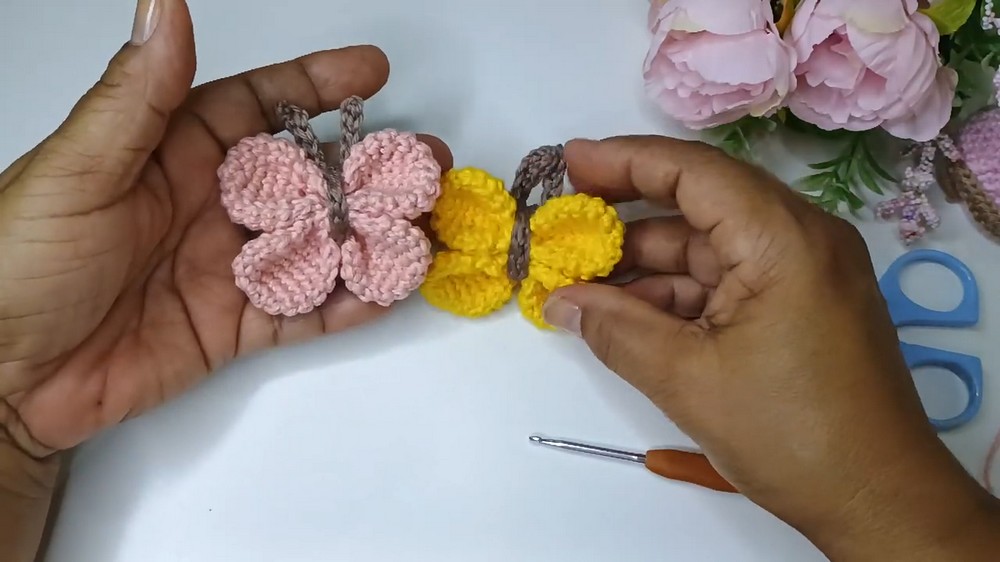
- Attach the antennae to the top of the body using stitches or glue, ensuring they are neatly spaced.
Conclusion
This delightful butterfly can be customized in color, size, and texture to suit various projects. Made using easy amigurumi techniques, it is a versatile decorative piece ideal for gifts, applications, or accessories. With minimal materials and careful assembly, this butterfly can be scaled up or down to fit any creative endeavor.