Quick Free Crochet Turtle Coaster Pattern With Step-by-Step Tutorial
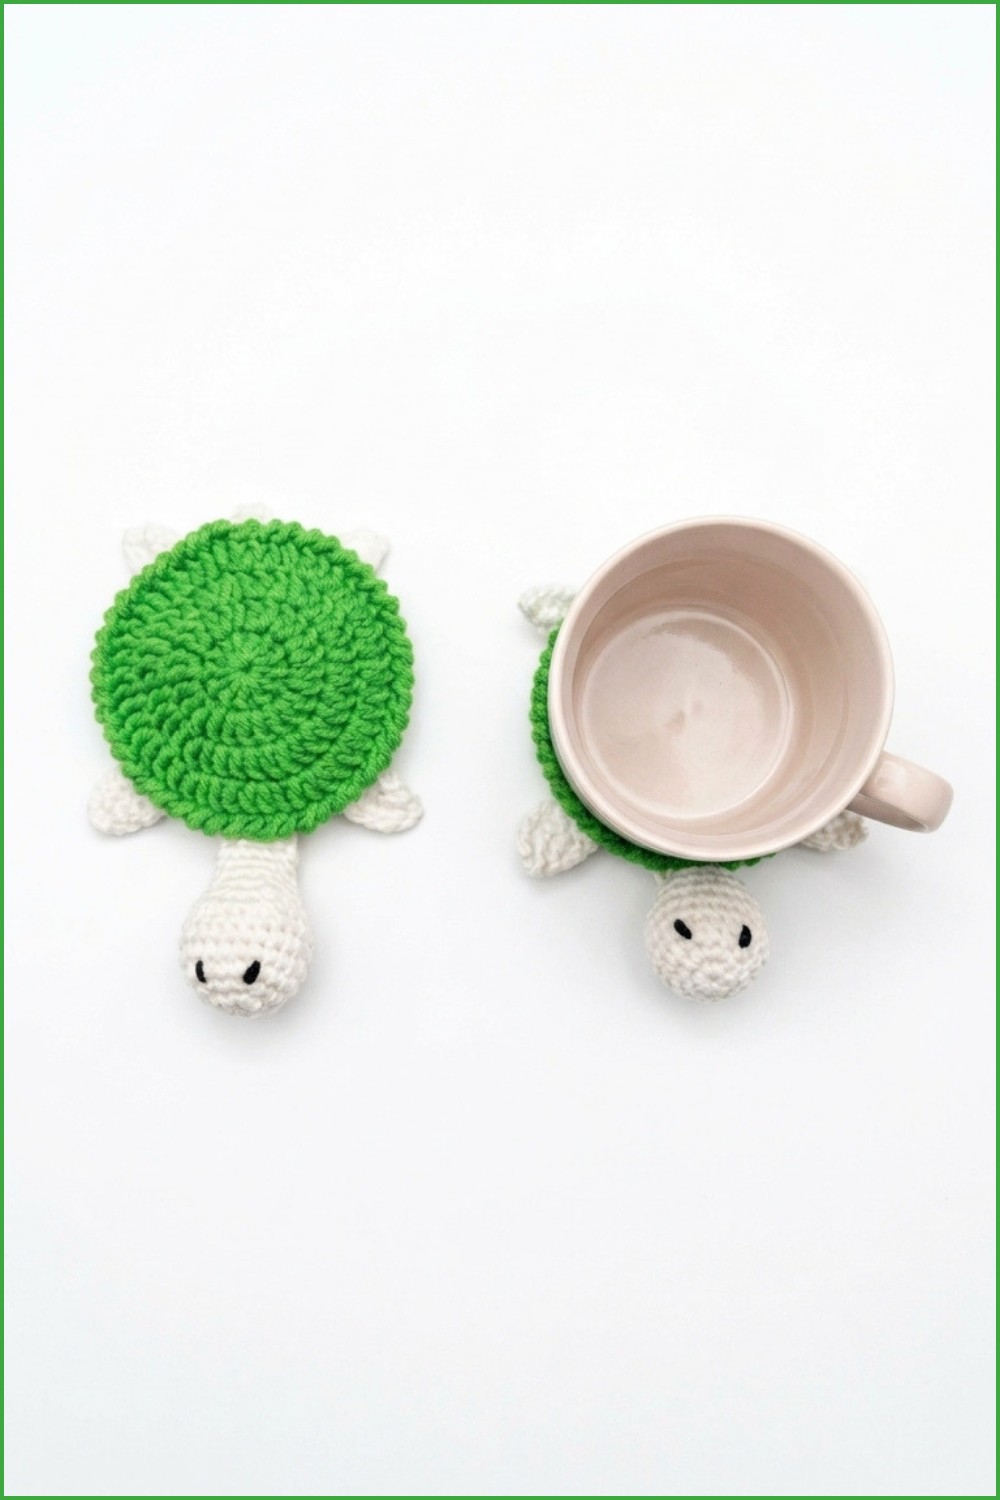
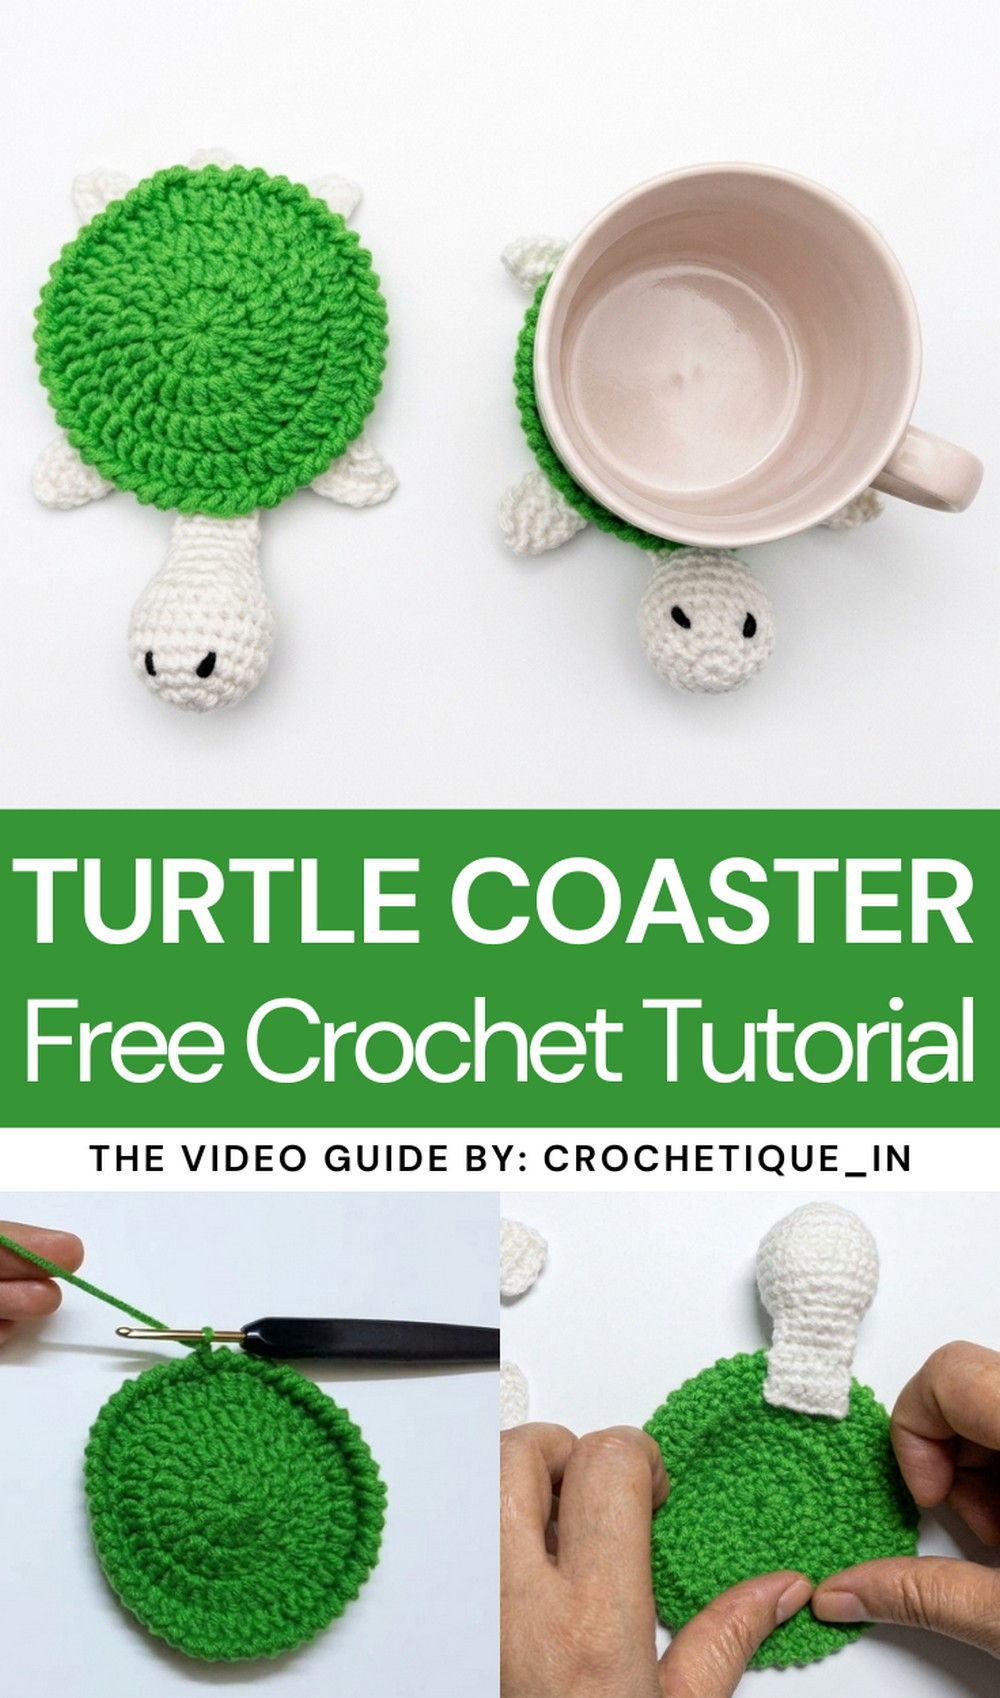
Add a touch of charm to your table with this Free Crochet Turtle Coaster Pattern that helps you create cute and functional coasters perfect for any home.
Creating something both practical and adorable is always a rewarding experience. This turtle-shaped coaster is a wonderful way to protect your tables from drink stains while adding a playful touch to your home decor. It’s designed to look like a cute and cheerful turtle, making it a unique and attractive addition to any space.
Free Crochet Turtle Coaster Pattern & Tutorial You Will Love
About crochetique_in!
If you want to try making this delightful pattern yourself, you can find the tutorial on the crochetique_in YouTube channel. The video gives clear and detailed instructions, walking you through every step to ensure the final result is perfect. Whether you’re looking for a practical home accessory or a charming gift idea, this turtle coaster is a great choice that combines usefulness with a cute design.
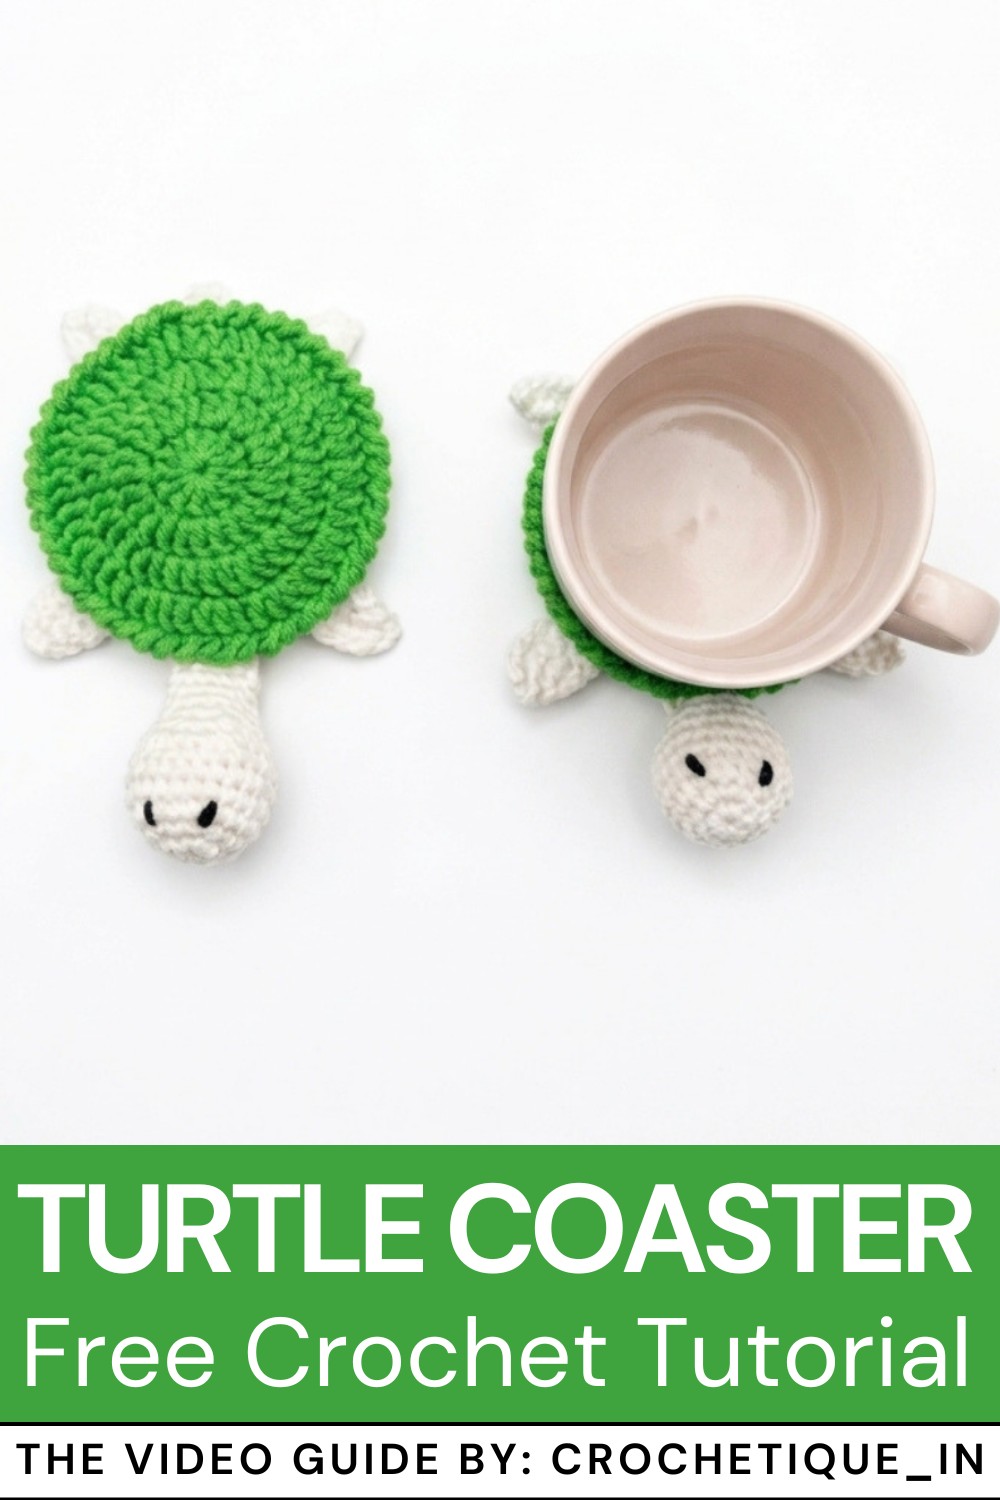
The design stands out for its realistic turtle features, including a round, shell-like center that works as the coaster, and tiny flippers and a head that complete the look. The small size makes it perfect for holding glasses, mugs, and cups securely while keeping surfaces safe. The working process starts with the main shell, followed by the creation of smaller parts like the flippers and head, and ends with assembling everything neatly. It’s simple, repetitive, and easy for beginners to follow.
Crochet Turtle Coaster Pattern
This charming crochet turtle coaster is both functional and decorative. With its detailed shell, adorable head, legs, and tail, this versatile project is great for adding personality to your coffee table or as a unique handmade gift. The pattern involves creating the coaster base, head, legs, and tail individually, then assembling them seamlessly for a complete turtle shape.
Skill Level
Intermediate
This pattern is ideal for crocheters who are comfortable with basic stitches and working in the round. It involves simple shaping, stuffing for 3D details, and basic assembly techniques.
Materials
- Yarn:
- 100% acrylic yarn in your choice of colors for the turtle’s shell, head, legs, and tail.
- Black yarn for embroidering the eyes.
- Fiberfill Stuffing: For shaping the 3D pieces, such as the head and legs.
- Crochet Hook: 3.25mm.
- Scissors: For trimming yarn.
- Sewing Needle: Tapestry needle for attaching parts.
- Stitch Marker: To mark the beginning of each round.
Special Stitches
- Magic Ring: A technique that creates a tight, seamless starting circle for projects worked in the round.
- Reverse Single Crochet (RSC): Also known as the crab stitch; work single crochet stitches in the opposite direction (left to right) for a finished edge.
- Increase: Work two stitches into the same stitch.
- Decrease: Combine two stitches into one by inserting the hook into the first stitch, pulling up a loop, inserting the hook into the next stitch, pulling up a loop, and yarn over before pulling through all loops on the hook.
Stitch Abbreviations
| Abbreviation | Description |
|---|---|
| ch | Chain |
| sc | Single Crochet |
| dc | Double Crochet |
| sl st | Slip Stitch |
| inc | Increase (2 stitches in 1) |
| dec | Decrease (combine 2 stitches) |
Useful Tips
- Tight tension: Keep your tension consistent while working the coaster base and other parts. Tight stitches provide structure and prevent gaps.
- Use stitch markers: These are essential for keeping track of the starting points of rounds, especially for parts like the head and legs.
- Avoid overstuffing: Use just enough fiberfill to give the 3D parts shape without warping the project.
- Reverse single crochet: If unfamiliar with this stitch, practice it on a swatch before adding the border to the shell.
- Symmetry: When assembling the turtle, pin the pieces in place before sewing to ensure they are attached symmetrically.
Detailed Pattern
1. Coaster Base (Shell)
Using the main color yarn:
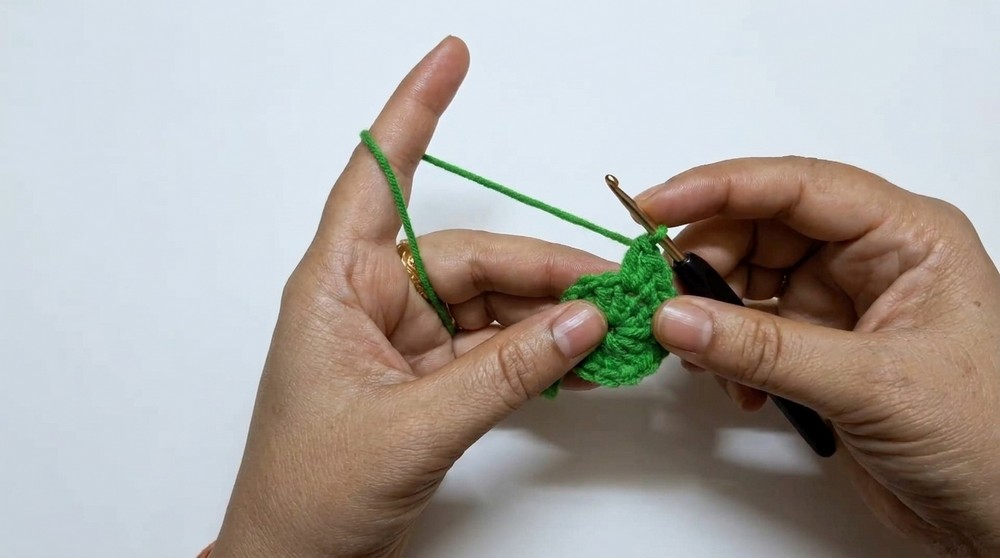
- Magic Ring: Begin with a magic ring, chain 2 (does not count as a stitch), and work 12 dc into the ring. Pull tightly to close. (12 stitches total)
Round 2:
- Work 2 dc into each stitch around. (24 stitches total)
Round 3:
- (1 dc, inc in the next stitch) repeat 12 times around. (36 stitches total)
Round 4:
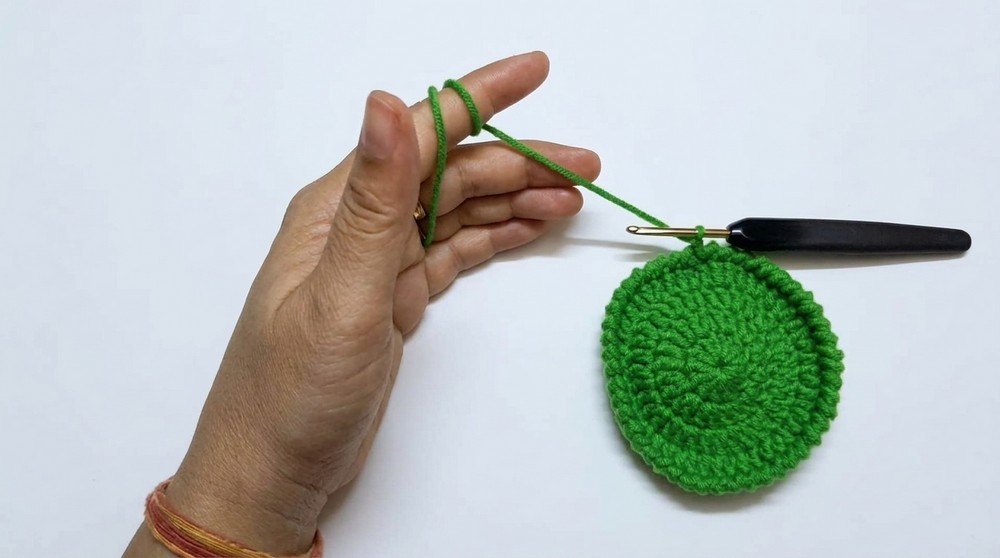
- (1 dc, 1 dc, inc in the next stitch) repeat 12 times around. (48 stitches total)
Border:
- Chain 1 and work reverse single crochet (RSC) in each stitch around for a finished edge. (48 stitches total)
- Slip stitch to join and fasten off.
2. Turtle Head
Using the main color yarn:
- Magic Ring: Work 6 sc into the ring to start the head.
Round 2:
- Work 2 sc into each stitch around. (12 stitches total)
Round 3:
- (1 sc, inc in the next stitch) repeat 6 times. (18 stitches total)
Round 4:
- (2 sc, inc in the next stitch) repeat 6 times. (24 stitches total)
Rounds 5–8:
- Work 1 sc in each stitch around without increases. (24 stitches per round)
Round 9:
- (2 sc, dec across the next two stitches) repeat 6 times. (18 stitches total)
Round 10:
- (1 sc, dec across the next two stitches) repeat 6 times. (12 stitches total)
Rounds 11–13:
- Work 1 sc in each stitch around without decreases. (12 stitches per round)
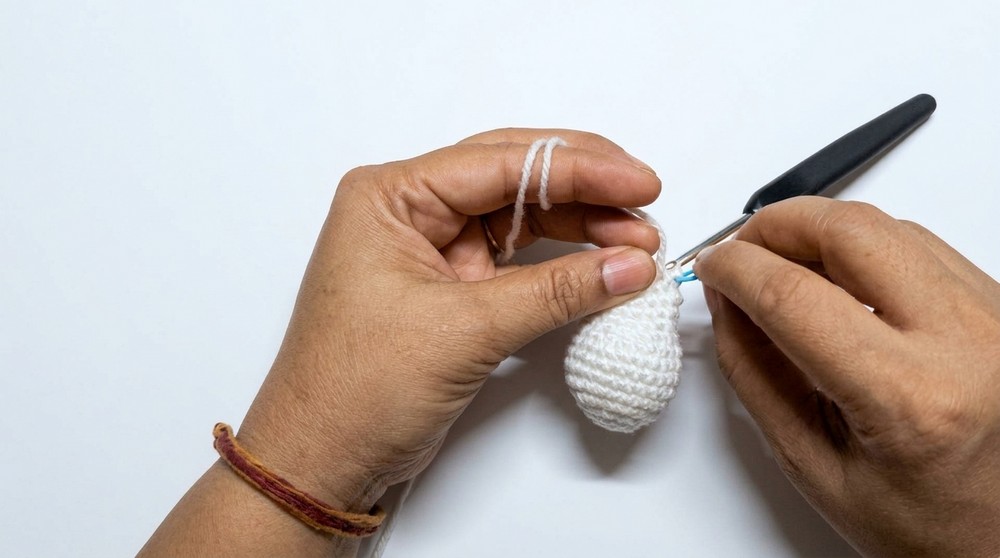
Stuffing & Finishing:
- Lightly stuff the head with fiberfill to create a 3D shape. Flatten the open end and sew it shut by crocheting 6 sc through both sides. (6 stitches total)
3. Legs & Tail
Front Legs (Make 2):
- Magic Ring: Work 6 sc into the ring.
- Round 2: Work 2 sc in each stitch around. (12 stitches total)
- Round 3: Work (1 sc, inc in the next stitch) repeat 6 times. (18 stitches total)
- Round 4: Work 1 sc in each stitch around to shape the leg.
- Fasten off, leaving a tail for sewing.
Back Legs (Make 2):
- Magic Ring: Work 6 sc into the ring.
- Round 2: Work 2 sc in each stitch around. (12 stitches total)
- Round 3: Work 1 sc in each stitch around.
- Fasten off, leaving a tail for sewing.
Tail:
- Magic Ring: Work 4 sc into the ring.
- Expand slightly in the next round, then shape.
- Fasten off, leaving a tail for sewing.
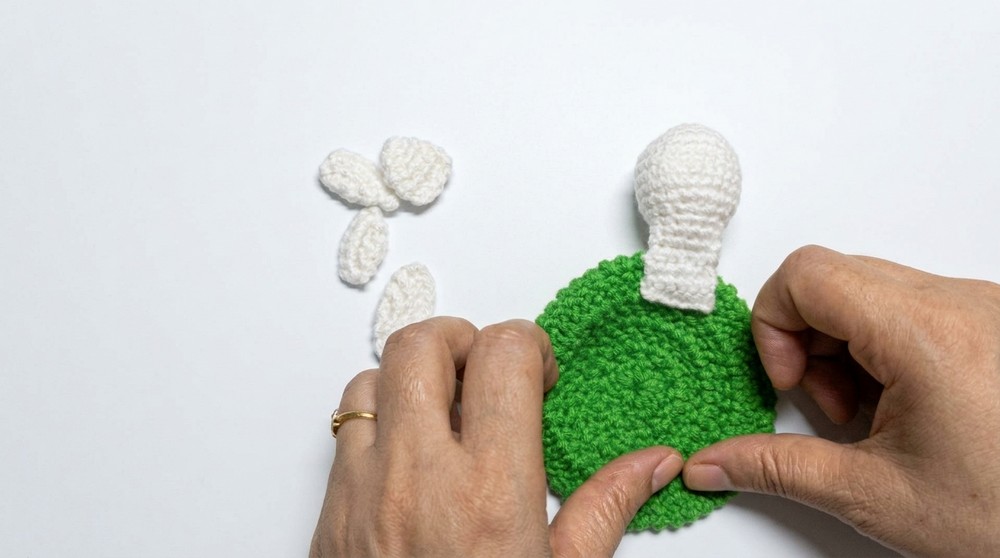
4. Assembly and Eyes
Assembly:
- Position the head, legs, and tail on the coaster base. Place the head slightly off-center at the top, with the legs evenly spaced on either side and the tail at the bottom.
- Use a sewing needle and matching yarn to attach each piece securely to the coaster. Start with the head, followed by the legs, and finish with the tail.
- For additional durability, you may use craft glue to reinforce the attachments after sewing.
Eyes:
- Thread black yarn onto a sewing needle. Position the eyes approximately 3–4 rounds down from the top of the head, ensuring symmetry.
- Sew small, neat circles for the eyes, tying the thread securely at the back of the work.
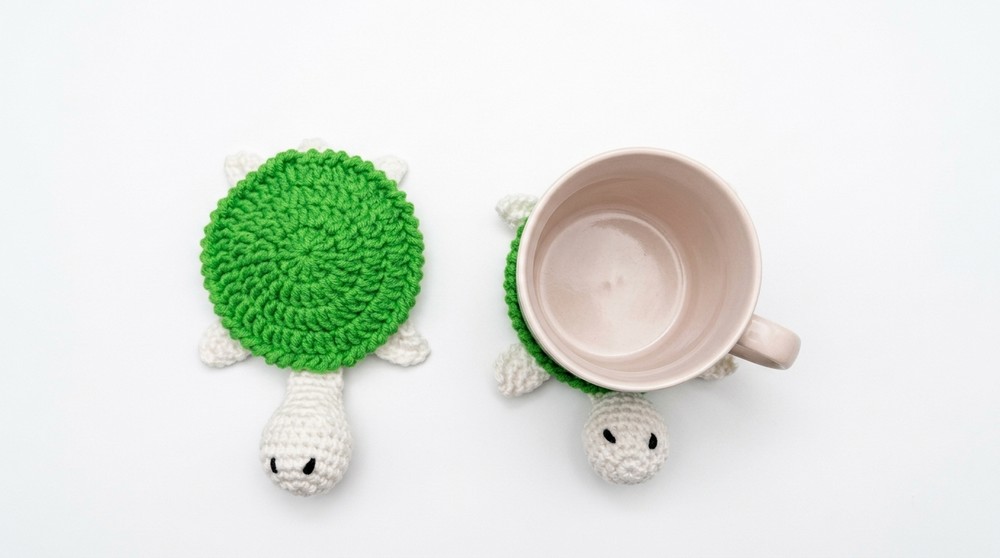
Sizing
- Finished Size: The completed coaster, including the head and legs, measures approximately 12–15 cm in diameter, depending on yarn tension and hook size.
- Customization: Experiment with different colors for the shell and limbs to create unique appearances for each turtle. Use embellishments like beads for the eyes to add more character.
Conclusion
This crochet turtle coaster is a delightful and practical project that combines fun details and functional design. With each component individually crafted and sewn together, the finished piece is both durable and highly customizable. Whether used in your own home or gifted to a friend, this coaster is sure to bring a playful yet practical touch to any space.