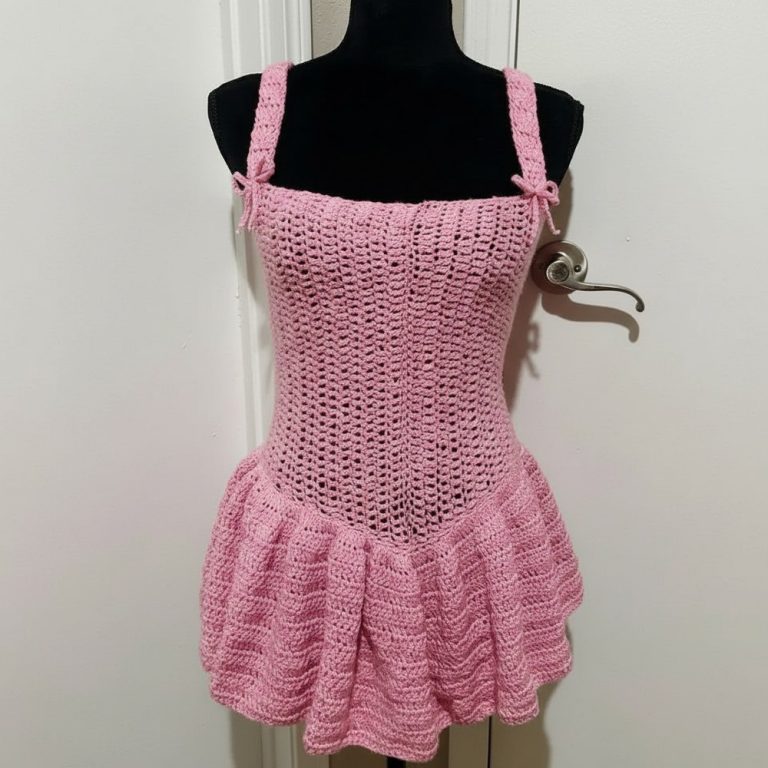
Spiritual Crochet Mandala Top Pattern With Meditative Style

Rock bold outfits using this Free Crochet Mandala Top Pattern for eye-catching circles and a relaxed vibe that suits casual days and outings.

Timeless Crochet Mandala Top Pattern That Feels Meaningful
Blending geometric symmetry and vibrant color play, this stunning piece draws inspiration from classic mandala motifs, offering an elegant showcase for detailed stitches and imaginative yarn selections. Ideal for sunny festivals, beach outings, or laid-back daytime adventures, it serves as a striking focal point that instantly elevates any outfit. The openwork and circular motifs provide a breathable, comfortable fit, while the flattering design complements a wide range of body shapes.

Personalization is effortless, with endless options for color combinations and sizing, making each finished top truly unique. Benefits include its lightweight feel, standout visual appeal, and versatility—it transitions seamlessly from statement standalone wear to stylish layering. The specialty of this top lies in its artistic expression and practical comfort, making it a favorite for those who value both beauty and individuality in their wardrobe. It’s a celebration of modern style with a playful, bohemian twist.
Materials Needed
-
Yarn: 100% Cotton (Category 4 / Worsted weight recommended).
-
Hook: 3.5 mm or 4.0 mm crochet hook.
-
Tools: Tapestry needle for weaving ends, scissors, and measuring tape.
Phase 1: The Base and Side Panels
Note: This tutorial assumes you have two finished crochet bra cups.
-
Bottom Band: Attach yarn to the bottom corner of one cup. Work double crochet (dc) across the bottom of both cups, joining them in the center with a slip stitch.
-
Side Straps (Mesh Panels): * Turn your work to the side edge. Chain 5, work 1 dc in the next space.
-
Chain 5, 1 dc across the side.
-
Repeat this mesh pattern until you reach the desired length to wrap around your ribs.
-
-
Repeat: Reattach yarn to the other side of the bralette and mirror the mesh panels.

Phase 2: The Decorative Mandala Center
Round 1: Foundation Ring
-
Locate the center join between the cups. Count 2 spaces to the right and attach yarn.
-
Chain 7.
-
Count 2 spaces to the left of the center and slip stitch (sl st) to attach.
-
Chain 2, skip 1 space on the cup edge, and sl st into the next space. Turn work.
-
Work 11 dc into the ch-7 loop. sl st to the cup edge to anchor.

Round 2: Spokes
-
Chain 2, sl st into the next space up the cup edge. Turn.
-
-
Chain 1, 1 dc into the previous dc.
-
-
Repeat around the circle until you reach the other cup edge. sl st to attach.
Round 3: Solid Single Crochet
-
Chain 1, sl st up the cup. Turn.
-
Work 1 single crochet (sc) in every stitch and ch-1 space around the arc.
-
sl st into the next cup space.
Round 4: Arches
-
Chain 1, sl st up the cup. Turn.
-
-
Chain 3, skip 2 stitches, 1 sc in the 3rd stitch.
-
-
Repeat around the arc. sl st to attach to the cup.

Round 5: Scallops
-
Chain 1, sl st up the cup. Turn.
-
In the first ch-3 space, work 10 dc.
-
In the next ch-3 space, work 1 sc.
-
Repeat the (10 dc, 1 sc) pattern around the arc to form scallops.
Round 6: Large Mesh Outer Arc
-
Chain 1, sl st up the cup. Turn.
-
Chain 6, 1 sc into the center of the first scallop.
-
Repeat ch-6 arcs around. sl st to anchor to the cup.
-
Work 7 dc into each ch-6 space around.
Round 7: Final Decorative Edging
-
Work a row of ch-4 arches around the mandala center.
-
In the final row, work 4 dc, a Picot Stitch (Ch 3, sl st in first ch), and 5 dc in each ch-sp.

Phase 3: Assembly and Straps
-
Neck Straps: Create two chains of 200–250. Attach one to the top of each cup.
-
Back Tie: Create a final chain of 250. Lace this through the side mesh panels in a criss-cross pattern to close the back.
-
Finish: Weave in all loose ends with a tapestry needle.

Conclusion
Finishing this boho mandala top provides you with a high-end, festival-ready garment that showcases your growth in intricate lacework. By mastering the arc-joining technique, you’ve created a piece that is both structurally sound and visually striking. Once you lace up the back and secure your ties, your unique handmade top is ready for its first outing.
Pro Tip: If the mandala center feels loose or sags, use a slightly smaller hook (3.0mm) for the mandala rows only. This creates tighter tension and ensures the lace sits flat against your chest.