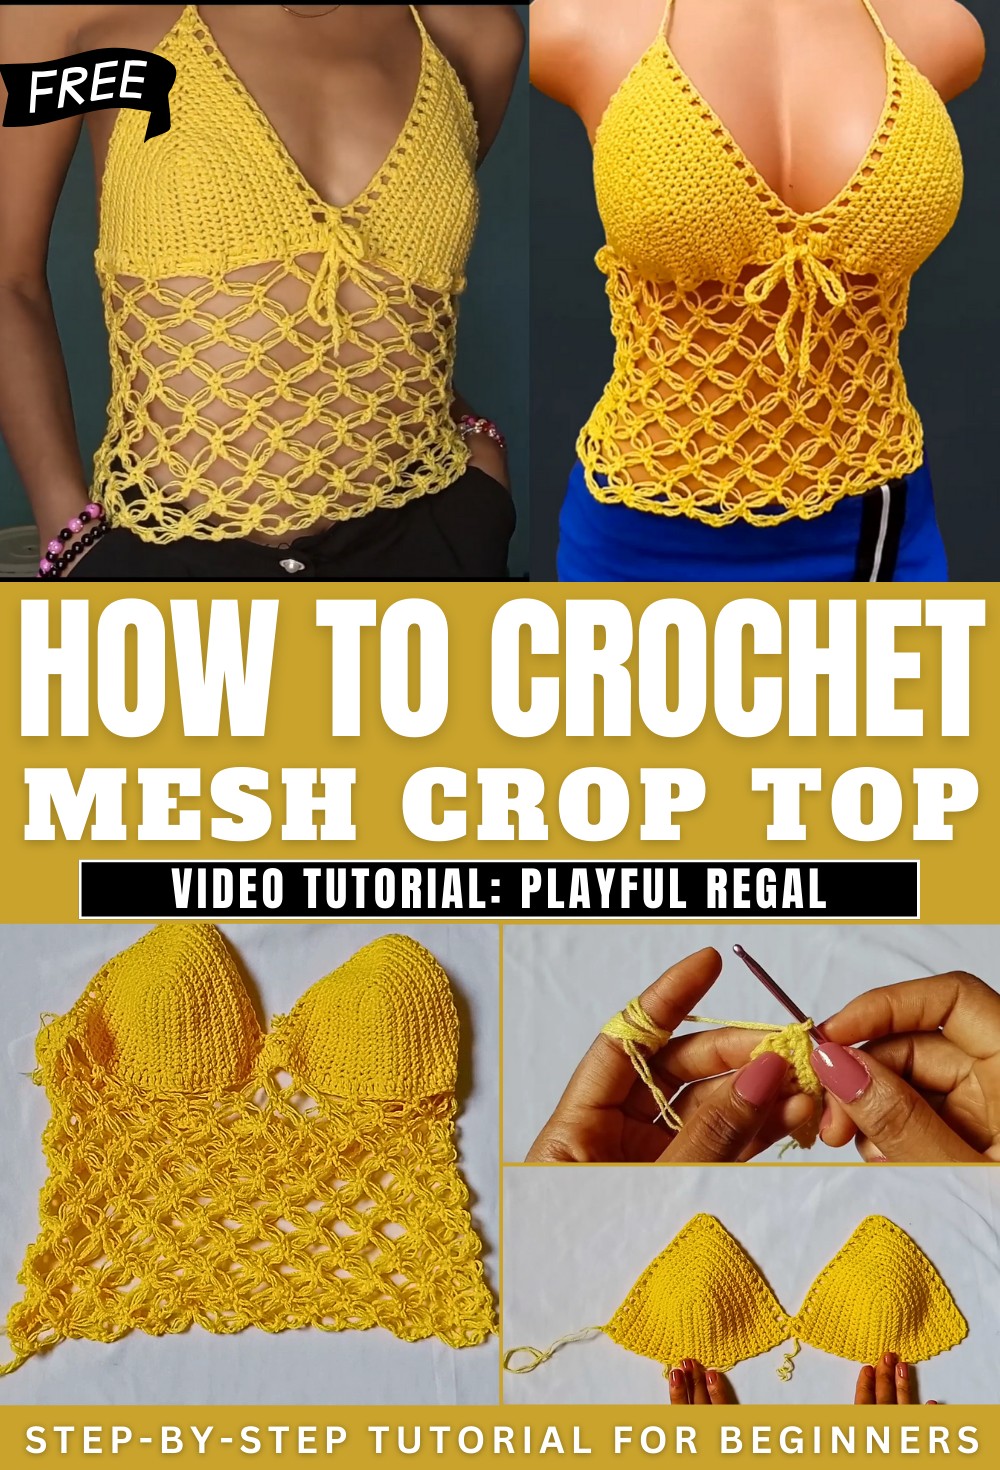
Lush Crochet Mesh Crop Top Pattern With Elevated Detail
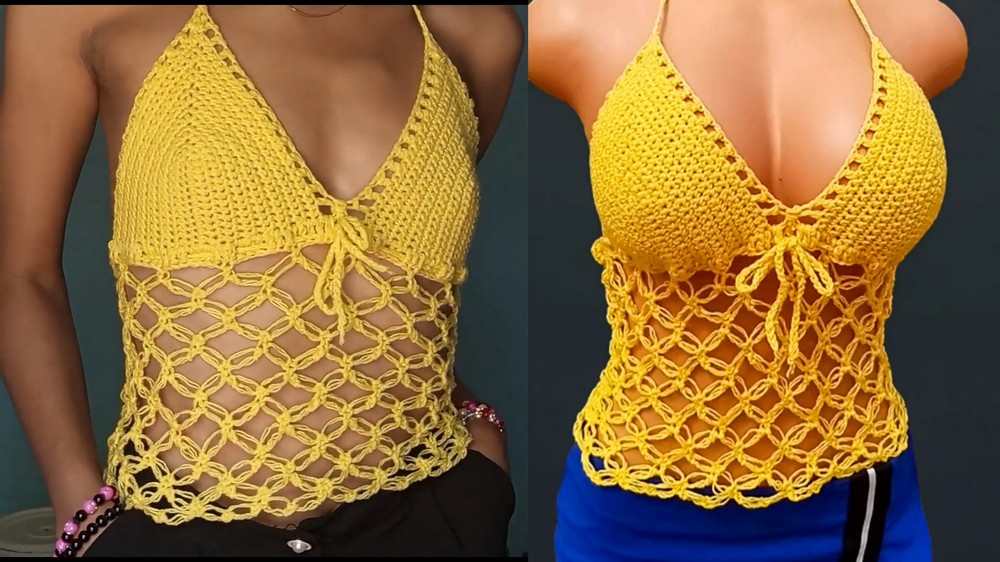
Show off summer flair with this Crochet Mesh Crop Top Pattern that brings airy texture, trendy shape, and lush style for modern casual days.
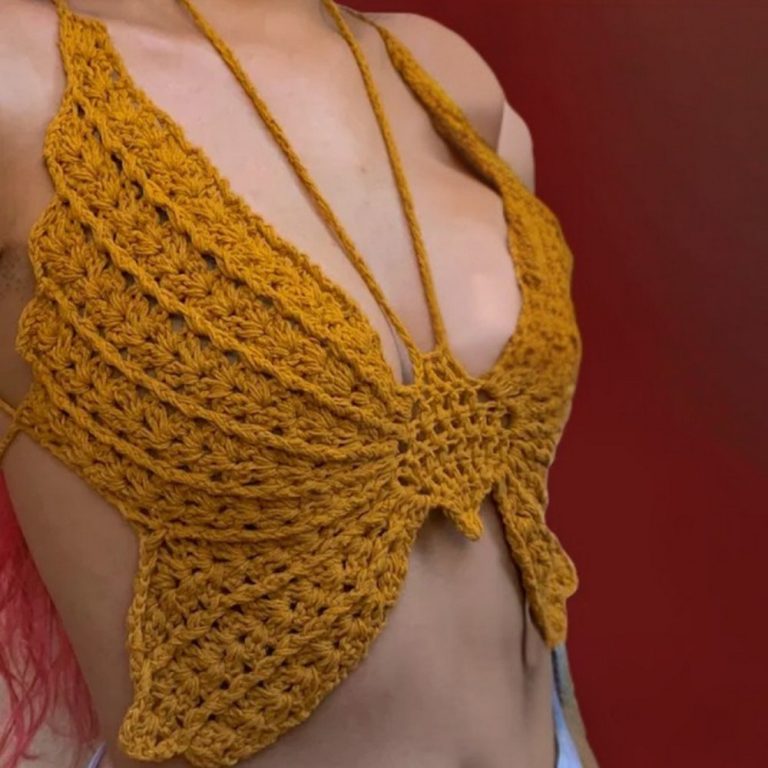
Flirty Crochet Mesh Crop Top Pattern Ready for Sunshine
Perfect for sunny days and fun outings, the crochet mesh crop top pattern adds a fresh twist to any outfit. The airy, see-through style keeps you cool and comfortable, making it a wonderful choice for beach trips, festivals, or casual hangouts. Its light and open stitches make it both fashionable and breathable. Easy to pair with high-waisted jeans, skirts, or shorts, this crop top quickly becomes a favorite for layering or standing out on its own.
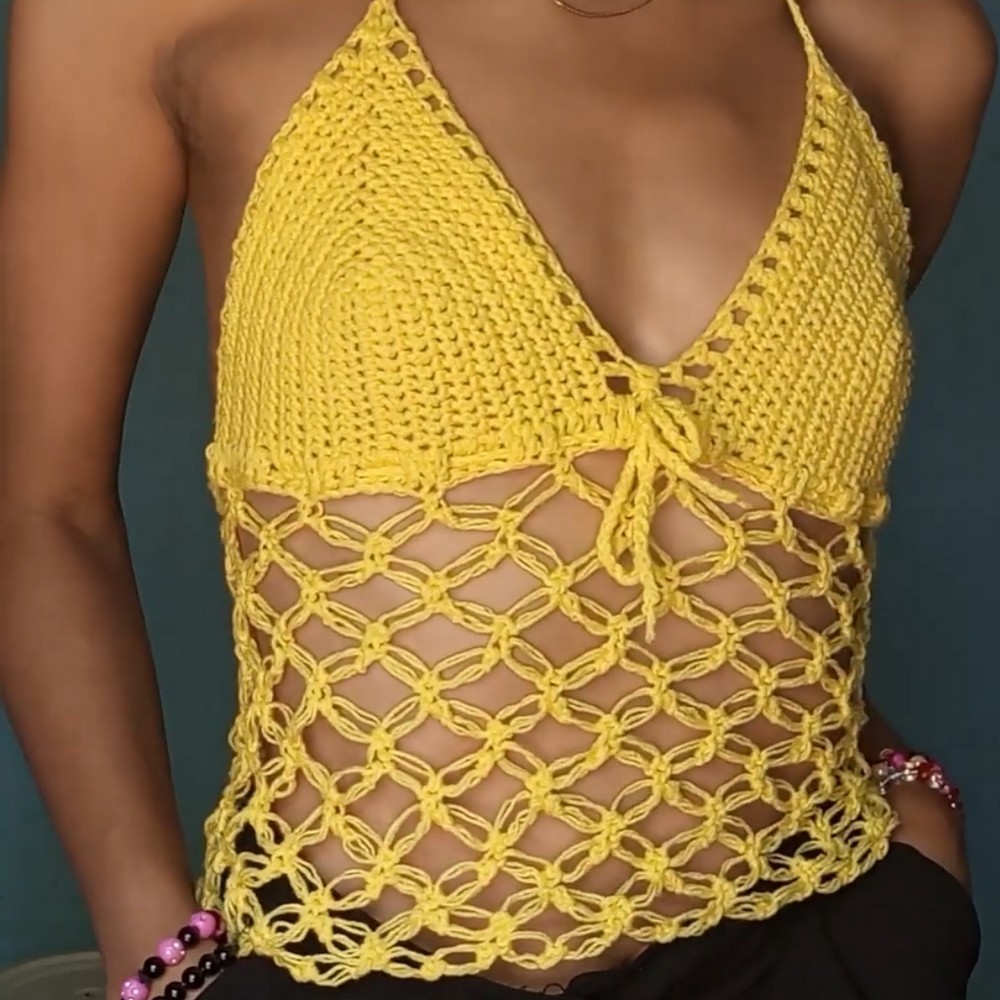
Beginners will find the crochet mesh crop top pattern simple to follow, while more experienced crocheters can enjoy playing with colors or adding personal touches. The shorter length and mesh design give a playful and modern look, while still offering coverage and comfort. This stylish top lets you show off your personality and enjoy warm weather with confidence. With its blend of ease, beauty, and usefulness, it’s a great piece to create and wear all season long.
Materials Needed
-
Yarn: 100% Acrylic or Cotton (Size 3 or 4 recommended).
-
Hook: 3.5 mm (or 4.0 mm depending on your yarn choice).
-
Tools: Stitch markers, measuring tape, and scissors.
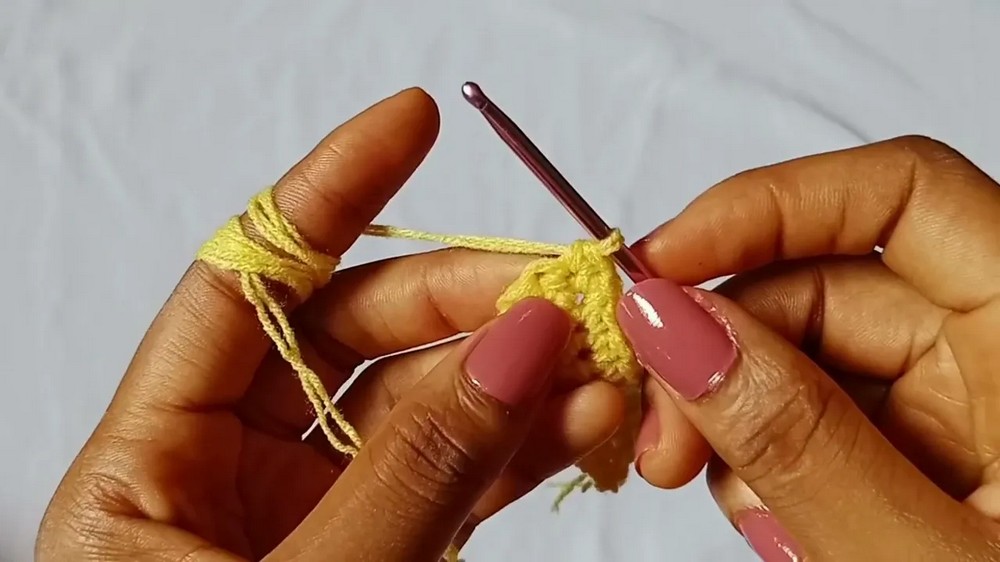
Part 1: The Bra Cups (Make 2)
Round 1 (Foundation)
-
Foundation: Chain a length that reaches from your underbust to your nipple. (For Size Small/B-cup: 13 chains or 3 inches).
-
Base: sc in 2nd chain from hook and in each chain across until 1 remains.
-
Peak: In the last chain, work 5 sc. Place a stitch marker in the 3rd stitch (middle).
-
Return: Work 1 sc in each foundation chain on the opposite side. Ensure stitches are equal on both sides of the marker.
Round 2 & Following (Cup Growth)
-
Row 2: Ch 1, turn. sc in each stitch until the marked middle stitch.
-
Increase: Work 3 sc in the middle stitch. Replace marker in the 2nd stitch of this group.
-
Finish: sc in each remaining stitch to the end.
-
Repeat: Continue until the base of the cup measures your desired width (Size Small: 14 rows or 6 inches wide).
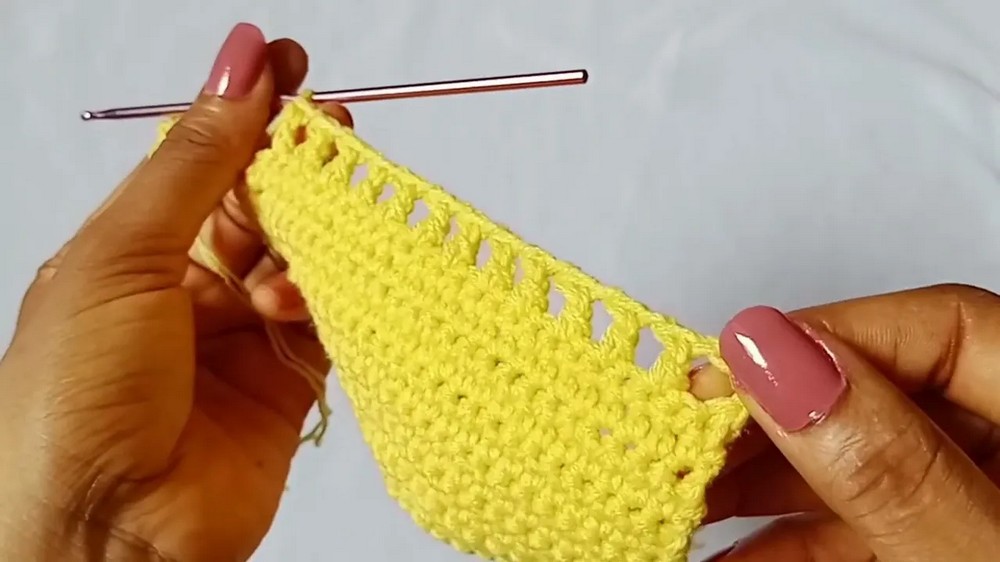
Final Cup Row (Mesh Edge)
-
Mesh: Ch 4, turn. Skip 1, dc in next, ch 1. Repeat until 1 stitch remains before the marker.
-
Peak Shell: In the marked stitch, work (2 dc, ch 2, 2 dc).
-
Return: Mesh down the other side (ch 1, skip 1, dc). Fasten off Cup 1; do not fasten off Cup 2.
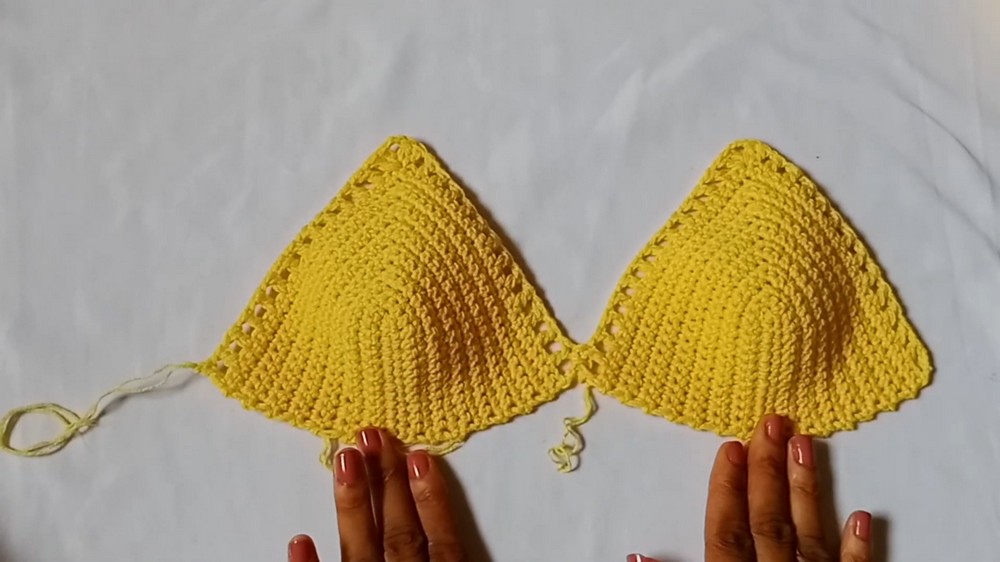
Part 2: Joining and Underbust Base
-
Join Cups: Chain 1, turn. Align Cup 2 with Cup 1. Work 3 sc through both cups to join them at the inner edge.
-
Calculate Circumference: Measure the width of joined cups (e.g., 14″). Subtract this from your full bust measurement (e.g., 32″ – 14″ = 18″).
-
Back Chain: Attach yarn to the outer corner. Chain until the length matches your calculation (e.g., 70 chains for 18″). Join to the other outer corner with a slip stitch.
-
Solid Row: Work 1 dc into every row end/space across the cups and into every chain of the back loop.
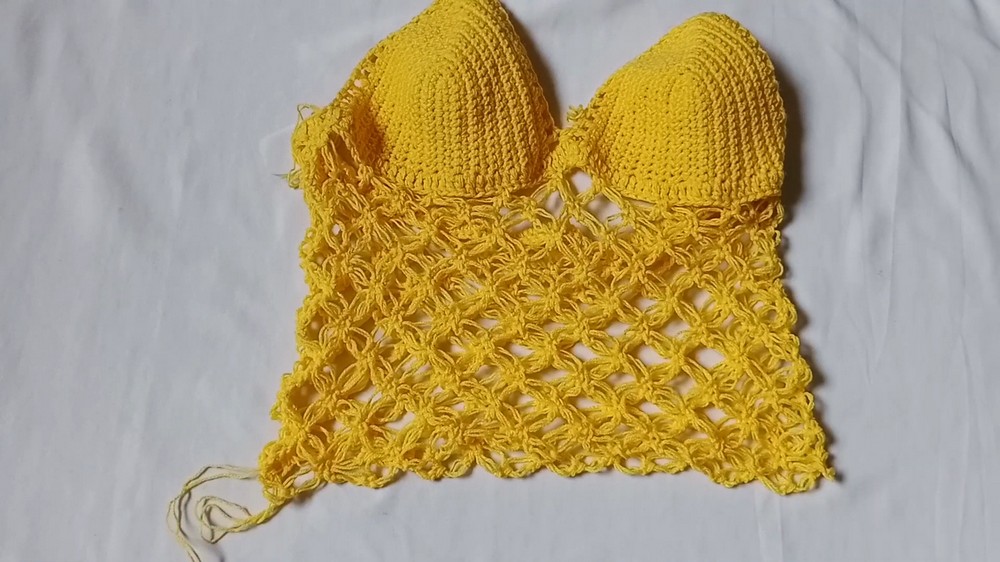
Part 3: The Solomon’s Knot Bodice
Round 1 (Setup)
-
The Knot: Ch 1, sc in same stitch. Pull up a 1-inch loop, yarn over, pull through. Insert hook into the “back strand” of the long loop and work an sc. (Repeat to make two knots).
-
Anchor: Skip 7 stitches on the base, sc in the 8th.
-
Repeat: Work two knots and skip 7 stitches around the entire circumference. Join with a slip stitch.
Round 2 & Following (Interlocking Mesh)
-
Start: Ch 3, turn. sl st into the sc at the peak of the first loop. Ch 1, sc in same stitch (mark this).
-
Pattern: Work two Solomon’s knots. sc into the peak sc of the next loop.
-
Growth: Repeat around. Work until the bodice reaches your desired length (e.g., 10 rows or 7 inches).
Part 4: Finishing
-
Neck Straps: Attach yarn to the cup peaks. Chain 100–120 and fasten off.
-
Adjustment Tie (Optional): Create a long chain (approx. 140″). Weave it through the solid dc row under the bust to allow the top to be cinched for a perfect fit.
Conclusion
Weave in all remaining ends. The Solomon’s Knot creates a highly elastic and “flowy” texture that traps very little heat, making it perfect for beachwear.