Adorable Free Crochet Pumpkin Hat Pattern – Perfect for Halloween
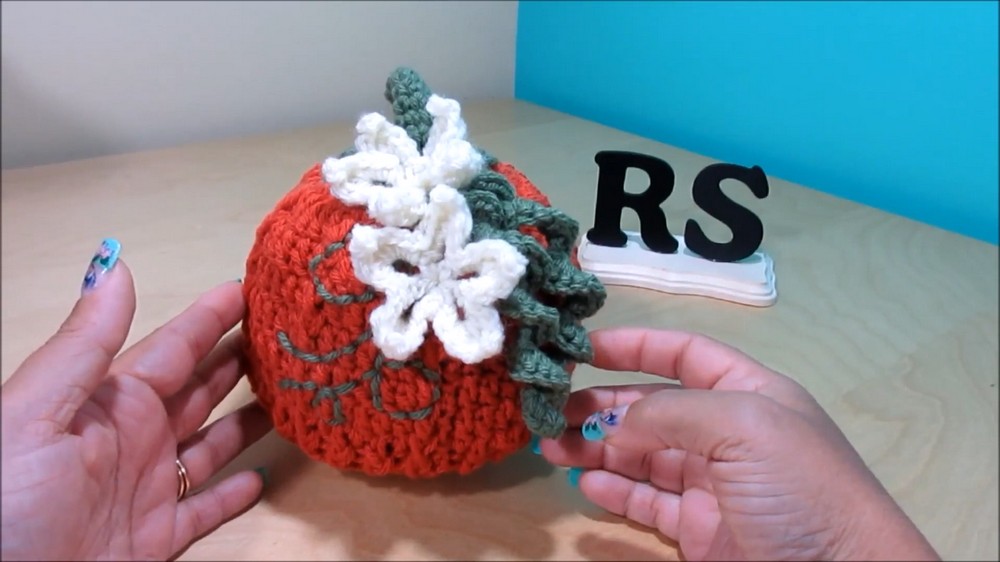
Keep cozy and celebrate fall by crocheting a pumpkin hat using our free pattern a quick project that adds fun flair to your chilly weather wardrobe.
This charming hat brings a playful, cozy touch to any baby’s outfit, perfect for photo sessions capturing those precious first months. Its bright pumpkin-orange color combined with a cute little green stem on top instantly evokes the warmth and fun of autumn. The gentle texture and snug fit make it a comfortable choice for newborns up to three months, adding both style and practicality. Whether used for festive fall outings or sweet indoor moments, this hat is sure to stand out.
FEATURED BY: Ruby Knit Crochet y Tejidos
Free Crochet Pumpkin Hat Pattern | Beginner-Friendly & Fun
Designed with simplicity in mind, it’s an excellent project even for beginners just starting with crochet. The pattern begins by creating the stem, a short crocheted piece that adds a realistic pumpkin detail. Then, the main part of the hat grows from a tight circle using single and double crochet stitches, gradually increasing in size to form a round, pumpkin-shaped cap.
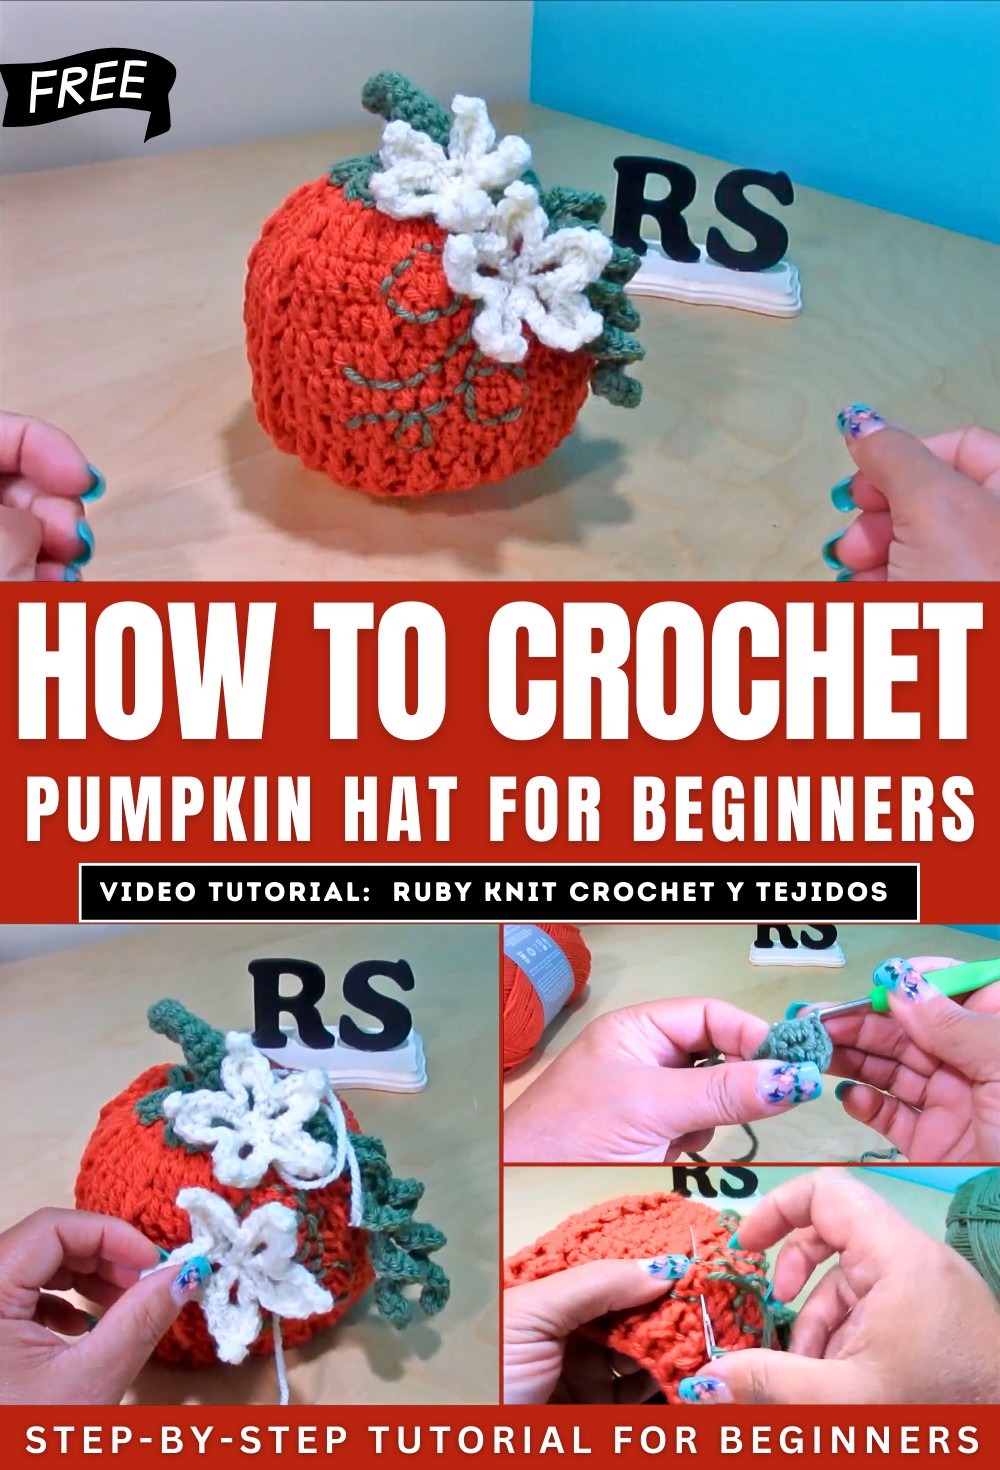
The careful combination of front and back post stitches gives the hat a textured, ribbed effect reminiscent of the sections on a pumpkin, lending depth and charm. Easy-to-follow steps guide you through adding curly tendrils and an optional small flower accent for extra personality.
Not only does this hat celebrate the spirit of fall with its delightful design, but it also makes a thoughtful handmade gift or a fun item to crochet for local sales. Its lightweight acrylic yarn ensures durability and easy care, so the little pumpkin hat can be treasured and worn through the cooler seasons. This project balances creativity and technique, inviting beginners to enjoy a rewarding and festive crochet experience.
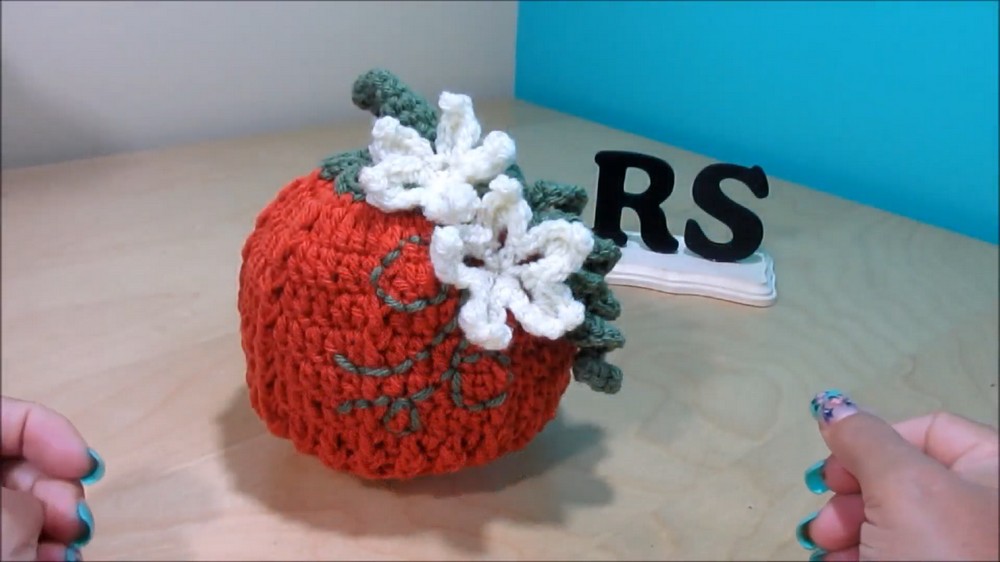
Crochet Pumpkin Hat Pattern
This crochet pumpkin hat is a beginner-friendly project that incorporates basic stitches and techniques like single crochet, double crochet, front-post double crochet, back-post double crochet, and decorative elements such as curly cues and optional flowers. Perfect for fall-inspired outfits or as a seasonal gift, this hat is easy to customize and a fun way to celebrate autumn.
Skill Level
Beginner
Materials Needed
- Yarn:
- Medium weight (4) acrylic yarn
- Pumpkin (orange) for the body.
- Forest (green) for the stem and decoration.
- Optional: Third yarn color, such as ecru, for flowers.
- Hook Size:
- 4mm crochet hook
- Tools:
- Tapestry needle (for weaving in ends)
- Embroidery or sharp needle (for sewing the stem and decorations)
- Scissors
Special Stitches
- Single Crochet (SC):
- Insert the hook into the stitch, yarn over, pull up a loop, yarn over again, and pull through both loops on the hook.
- Double Crochet (DC):
- Yarn over, insert the hook into the stitch, yarn over, pull up a loop (3 loops on hook). Yarn over, pull through 2 loops, yarn over again, and pull through the last 2 loops on the hook.
- Front-Post Double Crochet (FPDC):
- Yarn over, insert the hook from front to back around the vertical post of the DC from the previous row, yarn over, pull up a loop (3 loops on hook). Yarn over, pull through 2 loops, yarn over again, and pull through the final 2 loops.
- Back-Post Double Crochet (BPDC):
- Yarn over, insert the hook from back to front around the vertical post of the DC from the previous row, yarn over, pull up a loop, yarn over and pull through 2 loops, yarn over and pull through the last 2 loops.
- Curly Q Stitch:
- Chain desired length and work 3 SC into each chain space to create a twisted effect.
Stitch Abbreviations
- ch = Chain
- sl st = Slip Stitch
- sc = Single Crochet
- hdc = Half Double Crochet
- dc = Double Crochet
- FPDC = Front-Post Double Crochet
- BPDC = Back-Post Double Crochet
Useful Tips
- Keep count: Accurate stitch counts will ensure the shape and proportions are correct. Use stitch markers if needed.
- Tension: Work with consistent tension for uniform ridges and a smooth pumpkin body.
- Join neatly: Always use a slip stitch for seamless joining.
- Customization: You can modify the height of the stem, the number of ridges, and the length of the curly Q depending on the look you prefer.
- Blocking: Use steam blocking to give your hat a professional finish and enhance the definition of stitches, especially the pumpkin ridges.
Detailed Pattern Instructions
1. The Stem (Forest Green Yarn)
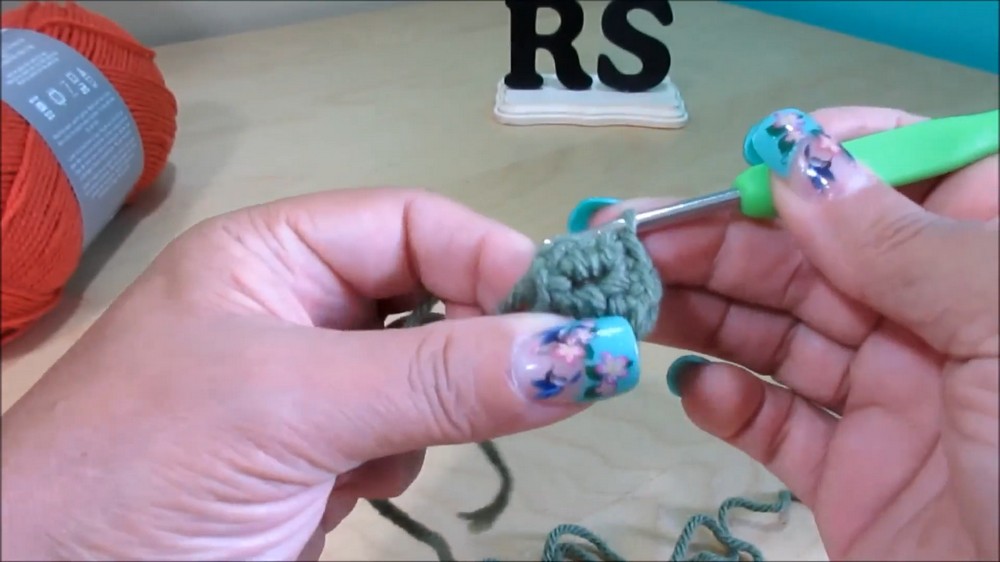
Switch to the 4mm hook and green yarn.
- Row 1:
- Make a slip knot and ch 2.
- Work 6 sc into the first chain.
- Rows 2-8:
- Continue working 6 sc per row, joining with a sl st at the end of each round.
- Row 9:
- Work 2 sc into each space to increase the stitch count to 12 stitches.
- Row 10:
- Work 1 sc into the first stitch, 2 sc in the next stitch, repeating this sequence around.
- Row 11:
- Switch to working in the front strand only of the stitches.
- Work 1 sc in the first stitch, ch 7, skip the next stitch, and work 2 sc in the subsequent stitches.
- Repeat around, forming 6 loops with the chains.
2. The Pumpkin Body (Orange Yarn)
Switch to the 4mm hook and orange yarn.
- Round 1: Base
- Attach orange yarn to the back strands from Row 11 (these were left unused).
- Work 18 sc around.
- Round 2: Increasing
- Work 2 sc into each space, increasing the stitch count to 36 stitches.
- Round 3: Attaching Green Loops
- Work 1 sc, then 2 sc in the next space, while attaching the green loops from the stem at every 4th stitch.
- Repeat this sequence to complete the round.
- Main Rows: Creating the Pumpkin Shape
- Switch to dc and work 54-58 dc around.
- Continue by working FPDC every 5 stitches (alternating with 5 dc) to create the textured pumpkin ridges.
- Repeat this DC + FPDC pattern for multiple rounds until the hat reaches the desired length.
- Brim:
- Work a round of alternating FPDC and BPDC to define the brim and add stretch.
3. Curly Q Decoration (Green Yarn)
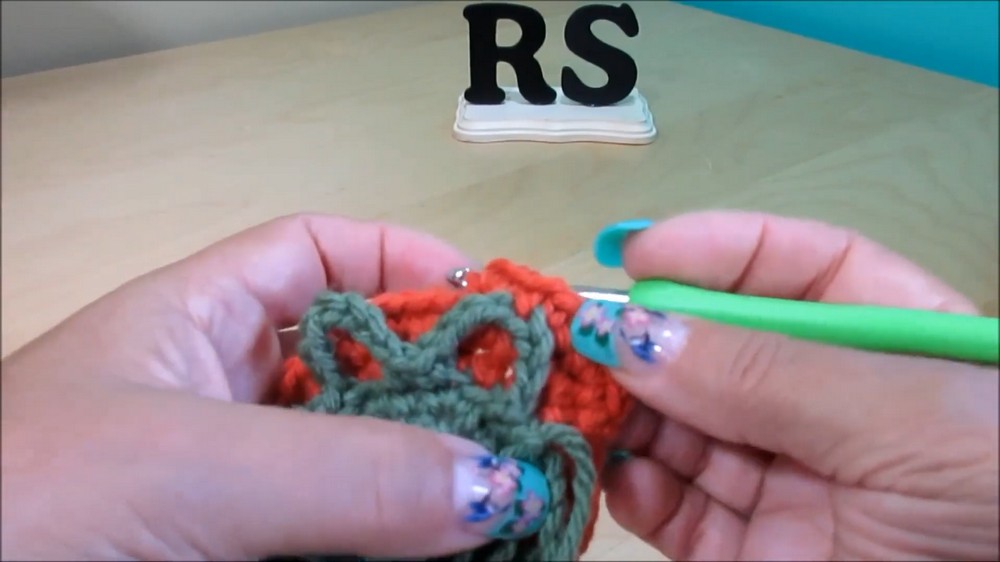
Switch to the 4mm hook and attach green yarn at the base of the stem.
- Large Curly Q:
- ch 20, turn, and work 3 sc in each chain space to create the twist.
- Small Curly Q:
- Repeat the same method but chain only 18 for a shorter curly-Q detail.
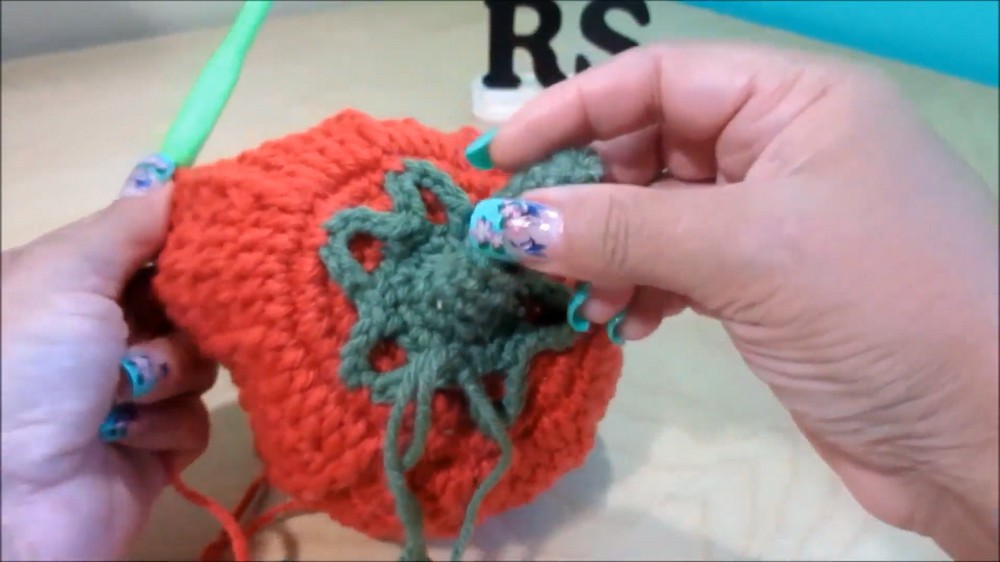
Attach these decorative twists at either side of the stem securely with the yarn tails.
4. Optional Flowers (Ecru Yarn)
Switch to the 4mm hook and the optional yarn color.
- Round 1:
- ch 4, join with a sl st to form a ring.
- Petals (Work 5):
- Into the ring, work: 1 sc, 1 hdc, 1 dc.
- ch 3, sl st into the top of the dc.
- Then work: 1 dc, 1 hdc, 1 sc.
- Repeat around for five petals and close with a slip stitch.
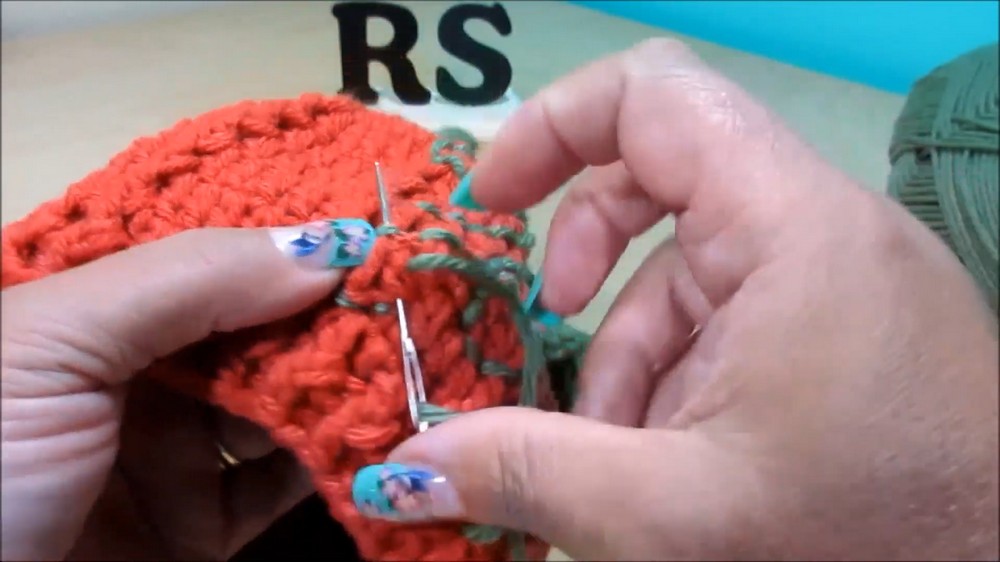
Attach optional flowers around the stem, brim, or body of the hat as desired.
Finishing & Blocking
- Secure all yarn ends: Weave them into corresponding areas with your tapestry needle.
- Steam block your hat:
- Shape the hat carefully to enhance the ridges and flatten the curly-Qs as needed.
Conclusion
This crochet pumpkin hat is a great project for practicing basic stitches while creating a seasonal design that’s both adorable and functional. You can customize the size, decorative elements, and colors to suit your style, making it perfect for gifting or personal use.