How to Crochet 2 Simple Squares Sewn Together Bag

In this post, you will learn how to crochet a charming little girl’s bag, perfect as a gift or a fun creative project for beginners. Using leftover yarn in three colors, a 4mm crochet hook, and simple stitching techniques, she creates the bag from two crochet motif squares stitched together. The string is crocheted separately and attached to create a shoulder strap. Throughout the video, Cleopa provides clear instructions on assembling the bag, adding details, and customizing its size.
This project is ideal for beginners and offers a thoughtful and personalized touch for gifting. So, follow through with us for the complete tutorial.

Crochet Little Girl’s Bag Tutorial
This tutorial by Cleopa from the Crafting Shed demonstrates how to crochet a cute little girl’s bag, perfect as a handmade gift. The project is simple yet versatile, using basic crocheting and sewing techniques to create a functional yet stylish bag. Below is an organized summary of the tutorial.
Introduction to the Project
- Cleopa explains that this little girl’s bag was originally part of a birthday gift for her niece.
- The idea involved crocheting a cute bag to enclose cash as a meaningful and unique gift.
- She utilized leftover yarn, making this project eco-friendly and ideal for small amounts of yarn.

Materials Required
- Three different colors of medium-weight yarn (size 4).
- A size G (4mm) crochet hook.
- Additional tools like scissors, a blunt needle, and a tape measure.
Bag Structure
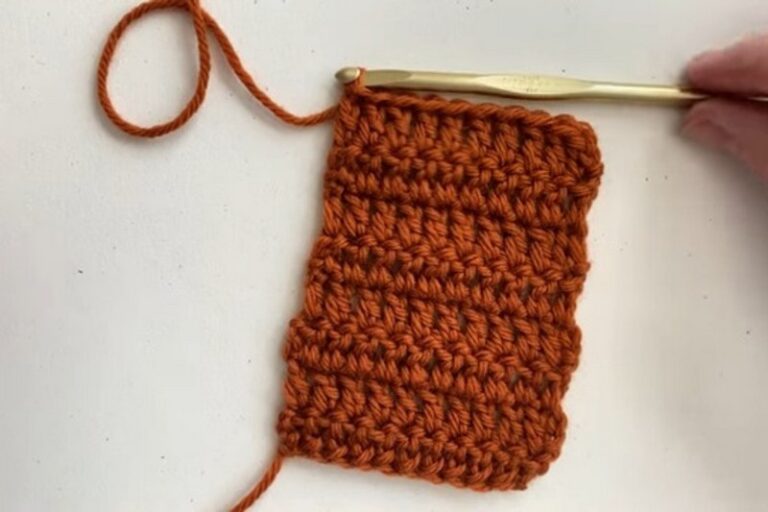
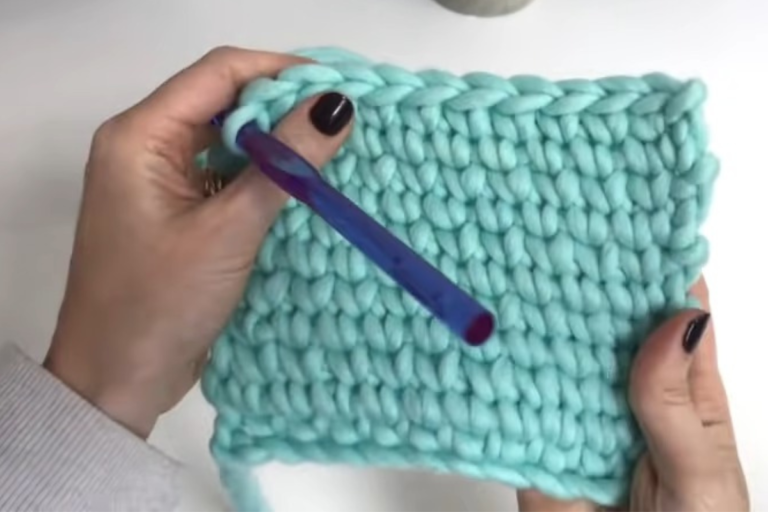
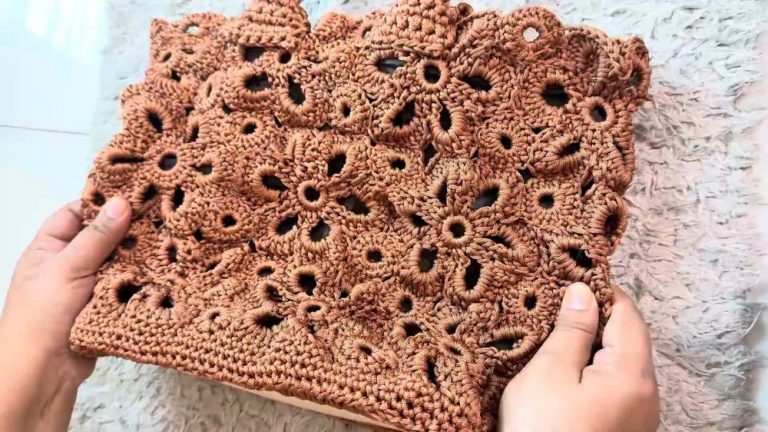
- Crochet Squares
- The bag is made up of two identical crochet squares, with slight variations in color between them to add visual interest.
- Cleopa references a square tutorial from her Motif Square Challenge series, which forms the foundation for the piece.

- Assembling the Bag
- The two squares are placed together, resembling a sandwich, with the right sides facing outward.
- The squares are then sewn along three sides using the mattress stitch, ensuring the edges are neat.
- The fourth side of the squares remains open for the bag’s opening.

Creating the Shoulder String
- Crocheting the Bag String
- A separate yarn piece is used to create a long, durable crocheted string that serves as the shoulder strap.
- Throughout the process, Cleopa demonstrates an alternating yarn-over technique to ensure the string is both strong and visually appealing.
- She emphasizes adjusting the string as you crochet to prevent twisting, ensuring it appears straight when complete.

- Joining the String to the Squares
- Once the string reaches the desired length, both ends are attached securely to the bag.
- Using tails threaded through the blunt needle, the edges of the string are sewn to the top corners of the squares.
Finishing Touches
- Cleaning Up the Bag
- Cleopa sews any leftover edges and secures the tail ends.
- She suggests adding a lining inside the bag to give it structure and enhance its appearance.

- Customization Options
- For a larger bag, she recommends crocheting multiple squares and joining them together.
- Using different yarn colors for these squares allows for creative and eye-catching patterns.
Conclusion
This tutorial provides a creative way to make a lovely handmade girl’s bag using leftover yarn and basic techniques. Cleopa’s clear instructions make the project approachable for crocheters of all skill levels. She encourages viewers to experiment with different sizes, colors, and patterns, making this project highly customizable. Perfect for gifting or personal use, this crochet bag is a fun and rewarding project.