How to Crochet 3D Star for Home Decoration
In this post, you’ll learn how to crochet a 3D star for a Christmas decoration with a step-by-step tutorial designed for beginners. Instructions also cover creating a long strip to connect the star’s sides, filling with fiberfill, and finishing techniques for a polished look. Finally, you will achieve a soft star for bringing beauty to your Christmas decor!
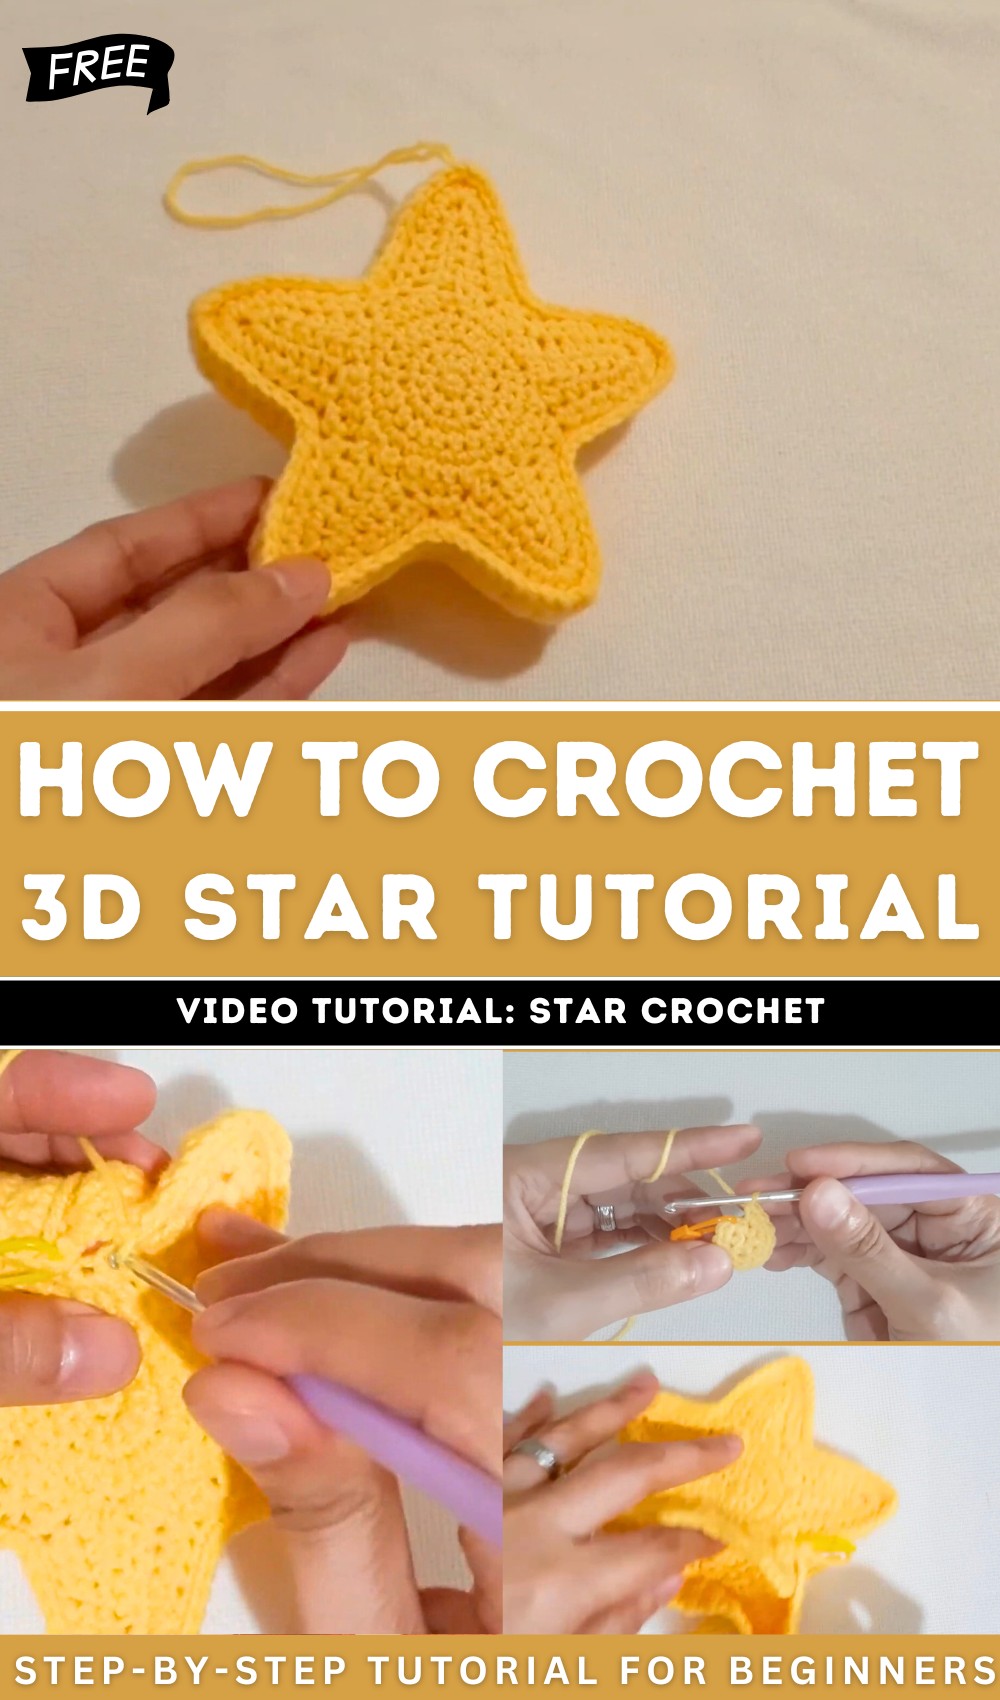
Crochet 3d Star Tutorial
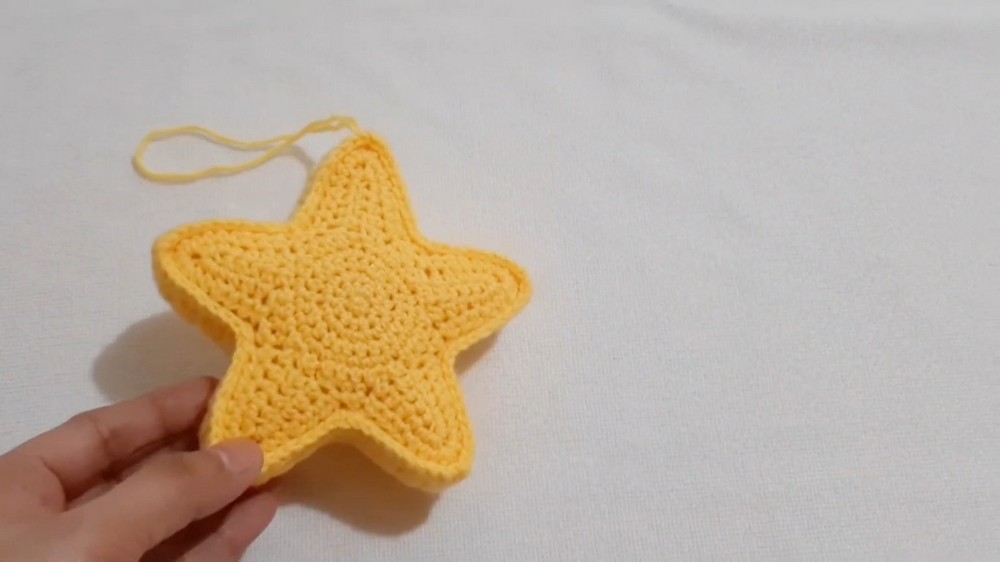
Detailed steps guide forming the star’s intricate points using sc, half double crochets (hdc), and chain spaces. It includes creating two identical star shapes, connecting them, and stuffing them with fiberfill for a soft and decorative finish.
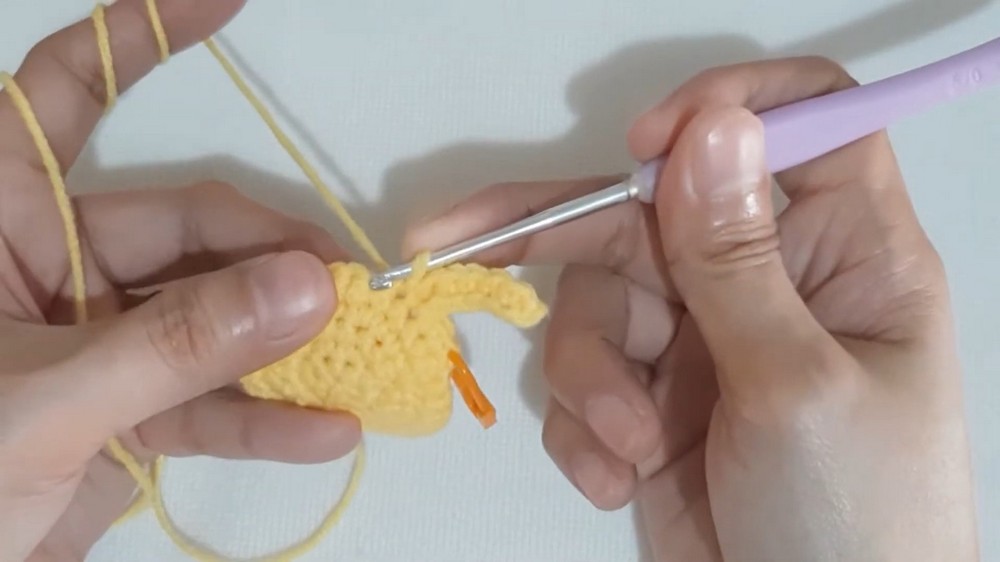
Starting the Star
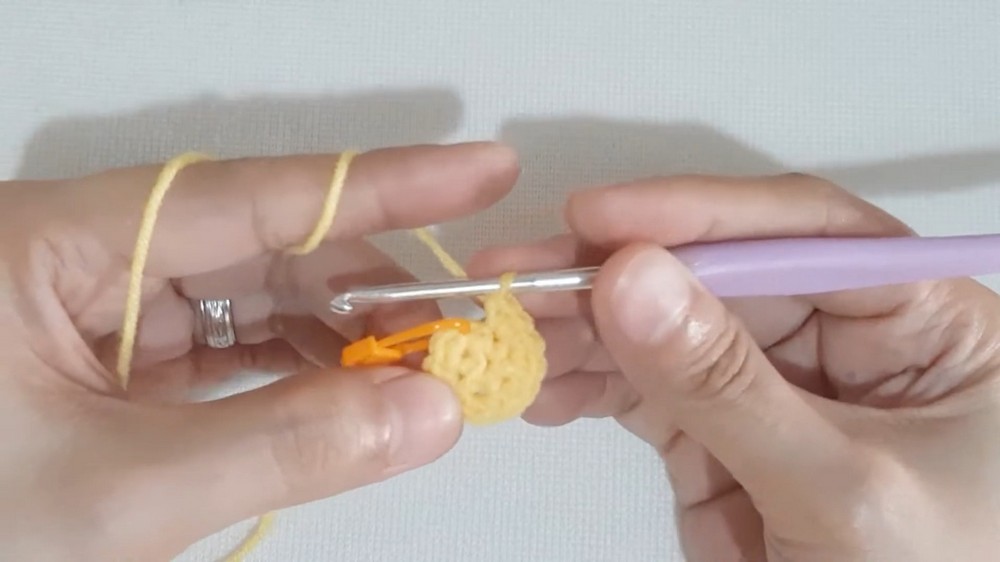
- Magic Circle: The tutorial begins by creating a magic circle, which forms the foundation of the star.
- Building the Base Round: Several rounds are worked to form a flat, circular base.
- Each new round builds layers to enlarge the circle, preparing it for the star’s points.
- Turning Circular Shape into Points: Once the circular base is complete, unique stitch patterns are used to shape the individual points of the star.
- The crafting of each point involves chaining stitches, skipping spaces, and layering textures to create the sharp edges and curves of the star.
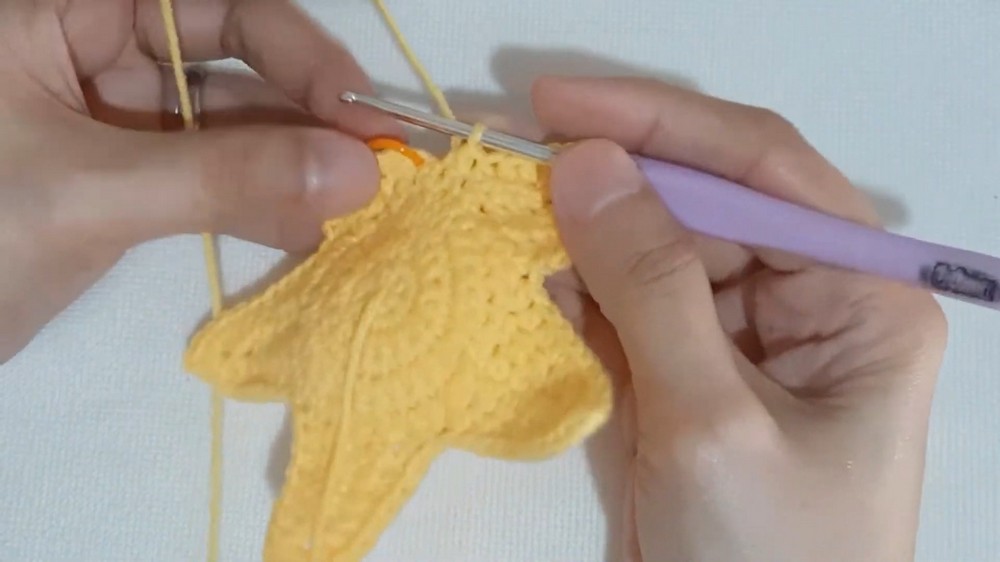
Enhancing the Star Design
- Working Around the Edges: After the points of the star are shaped, additional stitching refines each point and connects them seamlessly.
- Repeating the Process: These steps are repeated for each point to ensure symmetry and maintain the overall design.
Creating the Second Star
- Duplicate the Process: To make the star plush and three-dimensional, an identical second star is crafted.
- Using the same pattern ensures both pieces align perfectly for assembly later.
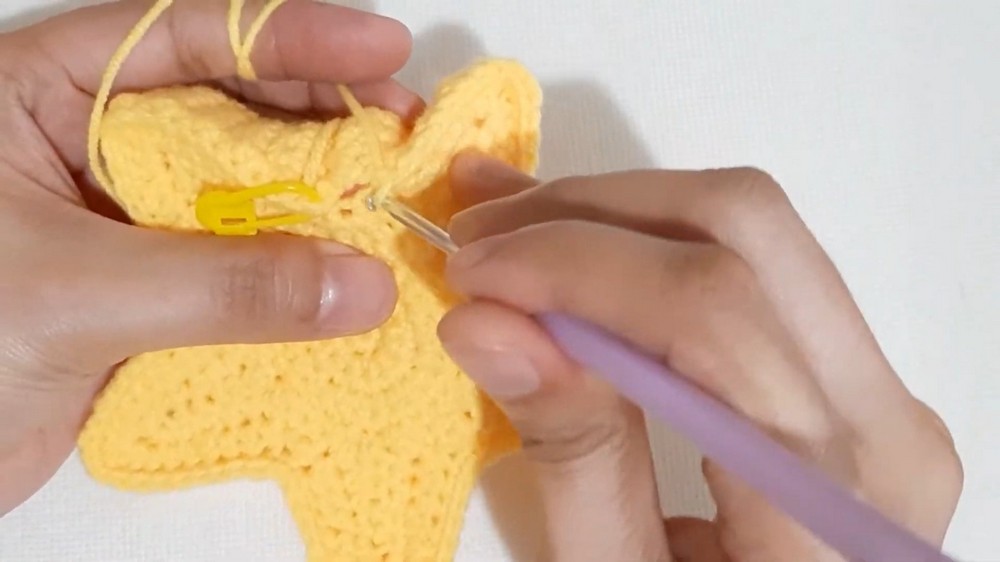
Crafting the Long Strip
- Slip Knot and Foundation Chain: A long strip is created using chain stitches to act as the side panel for connecting the two stars.
- Building Rows: Rows of stitches are added to the strip to provide height and give the star depth.
Joining the Two Stars
- Connecting the Edges: The long strip is attached to the edges of one star using tight stitches for a clean and seamless connection.
- Completing the Connection: Once the strip is securely attached to the first star, it is inverted and used to connect the edges of the second star.
- Sealing the Sides: The strip ensures both stars fit snugly together, forming the three-dimensional plush shape.
Adding Fiberfill
- Stuffing the Star: Fiberfill is used to give the star a soft, huggable texture.
- The filler is carefully inserted halfway through the assembly to ensure all corners are stuffed evenly.
- Additional stuffing is added before sealing the final side.
Finishing Touches
- Closing the Star: After stuffing, the last edge is secured with tight stitches, ensuring no gaps or openings remain.
- Hiding Tails: Loose yarn tails are hidden to maintain a clean and polished look.
- Final Adjustments: Viewers are encouraged to adjust any uneven areas before completing the piece.
Conclusion
- Creative Possibilities: The tutorial encourages crafters to personalize the star with different colors or decorative add-ons (e.g., embellishments).
- Usage Ideas: Suggestions include using the plush star as a gift, keychain, or home decoration.
This tutorial provides clear instructions to create a stylish and functional crochet star, suitable for beginners and advanced crafters alike.