How To Crochet A Key Chain Hat / Bag Charm

Learn how to crochet a beautiful mini hat keychain with flowers following a step-by-step tutorial for beginners. It guides viewers through each step to create the hat, decorative flowers, and braided accents. The project is beginner-friendly with clear instructions on techniques such as magic rings, single crochet, and slip stitches. This charming, handmade accessory is perfect for gifting or personal use!
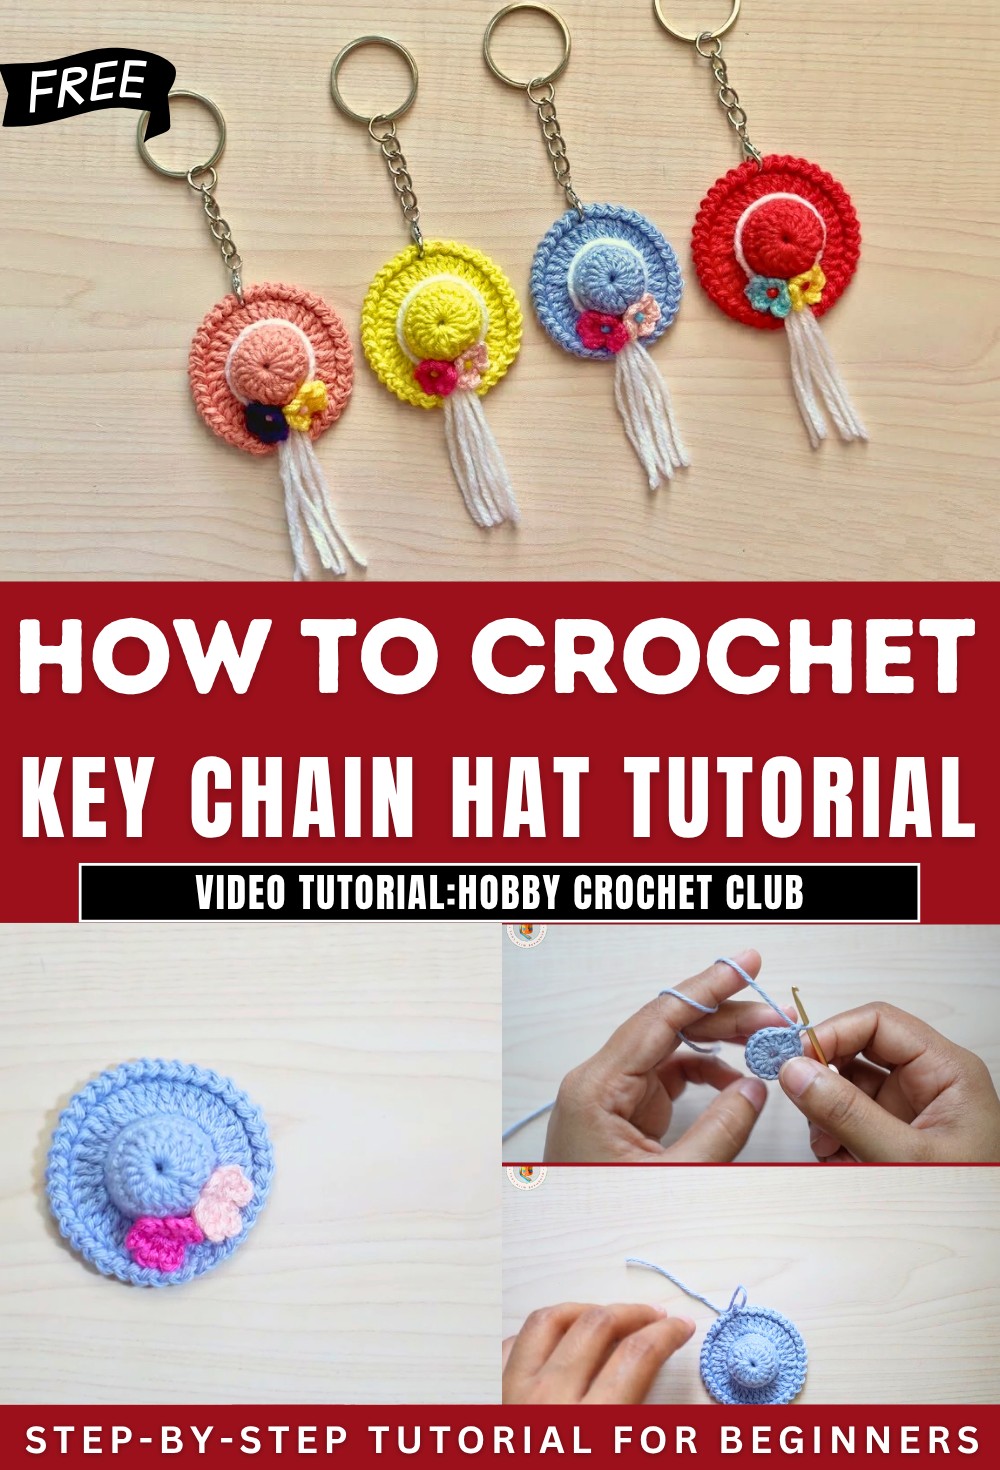
Crochet A Key Chain Hat Tutorial
The video tutorial from Happy Crochet Club provides step-by-step instructions on creating a mini crochet hat keychain with decorative flowers and braided accents. The project combines practical techniques for beginners and decorative craftsmanship, transforming a simple crochet hat into an artistic and functional accessory.
Required materials include 100% cotton fingering weight yarn, a 2mm crochet hook, a keychain, scissors, yarn needles, hand sewing needles, thread, beads, and a stitch marker.
Part 1: Crocheting the Hat
-
Creating the Hat Base:
- Begin the process with a magic ring to form the foundation of the hat.
- Double crochets are used to build the initial structure, ensuring a neat circular shape.
- The first round is completed by pulling the tail of the magic ring and closing securely with a slip stitch.
-
Working Subsequent Rounds:
- Rounds 2 to 5 consist of single crochets worked seamlessly without slip stitches at the end of each round.
- A stitch marker is used to identify the starting stitch for precision and continuity.
- The overall design of the hat emerges through repeated single crochet rows.

-
Shaping and Finalizing the Hat:
- In round 6, stitches are worked to create a textured effect for the hat’s edges.
- Round 7 incorporates slip stitches with chain spaces to complete the brim and refine the design.
- Weaving in the yarn ends marks the conclusion of the hat-crocheting section.

Part 2: Making the Flowers
-
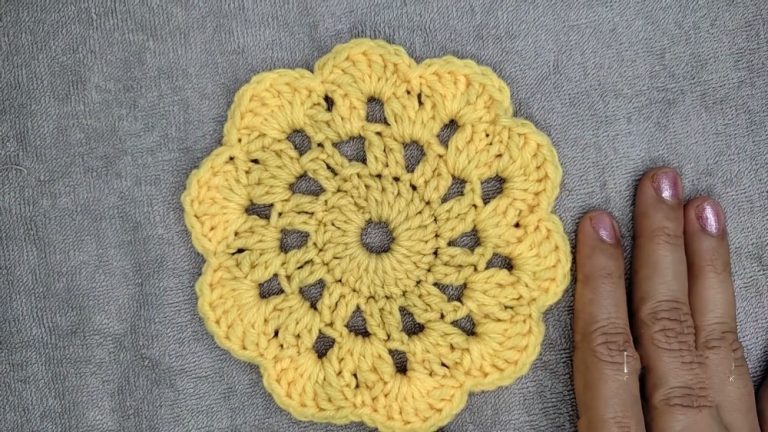
Flower Formation:
- Flowers are crafted separately using a magic ring and chains to form delicate petals.
- A sequence of chain stitches and single crochets in the magic ring creates the structure of the flower.
- After completing six petals, the magic ring is pulled to close and secure the flower.

-
Finishing the Flowers:
- Each flower is tied with double knots at the back to secure them.
- Two flowers are made to decorate the hat, adding to its aesthetic appeal.
Part 3: Adding Braided Detail
-
Making the Braids:
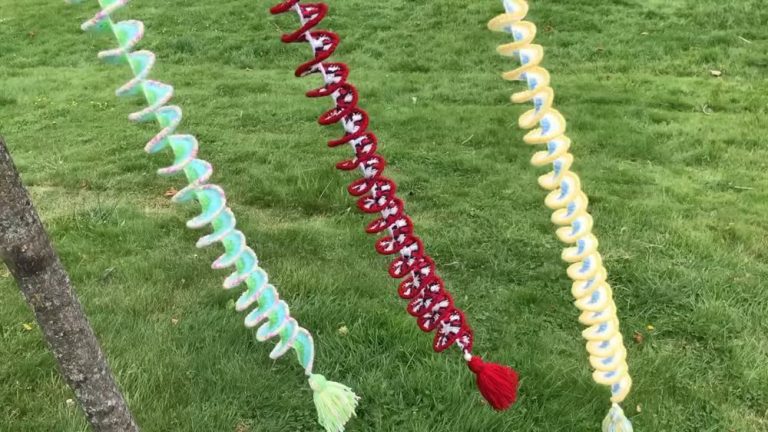
- White-colored yarn is used to create braids for decorative accents around the hat’s edges.
- Three or six yarn strings are used, depending on preference, and are braided neatly while leaving a two-inch tail on each side for attaching the braid to the hat.

-
Attaching the Braids:
- The braid is wrapped around the hat and tied securely with two strings on either end.
- The braid enhances the hat’s design and provides additional texture.
Part 4: Final Assembly and Keychain Attachment

-
Securing the Decorations:
- The flowers are attached to the hat using a hand sewing needle and thread, with beads added to the center of each flower for detail.
- Each flower is sewn through the braid and secured carefully to ensure stability.

-
Adding the Keychain:
- The keychain is attached to the top of the hat at the chosen spot.
- Final adjustments are made to ensure the keychain is sturdy and visually balanced.

Conclusion
- The tutorial concludes with a showcase of the completed mini hat keychain, along with several variations of the design.