Crochet Ribbed Bag with This Easy Pattern
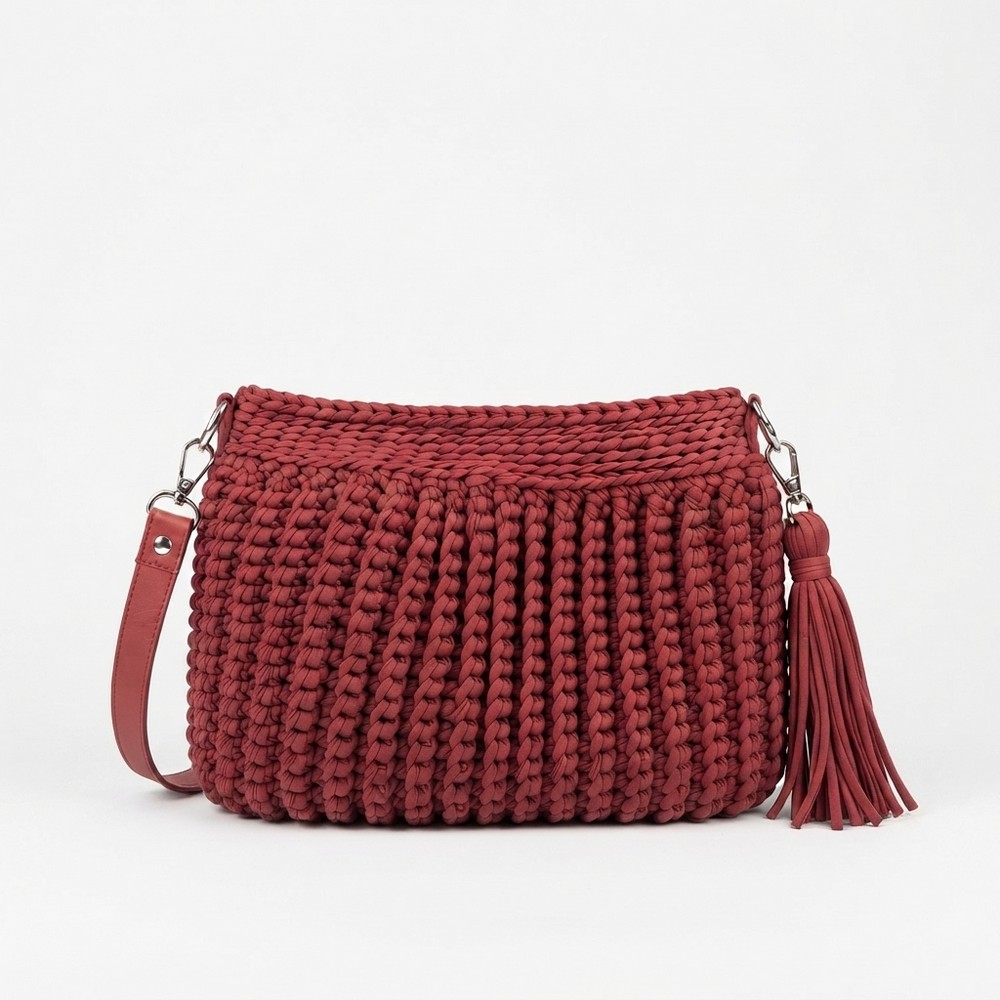
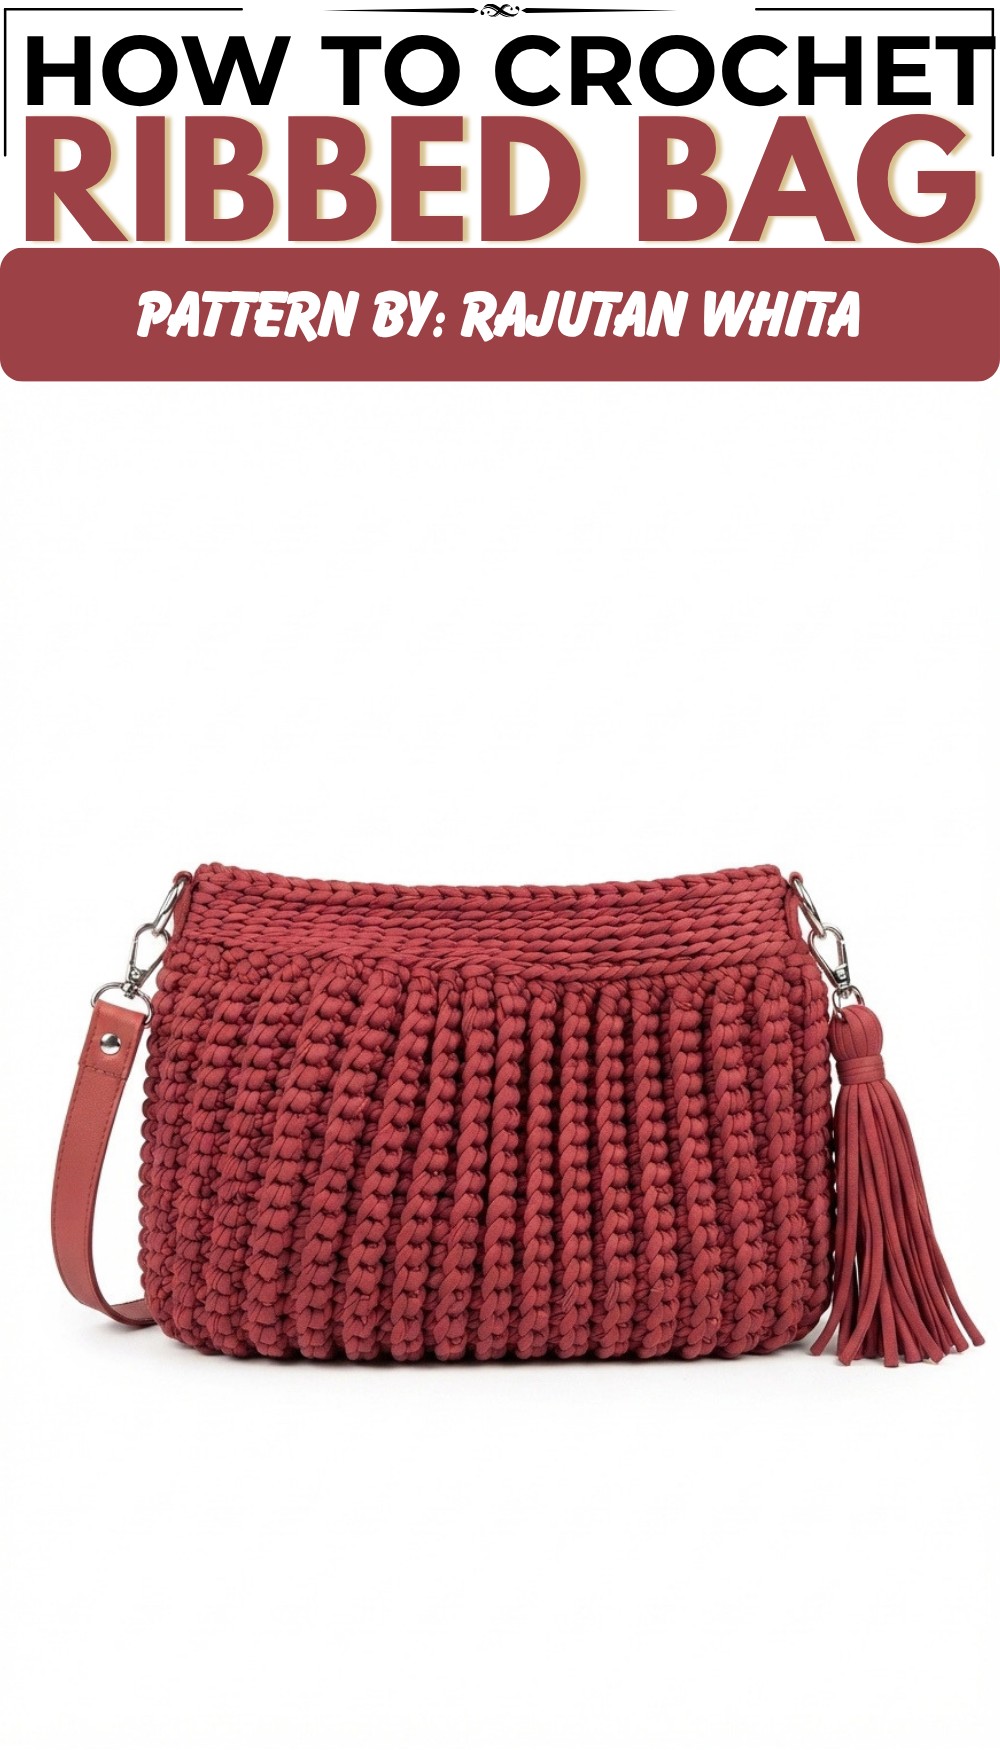
What if you could create a beautiful, sturdy bag all by yourself? The Free Crochet Ribbed Bag Pattern makes this possible! Designed by a creative crochet artist from the Rajutan Whita YouTube channel, this pattern helps you make a bag with cool ribbed textures.
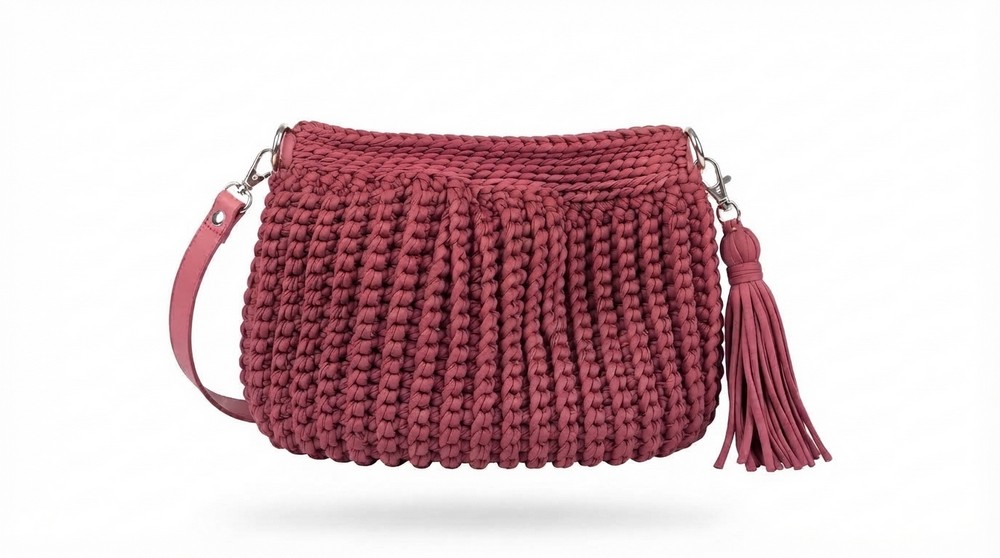
This bag has a neat rectangular shape with raised ribs running up and down its body. These ribs give the bag a stylish, textured look while making it soft and stretchy. The size is just right to carry things like your phone, wallet, and other small items, perfect for everyday use—whether you’re going to school, shopping, or visiting friends.
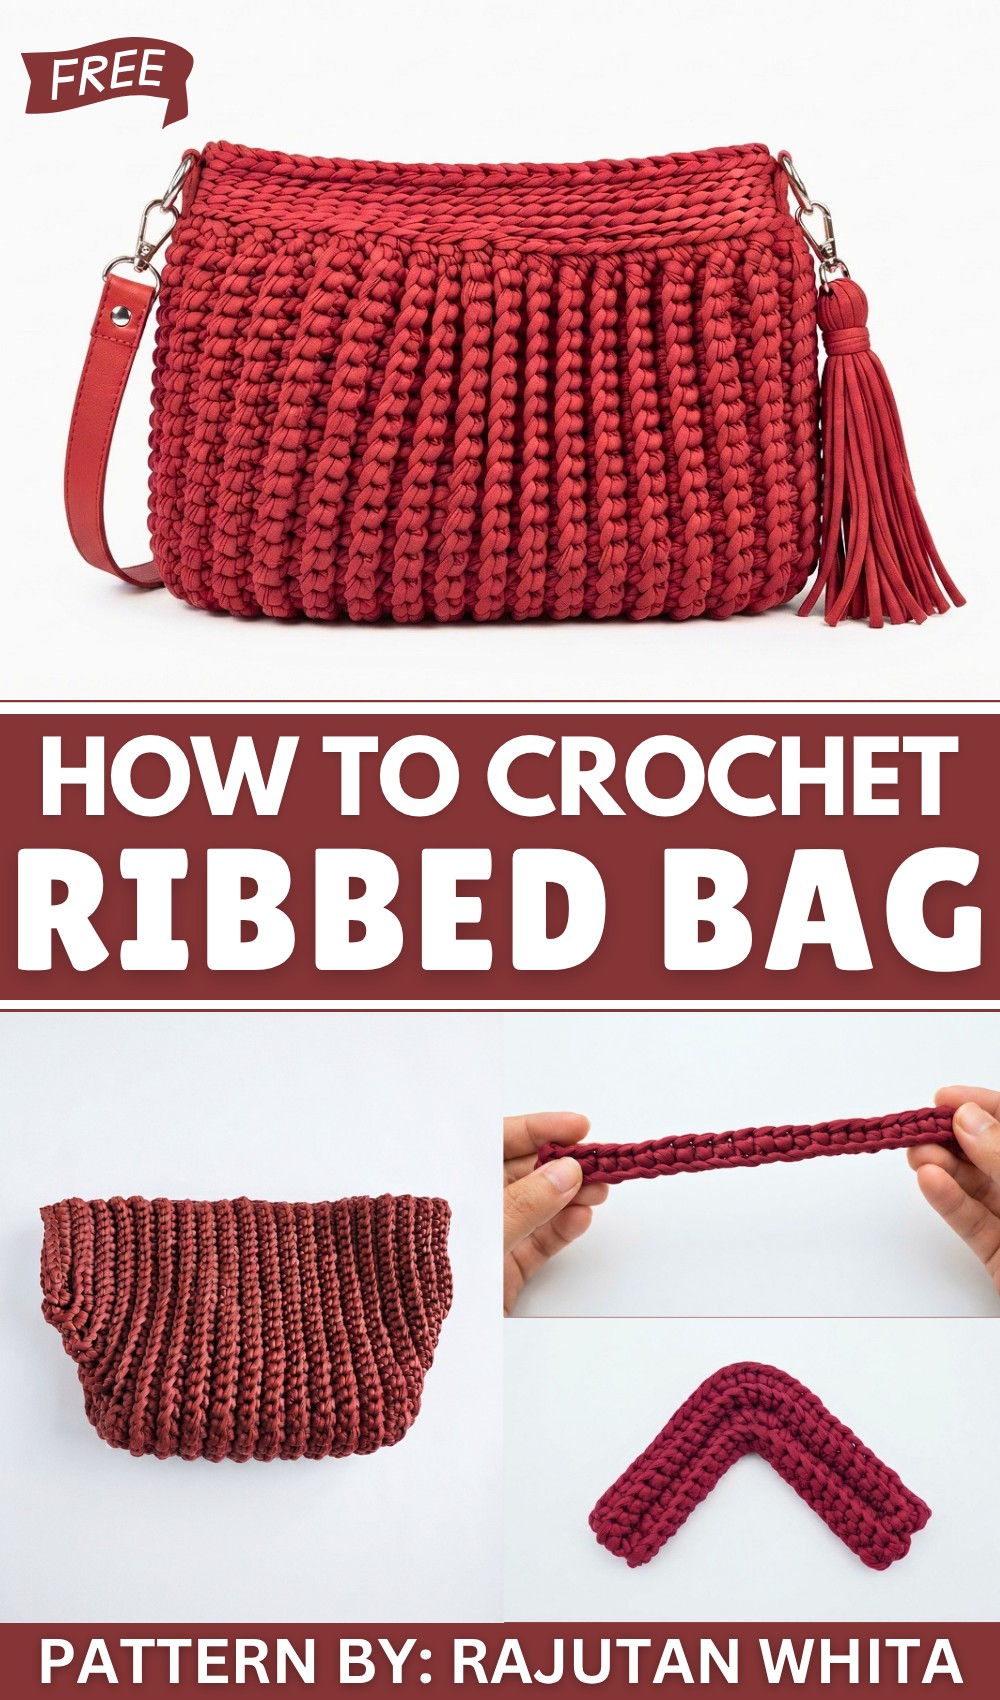
Ribbed Bag Free Crochet Pattern – Step-by-Step
With its simple yet charming design, this ribbed bag fits any style. The texture adds interest without being too flashy, and the comfortable handles make it easy to carry by hand or on your shoulder.
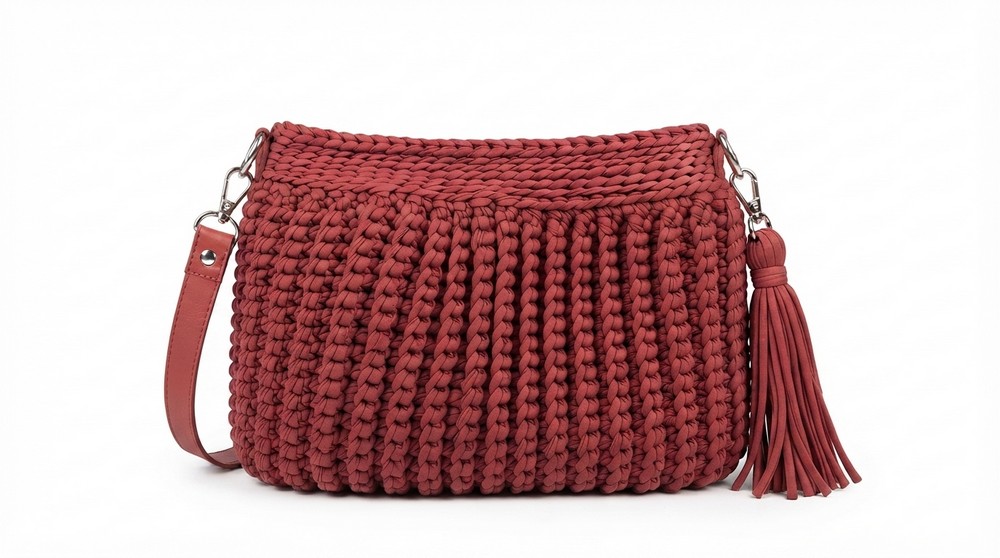
People love this bag because it’s both pretty and practical. The sturdy stitches hold your items safely, and the ribs make it unique. Plus, finishing the project feels rewarding, especially with the clear guidance from the maker on Rajutan Whita’s YouTube channel.
If you want a handmade bag that looks great and works well, the Free Crochet Ribbed Bag Pattern is a perfect choice. It’s fun to make and even more fun to carry!
Ribbed Crochet Bag Pattern Using T-Shirt Yarn
This detailed crochet pattern guides you through creating a modern and stylish ribbed crochet bag using durable and soft T-shirt yarn (spandex material). The bag uses a textured ribbed stitch pattern created by working Single Crochet (SC) in the Back Loop Only (BLO), combined with increasing and decreasing rows to shape the structure. The finished piece features functional accessories like D-rings, a handle, and an optional tassel for a chic, handmade look. Ideal for those interested in creating a practical yet trendy accessory, this project balances ease with craftsmanship.
Quick Overview of Pattern
- Begin with a foundation chain and work rows of single crochet in back loops only (SC BLO).
- Increase every row during the first 10 rows to expand the width progressively.
- Work straight rows maintaining the stitch count between rows 11 to 30 for body height.
- Decrease gradually during rows 31 to 40, mirroring increases for symmetry.
- Finish by folding and joining the sides using slip stitches or sewing.
- Add a border with single crochet and slip stitch rounds for a refined edge.
- Attach accessories such as D-rings, a handle, and a tassel for embellishment and function.
Notes
- The ribbed texture comes from consistently working into the back loops only (BLO) which ensures stretchiness and durability.
- Increases and decreases are carefully positioned in the center portions of the rows to create a rounded bag shape.
- Using stitch markers can help to keep track of increasing and decreasing sections.
- Seaming with slip stitches produces a neat finish, but sewing with a tapestry needle is optional for extra strength.
- Attaching hardware such as D-rings requires a sewing needle and thread for durability.
- Gauge is flexible but maintaining consistent tension for even stitches is important for symmetry.
Skill Level
Intermediate:
- Comfortable working single crochet and chaining techniques.
- Experience with working in rows, turning chains, and counting stitches.
- Knowledge of crochet increases and decreases, particularly in back loop only stitches.
- Basic sewing skills for attaching bag sides and hardware.
- Ability to work slip stitches for finishing edges.
Materials
- 3 rolls of T-shirt yarn (spandex material)
- Crochet hook: 5.5 mm
- Tapestry/darning needle for weaving in ends and sewing
- Scissors
- Measuring tape
- Stitch markers
- Accessories: Two 2.5 cm D-rings, bag handle, and tassel
Measurements / Sizing
- Approximate Width: varies between 23 stitches expanding to 50 stitches before decreasing again (see stitch count per row).
- Suggested finished bag dimensions depend on tension but typically around medium tote size fitting everyday essentials.
- Use measuring tape periodically for length consistency.
Gauge and Stitch Pattern
- Gauge is flexible; ensure tension consistency for best shaping.
- Main stitch pattern: Single Crochet worked in the Back Loop Only (SC BLO), producing a ribbed texture for strength and visual interest.
- Row height determined by standard SC stitch height, modified by turning chains.
Stitch Abbreviations
| Abbreviation | Term | Description |
|---|---|---|
| ch | chain | yarn over, pull through loop to create foundation and turning chains |
| sc | single crochet | Insert hook, yarn over, pull loop, yarn over, pull through both loops |
| sc blo | single crochet back loop only | Work sc into the back loop of the stitch for ribbed effect |
| inc | increase | Work 2 SC BLO stitches in the same stitch to add stitches in row |
| dec | decrease | Crochet two stitches together (SC BLO) to reduce stitch count |
| sl st | slip stitch | Used to join or move across stitches without adding height |
Special Stitches
- Single Crochet Back Loop Only (SC BLO): Insert your hook only in the back loop of the stitch (the loop furthest from you) to create a stretchy ribbed fabric.
- Increases and Decreases in SC BLO: Performing increases (two SC BLO in one stitch) or decreases (crocheting two SC BLO together) only affects the back loops for consistency in texture.
The Crochet Pattern!
1. Foundation Chain and Row 1
- Start by creating a slip knot.
- Chain 24 stitches.
- For Row 1: Skip the last chain (furthest from hook) and work 23 SC stitches across the chain (working into both loops).
- Turn your work.
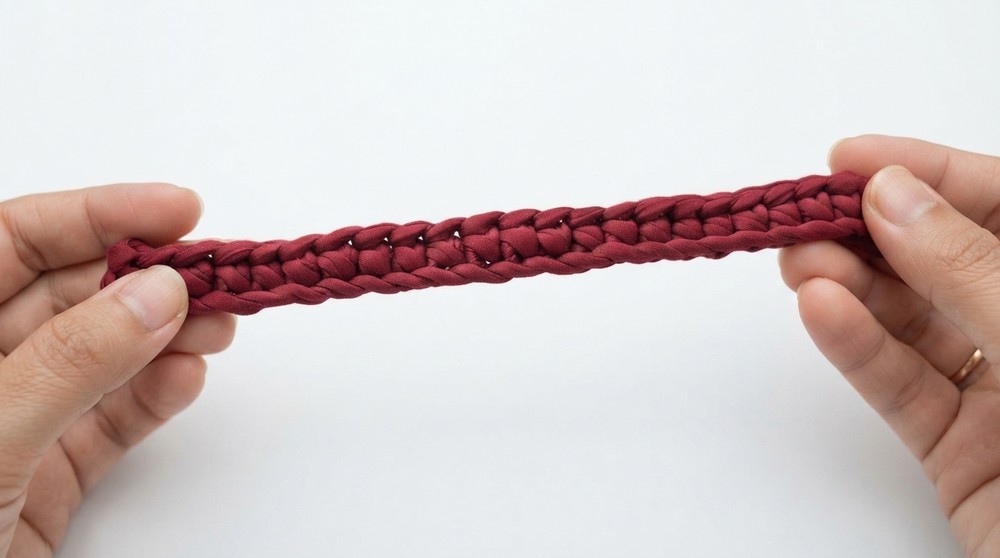
2. Increasing Rows (Rows 2–10)
All rows start with Chain 1 and work in SC BLO stitches, turning at the end of each row. Increases (inc) are done by working two SC BLO in one stitch, specifically in the center section of each row. The increases gradually widen the piece.
- Row 2:
- 10 SC BLO,
- 3 increases (2 SC BLO in each of the next 3 stitches),
- 10 SC BLO
- Total stitches: 26
- Row 3:
- 12 SC BLO,
- 3 increases,
- 12 SC BLO
- Total stitches: 29
- Row 4:
- 13 SC BLO,
- 3 increases,
- 13 SC BLO
- Total stitches: 32
- Row 5:
- 14 SC BLO,
- 3 increases,
- 14 SC BLO
- Total stitches: 35
- Row 6:
- 16 SC BLO,
- 3 increases,
- 16 SC BLO
- Total stitches: 38
- Row 7:
- 18 SC BLO,
- 3 increases,
- 17 SC BLO
- Total stitches: 41
- Row 8:
- 19 SC BLO,
- 3 increases,
- 19 SC BLO
- Total stitches: 44
- Row 9:
- 20 SC BLO,
- 3 increases,
- 21 SC BLO
- Total stitches: 47
- Row 10:
- 22 SC BLO,
- 3 increases,
- 22 SC BLO
- Total stitches: 50
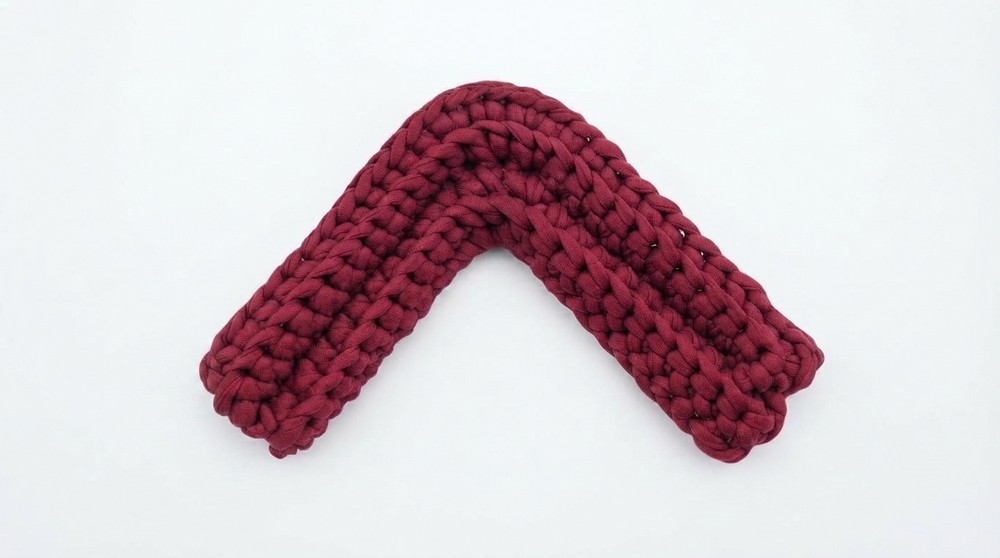
3. Body Rows (Rows 11–30)
- Work 50 SC BLO stitches straight across without any increases or decreases.
- Repeat this row pattern, turning at the end of each row, until reaching Row 30.
- This section forms the main body height of the bag.
4. Decreasing Rows (Rows 31–40)
The decreasing rows mirror the earlier increases, reducing stitches gradually to shape the other side of the bag. Decreases are made in the center section by crocheting two SC BLO stitches together.
- Work in the same style as increasing rows, but replace each increase section with decreases:
- Work SC BLO decreases in the center 3 sections (crochet two SC BLO together)
- Adjust outer SC BLO counts accordingly to maintain symmetry.
- Continue decreasing in this manner for rows 31 through 40, reducing stitch counts reverse to the increase rows.
- Row 40:
- Work 1 SC BLO in every stitch across.
- This completes the shaping of the bag.
Assembly & Finishing
Joining Sides
- Fold the piece so the two shorter edges meet evenly.
- Either use your crochet hook to work Slip Stitches (sl st) through the side edges or use a tapestry needle and matching yarn to sew the edges closed with an invisible seam.
- Ensure seams are secure for durability.
Top Border
- With the opening of the bag facing you, work 82 SC evenly spaced around the entire perimeter of the top edge.
- Follow this by working 6 rounds of Slip Stitches (sl st) in the back loops only (BLO) around the top edge to create a neat ribbed border and strengthen the opening.
Final Touches
- Using a sewing needle and thread, attach the two 2.5 cm D-rings to either side of the bag top edge.
- Attach or sew the bag handle securely onto the D-rings.
- Add a decorative tassel as desired, securing it firmly onto the bag for style.
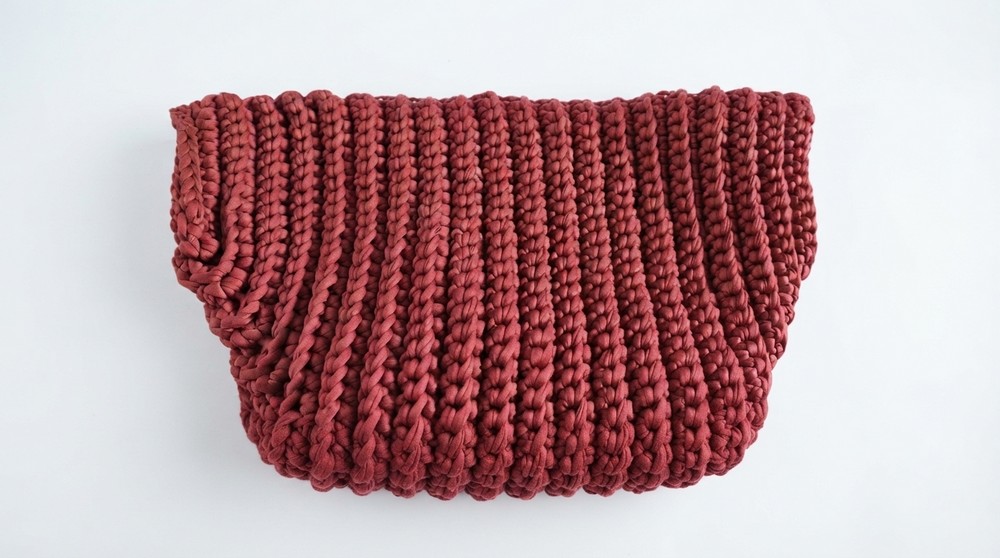
Finished Size
The bag’s final dimensions depend on tension but the stitch counts and pattern shape the bag into a spacious medium-tote size with sturdy form and functional handle length.
Conclusion
This ribbed crochet bag combines the ease of simple single crochet techniques with shaped row increases and decreases to create a structure that is both flexible and durable. The back loop only stitch adds elegant texture and stretch, making the fabric strong but comfortable to use. Finishing steps ensure a professional look with neat borders, secure handles, and tasteful accessories such as D-rings and tassels. Intermediate crocheters will find this pattern rewarding, and those new to shaping will appreciate the clear instructions on shaping with increases and decreases.