Free Crochet Pattern Bubble Pouch for Stylish Storage
Boost organization with this free crochet bubble pouch pattern featuring eye-catching bubbles and a compact size ideal for carrying little necessities.
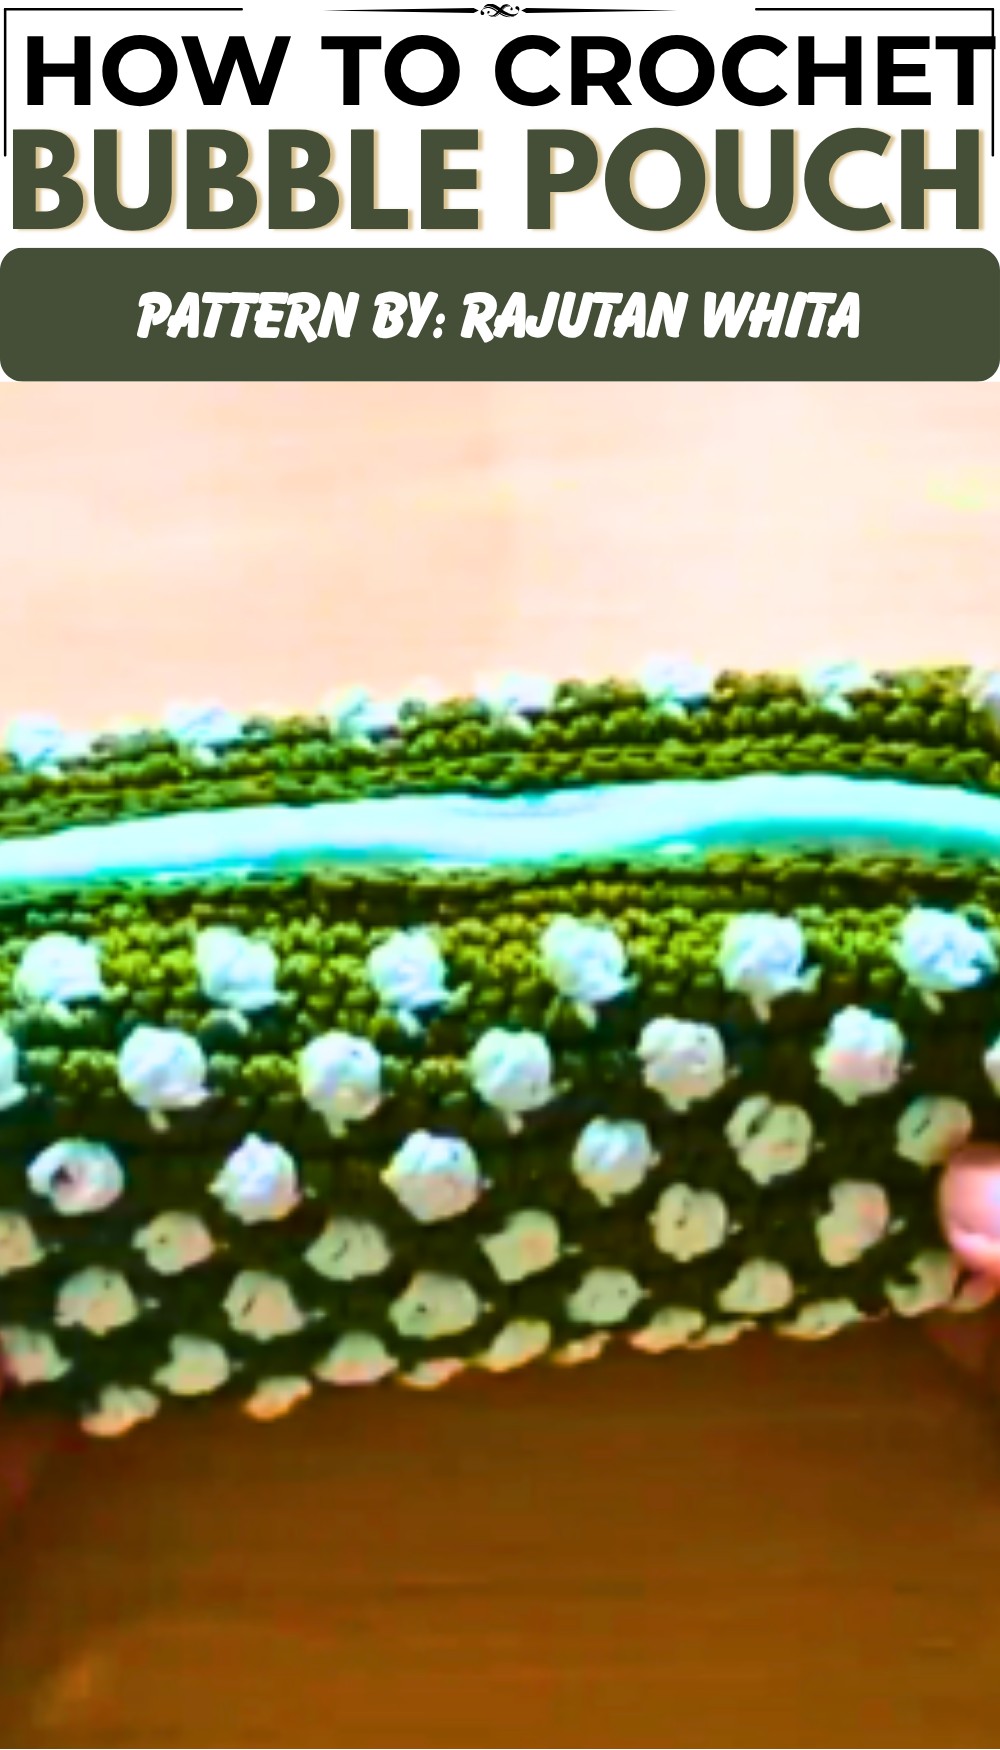
Want a charming accessory that’s both functional and fun? The Free crochet Bubble Pouch Pattern is just the project to try. Brought to you by Rajutan Whita, this pouch features a unique bubble texture that adds delightful dimension and character.
This small pouch is perfect for carrying essentials like coins, makeup, or keys, making it incredibly practical. Its bubbly surface offers a soft, textured feel that’s as enjoyable to hold as it is attractive to look at. The rounded shape and eye-catching pattern make it not only useful but a stylish statement piece.
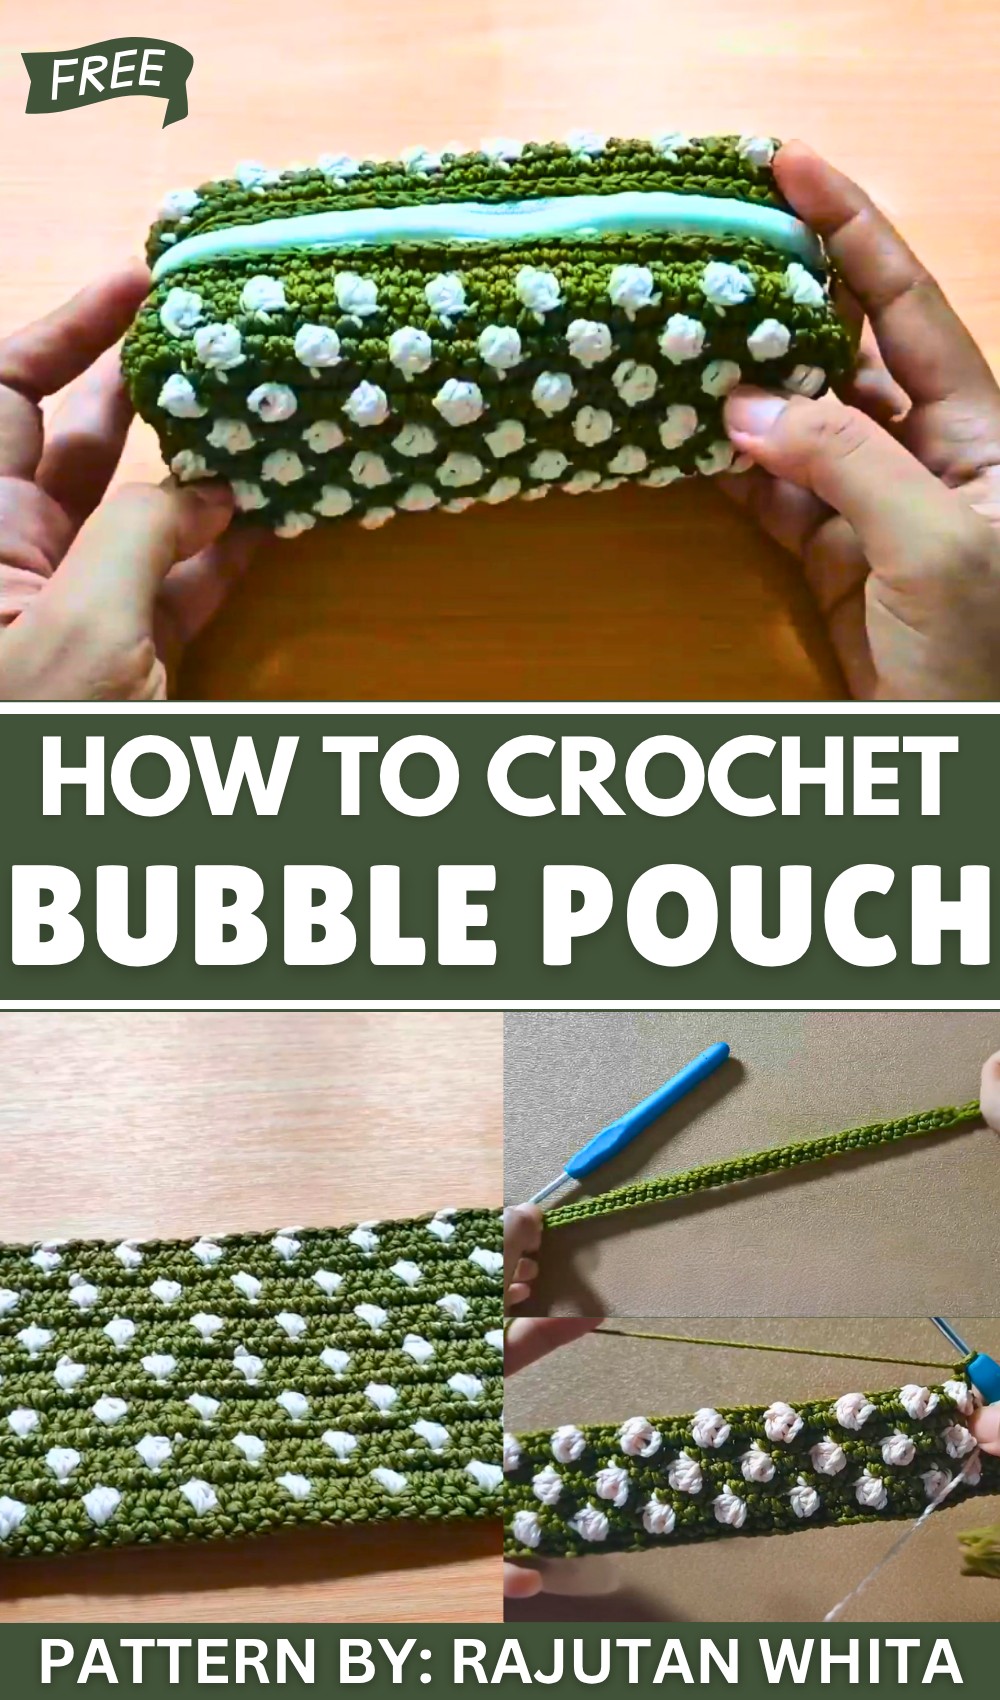
Bubble Pouch: Crochet Pattern for Handy Accessories
Compact enough to fit into any handbag or backpack, this pouch helps keep your belongings organized with ease. The sturdy yet flexible crochet fabric holds its shape beautifully, offering durability without sacrificing style.
The standout design feature is its raised bubble clusters, giving the pouch a playful, 3D effect that adds personality. The smooth edges and clean stitches create a polished look, perfect for gifting or personal use.
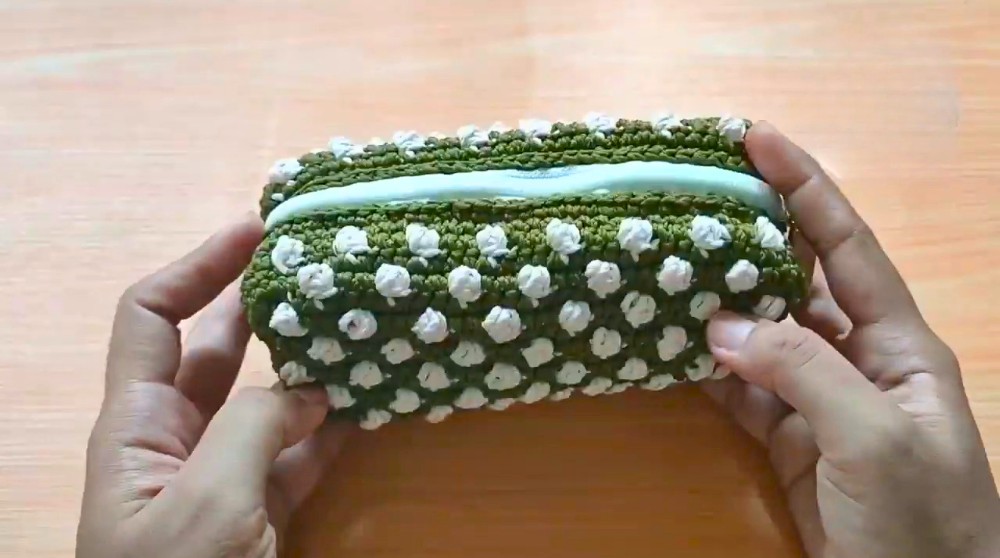
In summary, the Free crochet Bubble Pouch Pattern is a lovely blend of creativity and convenience. It’s an enjoyable way to add a handmade touch to your daily essentials or give a thoughtful, unique gift.
Bubble Nation Pouch Crochet Pattern for Beginners
This step-by-step pattern will guide you through crocheting a Bubble Nation Pouch. The pouch features a beautiful textured design created by alternating Single Crochet (SC) and Puff Stitch (PS) rows in two contrasting colors. It is finished with a zipper and fabric lining to make it functional and professional-looking. This beginner-friendly tutorial uses clear steps and highlights key stitches to make your crochet journey simple and enjoyable.
Materials Needed
- Yarn: Poly D27 yarn in two colors (e.g., green and cream)
- Hooks:
- 4.0 mm (main crochet)
- 3.0 mm (for joining and assembly)
- Extras:
- Zipper (length matching pouch width)
- Fabric for lining
- Stitch markers
- Needle and thread
- Scissors
- Lighter (optional, to seal yarn ends)
Skill Level
Intermediate beginner — Requires knowledge of:
- Chain (ch)
- Single Crochet (SC)
- Puff Stitch (PS)
- Slip Stitch (sl st)
- Color changing
- Basic sewing for zipper and lining
Measurements
- Foundation chain length: 44 chains
- Number of rows: 39 (total height)
- Finished pouch size: about 15 cm (width) × height as per rows
- Zipper length matches pouch width
Stitch Abbreviations
- ch = chain
- sc = single crochet
- ps = puff stitch (cluster of incomplete double crochets, see below)
- sl st = slip stitch
Special Stitches
Puff Stitch (PS)
- Yarn over and insert hook into stitch
- Yarn over, pull up a loop (3 loops on hook)
- Repeat yarn over, insert hook and pull up loops 3 more times (total 5 loops on hook)
- Yarn over and pull through all loops
- Chain 1 to close the puff stitch
The Crochet Pattern
Step 1: Foundation Chain
- Make a slip knot.
- Chain 44.
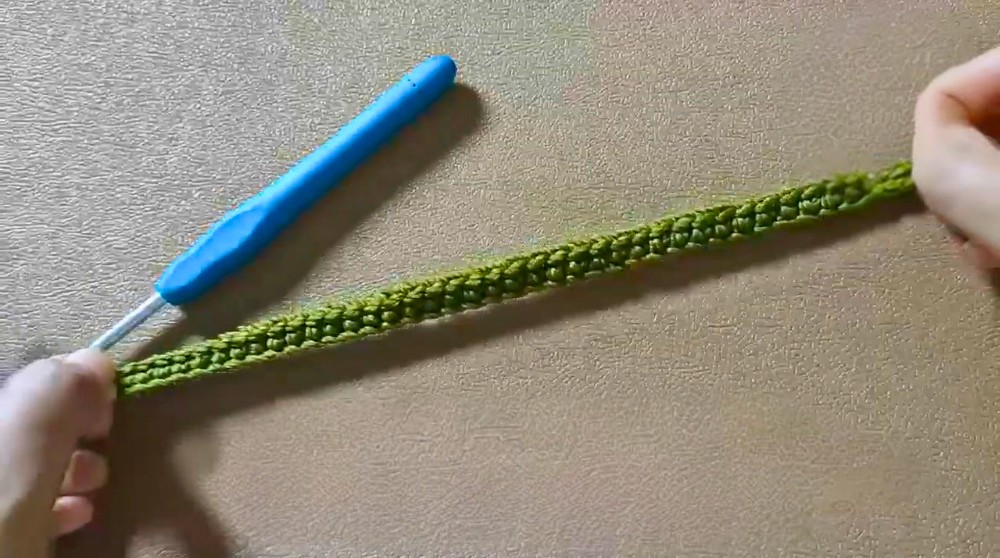
Step 2: Row 1 — Single Crochet Base
- Starting in the second chain from hook, work 1 SC in each chain across.
- Total of 43 SC.
- This row forms the sturdy base of the pouch.
Step 3: Rows 2 to 14 — Puff Stitch Pattern
Row 2:
- Work 7 SC in the first 7 stitches for the edge.
- Switch to secondary color yarn.
- Then alternate across the row:
- 3 SC
- 1 Puff Stitch (PS)
- End row with 7 SC for the edge.
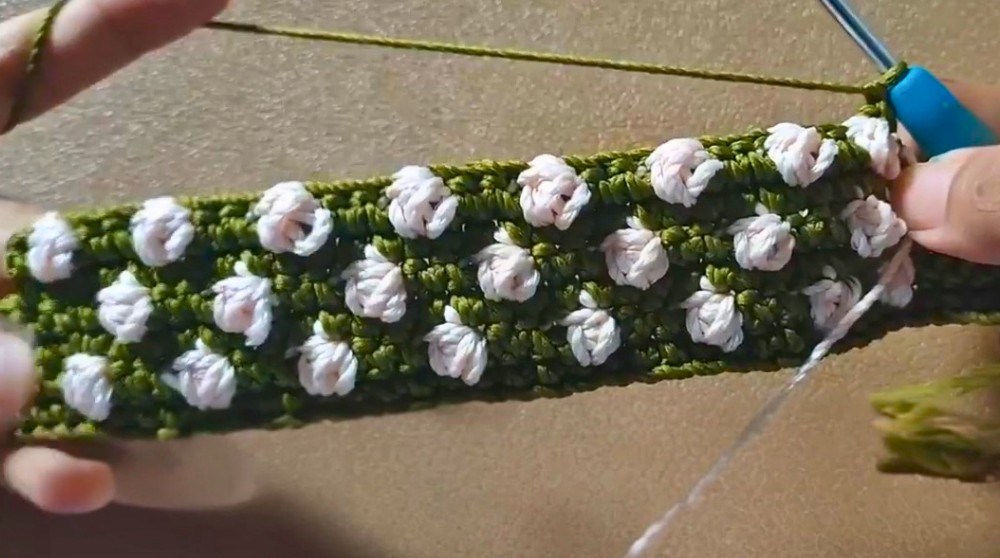
Rows 3 to 14:
- Odd rows: Work SC across the entire row with the base color (no puff stitches).
- Even rows: Repeat the pattern of 3 SC then 1 PS with the secondary color yarn.
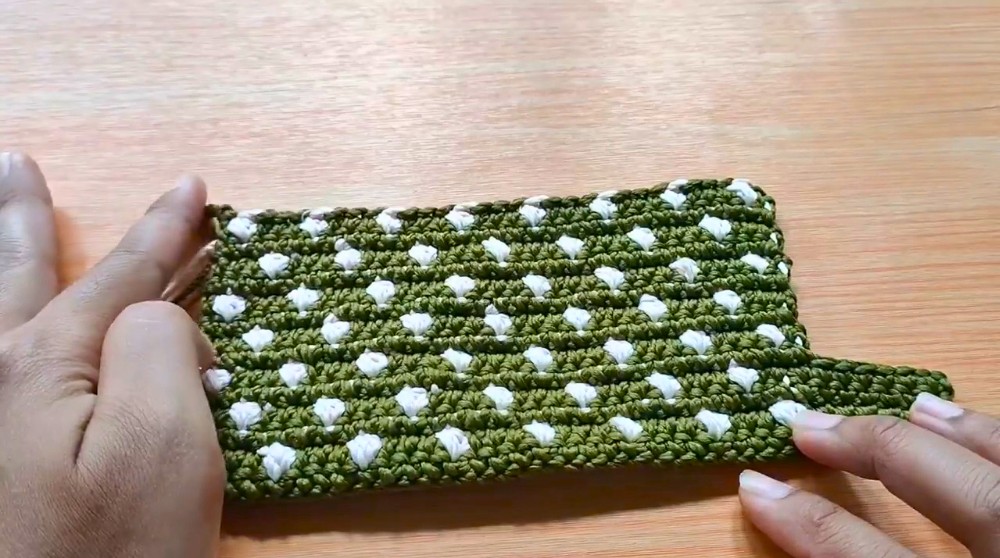
- This creates alternating bubbly textured rows framed by plain SC rows.
Step 4: Rows 15 to 24 — Front Panel Assembly
- Chain 6 to start this section.
- Work SC across the row.
- At the end of the row, chain 7 to maintain length and shape.
- Continue alternating rows:
- Odd rows: Full row SC (base color)
- Even rows: 3 SC + 1 PS repeat (secondary color)
- Work until you complete Row 24.
Step 5: Rows 25 to 39 — Upper Body Completion
- Repeat the puff stitch pattern from Rows 5 to 14 to build the remainder of the pouch body.
- Continue color changes as before: plain SC on odd rows, alternating 3 SC / 1 PS on even rows.
- Finish at Row 39.
Assembly
Step 6: Attach Zipper
- Mark every two stitch spaces evenly along the zipper tape.
- Using needle and thread, sew the zipper securely along the top edge of the crochet pouch.
- Align zipper teeth for smooth opening and closing.
Step 7: Join Sides
- Using the 3.0 mm hook, join pouch edges together by slip stitching or single crochet for a neat seam.
- This smaller hook size helps create a tighter seam.
Step 8: Finishing
- Turn the pouch inside out to hide seams.
- Use a whip stitch with needle and thread to close any open seams securely on the inside.
- Weave in all yarn ends and trim excess.
Step 9: Sew in Lining
- Measure and cut fabric pieces to fit inside the pouch.
- Sew the fabric lining into place inside the pouch for a smooth interior finish.
- Use matching thread and neat stitches to secure the lining firmly.
Finished Size and Usage
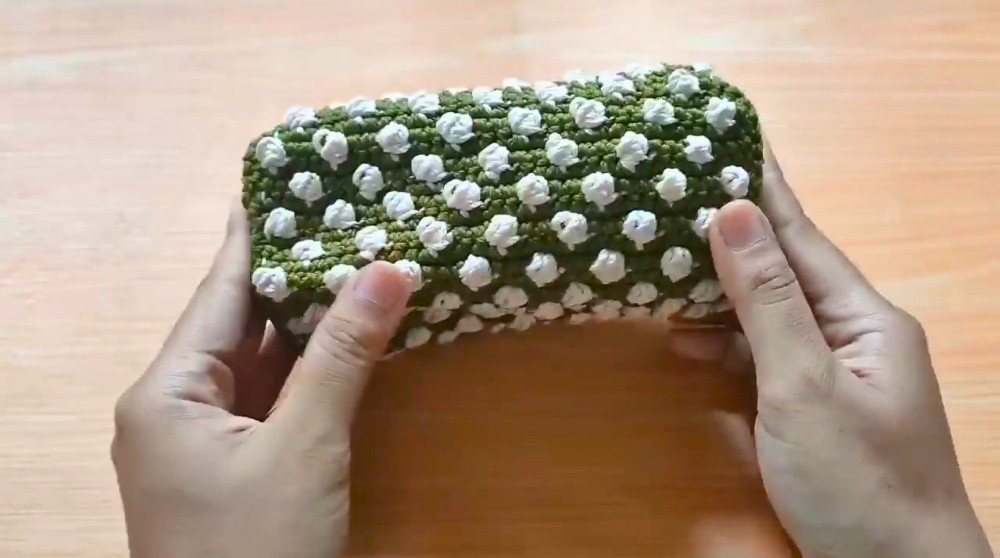
- The pouch measures approx. 15 cm wide with a height determined by 39 rows of stitches.
- The durable zipper closure and fabric lining make this pouch perfect for cosmetics, stationery, or small items.
- The puff stitch adds attractive texture and the contrasting yarn colors enhance visual interest.
Conclusion
This Bubble Nation Pouch is a wonderful project for beginners ready to try puff stitches combined with basic crochet stitches. The clear pattern of alternating textured PS rows and smooth SC rows creates a tactile, beautiful pouch that is practical and stylish. Attaching the zipper and lining provides a polished professional finish. Take your time to maintain even tension and carefully follow each step.