Free Crochet Blanket Pattern for Soft Stylish Home Decor
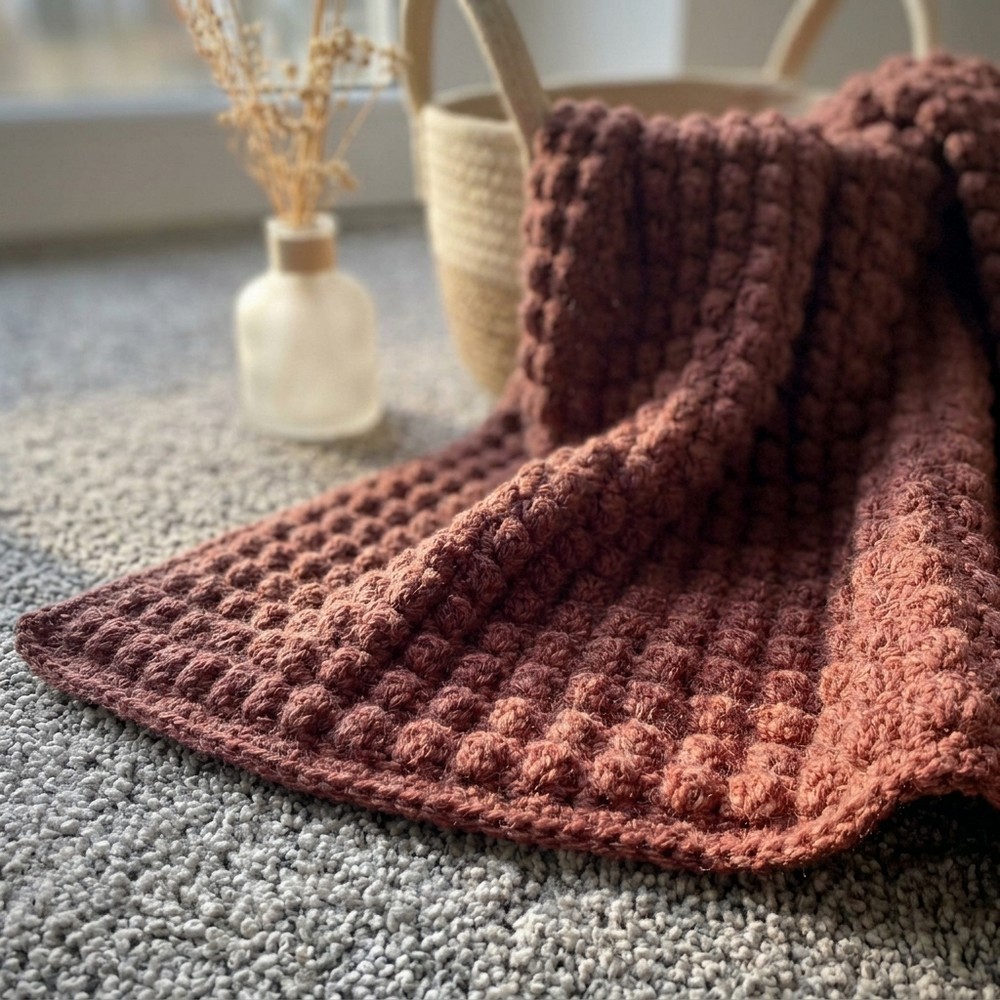
Provide cozy warmth and gentle comfort at home with this free Crochet Blanket Pattern perfect for soft relaxing moments and everyday use.
Free Crochet Blanket Pattern for Relaxing and Snuggling
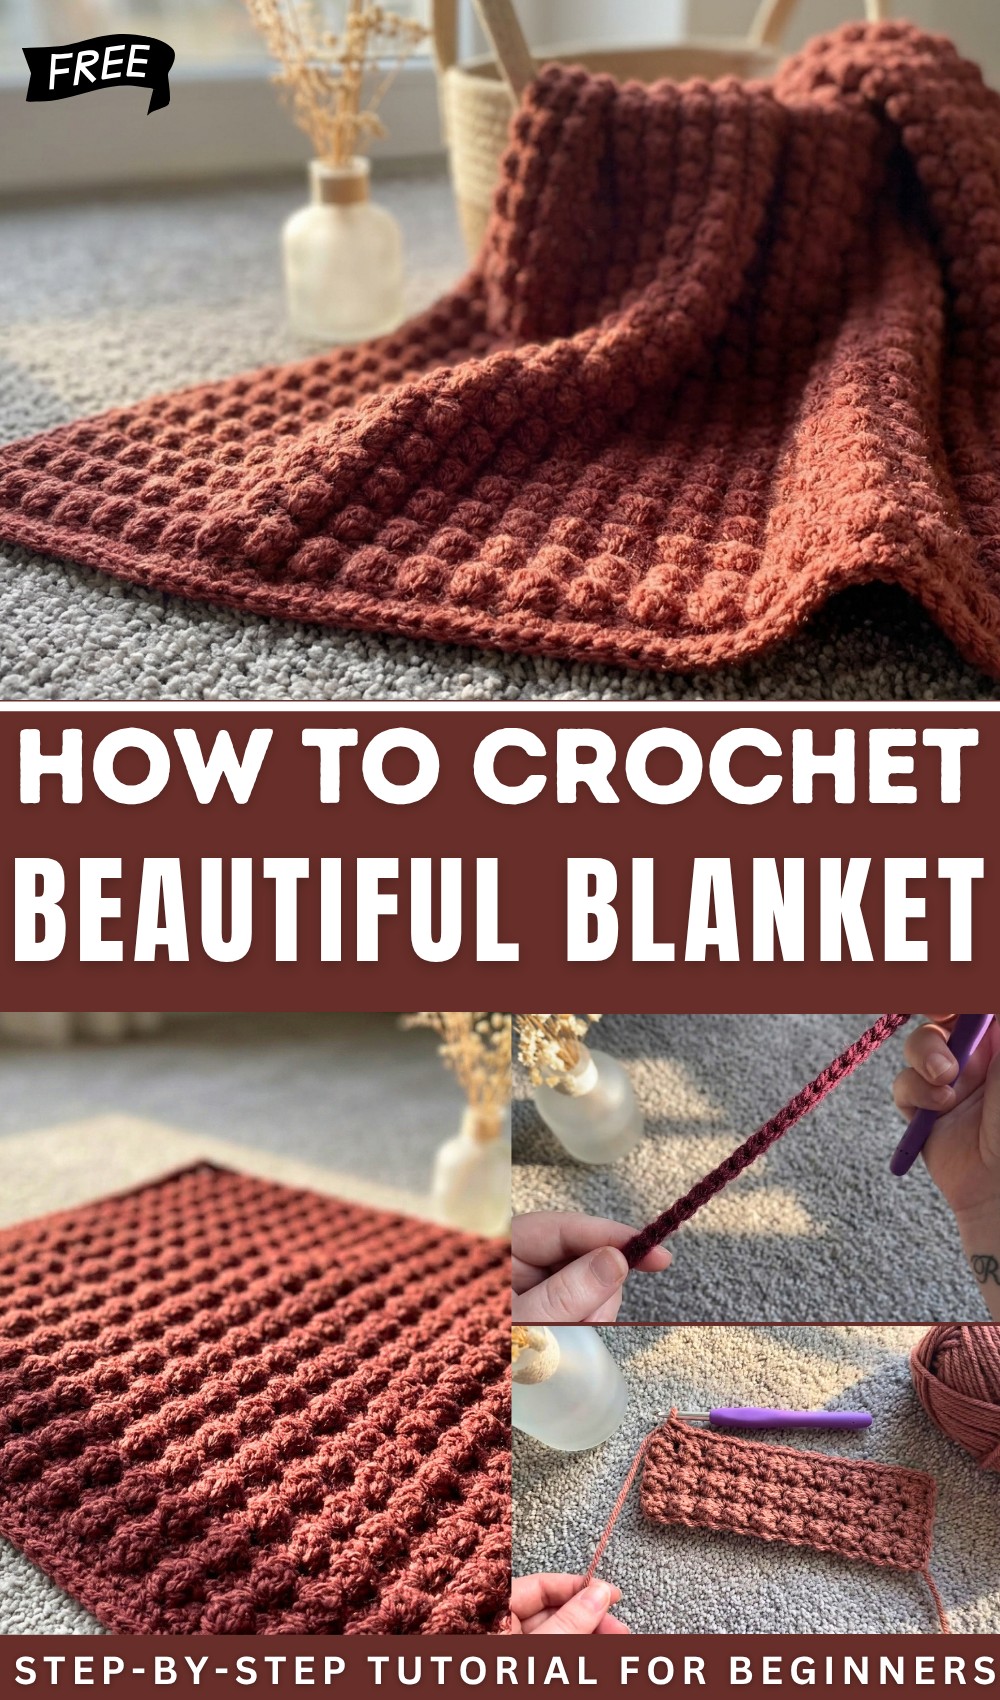
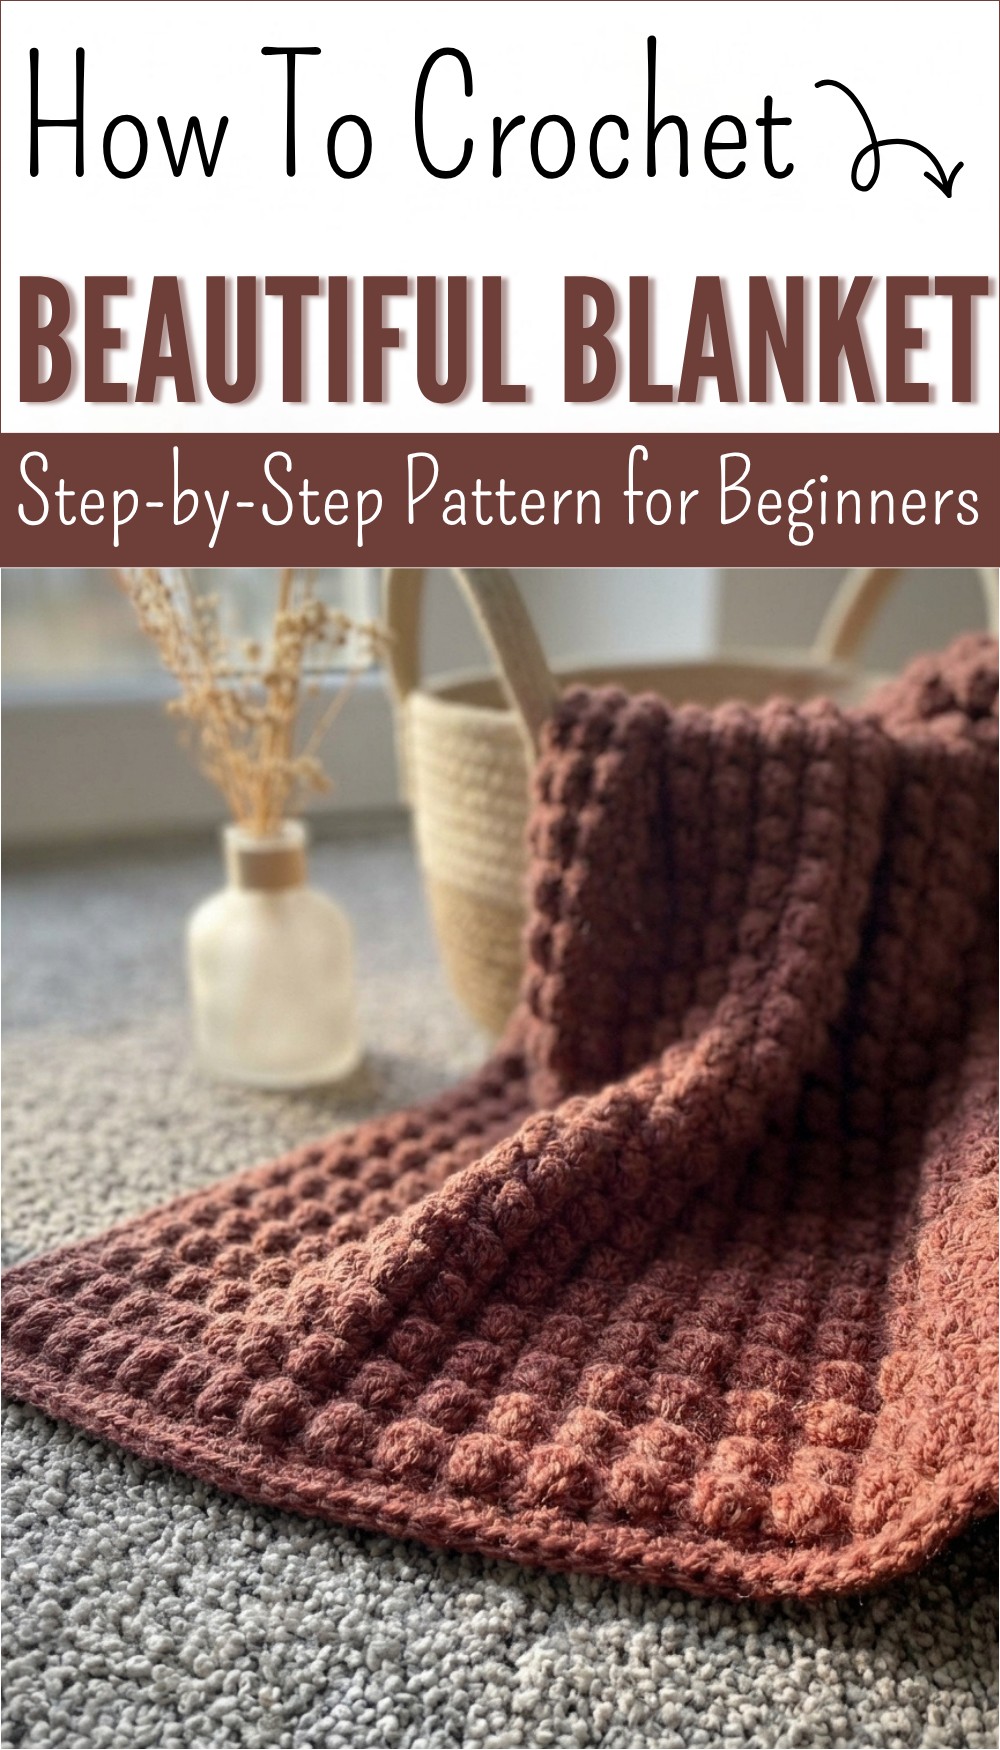
A Crochet Blanket pattern allows you to create such a piece with care and creativity, turning simple yarn into something practical and beautiful. It is perfect for relaxing, keeping warm, or giving as a heartfelt gift to family and friends. Its lightweight yet comforting feel makes it ideal for all seasons. Beyond function, it adds personality and charm to your living space while showing the love and effort put into every stitch. Cozy, soft, and stylish, it brings joy to everyday life.
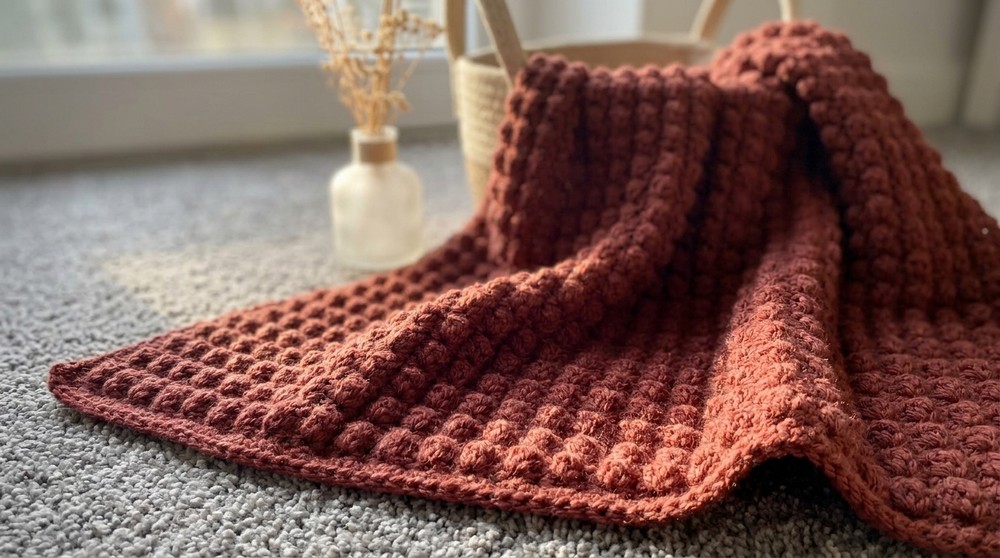
Simple Textured Baby Blanket Pattern
Materials
- Yarn: Stylecraft Special Aran or similar #4 worsted/aran-weight yarn
- Hook: 5 mm crochet hook (or size suited to your yarn, for desired drape)
- Notions:
- Scissors
- Yarn/tapestry needle (sharp recommended for weaving ends)
Key Abbreviations (US Terms)
| Abbreviation | Stitch Name |
|---|---|
| ch | chain |
| sc | single crochet |
| hdc | half double crochet |
| st(s) | stitch(es) |
| rep | repeat |
Special Notes
- Width: Chain a multiple of 3 + 2 (e.g., baby blanket size: ch 126 + 2 = 128 chains; tutorial swatch: ch 30 + 2 = 32)
- Working into Back Bumps: For neater edge, turn chain and work into the “back bump” of each chain.
- Color Changes: After every 6 rows (or as desired), attach new color by finishing the last sc of the row with the new color.
- No Border Required: The edges are neat as worked, but a border may be added if preferred.
Pattern Instructions
Foundation
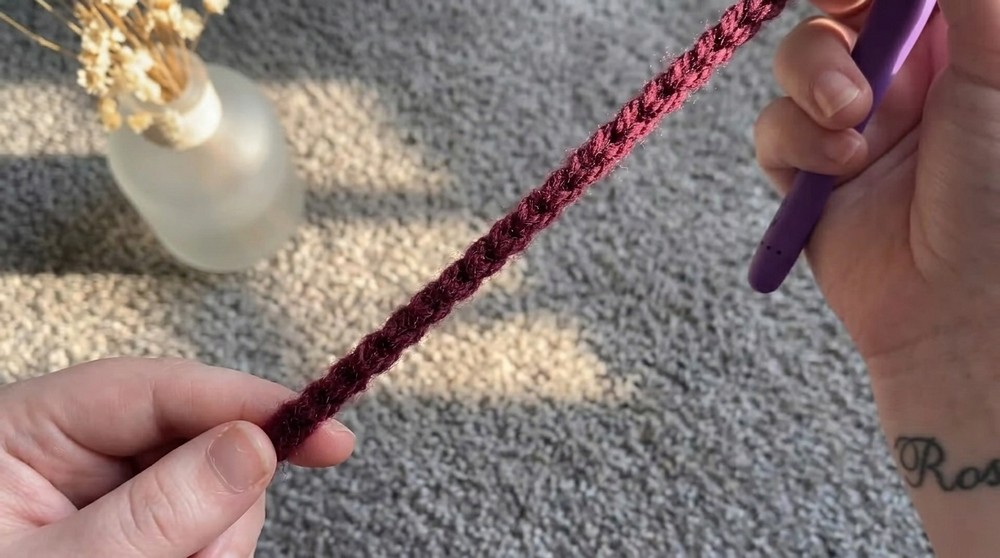
- Ch desired length: Multiple of 3 + 2 (for baby blanket: ch 128).
- Turn chain and work into back bumps for a neater edge.
Row 1
- 2 hdc in 2nd ch from hook (into back bump if preferred).
- Skip next 2 ch, in next ch: 1 sc, 2 hdc.
- Rep: Skip 2 ch, in next ch: sc, 2 hdc to end.
- On last 3 remaining ch, skip 2 ch, sc in last ch.
- Ch 1, turn.
Row 2
- 2 hdc in first st.
- Skip next 2 sts, in next st: 1 sc, 2 hdc.
- Rep: Skip 2 sts, in sc of previous row: sc, 2 hdc to end.
- When only 2 sts remain, skip 1 st, sc in last st.
- Ch 1, turn.
Rows 3–6
- Rep Row 2 until you have a total of 6 rows.
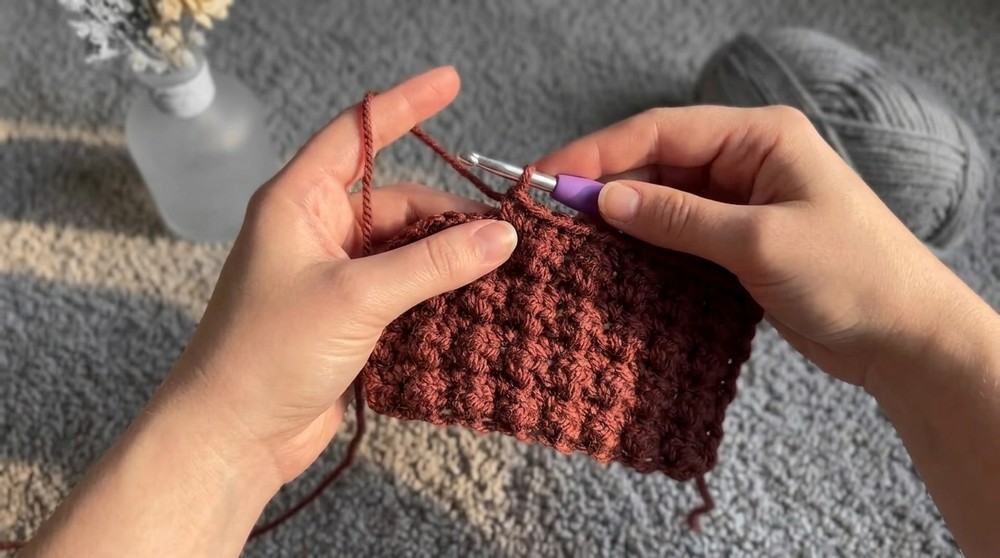
Color Change
- On final sc of Row 6, insert hook, pull up loop,
- Finish stitch with new color (pull new color yarn through loops),
- Tie a knot with new and old yarn ends for security (or use preferred method).
Next Stripes/Sets
- With new color, ch 1, turn, and repeat Row 2 for another set of 6 rows.
- Work over yarn tails for first row after color change to secure them.
- Weave in ends with yarn needle for added security.
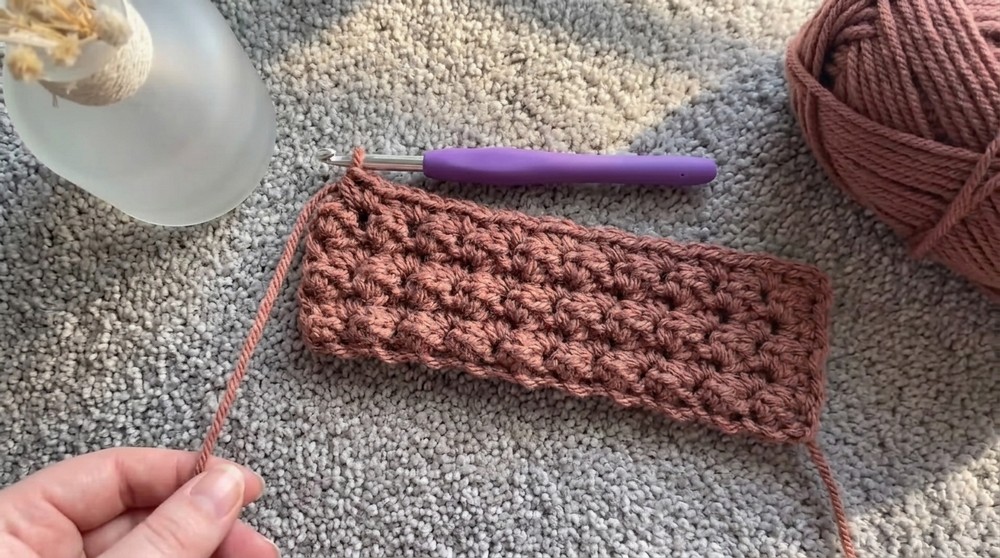
Repeat
- Repeat stripe sets, alternating colors every 6 rows, until blanket reaches desired length.
- Always start each new color with 2 hdc in first st; keep stripe pattern consistent.
Finishing
- Fasten off: Cut yarn.
- Weave in all ends securely using a sharp yarn needle, working through fibers for best hold.
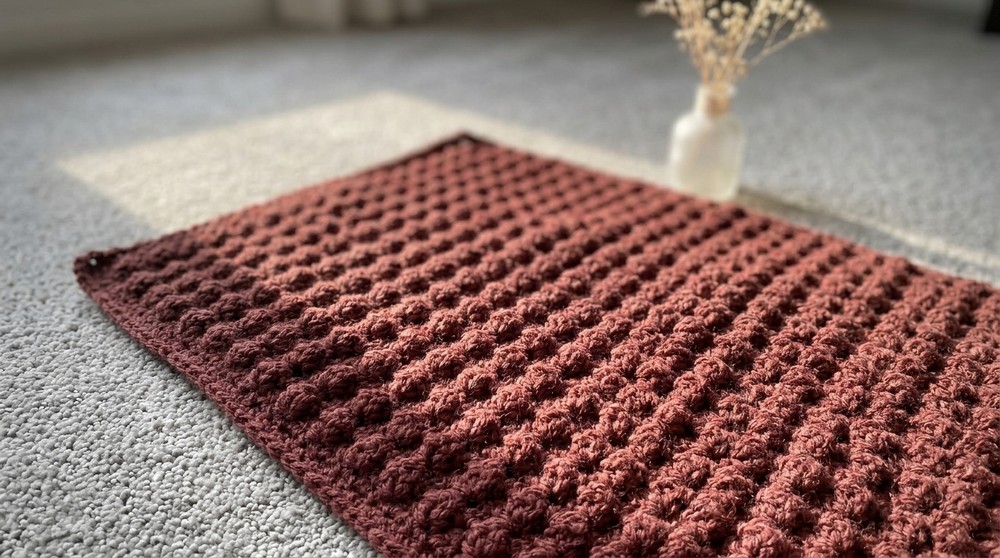
Conclusion
This textured baby blanket is easy, quick, and visually appealing thanks to frequent color changes. The cozy texture and the neat turned edges make it suitable for gifting or personal use without the need for a border.
Pattern Correction
- When skipping stitches, “skip 2” always precedes “[sc, 2 hdc]” in the next st, anchoring pattern in the sc of previous rows.
- For final edge, work “skip 1 st, sc in last st” to keep edges straight.
- Ensure that all stripe sets start with 2 hdc in the first st for clean color transitions.
Tips
- Count your stitches: For each repeat, anchor groups into single crochets from the previous row for best texture and alignment.
- Back bumps: Working into back bumps of the foundation chain gives a strong, neat bottom edge.
- Color changes: Securely tie and weave yarn ends as shown; working over tails for first row after change helps.
- Dislike borders? This pattern results in a neat edge without extra finishing, but you may add a border if desired.