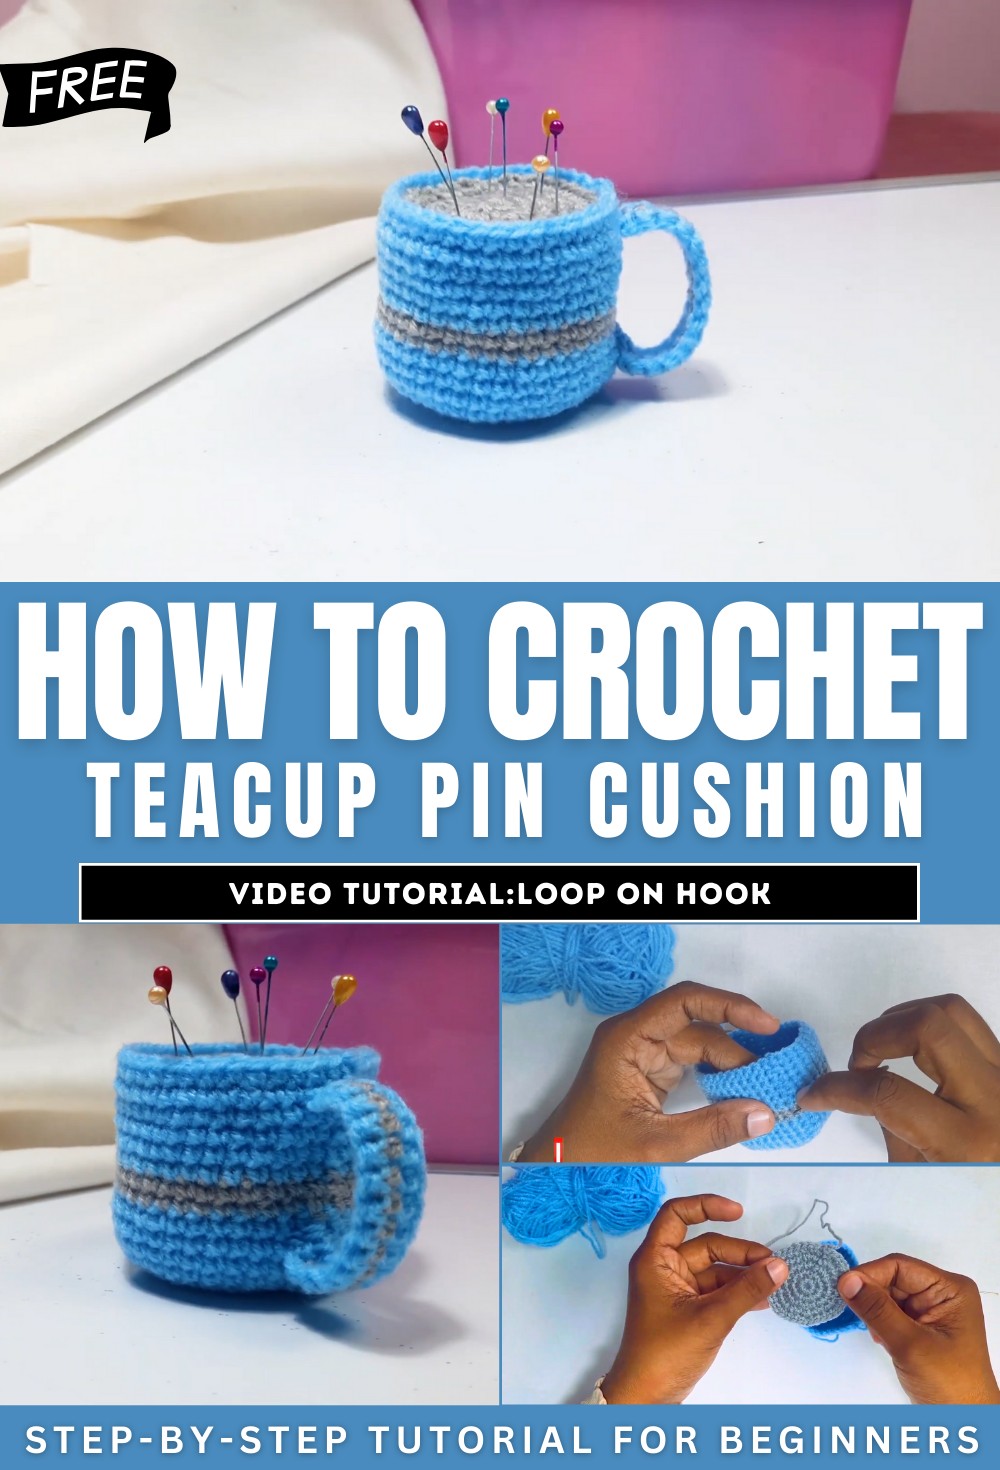
How to Crochet a Teacup Pin Cushion for Beginners

In this post, you’ll learn how to crochet a teacup pin cushion with a step-by-step tutorial for beginners. The process begins with crocheting a flat circular base using a magic ring and increasing stitches. Next, you crochet up the sides in single crochets to form the cup shape. The video shows how to change yarn color for a two-toned effect. A second flat circle is crocheted for the top, and the cup is then stuffed and the top is sewn on.
The handle is made with chain stitches and attached to the side. The tutorial concludes with weaving in all the loose ends. So, follow through with us for the complete tutorial.
Crochet Teacup Pin Cushion
This video provides a tutorial on how to crochet a teacup pin cushion. The process begins with crocheting a flat circular base, which is then built up to form the shape of the cup. The tutorial also shows how to add a handle and a top circle, and how to stuff the cushion for functionality.
Construction Steps
-
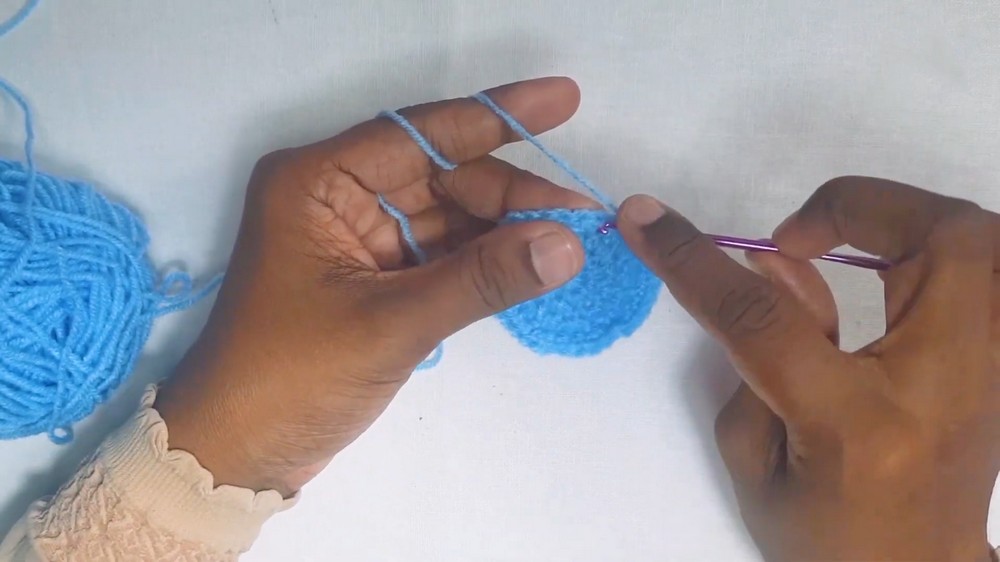
Creating the Base: The tutorial begins with crocheting a flat circular base for the teacup. This involves starting with a magic ring, then increasing the number of stitches row by row to create a flat, circular shape. The video shows how to make a series of single crochets and how to increase stitches in each subsequent row.

-
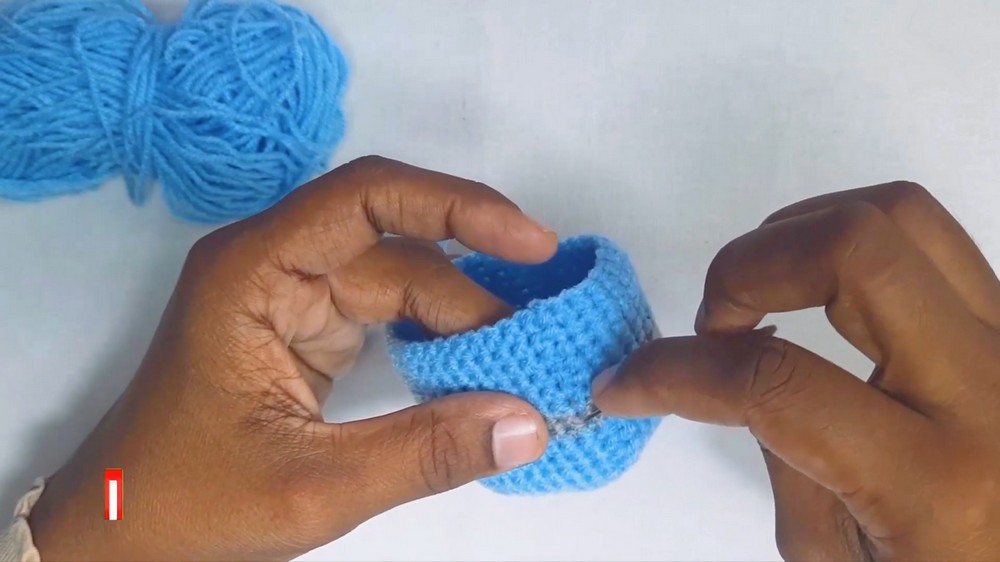
Forming the Cup Shape: After creating the flat circle, the video demonstrates how to begin forming the sides of the teacup. This involves crocheting single crochets at each stitch to build up the height of the cup.
-
Changing Yarn Color: The video shows how to switch to a different color yarn to create a two-toned teacup design. The last slip stitch of the previous row is completed with the new color to ensure a smooth transition.

-
Creating the Top Circle and Filling: A second flat circle, identical to the base, is crocheted to serve as the top of the pin cushion. The cup portion is then filled with cotton, padding, or a cut sponge. The top circle is attached to the cup with a needle and yarn.
-
Adding the Handle: A handle for the teacup is crocheted by chaining stitches, skipping one, and then single crocheting across the remaining chains. The handle is then attached to the side of the teacup.
Finishing Touches
-
Weaving in Ends: The video concludes by showing how to weave in all the loose ends to secure the work.
Video Guide
https://youtu.be/0FXWeATf6nc