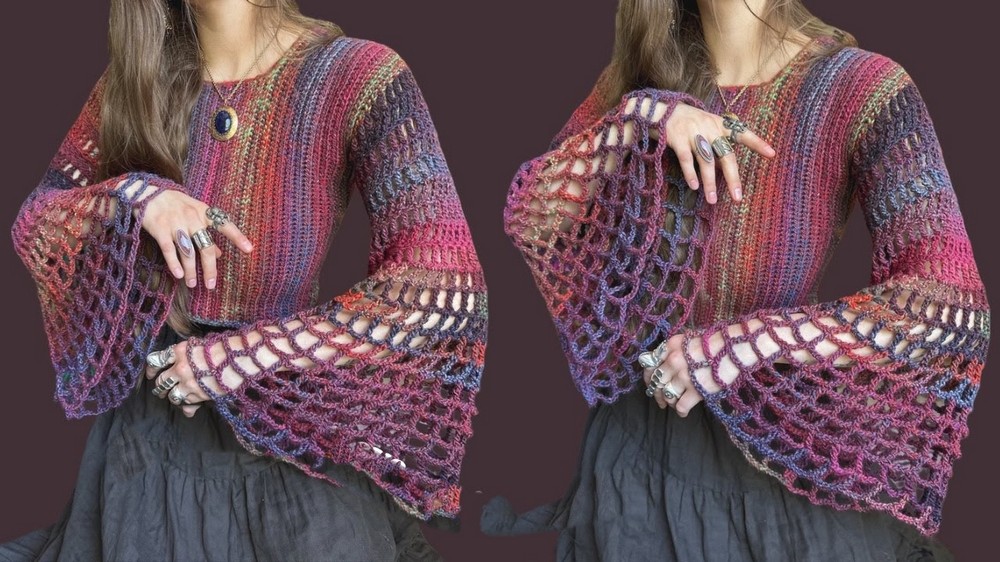
How to Crochet Bell Sleeve Sweater (That Looks Like It’s Knit!)
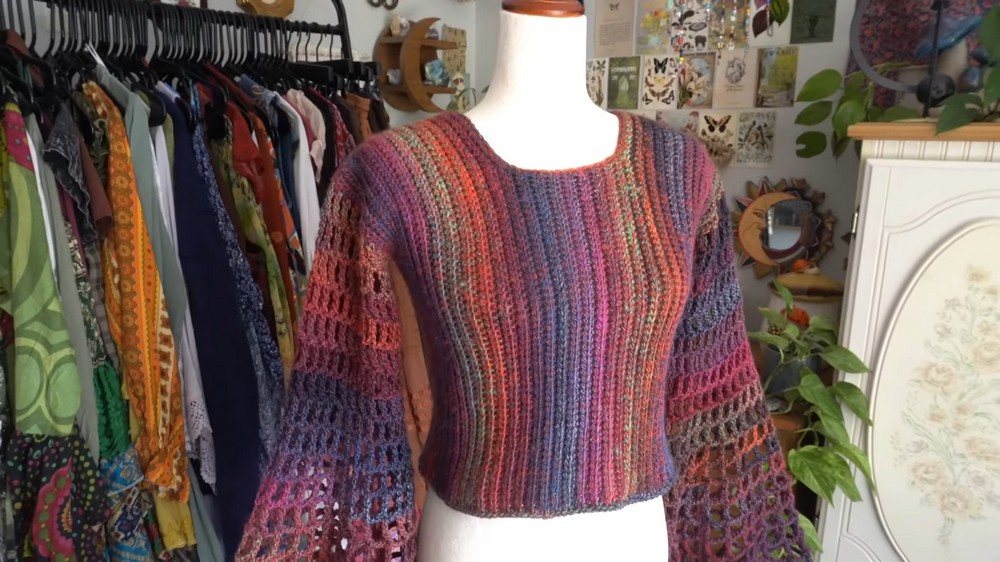
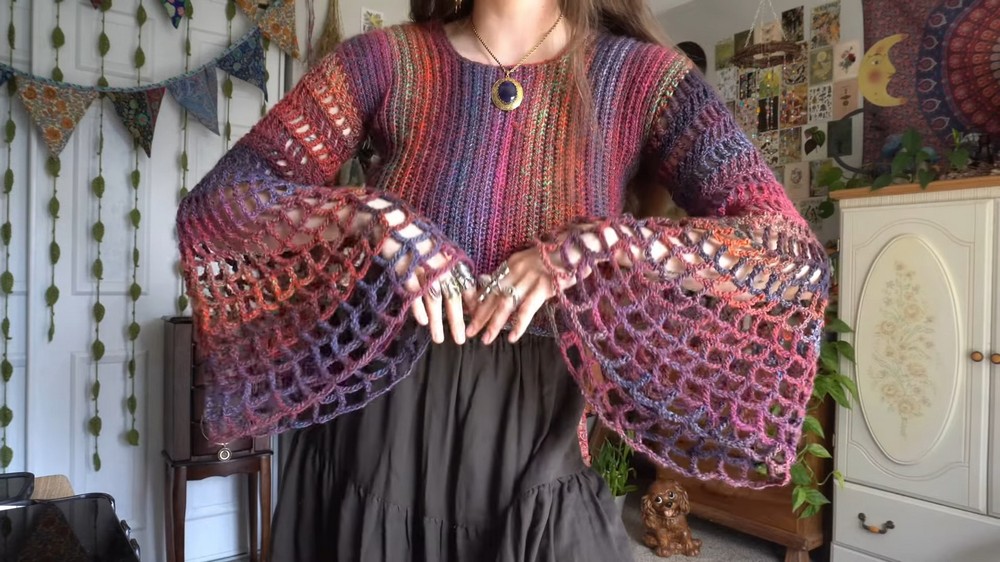
In this post, you will learn how to crochet a gorgeous Belle sleeve knit-style sweater, perfect for celebrating the start of autumn. Using faux knit stitches, the creator demonstrates step-by-step instructions, from crafting the panels to the assembly process, including creating the textured sleeves for a flowing bell silhouette.
While the setup quality is slightly imperfect, the tutorial remains clear and easy to follow, leaving you with a cozy, stylish sweater to kick off the fall season beautifully. So, follow through with us for the complete tutorial.

Belle Sleeve Knit-Style Crochet Sweater
This YouTube tutorial provides a step-by-step guide to crocheting a Belle Sleeve Knit-Style Sweater. The tutorial focuses on achieving a knit-like texture using crochet stitches, making the project perfect for autumn. Below is a summarized breakdown of the process:
Introduction
- The host introduces the sweater as a fall-inspired project with faux-knit stitches for those who enjoy the knit aesthetic but prefer crocheting.
Materials and Preparation
- Hook and Yarn: A 6.5 mm crochet hook is used, matching the yarn’s recommendations.
- Measurement Guidelines: Chains are created based on the length from the shoulder to the desired sweater length (e.g., hips). Adjustments for fit are encouraged.
Step 1: Starting the Base
- Foundation Chain: Create a chain long enough for the desired shoulder-to-hip measurement, and add one extra chain for turning.
- Single Crochet (SC) Row: Work single crochets into each chain.
- Turning Chains: At the end of each row, chain 2 to prepare for the next row.
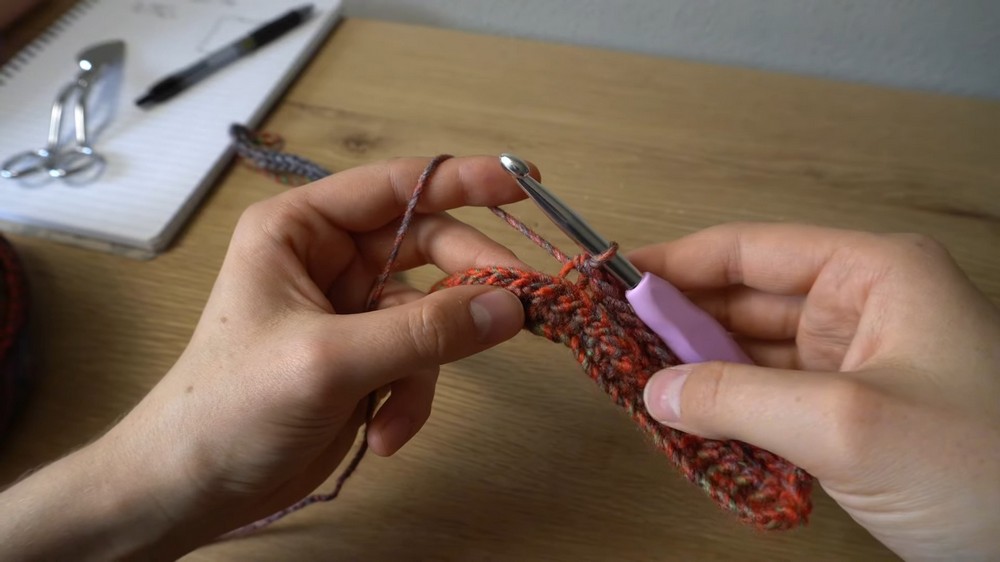
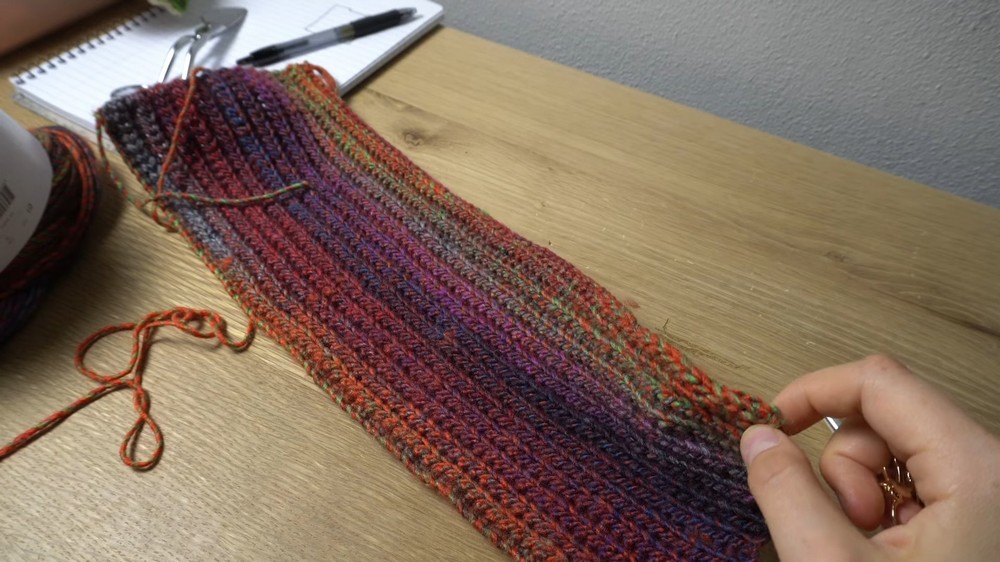
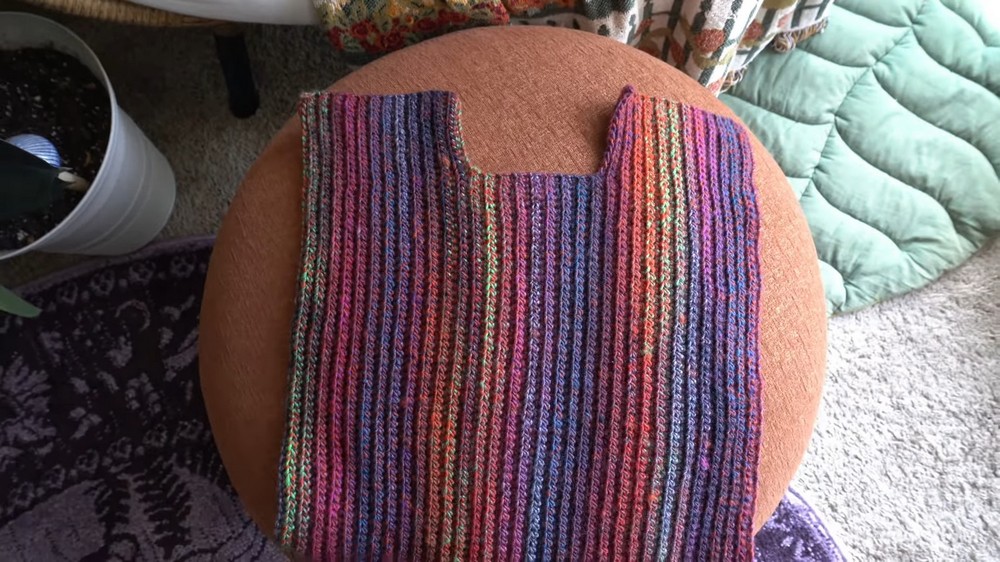
Step 2: Shoulder Panels
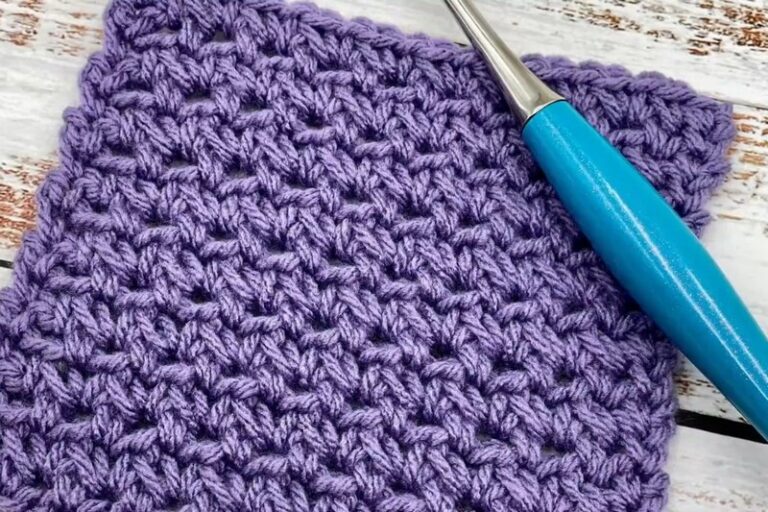
- Stitch Used: Half Double Crochet Slip Stitch (HDCSS) in the back loops only, which creates the faux-knit look.
- Continue the HDCSS pattern for the rows designated for the shoulder panel.
- Regularly measure to ensure the panel matches the desired width (adjust for personal fit and neckline style).
- Note on Neckline: For a wider neckline, create fewer rows for the shoulder panels. Adjustments can be made during the middle section.
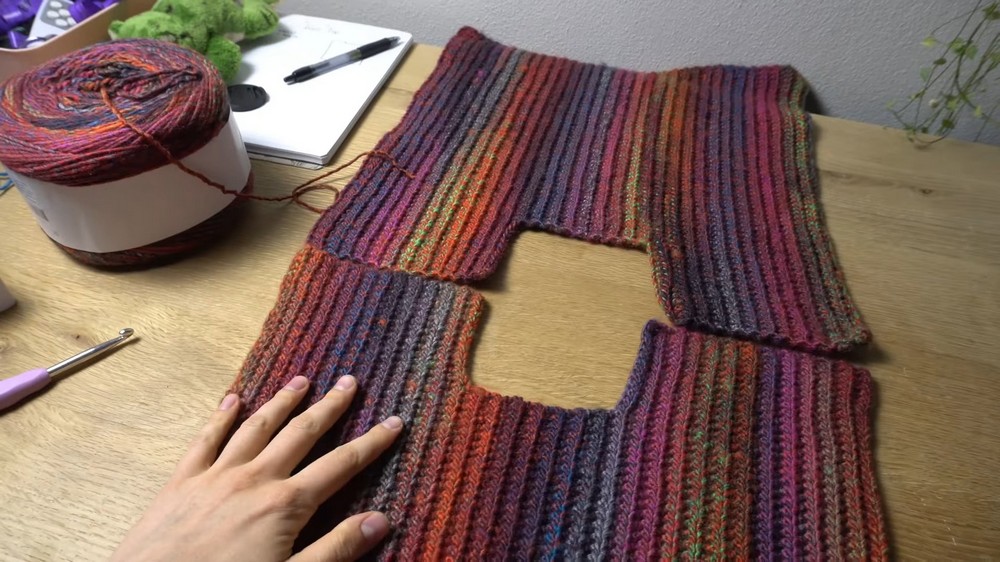
Step 3: Middle Section
- Use stitch markers to determine where the middle section connects to the shoulder panels.
- Crochet rows for this section by continuing the same HDCSS pattern established earlier.
- Ensure symmetry between the two shoulder panels by aligning stitch counts accurately.
Step 4: Second Shoulder Panel
- Begin the second shoulder panel by adding chains to the middle section to match the initial panel’s length.
- Repeat the same process as the first shoulder panel while maintaining consistency in rows and stitch counts.
Step 5: Assembling the Sweater
- Seaming the Panels: Use whip stitches to join the front and back panels at the shoulders and sides.
- Neckline and Hem Finish: Create a single crochet border around the neckline and hem for a clean and polished finish.
Step 6: Sleeves
- Mesh Stitch Design: Attach yarn at the armhole and use treble crochet stitches with chains in between to create a mesh pattern.
- Increasing Sleeve Width: Gradually increase the number of chains between treble crochets in stages to achieve the bell sleeve effect.
- Example: Work rows with one chain, then additional rows with two chains, progressing to three, four, and eventually five chains between stitches.
- Completion: End with consistent finishing stitches and weave in loose ends for a neat final look.