How To Crochet Block Stitch Granny Square for Beginners

In this tutorial, learn how to crochet a block stitch granny square using a size 4 crochet hook, perfect for summer projects. The tutorial also introduces alternating rows of double crochet and chain stitches for pattern and thickness. Perfect for beginners, this technique can be adjusted to create squares of any size for various crochet projects.

Crochet a Block Stitch Granny Square Tutorial
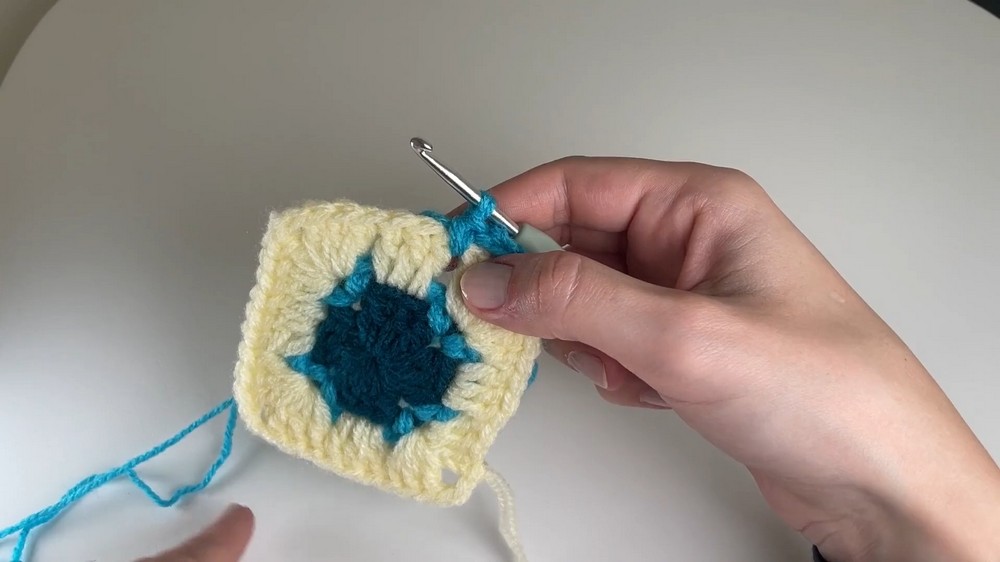
The tutorial demonstrates how to create a block-stitch granny square, perfect for various crochet projects. It provides step-by-step instructions, beginning with a slip knot and progressing through chaining, double crochets, and creating corners to shape the square.
- Necessary materials:
- Yarn (any type, but the tutorial uses acrylic yarn with double strands for ease, creating a weight four).
- Crochet hook (size 4 recommended).
- Scissors.
- Yarn needle for finishing.
Starting the Granny Square
-
Creating a Slip Knot:
- Instead of using a magic ring, a slip knot is made at the beginning to start the base of the square.
- Instructions are provided for forming a secure slip knot and attaching it to the hook.
-
Forming a Foundation Circle:
- Chain five stitches and join the first and last chain with a slip stitch to form a circle.
- This circle serves as the base where the entire granny square is worked.

Building the First Round
-
Double Crochets and Corner Chain Creation:
- Begin the round by chaining three stitches, which count as the first double crochet.
- In the foundation circle, create sets of double crochets, separated by chain stitches to form the square’s corners.
- The process is repeated to form the four distinct sides of the square.

-
Joining the Round:
- Finally, connect the first and last stitch using a slip stitch, completing the initial round.
- A tail end of yarn allows for tightening the middle of the foundation circle for a neat finish.
Adding Second Round With Alternate Colors
-
Introduction of New Yarn:
- Attach a new color of yarn in any corner space of the granny square.
- Crochet chains and single crochets to enhance the square’s structure.
-
Corners and Side-Spaces:
- Corners are worked with a unique pattern: a single crochet, chains, followed by another single crochet within the same corner space.
- For side-spaces, chain stitches help transition to the next section while maintaining symmetry and balance.

Expanding the Granny Square
- Increasing Circle Width:
- In each subsequent round, the sides grow longer as the granny square expands.
- More spaces appear, and they are worked using the same consistent approach: connecting new yarn, chaining stitches, and alternating between corners and side-spaces.

Building Additional Rows
-
Alternating Rows:
- Alternate rows of double crochets and single crochets with chains for the block-stitch aesthetic.
- Maintain consistent patterns for each row to ensure the square grows proportionately.
-
Corner Construct Details:
- Corner sections contain three double crochets, two chains, and another set of three double crochets to maintain the square’s edges.
Finishing the Project
-
Final Steps:
- End the last row by completing the corner with double crochets and chaining before connecting with a slip stitch.
- Fasten off the yarn by cutting it and pulling it through securely.
-
Weaving in Loose Ends:
- Use a yarn needle to hide tail ends along the crochet’s edges for a clean finish.
- Detailed instructions provide methods to ensure tails do not unravel.
Project Options
- The block-stitch granny square can be made into other creative projects. For example, the video hints at using the squares to make a hooded scarf with rounded corners.
This tutorial empowers both beginner and intermediate crocheters with step-by-step instructions to create a stylish granny square while offering creative room for customization in size and design.