How to Crochet Checkered Beanie Hat for Beginners
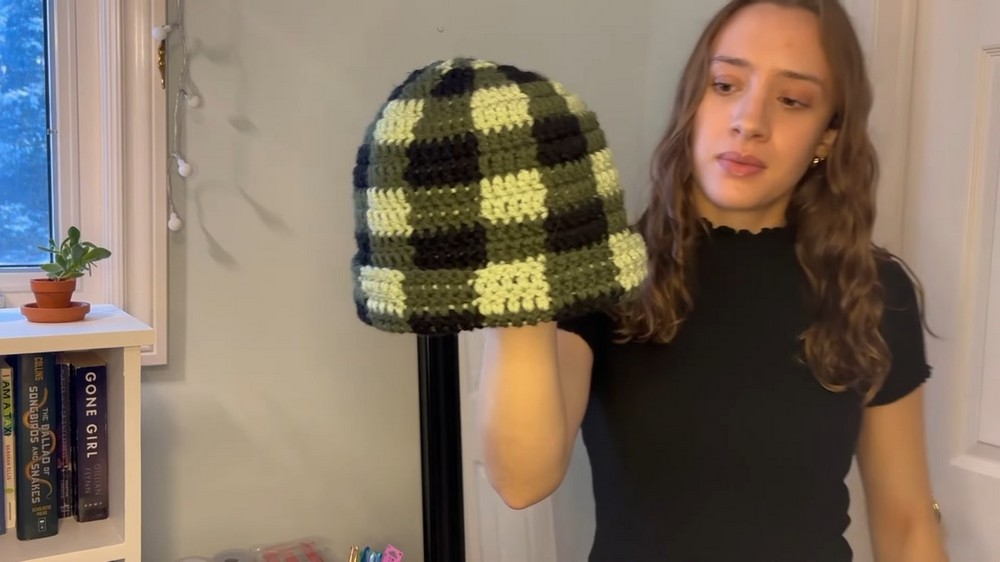
Learn how to crochet a checkered beanie hat using three colors: black, dark green, and light green. It starts with creating a magic ring and progresses through rounds with stacked single crochets, double crochet increases, and careful color changes to form a checkered pattern. The tutorial emphasizes techniques for seamless color transitions and clean finishing, ensuring the inside of the hat looks neat when flipped up. Crochet this hat for a beautiful winter!

Crochet Checkered Beanie Tutorial
The tutorial demonstrates how to crochet a checkered hat in alternating colors. For clarity in showcasing stitches, the creator starts with a light-colored yarn but switches to a darker yarn for the final design. The video emphasizes maintaining neat color transitions and achieving consistent stitch patterns.
Step 1: Starting with the Magic Ring
- The tutorial begins with creating a magic ring using the first yarn color.
- The yarn tail is looped twice around the finger in an “X” formation.
-
- The magic ring is formed by sliding the crochet hook under one loop and pulling the other loop through, then releasing the yarn to form a ring.
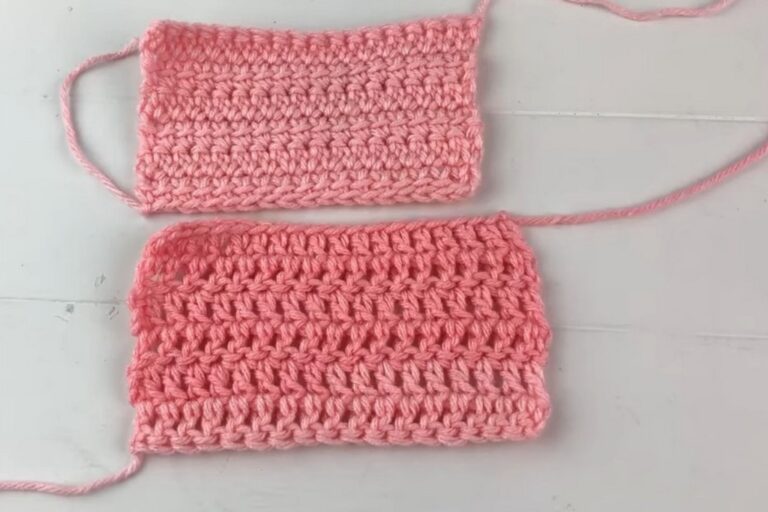
- A stacked single crochet is used to start Round 1, providing a firmer and cleaner base for double crochet stitches.
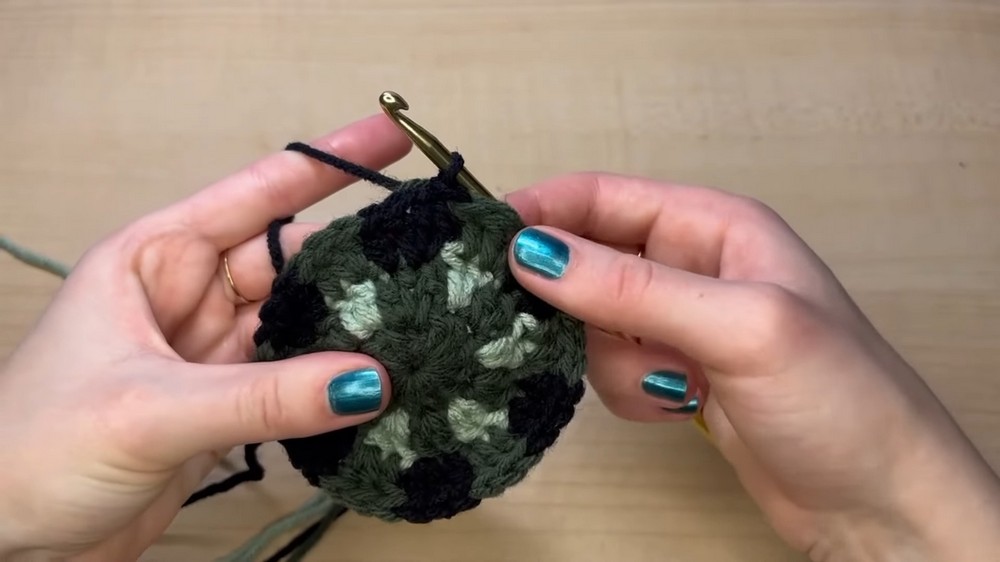
Step 2: Round 1 – Establishing the Base
- Round 1 consists of working into the magic ring with double crochets to create the foundational circle for the hat.
- The yarn tail is pulled tight to close the magic ring, and the round is secured with a slip stitch.
- Color switching techniques are demonstrated, ensuring smooth transitions between different yarn colors.

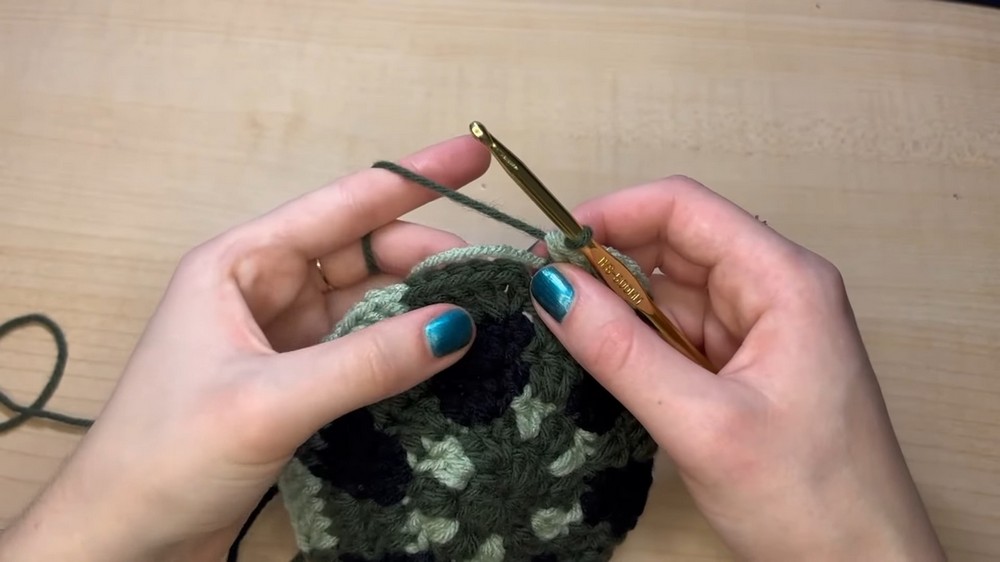
Step 3: Round 2 – Color Incorporation
- The second round introduces alternating colors to begin the checkered pattern.
- Double crochet increases are used in each stitch to expand the base of the hat.
- A method for crocheting over inactive yarn (to hide it while allowing future use) is explained.
Step 4: Rounds 3 and 4 – Checkered Blocks
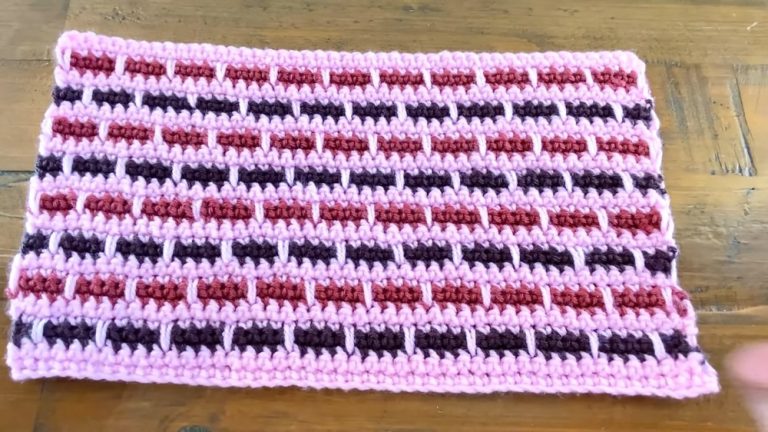
- Each checkered block is made up of two rows in alternating colors (e.g., dark green and black).
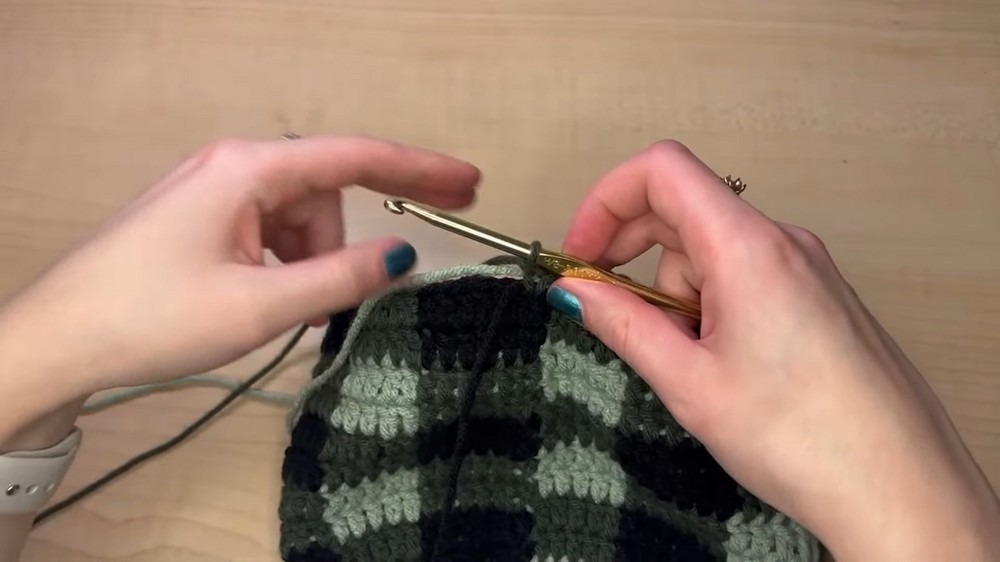
- The technique switches between color adjustments and regular double crochet stitches to build the blocks.
- Proper tension is maintained while pulling up active yarn and crocheting over inactive yarn to keep the rows clean and seamless.
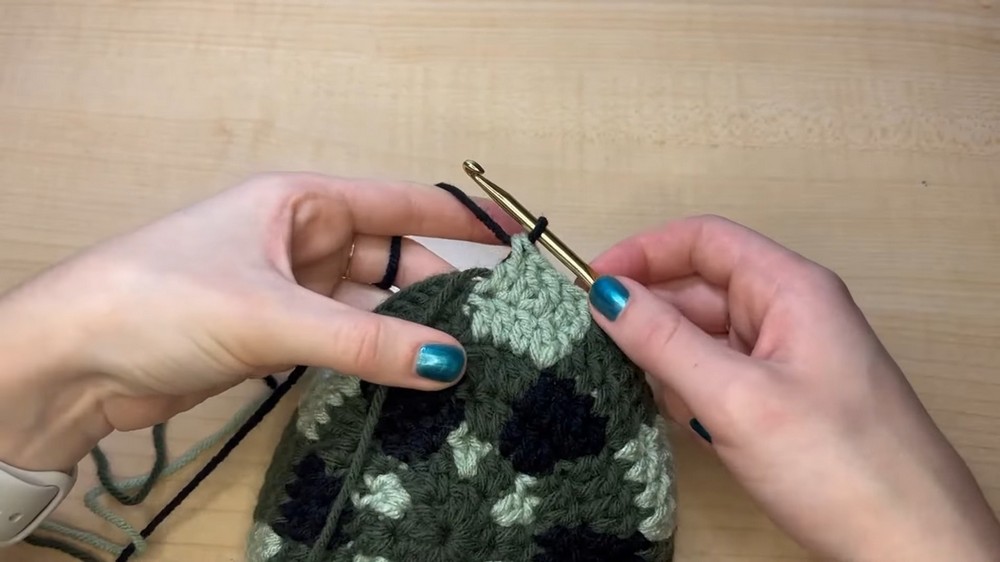
Round 5-Onward: Refining the Checkered Pattern
- From the fifth round, the blocks grow as stitches are divided into smaller groups. The tutorial includes tips for perfecting color placement (e.g., switching black over dark green).
- The process of crocheting over unused yarn strands continuously ensures the hat remains visually clean inside and out.
- Stitched sections are carefully aligned to build upon previous rows, resulting in consistent color blocks.
Final Steps: Flipping the Edges
- Starting in Round 14, the tutorial shifts focus to the portion of the hat that will be flipped up for styling.
- To make the inside of the hat visually appealing, unused yarn from prior rounds is crocheted over, hiding loose ends.
- Precise instructions are given to ensure the aesthetic matches both inside and outside.
Finishing the Hat
- At Round 18, the pattern is completed, and the yarn is cut with a reasonable tail left for weaving in ends.
- A yarn needle is used to secure the final round seamlessly, ensuring the aesthetic remains clean.
- Ends are woven tightly through stitches in multiple directions to prevent unraveling before trimming.
Conclusion
- The tutorial concludes with final adjustments such as hiding loose tails and tying knots.
- The finished checkered hat is durable, cleanly designed, and ready for wear.