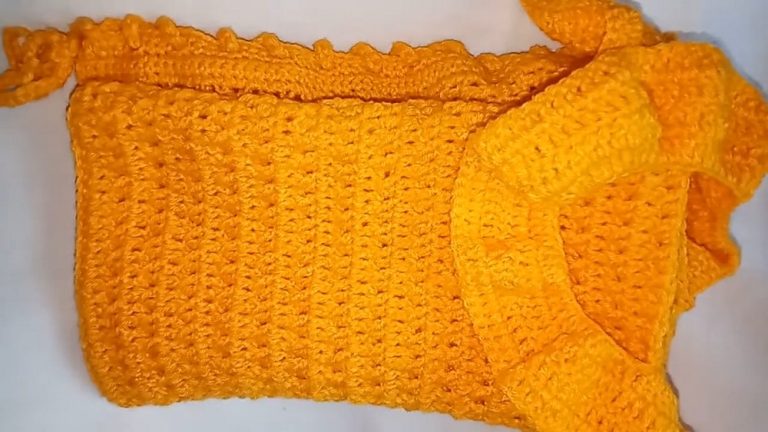
How To Crochet Checkered Card Pouch (Tutorial for Beginners)

In this post, you’ll learn how to crochet a checkered card pouch in a modern finish perfect for Christmas cards with a step-by-step tutorial from Chorshan. The pouch features a checkered pattern tried with 5 colors available, created by alternating colors. Instead of zipper, tutor prefers button closure for it for a bit of classical look.
This pouch is not only functional but also a great way to practice color changes and improve working flat. It is also easily customizable for both size and design. The complete guide will be available at the end of this post.

Skills Used: Single crochet, slip knot, back-loop-only double crochets, and alternating color changes to form a checkered design. Additional skills such as using stitch markers for precision, attaching a button closure, and neatly hiding yarn ends are integral for creating a polished pouch.
Guide Span: 20 Minutes Only
Personalization Tips: This crochet checkered card pouch will be crocheted using two colors: one your preferred and the white for the background. You can also choose popular colors of Checkered other than what tutor shows including red and green. Adjusting the number of rows or stitches can also modify the pouch size to fit different needs.

This crochet card pouch tutorial provides ways of both learning the basic checkered technique while resulting a practical and stylish item that is also great for gifting. Here is a quick overview of this guide:
Free Crochet Checkerboard Pouch Pattern
Materials List
- Yarn: Worsted weight (category 4) cotton yarn in at least two contrasting colors (for the checkerboard effect)
- Hook: 4.0 mm (US G–6)
- Tapestry Needle: For weaving in ends and sewing on the button
- Stitch Markers or Pins: To keep track of the beginning of rounds
- Button: For the pouch closure
- Scissors

Key Abbreviations (US Terms)
- ch: chain
- sc: single crochet
- dc: double crochet
- bl dc: back loop only double crochet
- sl st: slip stitch
- inc: increase (2 sc in the same stitch)
- st(s): stitch(es)
- rep: repeat
Special Notes
- The checkerboard pattern alternates colors every four stitches.
- Back Loop Only Double Crochet (bl dc): Work the double crochet in the back loop of the stitch only to add texture and definition to the checkerboard squares.
- Carry non-working yarn inside the stitches to avoid loose strands inside the pouch.
- Use a stitch marker or pin at the beginning of each round for easier tracking.
Pattern Instructions

1. Base
- With Color A, make a slip knot.
- Ch 27.
- Row 1:
- Starting from the second ch from the hook, sc in each st across (26 sc).
- 2 sc in last ch (for the turn).
- Working into the backside of the foundation chain, sc in each of the next 25 sts.
- 2 sc in last st.
- (Total: 52 sc)
- Join with sl st to the first st to work in the round.
2. Increase for Sides
Row 2:
- Ch 1, 1 sc, inc (2 sc in next st).
- Sc in next 24 sts, 2 sc in next 2 sts.
- Sc in next 24 sts, inc (2 sc in next st).
- Join with sl st to beginning (Total: 56 sc).
- In practice, keep total st count at 52 as per video, adjusting where needed for a neat oval.
3. Checkerboard Pattern
You will alternate 4 bl dc in each color for each block, switching colors as described.
Row 3 (First Checkerboard Row):
- Ch 2 (counts as dc).
- Bl dc in next 3 sts (total 4 bl dc in Color A).
- On last yarn over of 4th bl dc, switch to Color B.
- Bl dc in next 4 sts (Color B).
- Continue alternating every 4 sts—switching yarn at the last yarn over of the 4th bl dc—around the pouch.
- Join with sl st to top of starting ch-2.
Tip: Hide non-working yarn by laying it alongside the stitches and crocheting over it.
Rows 4–9:
- For even rows (4, 6, 8), work regular dc.
- For odd rows (5, 7, 9), use back loop only dc.
- Begin each round with ch 2.
- Work 4 sts in each color, changing color at the last yo of the 4th st, carrying and hiding the other color as you work.
- Continue for 7 total checkerboard rows, alternating regular and back loop dc as in the transcription.
4. Top Border
Row 10:
- Ch 1, sc in each st around (52 sc).
- Join with sl st at end.
Row 11:
- Ch 1, sc in each st around (52 sc).
- Join with sl st, do not fasten off.
5. Button Closure Loop
- Fold the pouch in half to find the central stitch on one side.
- Mark center stitch for button placement.
- Fold the flap over and measure:
- From the center of the top edge, ch 18 (or as long as needed to reach around the button).
- Sl st to same stitch to form a loop.
6. Assembly
Sew on Button:
- Fold pouch; place the button on the opposite side at the center.
- With matching yarn and a tapestry needle, sew the button on securely.
- Weave in all ends and trim any excess.
- Use final sc round to reinforce the edges, as needed.
Final Steps:
- Fold pouch, test loop over button to ensure fit.
- Hide and secure all loose yarn tails inside pouch.
Conclusion
This crochet checkerboard pouch pattern produces a sturdy and stylish pouch with a playful colorwork pattern. The step-by-step color changes and texture are great practice for advanced beginners wanting to refine their tapestry crochet and finishing skills.
Pattern Correction & Tips
- Color Changes: Change colors on the last yarn over of the fourth stitch for crisp color blocks.
- Hiding Yarn: Always crochet over the non-working yarn to keep the inside of the pouch neat.
- Stitch Count: Ensure the base (rows 1–2) has a neat oval finish; feel free to adjust increases if required for a tidy foundation.
- Closure: Adjust chain count for the button loop for your specific button size.
- Finishing: Block your pouch lightly with steam (if using cotton) for a smooth finish.
Video Guide
https://youtu.be/GRXeP9KoTi0