How to Crochet Checkered Top for Summer for Ladies
Perfect for fall, learn how to crochet a checkered summer top, starting with a slip knot and chains in multiples of four to fit around the under bust. The tutorial demonstrates how to work double crochet stitches and make color changes for a visually appealing design. As it progresses, it details creating straps by alternating colors for a checkered effect.
The video emphasizes maintaining consistent decreases and color patterns to achieve the desired fit. With a clear focus on precision and style, this tutorial is ideal for crochet enthusiasts looking to craft a custom, stylish top. For the complete tutorial, follow along with us.

Crochet Checkered Top Tutorial
This tutorial provides a step-by-step guide on creating a colorful crochet top with a checkered design. The process is thoroughly explained, making it easy to follow along. Below is a structured summary of the tutorial:
1. Starting the Base
- Begin by making a slip knot.
- Work a chain in multiples of four, ensuring it fits under your bust, while leaving space for the back straps.
- Skip three stitches and start with a row of double crochets.
2. Building the Foundation
- Turn your work and add a second row of double crochets.
- Ensure you don’t miss working on the top of the last chain of the previous row.
- The first two rows form the base for the alternating color pattern.
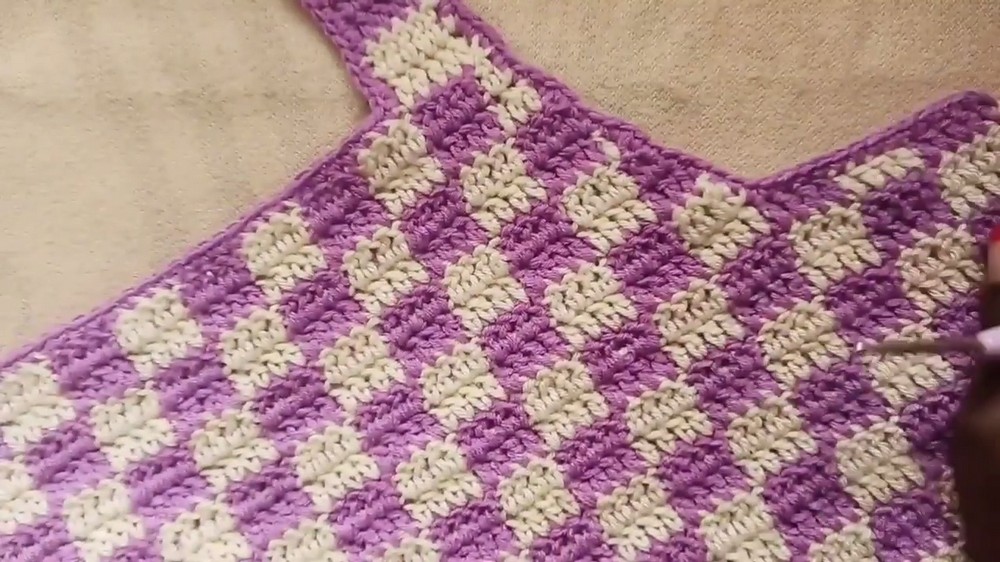
3. Introducing the Checkered Pattern
- Prepare the contrast color for a checkered effect by making color changes.
- Work a specific number of stitches in the current color, then switch to the contrast color.
- Carry the unused yarn along to create smooth color transitions.
- Alternate colors to form the checkered pattern, starting or ending each row with a color adjustment as needed.
- Begin each new row by turning your work and following the same checkered pattern.
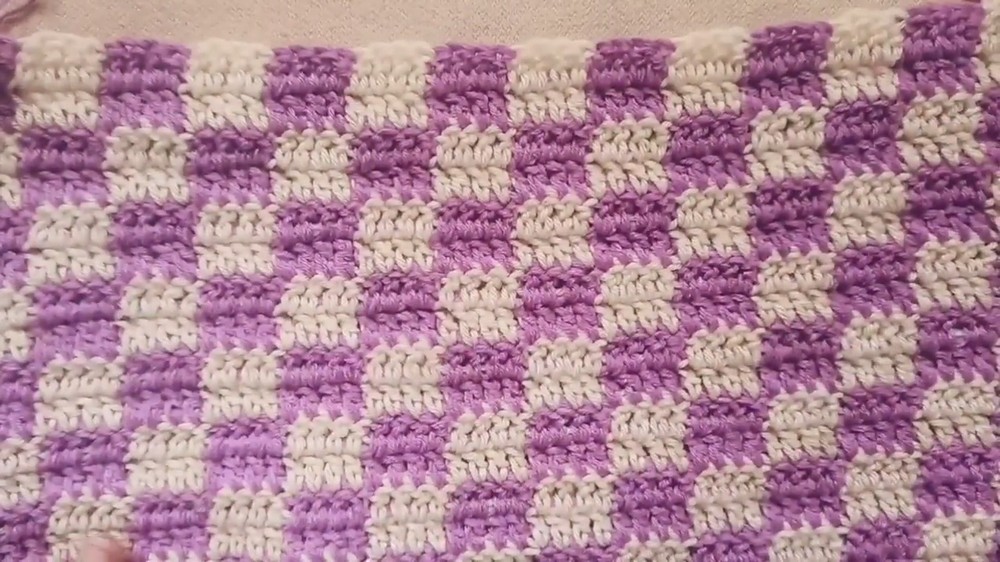
4. Progressing the Body
- Continue repeating rows of alternating colors until you reach the section under the arms.
- For demonstration, the tutorial maker creates a total of 15 rows to reach this point.
- Adjust the number of rows based on your desired fit and measurements
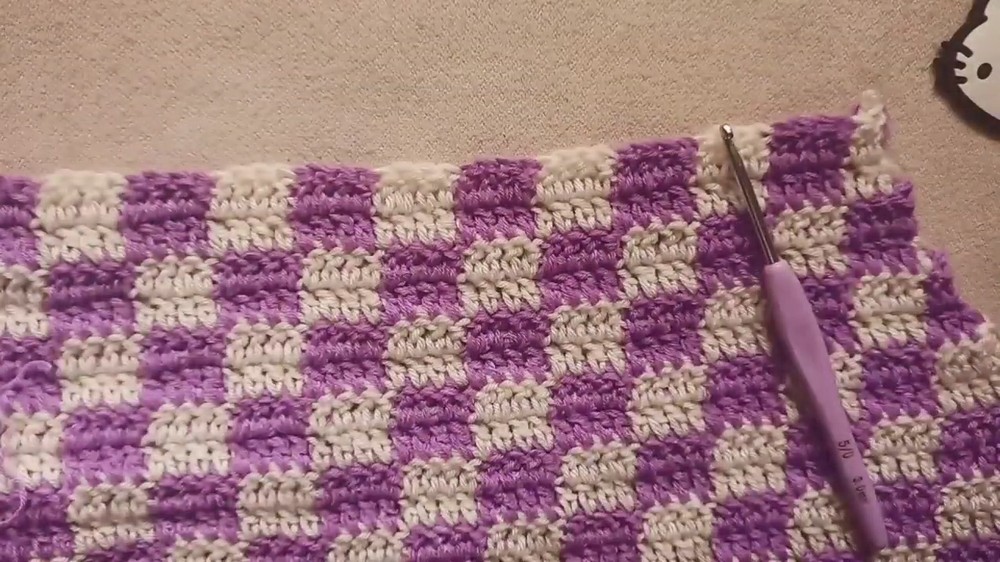
5. Shaping the Top with Decreases
- Skip the stitches under the arms to shape the front of the top.
- Attach the appropriate yarn color to start working decreases.
- Use a double crochet decrease at the beginning and end of the rows to taper the top.
- Maintain the alternating color pattern while working decreases.
- Continue this until the front part of the top reaches your desired height.
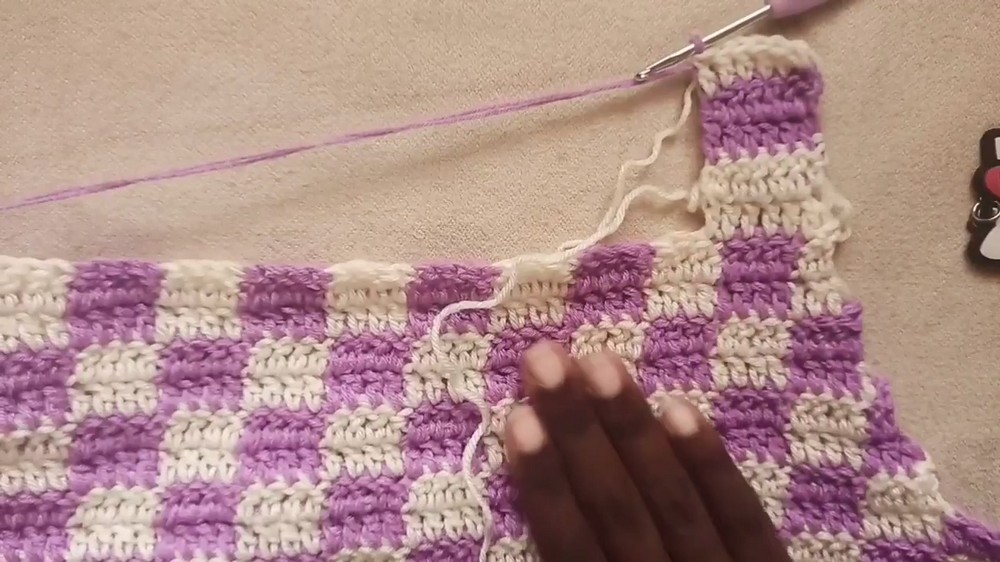
6. Working on the Straps
- Attach yarn to create the straps.
- Determine the strap width, keeping it between 4–6 stitches for best results.
- Work two rows of each color, alternating as necessary, until the strap is long enough to reach the back of the neck.
- Optionally, adjust the strap length to create tie-on straps if preferred.

7. Adding the Border and Back Straps
- Finish the straps with a border of single crochet stitches for a clean look.
- Attach the straps to the back of the top.
- Add additional back straps for support and tie-ons, as required.