How to Crochet Flower Pot Basket for Spring
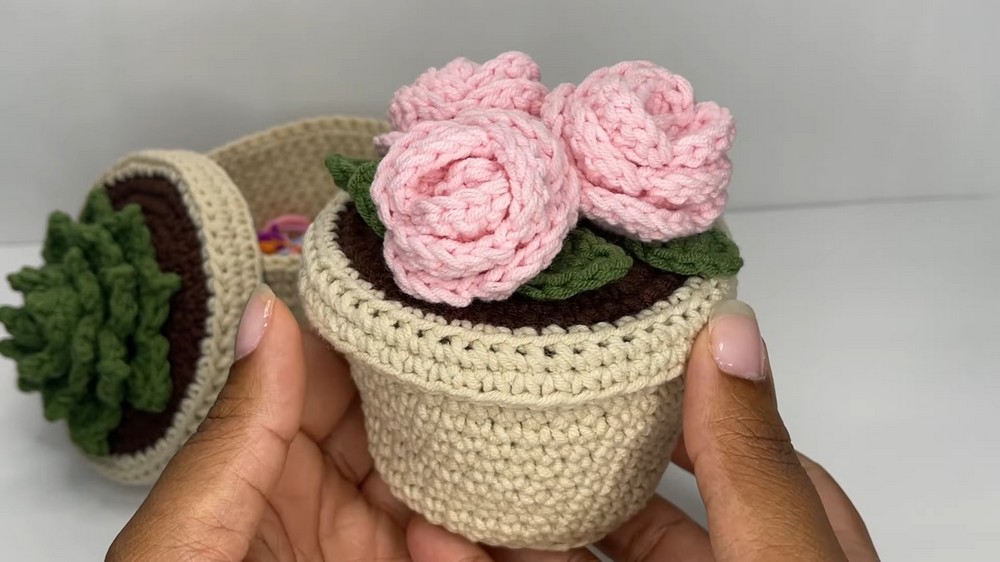
In the video, Lacey demonstrates how to crochet a beautiful flower pot that doubles as a keepsake box for storing small items like jewelry or stitch markers. You will learn everything from crocheting the pot base to adding decorative roses and leaves. The detailed instructions make this project accessible for all skill levels, encouraging creativity and customization to personalize the final design. Follow through with us for crocheting this decor!
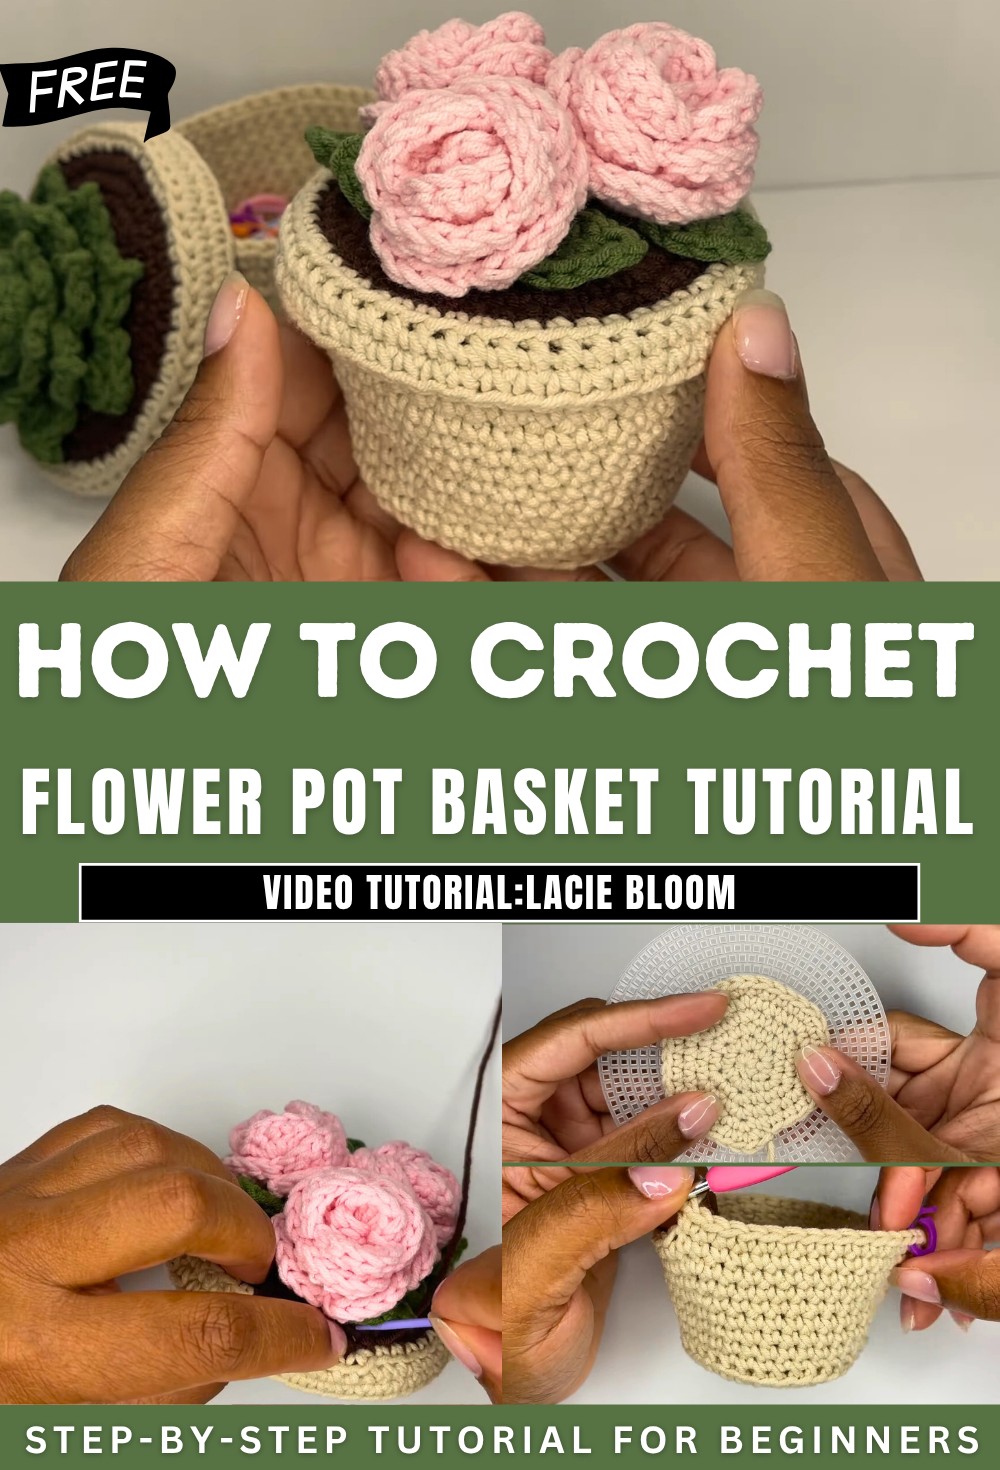
Crochet Flower Pot Basket Tutorial
The video is presented by Lacey, who demonstrates how to create a flower pot that doubles as a keepsake box for storing small items like jewelry and stitch markers. The project primarily involves crochet techniques and assembling pieces to form the pot and lid.
Materials Needed
- Yarn: DK-weight yarn (cotton or cotton blend recommended; Lacey uses a slightly thicker cotton-acrylic blend from Etsy).
- Crochet Hook: 4mm crochet hook (adaptable depending on the thickness of yarn).
- Other Supplies:
- Scissors.
- Stitch markers.
- Two plastic circle canvases, approximately 4 inches wide.
Making the Base of the Pot
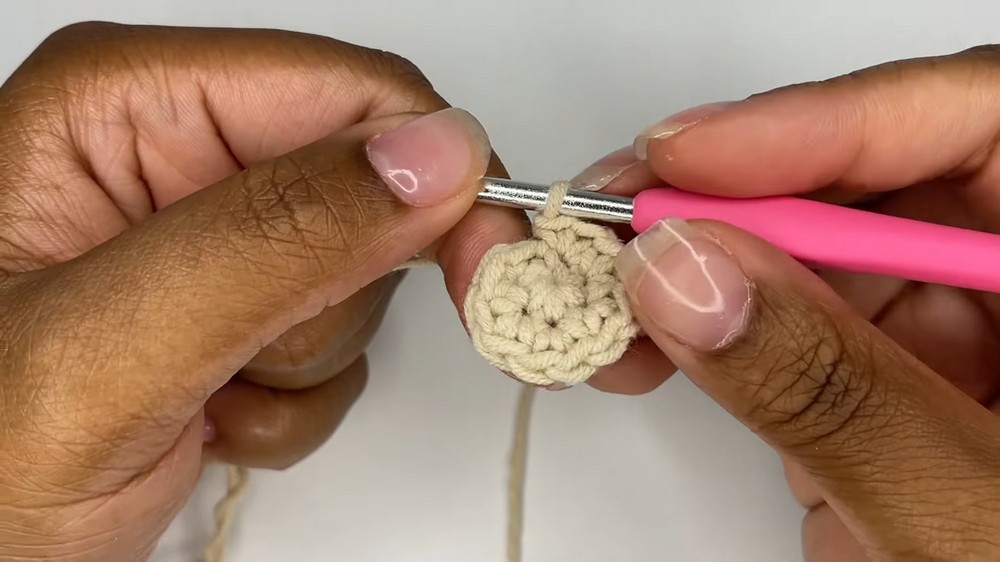
- The first step is to crochet two flat circles of the same size for the bottom of the pot.
- A magic circle is created, and single crochet stitches are worked progressively to form an expanding circular base.
- After completing the sixth round, the yarn is tied off for the first circle, while the second circle leaves the yarn intact for assembly.
Assembling the Base
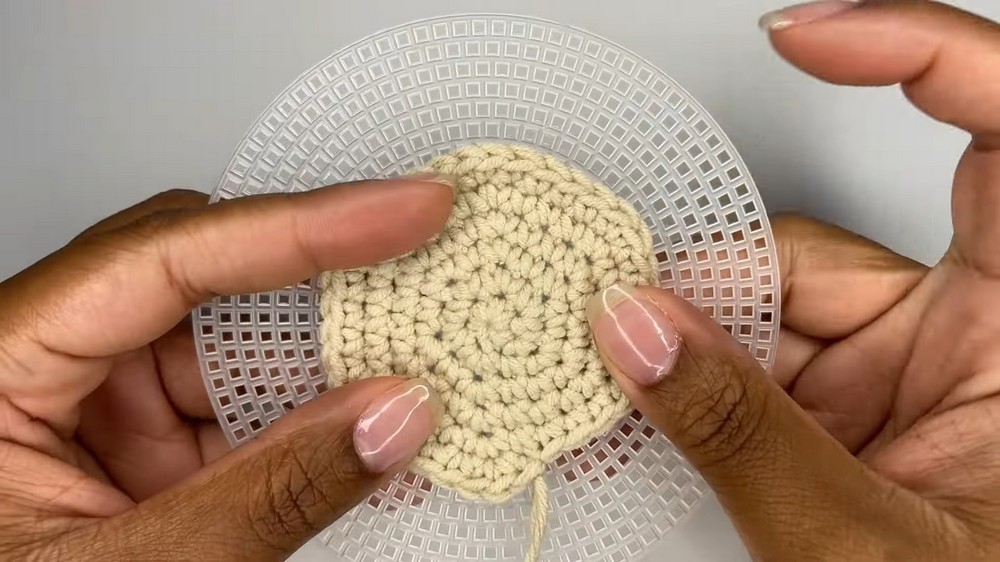
- Plastic canvases are cut slightly smaller than the crocheted circles to reinforce the base.
- The two pieces of crochet are placed together with their wrong sides facing.
- Round seven involves single crocheting through the back loops of both pieces until halfway, then inserting the canvas before completing the round.
- The base is reinforced and closed with 36 stitches.
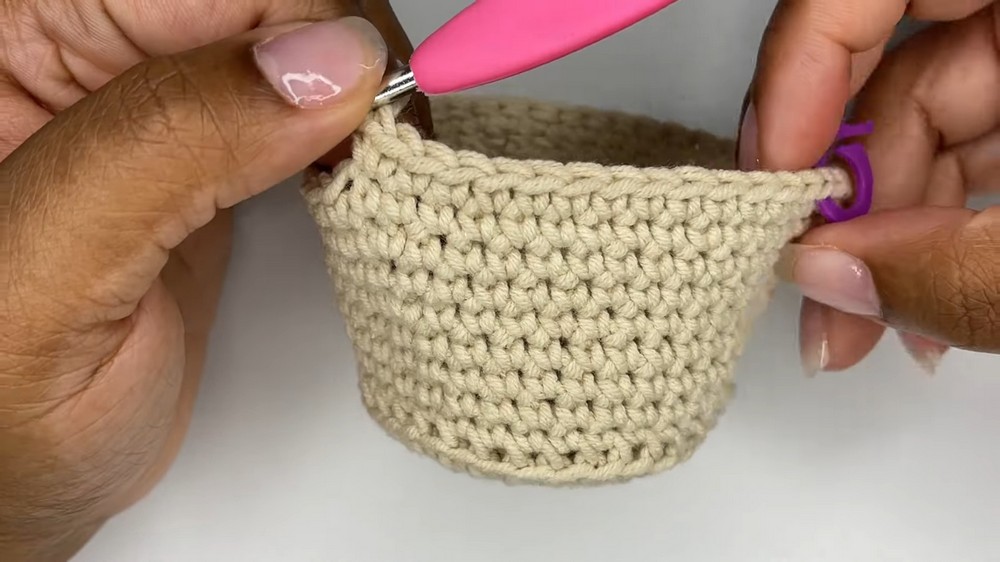
Building the Pot
- The walls of the pot are crocheted by working three rounds of single crochet, maintaining consistent stitches.
- Increases are introduced gradually to widen the pot by adding stitches systematically in specific rounds.
- The pot grows taller with alternating rounds of single crochets and increases.
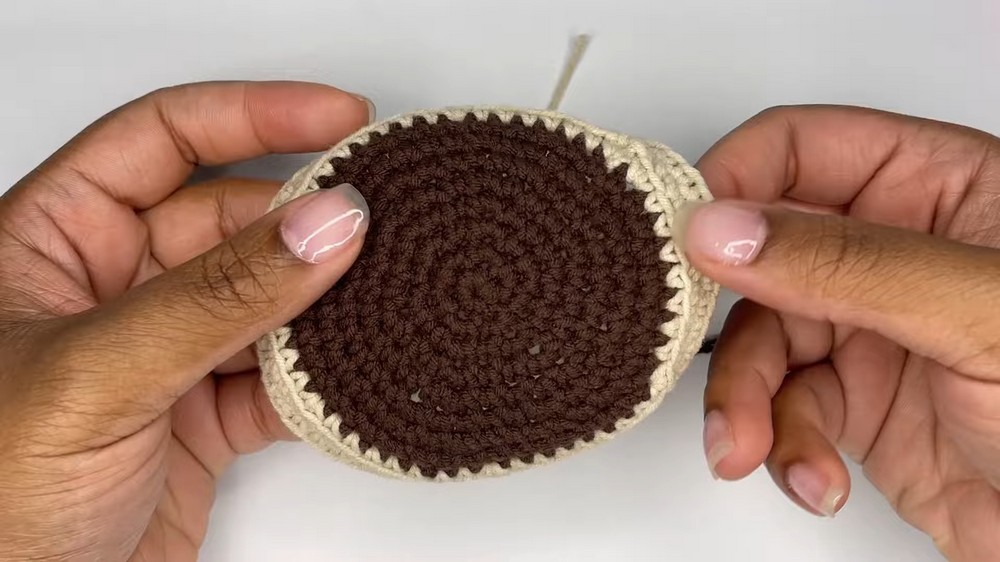
Creating the Lid
- The lid represents the soil of the flower pot and matches the dimensions of the pot base.
- The top is crocheted using rounds of single and increasing stitches.
- Measures are taken to prevent the lid from forming bumps or appearing hexagonal due to stacked increases.
- A plastic canvas is cut to fit under the lid, but it is set aside until flowers and decorative components are completed.
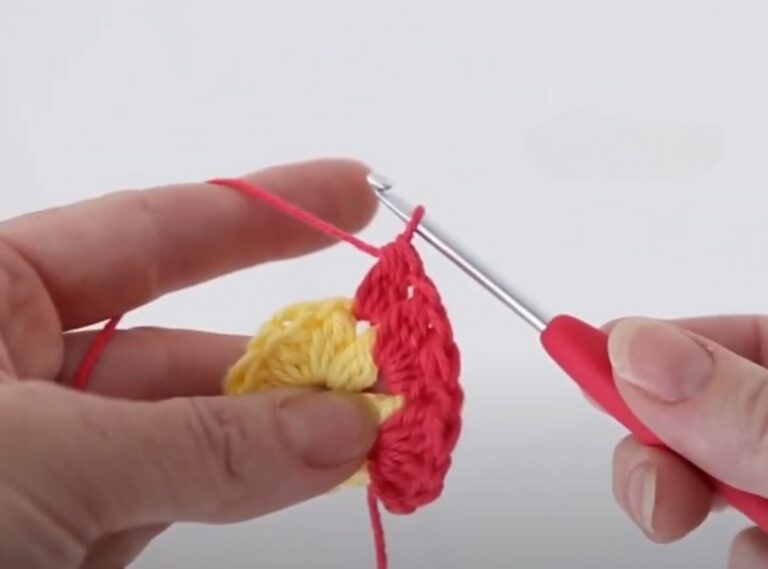
Crocheting the Roses
- Three roses are crafted for decoration. Colors are chosen based on preference.
- Roses are made by chaining and forming rows with V-stitches, followed by rounds of double crochets to create petals.
- The petals are shaped and rolled into a rose, with the tail yarn used to secure the flower.
Crocheting the Leaves
- Roses are complemented with leaves (two per rose).
- A simple six-chain pattern forms an elongated leaf with single, half-double, and double crochet stitches used in succession.
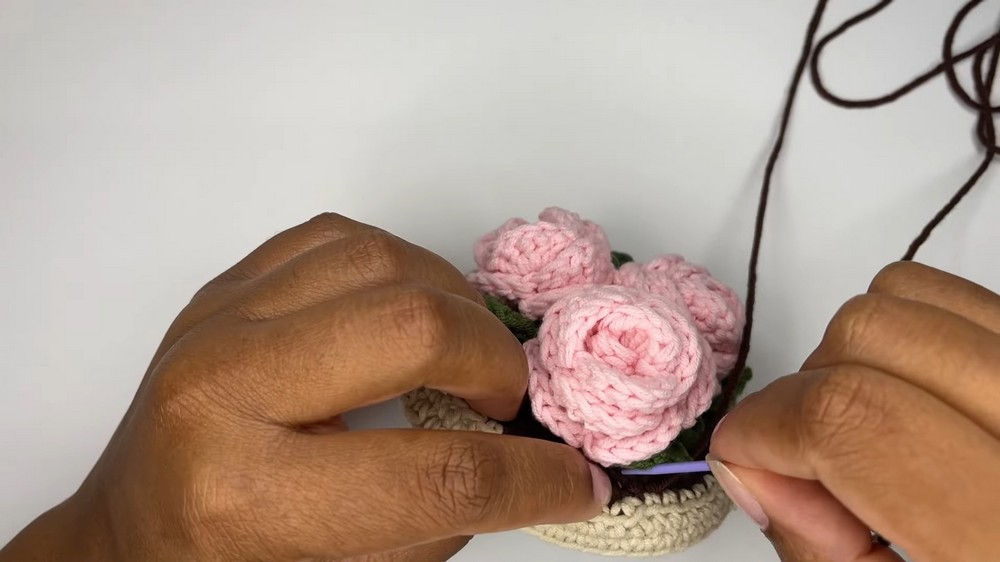
Attaching Flowers and Finalizing the Lid
- Flowers and leaves are sewn onto the lid using yarn tails. Ends are tied securely on the underside.
- The plastic canvas is sewn to the underside of the lid for reinforcement.
- Care is taken to align the flowers and ensure the knots remain hidden inside the box.
Video Guide
The completed flower pot/keepsake box can store items and is customizable with different flower patterns.