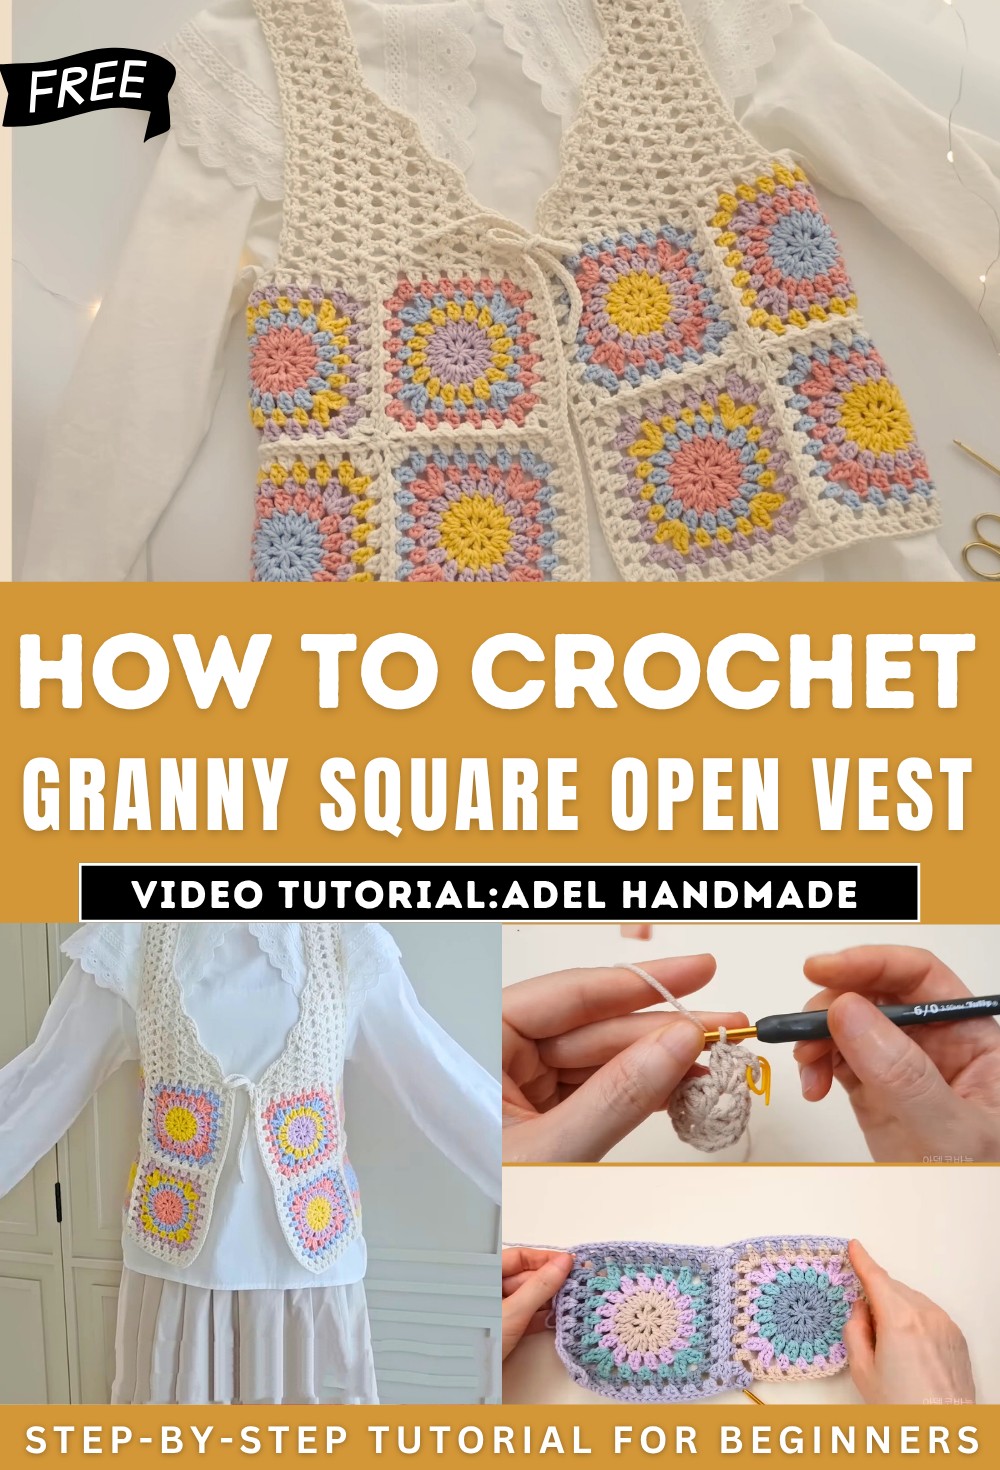
How to Crochet Granny Square Open Vest for Ladies
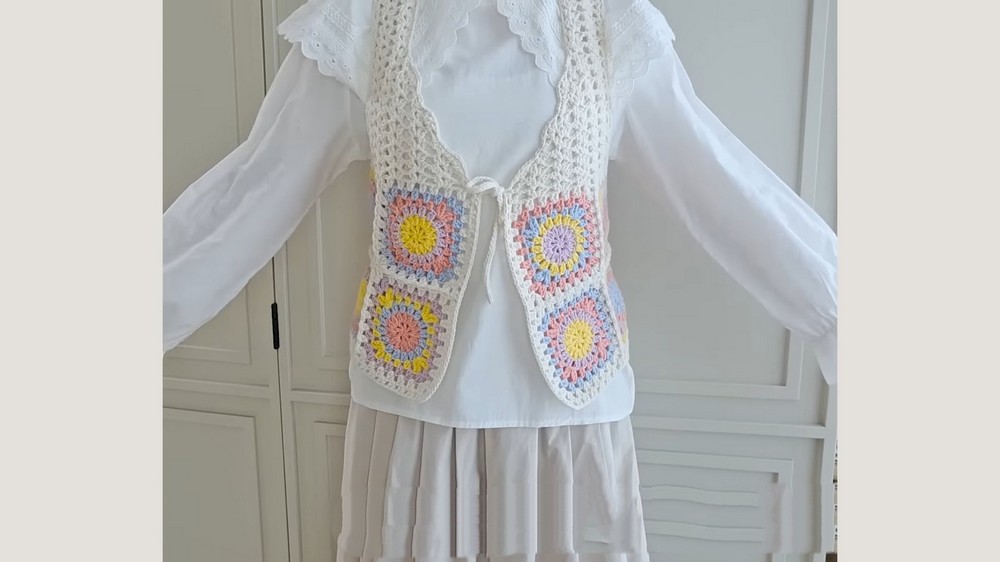
Learn how to crochet beautiful open vest that’s both stylish and comfortable for all seasons using colorful granny squares perfect for beginners. The vest features a generous, breathable design with intricate motifs and a slimming waist effect. Using cotton blend threads in Flora Ivory and Misty Gray, Adel creates a refreshing net pattern with a detailed step-by-step guide to stitches, chains, and motif connections. This versatile vest is perfect for casual wear at home or as an elegant piece for outings.
Crochet Open Vest Tutorial
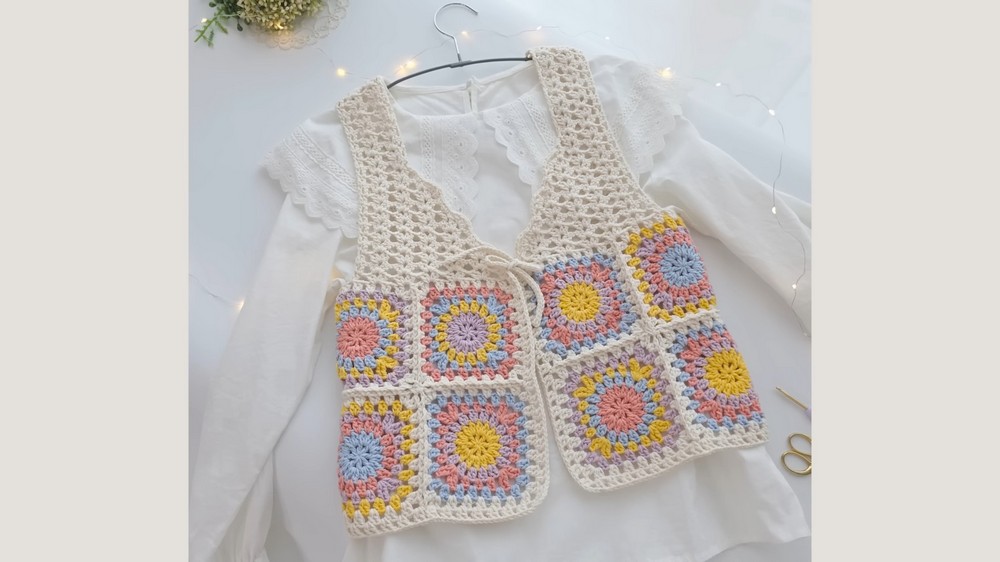
Adel introduces the project, describing the open vest she plans to crochet. The vest features a light and airy design with generous armholes and motifs that provide structure to enhance the waistline. The vest is versatile, suitable for all seasons, and can be worn casually at home or elegantly when going out.
Materials and Colors
- Threads: Adel uses two types of cotton blend threads, combining four different colors for the motifs.
- Crochet Hook: She recommends a No. 6 crochet hook for a size 66 vest but suggests using a No. 7 hook for larger sizes.
- Additional Tools: Scissors, a darning needle, and stitch markers are also required.
- Color Choices: The vest is crafted in two thematic colorways:
- “Flora Ivory,” inspired by bright sunlight and flowers.
- “Misty Gray” showcases a soft pastel tone for a subtle look.
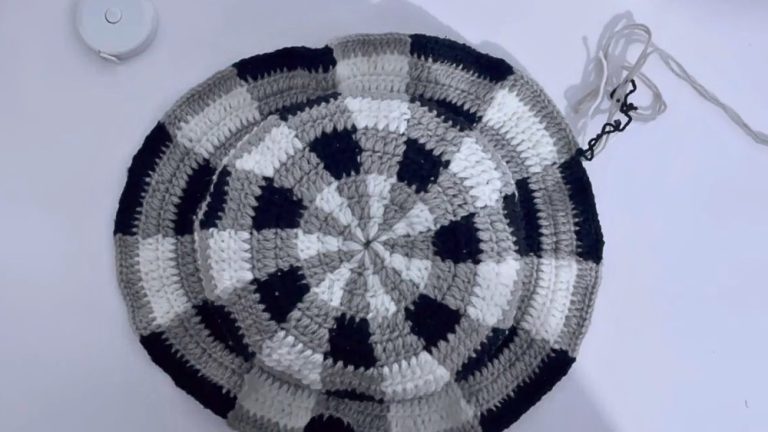
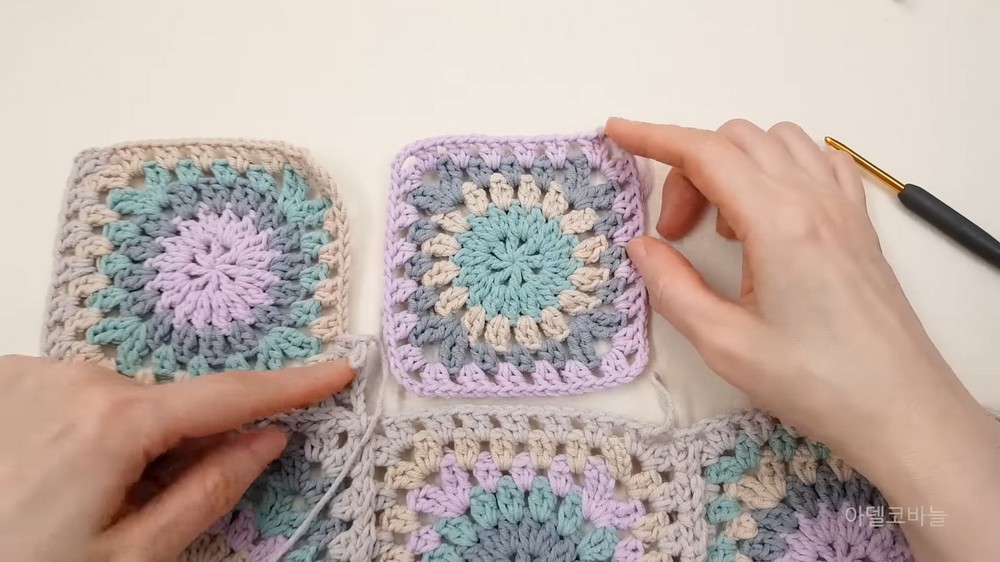
Motif Creation
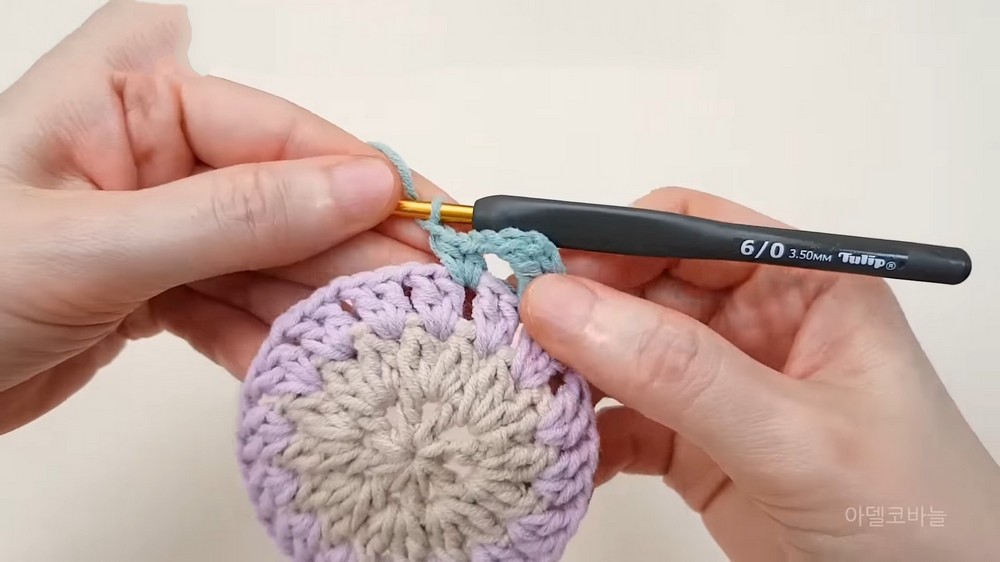
- Adel begins with the process of creating motifs, which form the foundation of the vest’s design.
- Motifs are started by making a ring from yarn, followed by structured patterns employing long knits and chains.
- Each motif is designed to create intricate patterns that incorporate chains and long stitches for depth.
- Colors are alternated for visual interest, and the motifs are knit to a unified structure.

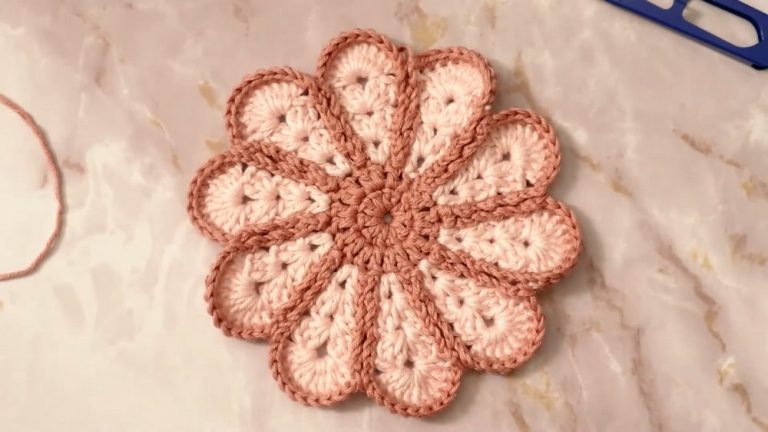
Building the Layers of the Motif
- Adel explains a step-by-step process for crocheting and layering the motifs:
- Chains and long stitches make up the first step to form the ring.
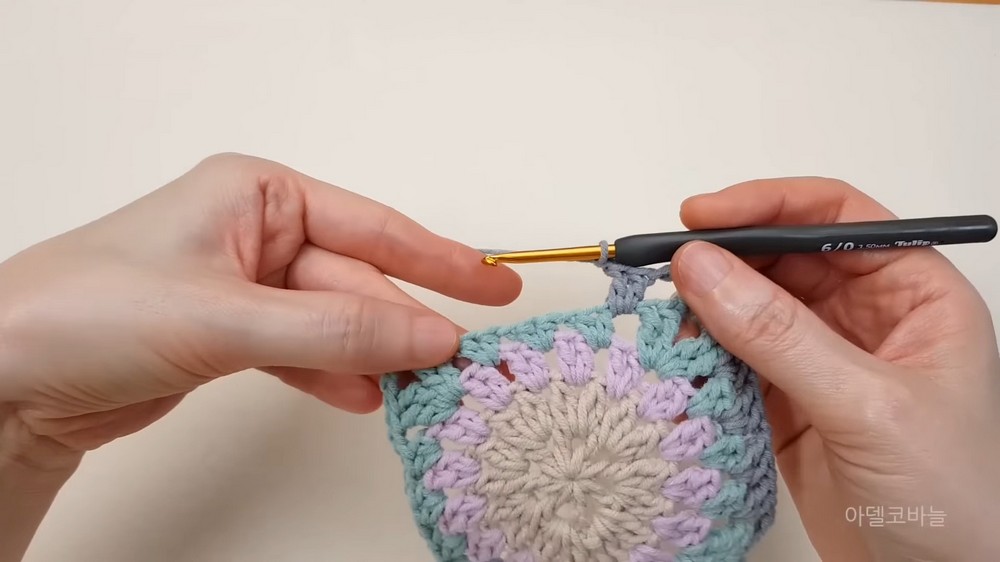
- Subsequent layers build upon the existing stitches, adding long knits, chains, and beaded stitches for detail.
- Different colors are introduced progressively, providing richness to the design.
- She details how to finish layers, tighten threads, and prepare motifs for connection.
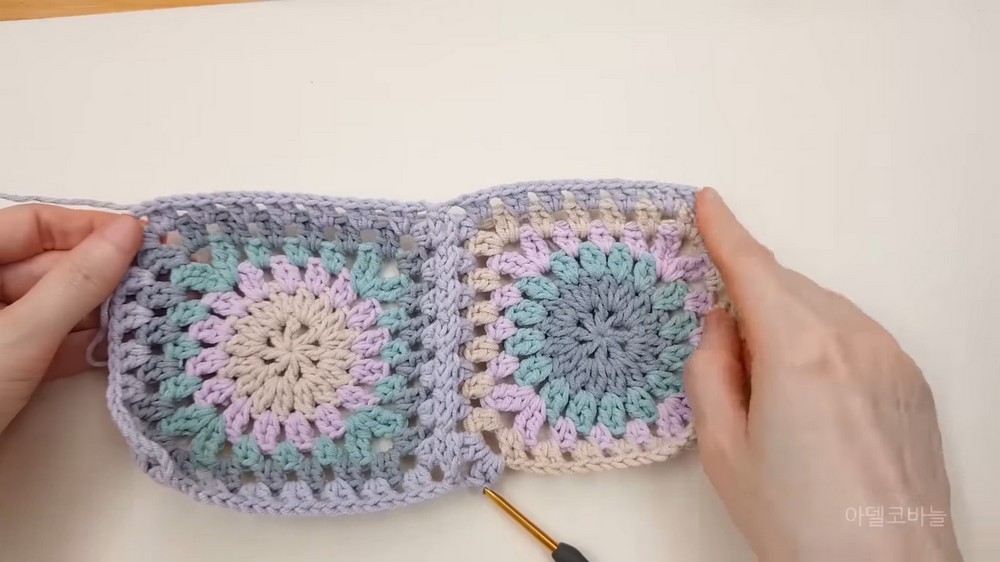
Connecting the Motifs
- The process of connecting motifs is explained in detail:
- Seven motifs are connected in a row for one side, forming the vest’s main structure.
- Adel carefully aligns and attaches motifs using connecting stitches and ensures they are seamlessly integrated.
- A second row of seven motifs is connected to complete the front and back panels.
Constructing the Main Vest Body
- After motifs are connected, she moves on to knitting the vest’s body:
- The middle motifs are designated as the back panel.
- Patterns are repeated to create uniform texture and design.
- Rows are built up for the back section, transitioning naturally to the shoulder area.
Adjustments for Fit
- Adel adjusts the back panel length, ensuring the shoulder section is slightly shorter for proper fit.
- She emphasizes the versatility of the pattern, allowing users to scale the design wider or narrower as needed.
Final Touches
- The finishing touches involve weaving in tail threads and organizing loose ends.
- Color order customization is suggested to add personalization to the vest design.
Conclusion
- The completed vest is an elegant combination of motifs and repeating patterns, perfect for casual or formal wear.