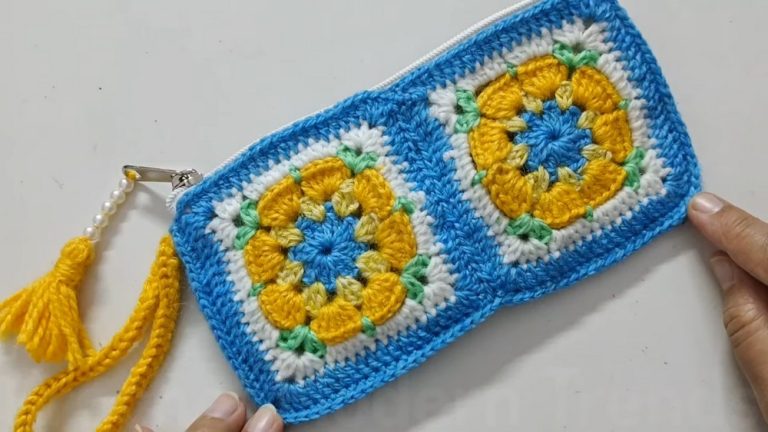
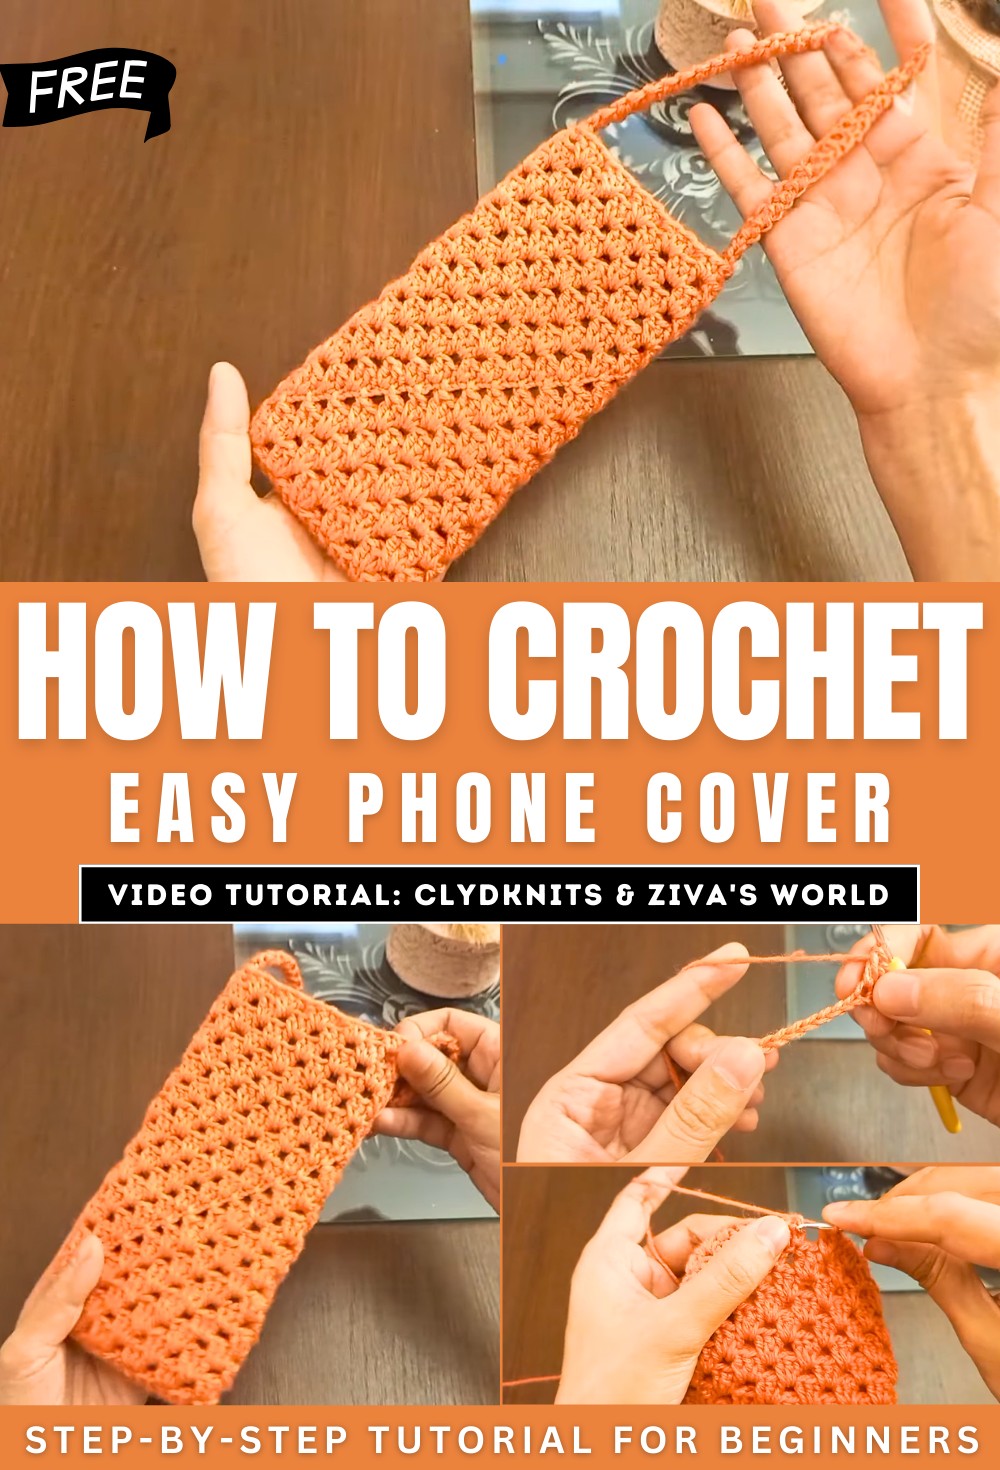
How to Crochet Granny Stitch Phone Bag for Beginners
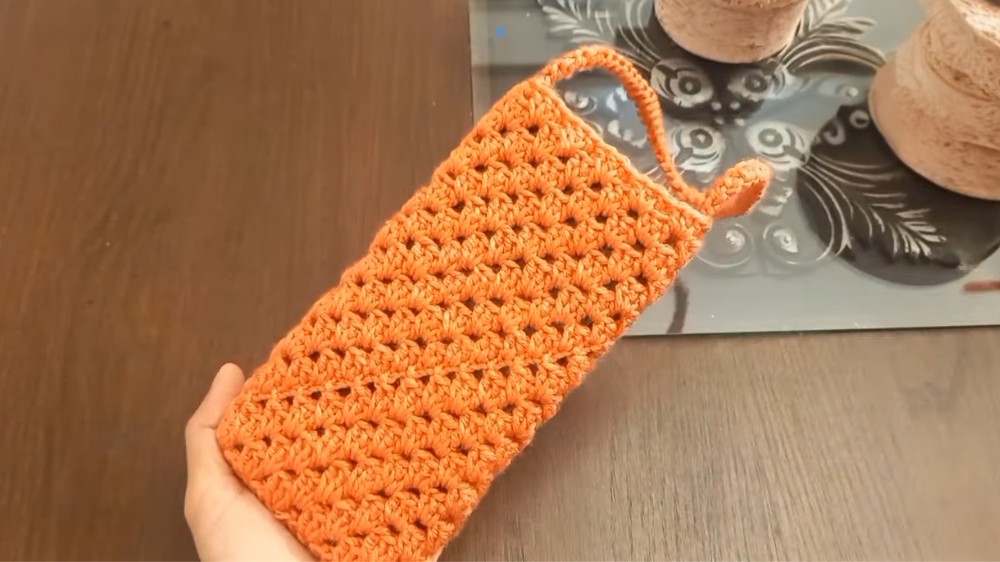
Learn how to crochet a granny stitch phone holder using three-ply yarn and a 3mm hook for beginners and experts. The step-by-step process includes making a slip knot, adding chains, and working double crochet stitches to form the base and sides. The method involves repeating rounds to achieve the desired length, followed by creating a cord as a handle.
The handle’s size is customizable based on preference. The tutorial is beginner-friendly, emphasizes proper grip, and encourages viewers to share their creations. By following the measurements and techniques provided, viewers can crochet a practical and stylish phone holder. So, follow through with us for the complete tutorial. So, follow through with us for the complete tutorial.
Crochet Phone Holder Tutorial
The tutorial on the Clean Its YouTube channel provides a step-by-step guide to making a simple yet functional crochet phone holder using three-ply yarn and a 3mm crochet hook. The video is designed for beginner crafters, offering straightforward instructions and flexibility to use any size yarn or hook. Below is the detailed breakdown of the process:

Materials Needed
- Three-ply yarn (or any yarn size you prefer).
- 3mm hook (can be substituted with any size, depending on your preference).
Steps to Make the Phone Holder
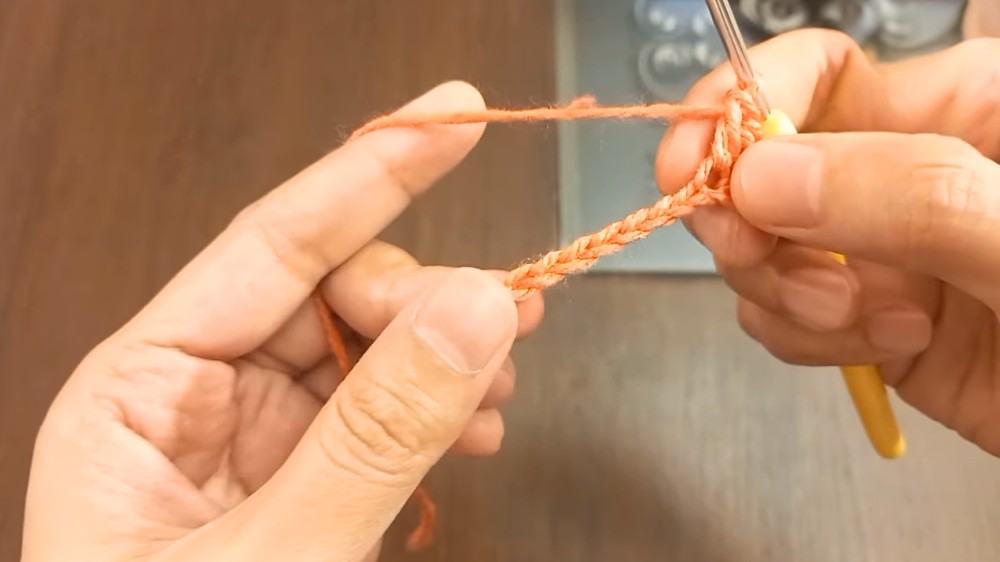
Step 1: Create the Base
- Begin by making a slip knot and crocheting a chain to serve as the base.
- Add three extra chains to prepare for double crochet stitches.
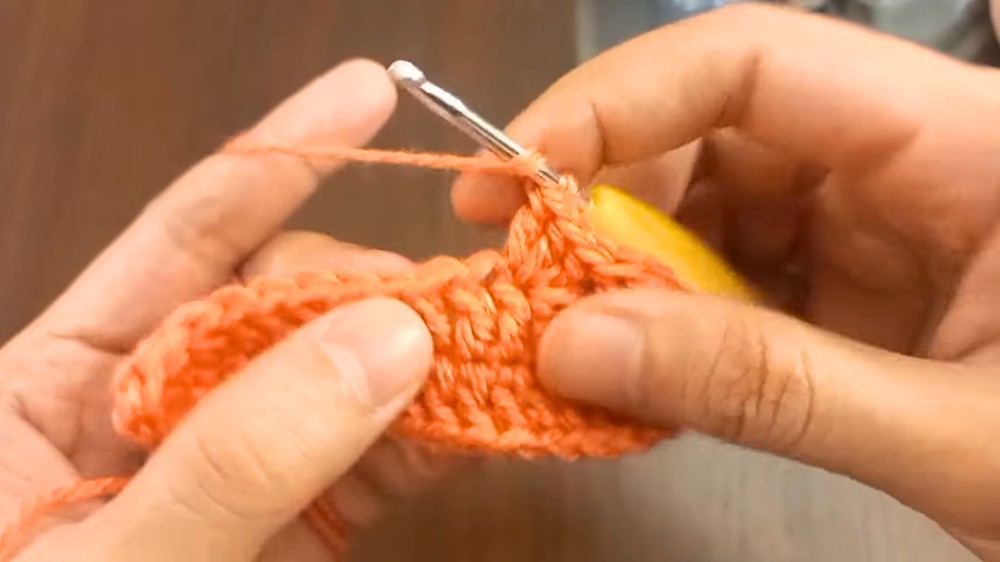
- Skip the extra chains and start working double crochet into the fourth chain.
- Continue making double crochet stitches along the chain.
- At the last chain, create an increase to shape the holder.
- Work double crochet stitches along the opposite side of the original chain to complete the base.
- Close the round using a slip stitch.
Step 2: Build the Pattern with Double Crochets
- Start the second round by chaining three. Work double crochets into the same space.
- Skip a few stitches, and then make another set of double crochet clusters (three double crochets in one stitch).
- Repeat this pattern until the round is complete.
- Close the round by making a slip stitch into the third chain of the starting chain.
Step 3: Create the Rows for the Holder
- For subsequent rounds, follow similar steps to create clusters of double crochet.
- In this round, you will work into the open spaces (holes) from the previous row to continue the cluster pattern.
- Repeat the process for as many rows as needed to achieve the required length of the phone holder.
- Ensure that the edges are uniform and symmetrical.

Step 4: Measure and Finalize the Phone Holder
- Once the double crochet rows are complete, measure the phone holder’s length and width to confirm it fits your phone. The recommended dimensions are approximately 7 inches in length and 3.6 inches in width.
Steps to Add the Handle
Step 1: Choose the String Style
- Without cutting the yarn, begin crafting a handle or cord starting from one side of the holder.
- You can create the handle directly using simple crochet stitches or attach a premade cord.
Step 2: Adjust the Handle Length
- Create a handle of your preferred length—11 inches for a hand-held option or longer for a shoulder-length strap.
Step 3: Finish the Handle
- Once the handle is complete, fasten off the yarn, weave in the ends, and attach it securely to the phone holder.
Final Touches
- Straighten the holder and handle for a professional look.
- Test the phone holder’s fit with your phone to ensure it works as intended.
Conclusion
This crochet phone holder tutorial is beginner-friendly and allows for personalization in size and handle length. Once finished, the phone holder can be used as a practical accessory or given as a gift.
https://youtu.be/NSuB6P5IbCg