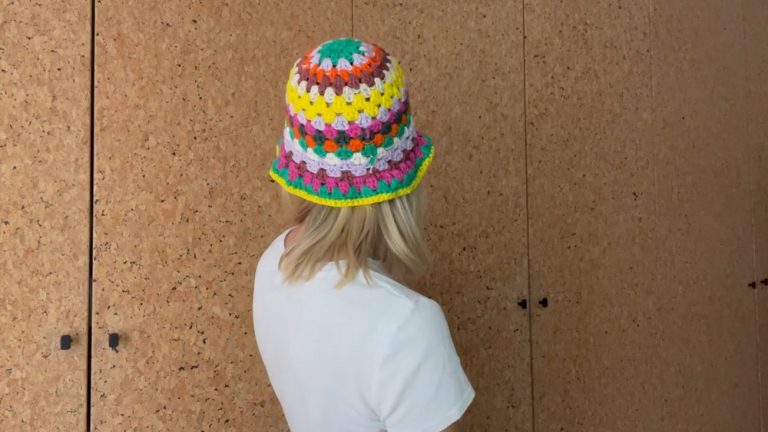
How to Crochet Hat for Kids to Adults in Winter

Learn how to crochet a matching hat for a poncho with just two repeating rounds following a step-by-step tutorial for all skill levels. The tutorial provides detailed, step-by-step instructions for three different sizes: 6 years plus, 8 years plus, and adult. Even beginners can follow along. The pattern uses a beautiful double crochet technique and uses both light and dark colored yarn. Enjoy making this soft, comfortable, and stylish set!

Crochet Hat/Kids to Adults Tutorial
Materials and Tools
- The yarn used in the video is double knitting yarn (100 grams, 300 meters per ball).
- Approximately 50 grams of each color is needed for one hat.
- Hook sizes:
- A 3.5mm crochet hook for smaller sizes (e.g., 6 years plus).
- A 4mm crochet hook for adult sizes.
- The video recommends using slip knots, chains, and other foundational stitches.

Step-by-Step Process
1. Foundation Round
- Begin with a chain to set the base length for the hat.
- Use multiples of six stitches plus two additional ones for adjustment in size.
- The instructor advises working into the back loops of the chain to create a smooth and polished finish.
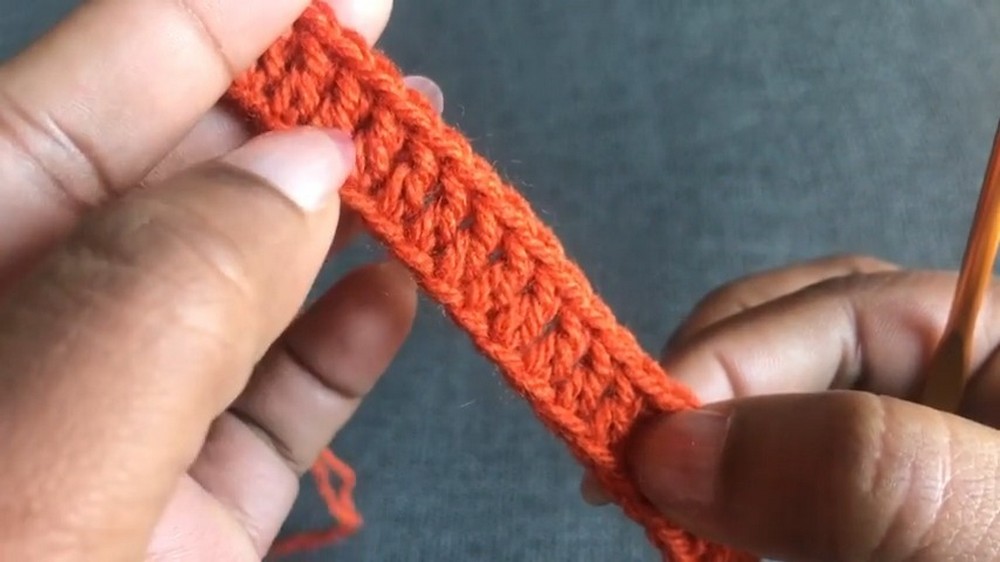
2. First Row
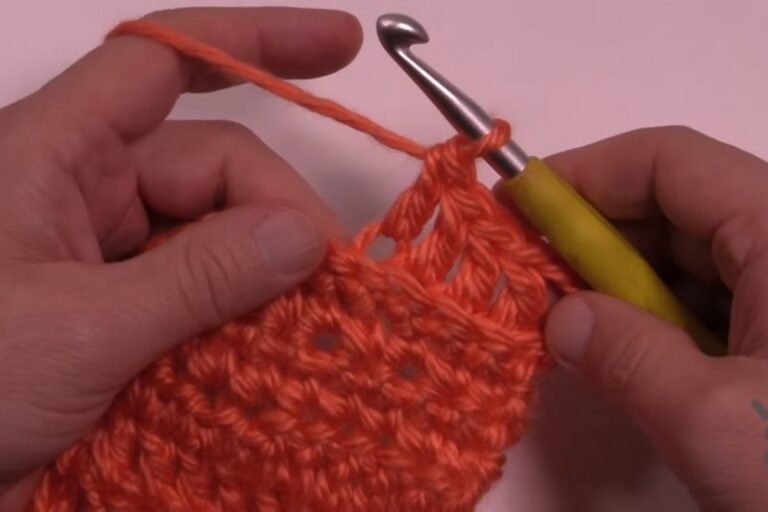
- The row begins with double crochet stitches worked into each back loop of the foundation chain.
- Once the row is complete, join the last double crochet to the first using slip stitch to form a continuous loop.
3. Alternating Front and Back Post Double Crochet
- Starting with the second round, the tutorial focuses on alternating front post and back post double crochet stitches.
- This creates a ribbed pattern for added texture and flexibility.
- Continue this pattern for the next few rounds to form the hat’s ribbon.
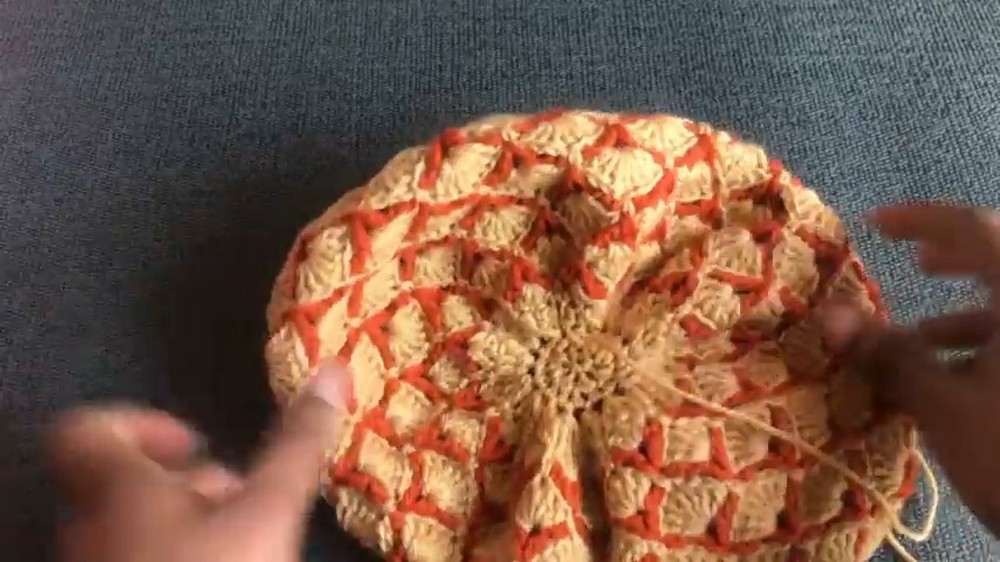
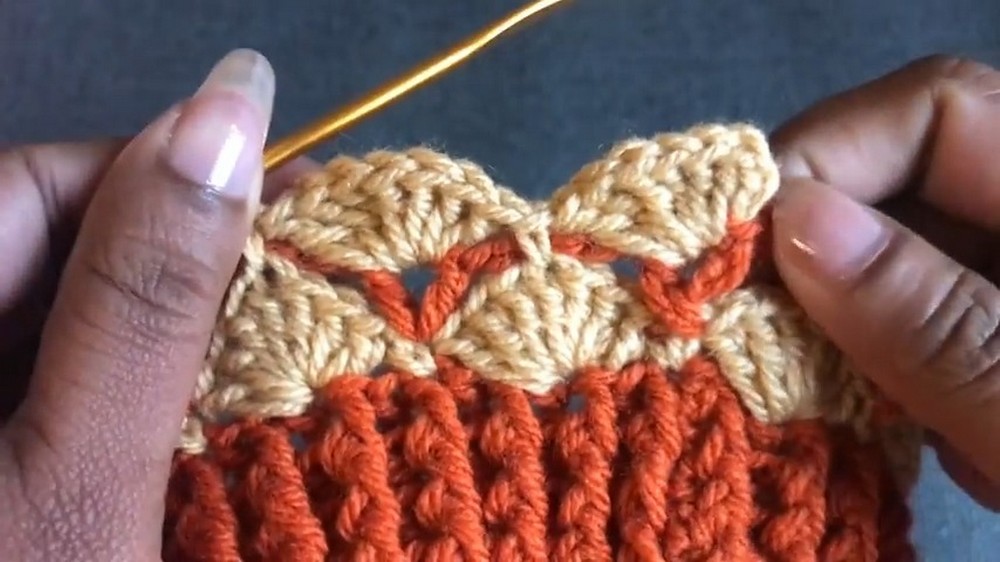
4. Shell Stitch
- After completing the ribbon section, the shell stitch design begins.
- Work seven double crochet stitches (forming a shell pattern) into specific spaces in each round.
- Alternate between single crochet and shell patterns to create decorative rows.

Color Changes and Pattern Development
- The video demonstrates switching colors seamlessly without cutting the yarn.
- Add light-colored yarn to continue with the shell patterns.
- The alternating shell stitch and V-stitch pattern highlight the hat’s unique design.
- Repeat two specific rounds consistently to expand and shape the hat to the desired size.
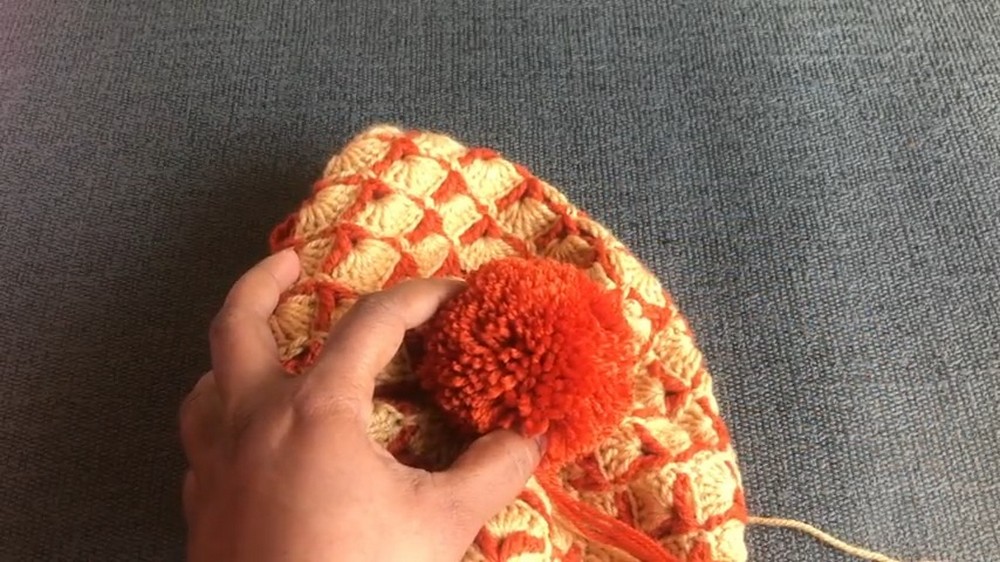
Final Steps: Closing and Decoration
- Once the appropriate number of rounds is completed, the hat is shaped and reduced in width by crocheting stitches together.

- The final hole on top is closed with a needle, ensuring the hat has a clean finish.
- Optionally, a pom-pom can be added to the top for decoration. A 7cm pom-pom maker is recommended for this step.
- Both yarn tails are securely tied inside the hat to fasten the pom-pom.
Options and Additional Information
- The hat can be used with or without a pom-pom, depending on preference.
- The instructor promises future tutorials for baby and toddler sizes.
Conclusion
- The hat is soft, comfortable, and perfectly pairs with the poncho using the same pattern.
- The tutorial is simple to follow, even for beginners.