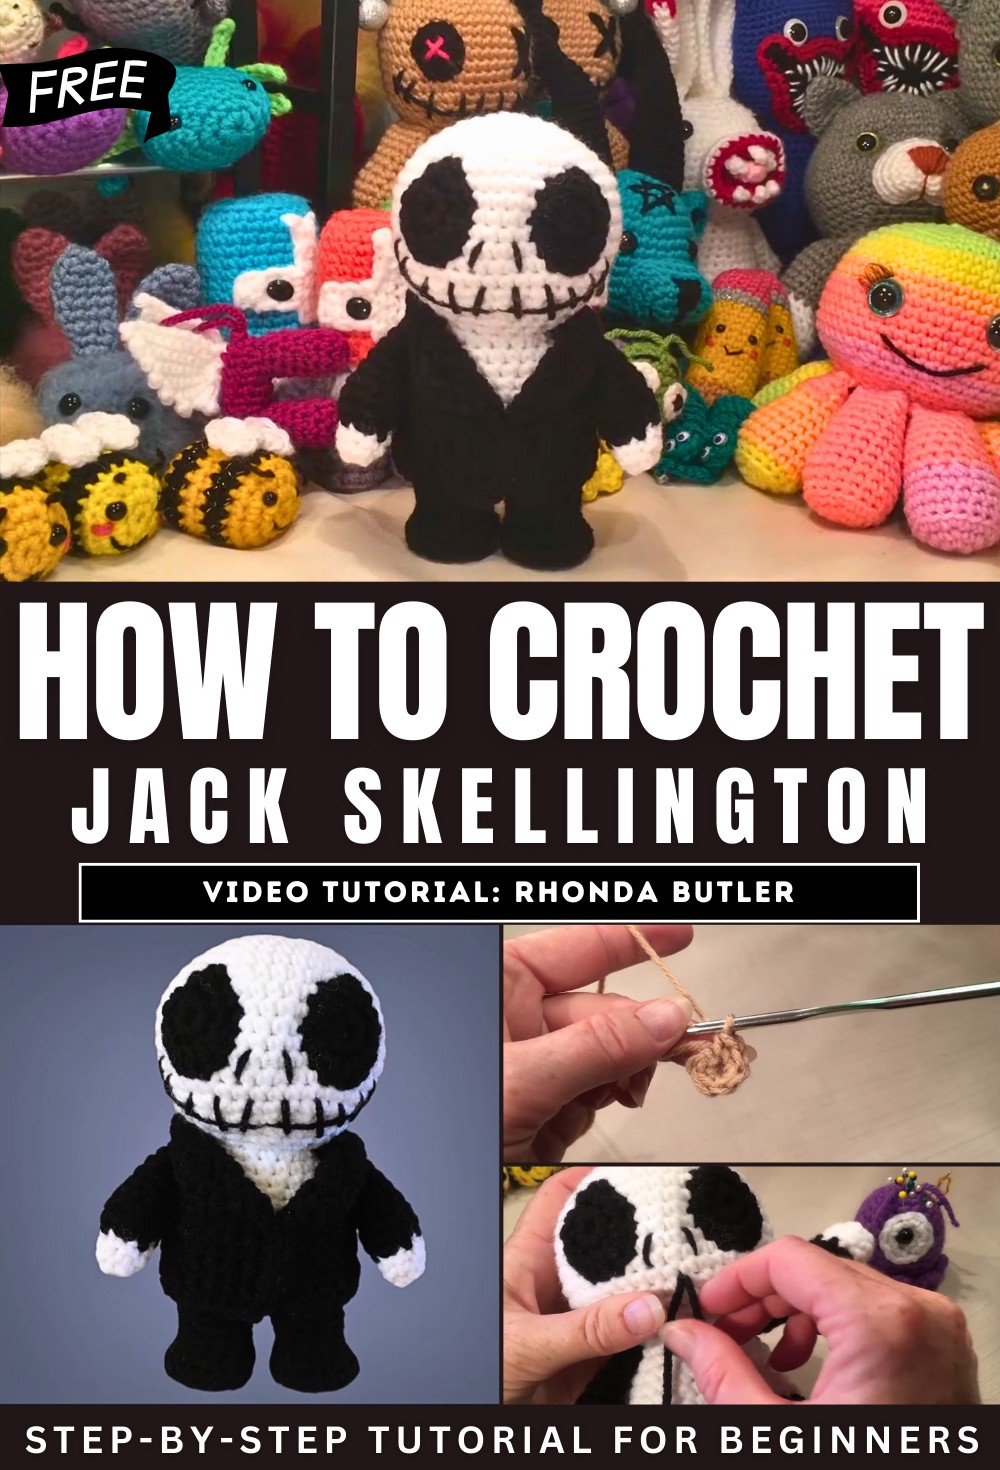
How to Crochet Jack Skellington for Halloween
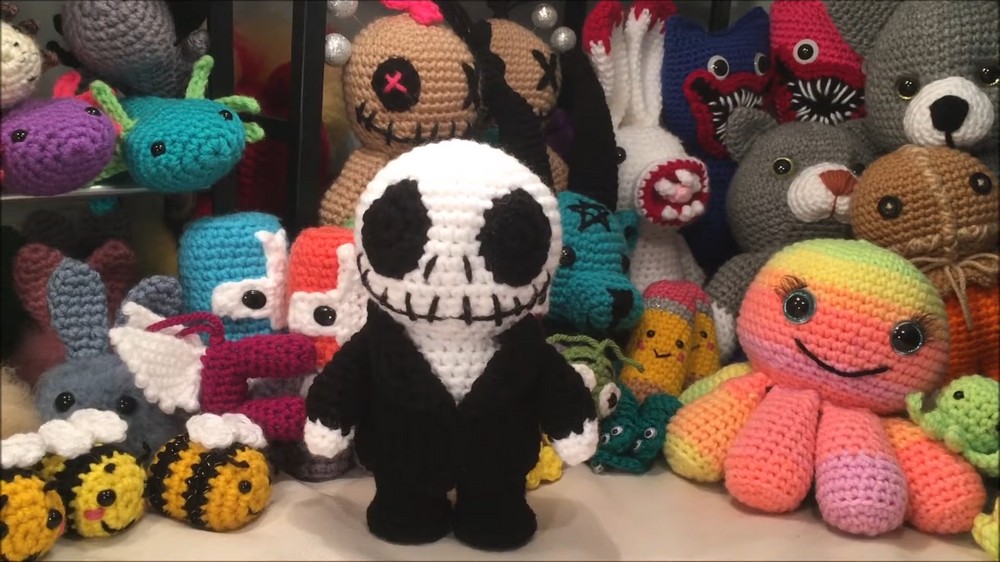
Learn how to crochet a no-sew Jack Skellington character, perfect for fans of “The Nightmare Before Christmas.” The guide covers the entire process, from forming the head, body, arms, and legs to adding embroidered facial features like eyes, nose, and mouth. The presenter uses brown yarn for better visibility and shares helpful tips to navigate challenges like color changes and decreases. It is perfect for beginners.
With clear instructions, the tutorial provides a creative project for crochet enthusiasts, complete with a stylish jacket for Jack. A great amigurumi for Halloween or any fan of this iconic spooky character!
Jack Skellington Crochet Tutorial
This tutorial offers a step-by-step guide for creating a no-sew Jack Skellington amigurumi crochet doll. The instructor provides detailed explanations for constructing the doll’s head, body, arms, legs, and clothing, ensuring it is accessible even for intermediate crocheters. The tutorial uses an alternative color (brown yarn) for better visibility during the demonstration but maintains all essential instructions faithful to the original pattern.
Materials and Tools Needed
- Yarn in white, black, and brown colors (or other preferred colors).
- Crochet hook.
- Stitch markers or a piece of thread.
- Stuffing for the doll.
- Darning needle for embroidery.
Head Construction
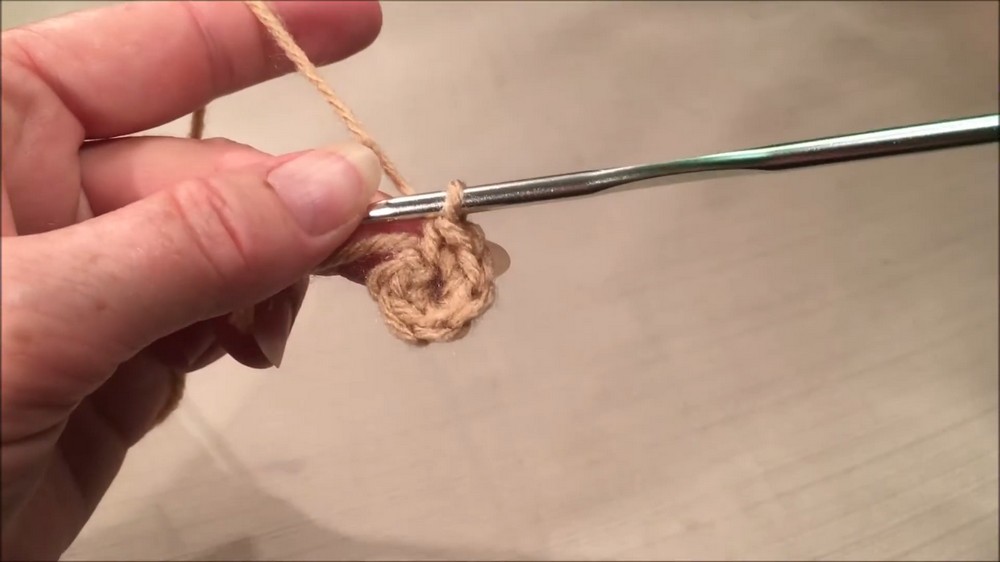
- Start with a magic ring or adjustable loop.
- Instructions guide you through creating the spherical shape of the head using single crochets, increases, and decreases.
- Include stuffing while keeping the shape firm to resemble Jack Skellington’s iconic round head.
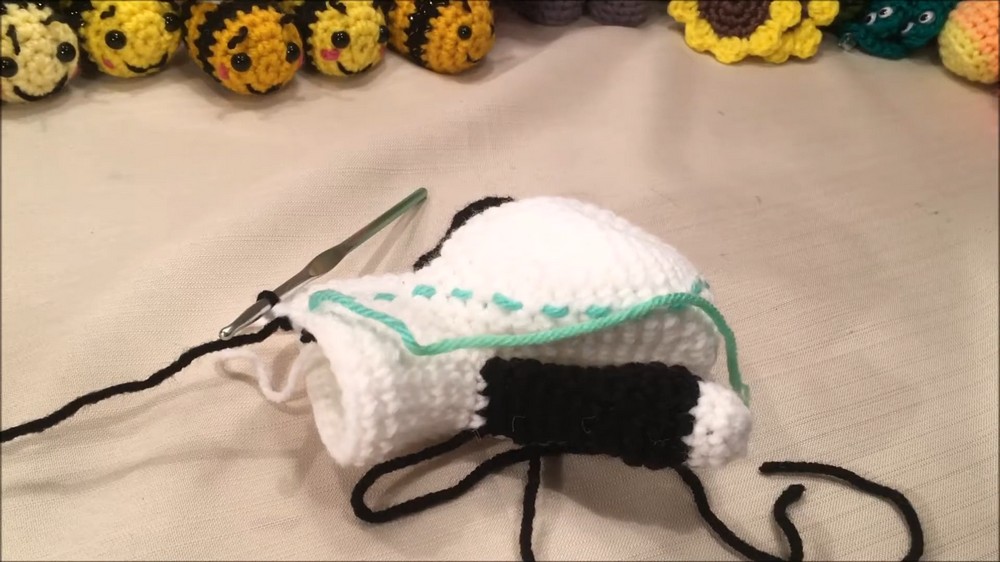
Body Construction
- Follow repetitive rounds of single crochets to shape the torso.
- The transition between white and black yarn is crucial to create the distinct separation between Jack’s “shirt” and “pants.”
- Special attention is given to maintaining clean color changes.

Arms
- Crochet thin, elongated arms, switching between white and black yarn midway.
- Attach arms to the torso seamlessly as part of the no-sew design.
- Fill the hand area with stuffing while leaving the upper portion flexible.
Legs
- Build the legs by dividing stitches at the bottom of the torso.
- Work in rounds to form each leg, ensuring proper shaping and symmetry.
- Add stuffing to provide structure, especially to the lower legs and feet, to help the doll stand upright.
Facial Features
Eyes
- Crochet oval-shaped eyes using black yarn.
- Attach eyes onto the head using a darning needle, ensuring placement aligns with the character’s look.

Nose
- Create a small triangular nose with embroidery, centered between the eyes.
Mouth
- Stitch Jack’s stitched smile in an upward curve using a darning needle and black yarn.
- Create “X”-shaped stitches along the curve to simulate the iconic stitched effect.
Jacket Construction
- Crochet a small, fitted jacket to complete Jack’s signature look.
- Form a rectangular base with openings for the arms.
- Add a collar and details, and sew the front closed with stitches or buttons.
Tips and Notes
- The instructor points out minor discrepancies in terminology (e.g., saying “increase” instead of “decrease”) and provides screen overlays to clarify.
- Alternate videos may be available for those needing further practice.
- The importance of neat finishing and using adequate stuffing is emphasized throughout.

Conclusion
The tutorial wraps up with encouragement to customize the doll, share creations, and revisit sections for clarity. This comprehensive guide ensures you can crochet a detailed and recognizable Jack Skellington with minimal experience.