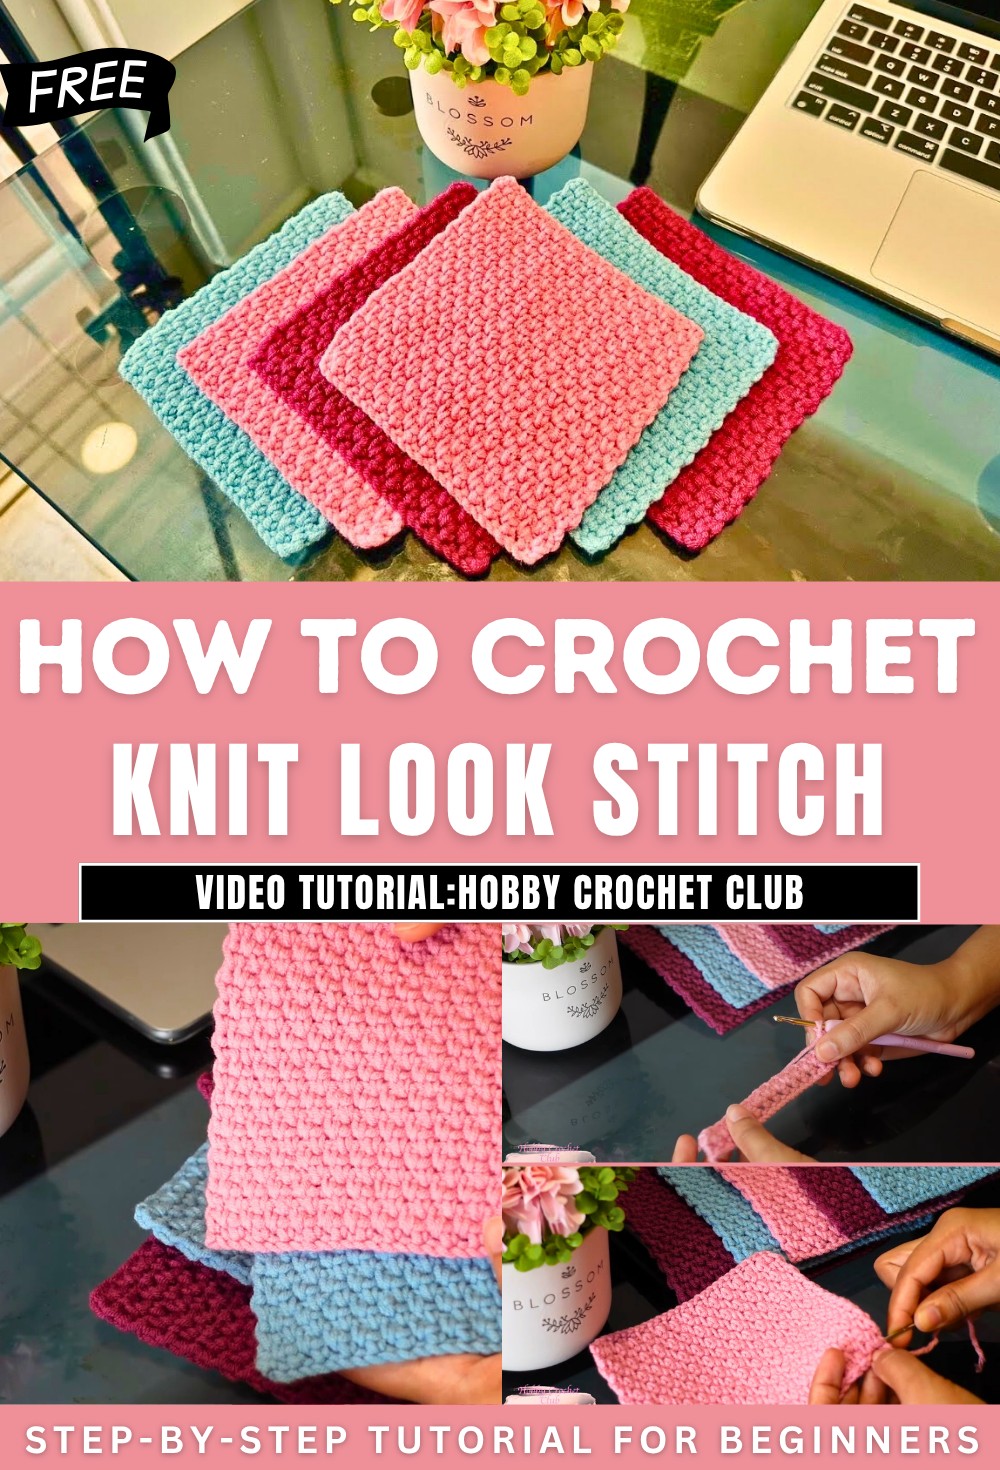
How to Crochet Knit Look Stitch for Beginners
Learn how to crochet a neat Moss Stitch to create 13 cm x 13 cm squares for a patchwork crochet cardigan following a step-by-step tutorial for beginners. Using 5-ply cotton blend yarn and a 4 mm crochet hook, the stitch is worked in multiples of 2 + 2. The tutorial covers steps such as creating chains, single crochets, and chain spaces, repeating the pattern for 24 rows to complete a square. Future tutorials will explain joining squares into a cardigan.
Knit Look Stitch Tutorial
Crochet a neat Moss Stitch crochet squares that can be used for a patchwork crochet cardigan. The step-by-step instructions cover the materials needed, the basic stitch pattern, and the process to achieve uniform squares. Below is a detailed summary of the video:
Introduction
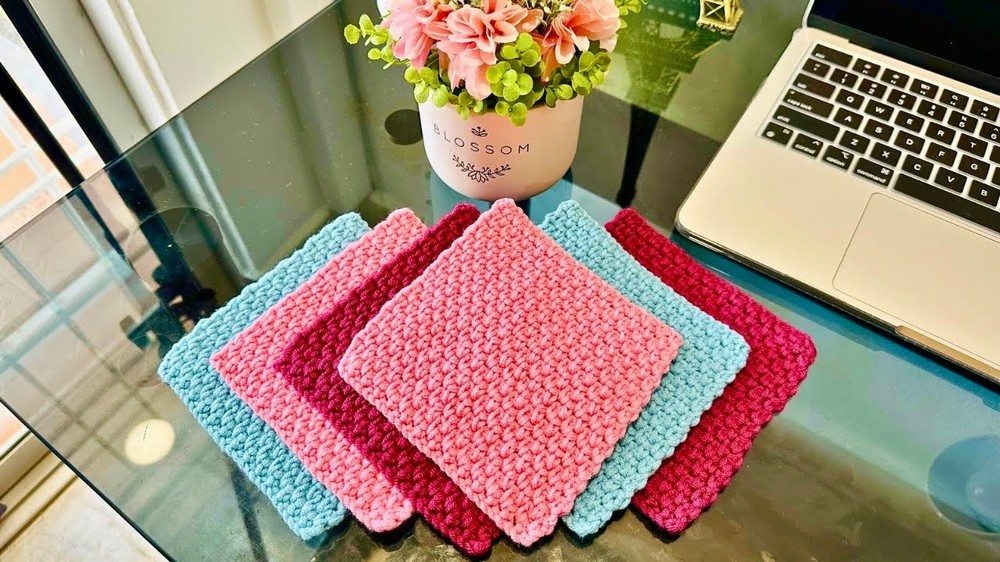
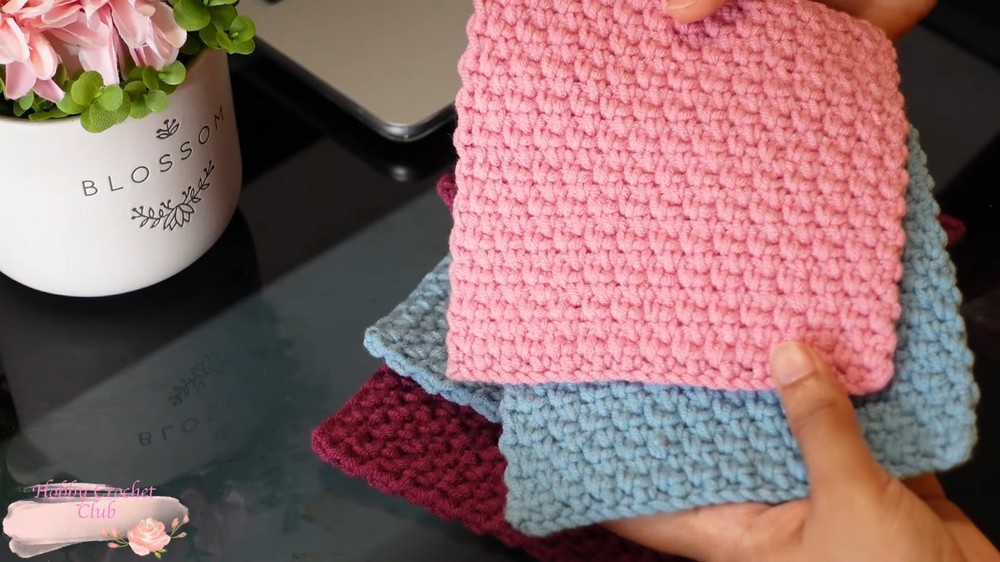
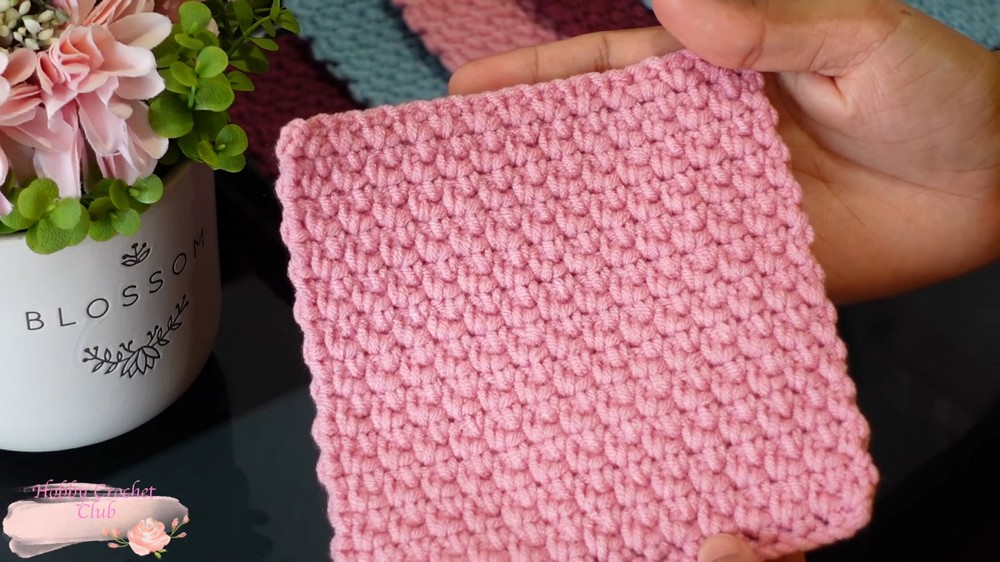
- The tutorial focuses on crocheting Moss Stitch squares, which are 13 cm x 13 cm in size.
- These squares are used for a patchwork crochet cardigan featured in an upcoming project.
- The instructor showcases finished squares in various colors, suitable for the planned cardigan.
Materials Used
- Yarn: Medium-weight 5-ply cotton blend yarn.
- Hook: A 4 mm crochet hook is used to work with the yarn.
- Additional tools like a yarn needle are used for finishing the squares.
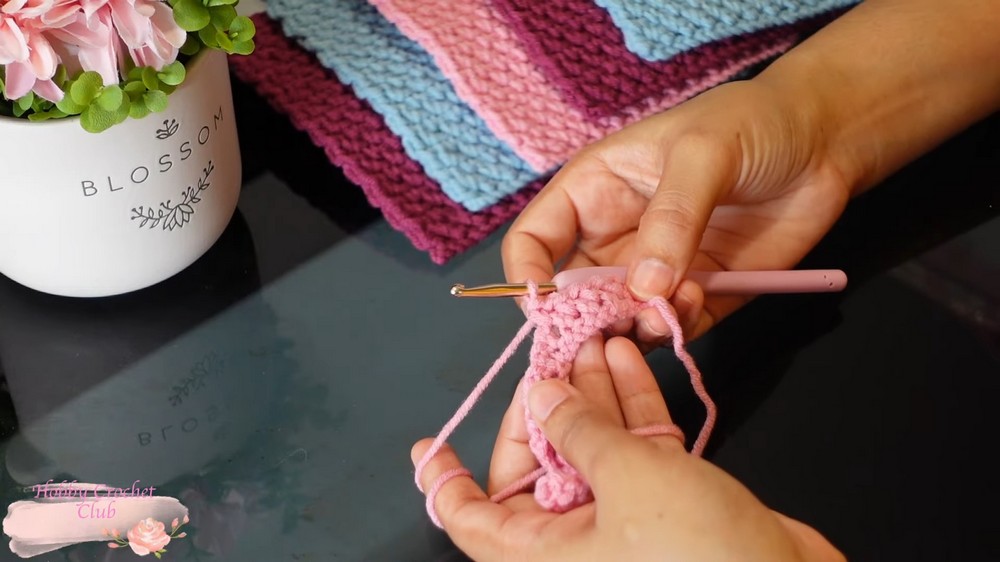
Getting Started
- The instructor begins the process by creating a slip knot and chaining a foundation chain.
- For the Moss Stitch squares, the stitch pattern requires a simple multiple of 2 + 2 chains.
Row-by-Row Instructions
Row 1
- Begin the row with a specific number of chains (later omitted for general instructions).
- Insert the hook into a designated chain to make the first single crochet.
- Follow a pattern of chain-one spaces, skipping stitches, and working single crochet stitches.
- Continue repeating the sequence until reaching the last stitch on the row.
Row 2
- Begin with turning the work and chaining two.
- Single crochets are worked into chain spaces from the previous row, followed by chain-one spaces.
- The final single crochet for the row is worked into the skipped chain at the end of the row.
Repeating the Pattern
- From Row 3 onwards, the pattern from Row 2 is repeated uniformly.
- Each row alternates between chain-one spaces and single crochets worked into the previous row’s chain spaces.

- The instructor repeats this pattern until 24 rows are completed, resulting in a square of the desired size.
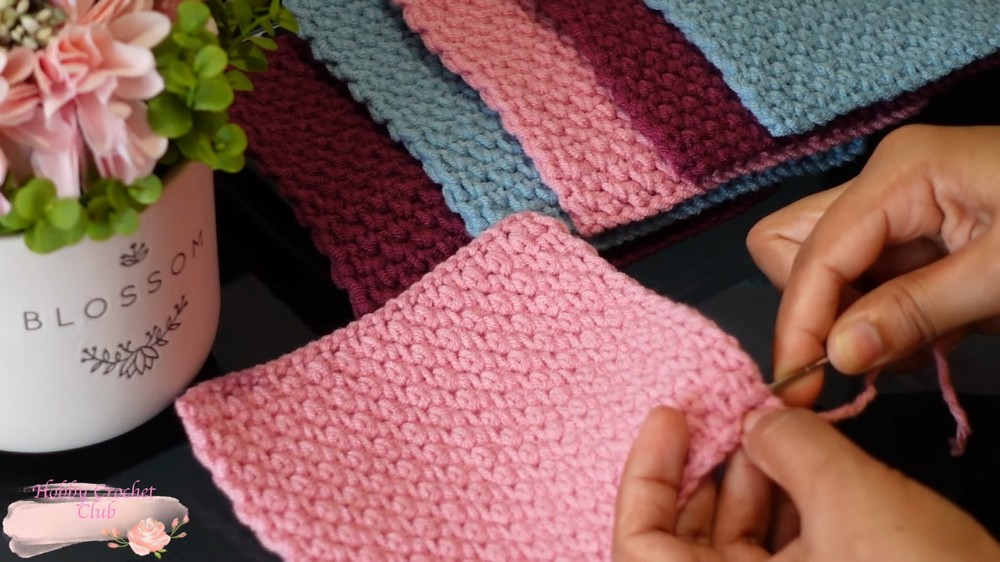
Completing the Square
- After reaching the required number of rows, the yarn is fastened off.
- The yarn tail is woven in using a yarn needle to finish the square neatly.
- The instructor ensures the square measures 13 cm x 13 cm, maintaining uniformity.
Final Steps and Project Preview
- The completed Moss Stitch square is showcased to highlight the texture and clean appearance of the stitch pattern.
- The instructor mentions continuing to crochet squares until enough are ready to assemble into a patchwork cardigan.
- A follow-up tutorial will cover how to join these squares into the final cardigan.
Conclusion
- The tutorial emphasizes the straightforward nature of the Moss Stitch and the importance of ensuring consistent square sizes for patchwork projects.
- Viewers are encouraged to subscribe to Hob Crochet Club’s channel and enable notifications for upcoming videos, including the patchwork joining tutorial.
This detailed walkthrough provides a comprehensive understanding of how Moss Stitch squares are crocheted step-by-step while setting the foundation for an exciting patchwork project.