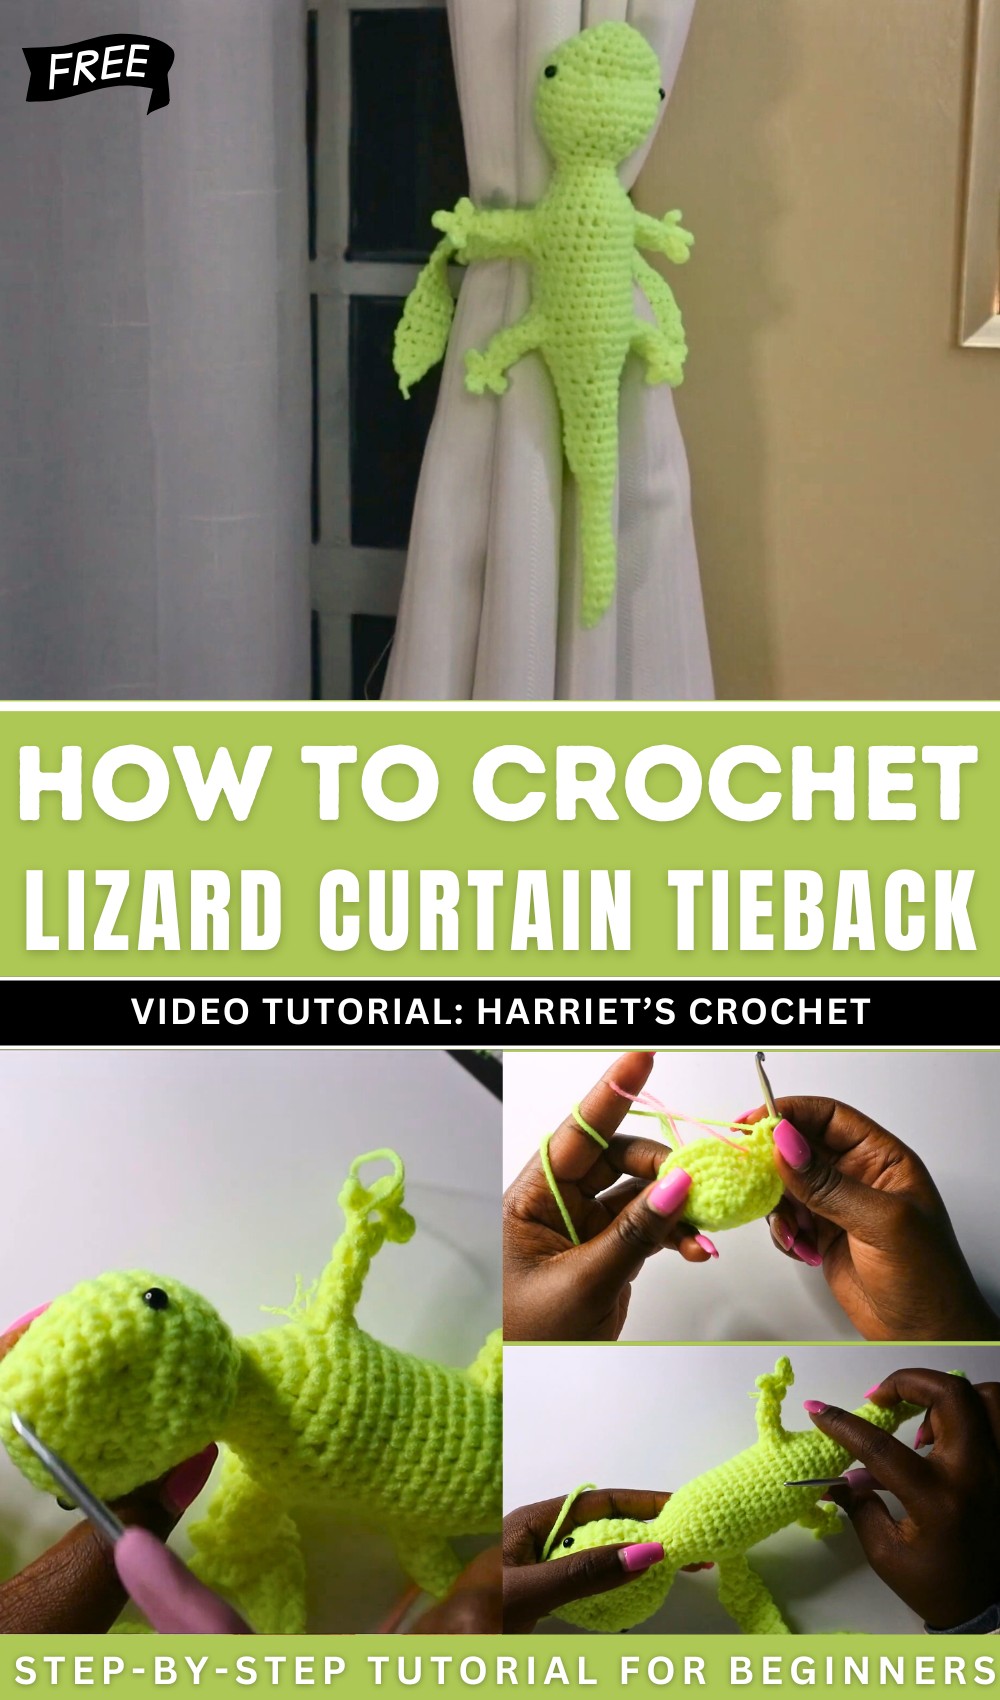
How to Crochet Lizard Curtain Tieback for Beginners
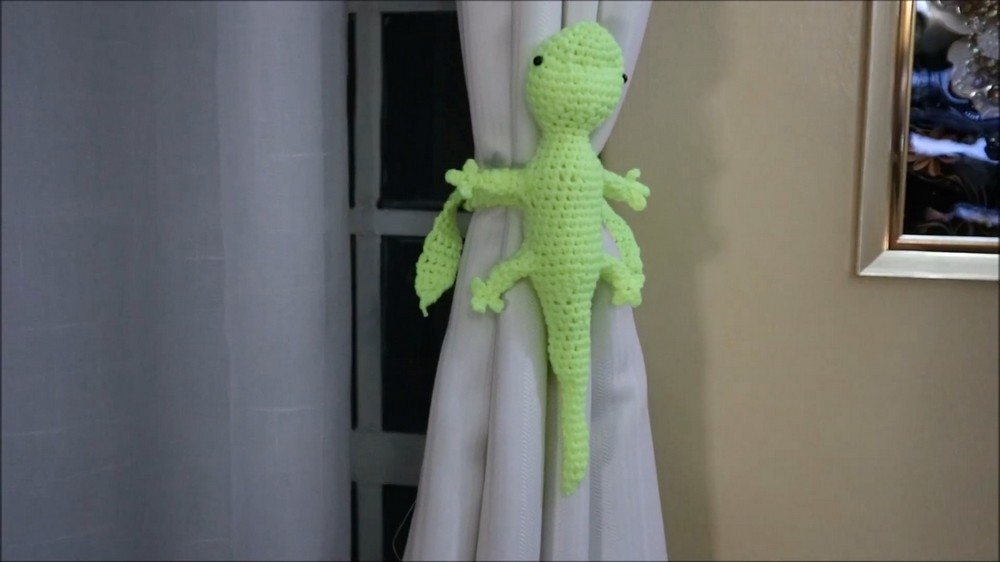
Learn how to crochet an adorable lizard curtain tieback – a unique idea with a step-by-step tutorial for beginners and experts. The creator shows how to crochet the lizard’s head, tail, legs, and tying straps, ensuring a neat finish. Perfect for a kid’s room, this crochet curtain tie can be completed following the tutorial at the end. Let’s get started!
Free Crochet Lizard Curtain Tie Pattern
Materials
- Yarn: Worsted weight acrylic yarn in desired colors (main body, leg, and eye details)
- Hook: 3.5 mm (E-4) or 4 mm (G-6) crochet hook, suitable for your yarn
- Stitch Marker: To mark rounds and stitches
- Stuffing: Polyester fiberfill or scrap yarn
- Safety Eyes or Beads: For eye details (optional)
- Yarn Needle: For sewing and weaving in ends
- Scissors
Key Abbreviations (US Terms)
- MR: Magic ring
- ch: chain
- sc: single crochet
- sl st: slip stitch
- inc: increase (2 sc in same st)
- dec: decrease (sc 2 together)
- st(s): stitch(es)
Special Notes
- Pattern is worked in continuous rounds unless otherwise specified.
- Stuff the head/body as instructed to avoid difficult stuffing later.
- Placement for legs and ties is approximate; adjust as desired for symmetry.
Pattern
Body
Head to Tail
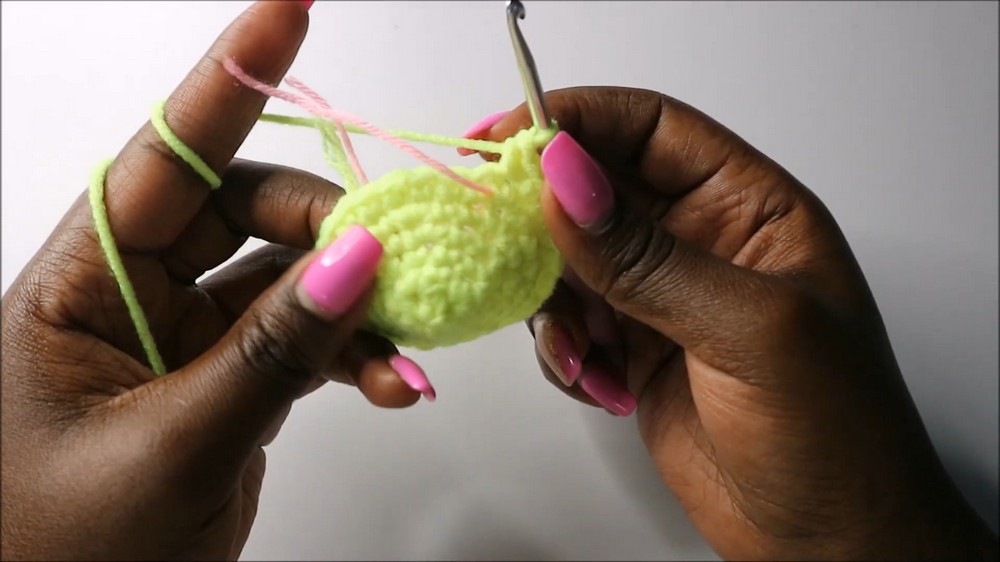
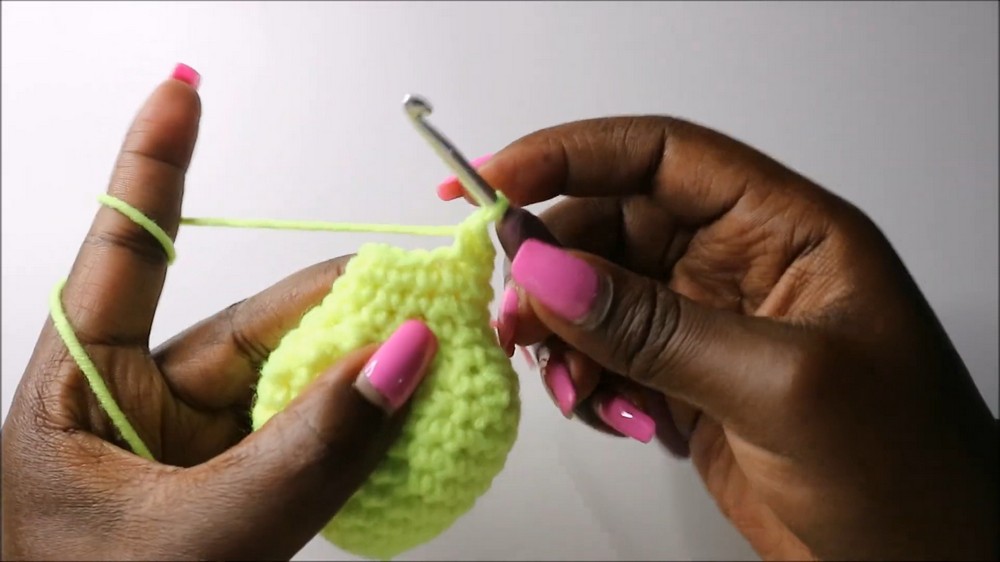
- Round 1: Make a magic ring (MR). Work 6 sc into MR. (6 sts)
- Round 2: [1 sc, inc] x3 (repeat three times). Place marker. (9 sts)
- Round 3: [2 sc, inc] x3. (12 sts)
- Round 4: [1 sc, inc] x6. (18 sts)
- Round 5: [2 sc, inc] x6. (24 sts)
- Round 6: 10 sc, inc x2, repeat once. (28 sts)
- Work 10 sc, inc x2; work 10 sc, inc x2 again.
- Rounds 7–9: Sc in each st around. (28 sts/round)
- Round 10: [5 sc, dec] x4. (24 sts)
- Round 11: [2 sc, dec] x6. (18 sts)
- Round 12: [1 sc, dec] x6. (12 sts)
- Rounds 13–15: Sc in each st around. (12 sts/round)
- Stuff head firmly before continuing as opening narrows.
- Round 16: [3 sc, inc] x3. (15 sts)
- Round 17: [4 sc, inc] x3. (18 sts)
- Round 18: [5 sc, inc] x3. (21 sts)
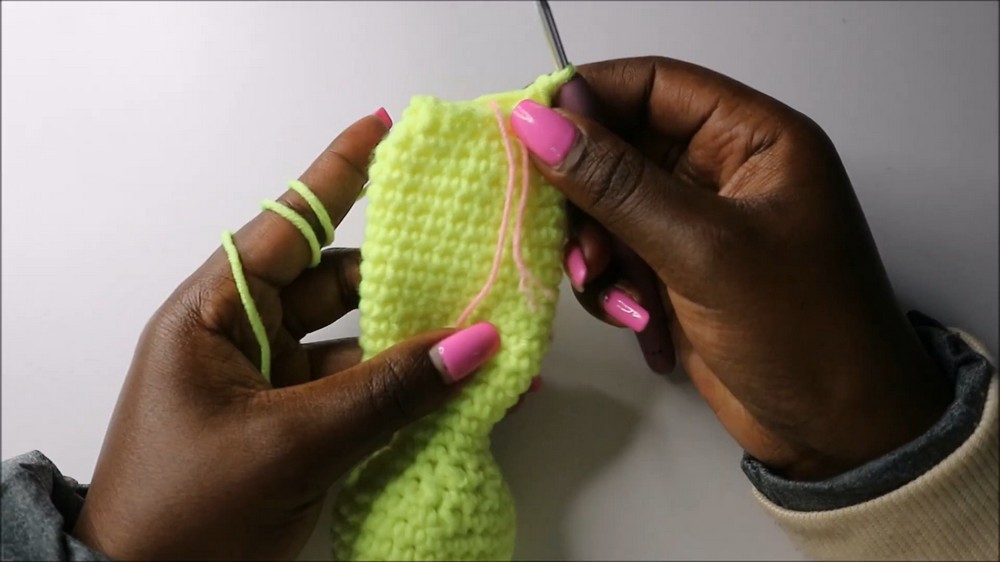
- Rounds 19–29: Sc in each st around. (21 sts/round)
- Stuff as you crochet.
- Round 30: [5 sc, dec] x3. (18 sts)
- Round 31: [4 sc, dec] x3. (15 sts)
- Round 32: [3 sc, dec] x3. (12 sts)
- Rounds 33–34: Sc in each st around. (12 sts/round)
- Continue stuffing as required.
- Round 35: [2 sc, dec] x3. (9 sts)
- Rounds 36–40: Sc in each st around. (9 sts/round)
- Round 41: Dec, 2 sc, dec, 2 sc, 1 sc. (7 sts)
- Rounds 42–44: Sc in each st around. (7 sts/round)
- Round 45: Dec, 5 sc. (6 sts)
- Rounds 46–48: Sc in each st around. (6 sts/round)
- Round 49: Dec, 4 sc. (5 sts)
- Rounds 50–51: Sc in each st around. (5 sts/round)
- Round 52: Dec, sc, dec. (3 sts)
- Ch 1, cut yarn, and weave in the end.
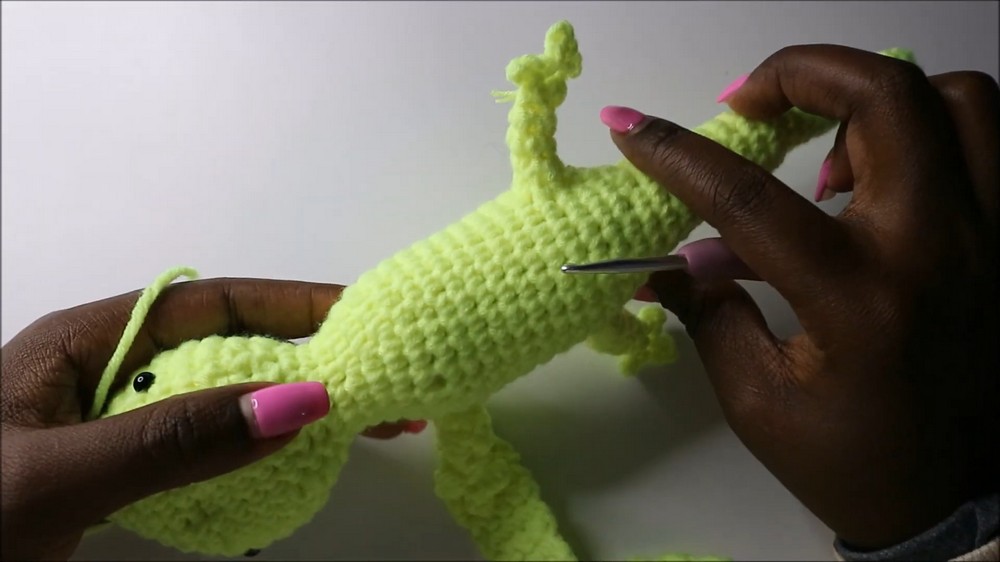
Legs (Make 4)
- Attach yarn at round 4 of the body near neck or desired position.
- Ch 1. Work 7 sc around base, join in a round. (7 sts)
- Use stitch marker to keep track.
- Round 2: Dec, 5 sc. (6 sts)
- Rounds 3–4: Sc in each st around. (6 sts/round)
- Round 5: Dec x3. (3 sts)
- Fingers (x3):
- For each finger:
- Ch 3.
- Sl st in second ch from hook and in next ch.
- Repeat for all three fingers.
- For each finger:
- Sl st to base, ch 1, fasten off and sew in ends.
Eyes
- Attach safety eyes or embroider between rounds 7 and 8 near the head. Flatten the face by weaving yarn horizontally if desired.
Ties (Make 2)
- Attach yarn at base of body near first leg.
- Ch 1. Work 4 sc across, ch 1, turn.
- Continue working 4 sc across each row, ch 1 and turn, repeating until tie is as long as desired.
- End shaping: At end of final row, dec x2, ch 1, then dec x1, ch 1, fasten off and weave in ends.

Conclusion
This lizard cuton tie is a charming and fun crochet project suitable for confident beginners and intermediate crafters. The pattern uses simple shaping and construction techniques. Make it your own by customizing color choices or details. Attach to a cuton or other item for a playful effect!
Pattern Corrections
- If stitch counts don’t match after an increase or decrease row, check that repeats are performed the correct number of times.
- Clarified stuffing instructions and correct placement for eyes and legs.
Tips
- Add stuffing as you work to shape the lizard smoothly.
- Use stitch markers for rounds and leg placement for symmetry.
- Flatten the face by weaving yarn side-to-side if desired.
- Adjust leg and tie placement to personalize your lizard.