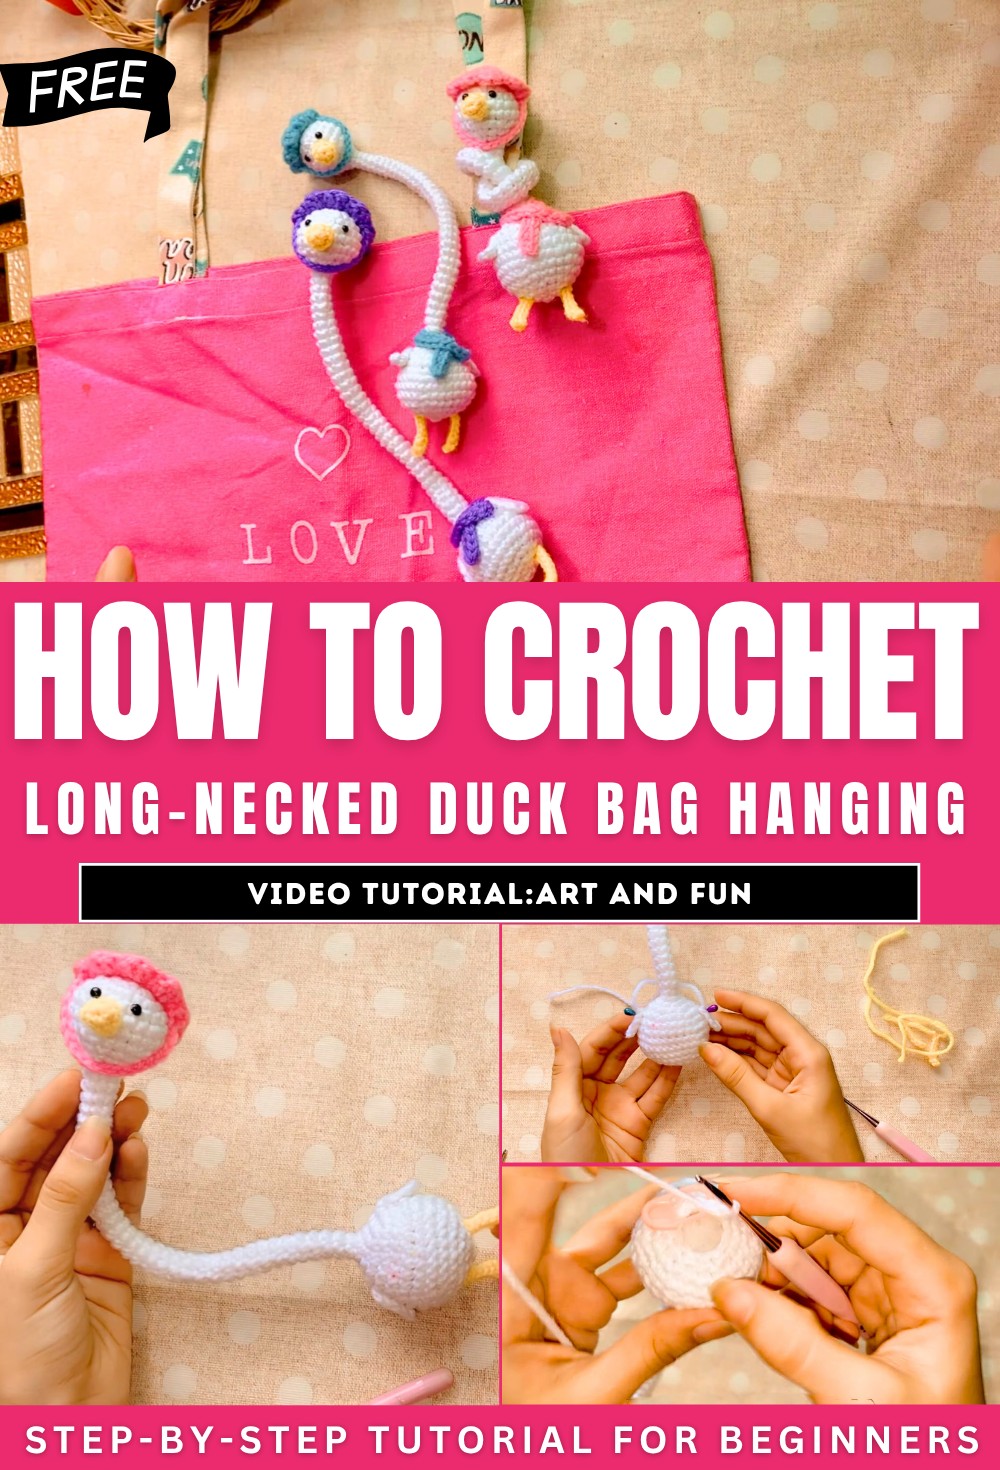
How to Crochet Long-Necked Duck Bag Hanging
Learn how to crochet an adorable long-necked duck that can be used as decorations or bag hangings. The tutorial explores every step, including creating the head, body, wings, legs, and accessories like a hat and scarf, all using yarn, stuffing, and basic crochet techniques. With clear instructions, viewers can replicate the design in various colors.
Accessible for beginners, this tutorial combines creativity and simplicity, resulting in a charming and customizable handmade craft. So, follow through with us for the complete tutorial.
Long Neck Duck Crochet Decoration
Introduction
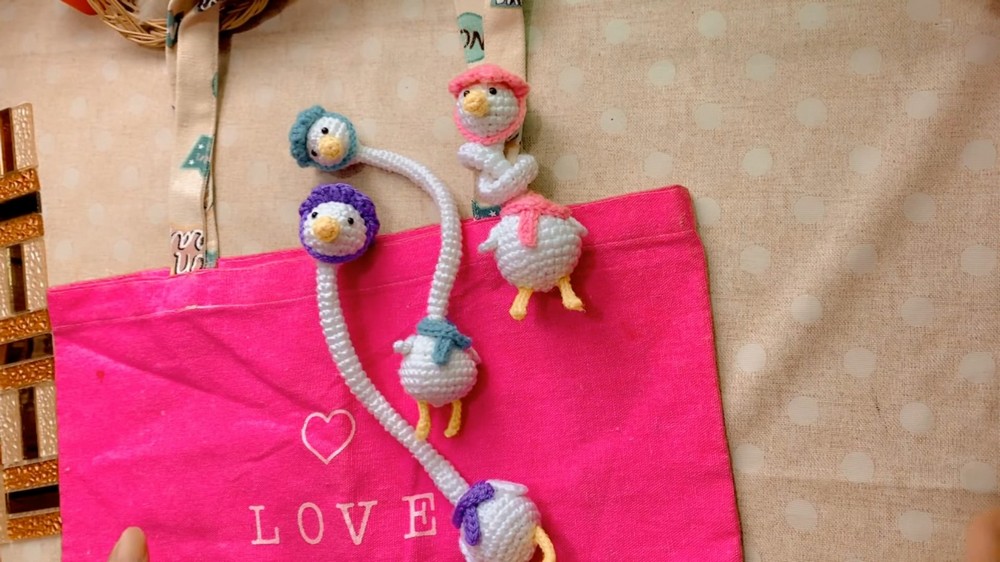
- The video starts with a warm greeting and introduces a crochet tutorial to make a long-neck duck decoration, which can be used as a bag hanging.
- The tutorial features a duck in three colors: pink, blue, and purple.
Materials Used
- Yarns: White (body and head), Pink (cap and scarf), Yellow (legs).
- Tools: 2.5 mm crochet hook, stitch markers, pins, hijab pins or needle, glue, stuffing, scissors, and decorative eyes.
Tutorial Steps
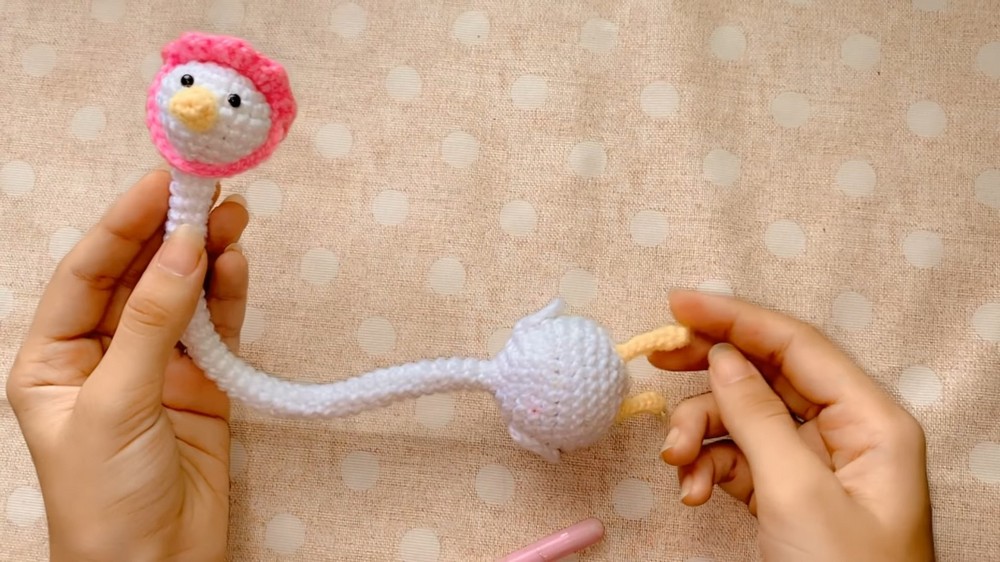
Creating the Body and Head
-
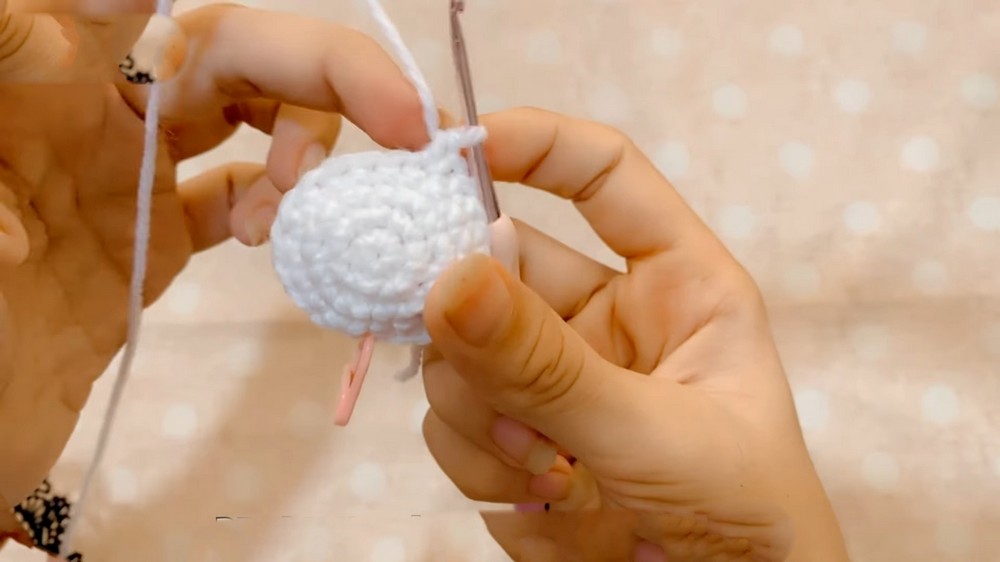
Magic Ring & Foundation Rounds:
- Start with a magic ring and then work single crochet stitches as the foundation for the head.
-
Increasing Rounds:
- Create increases in subsequent rounds by adding extra stitches per round to gradually widen the body shape.
-
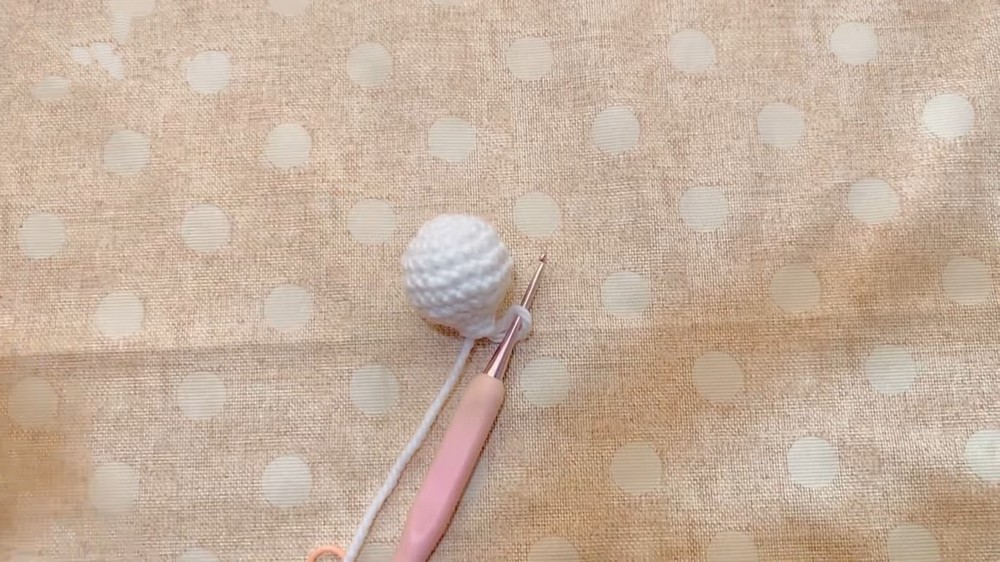
Single Crochet (SC) Rounds:
- Continue with single crochet stitches to achieve the desired height for the neck.
-
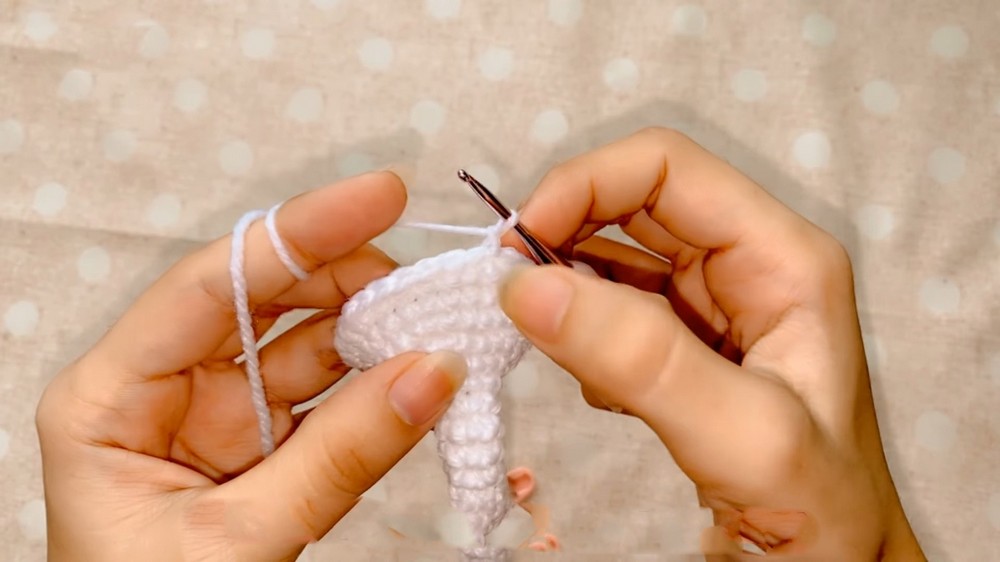
Decreasing Rounds:
- Gradually decrease stitches to form the body shape, leaving space to add stuffing.
Assembly
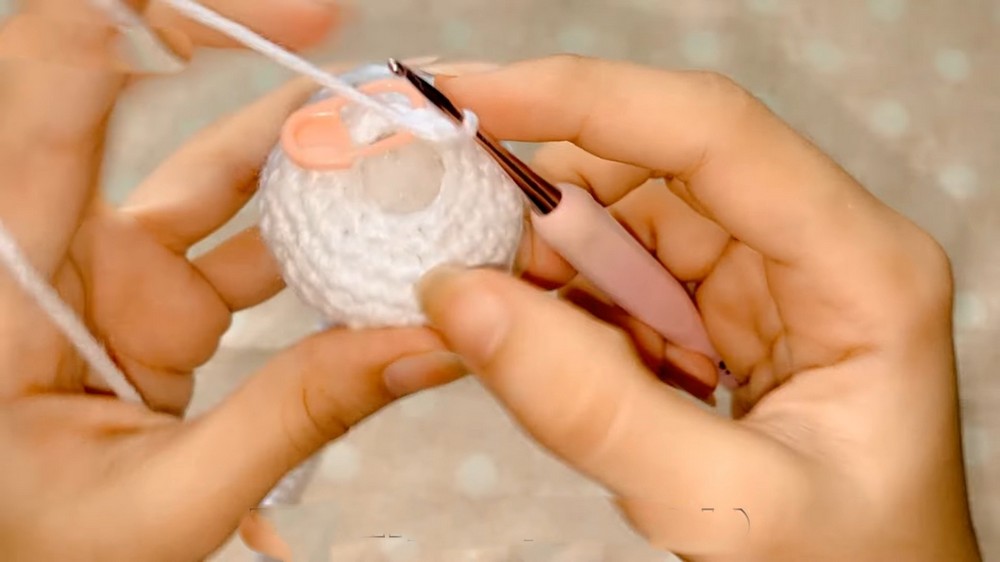
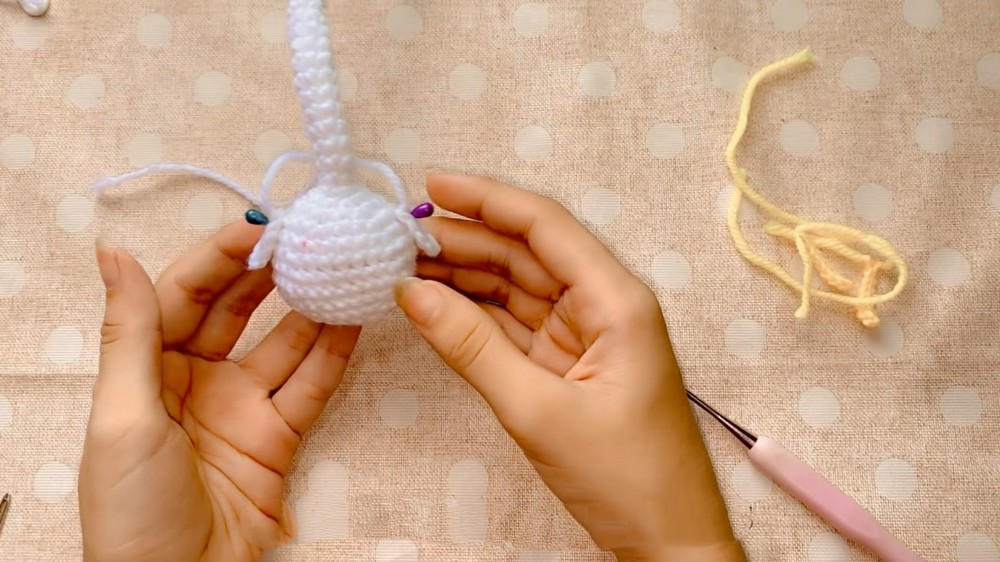
- Stuffing:
- Insert stuffing into the body and head to give it shape and form.
- Details:
- Attach pre-made wings, beak, and legs using either glue or stitching with yarn.
Creating Additional Components
- Wings:
- Use a slip knot and chain stitches to create the duck’s wings, attaching them between specified rows on the duck’s body.
- Beak:
- Formed from a magic ring, the beak is attached between designated rows using the same techniques as previous components.
- Legs:
- Crochet two legs using yellow yarn, creating slip stitches for stability. Attach to the body in specified positions.
Hat and Scarf
- Hat:
- Crochet the hat using pink yarn with increases creating the shape. Attach a decorative band.
- Scarf:
- Chain a set length, finish off with slip stitches, and wrap around the duck’s neck using glue for a secure hold.
Final Assembly
- Arrange and glue the scarf properly around the neck.
- Position the hat over the duck’s head.
Conclusion
- Demonstrates the final product attached to a bag, reviewing the flexibility and customizability of the design.
- Encourages viewers to experiment with different colors and engage with the creator through supporting her on social media platforms for more tutorials and updates.
Engagement
- The tutorial ends with a call to action promoting viewer interaction through likes, comments, and shares. The creator invites viewers to follow her on social media for updates and future tutorials.