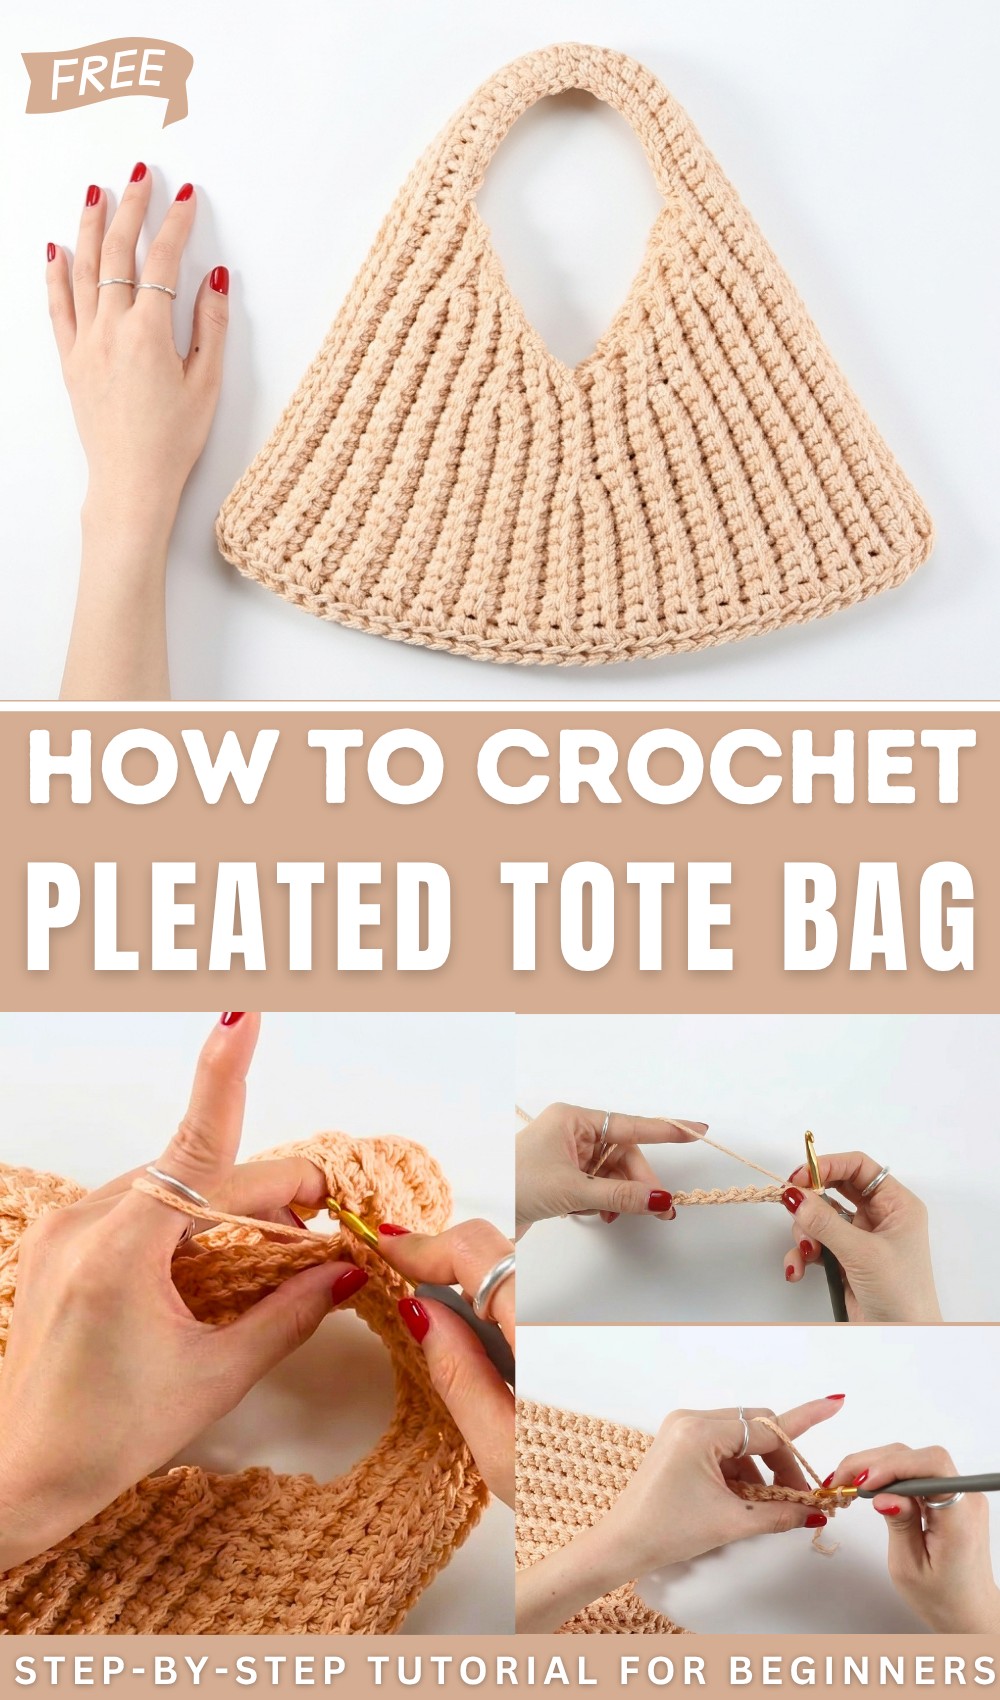
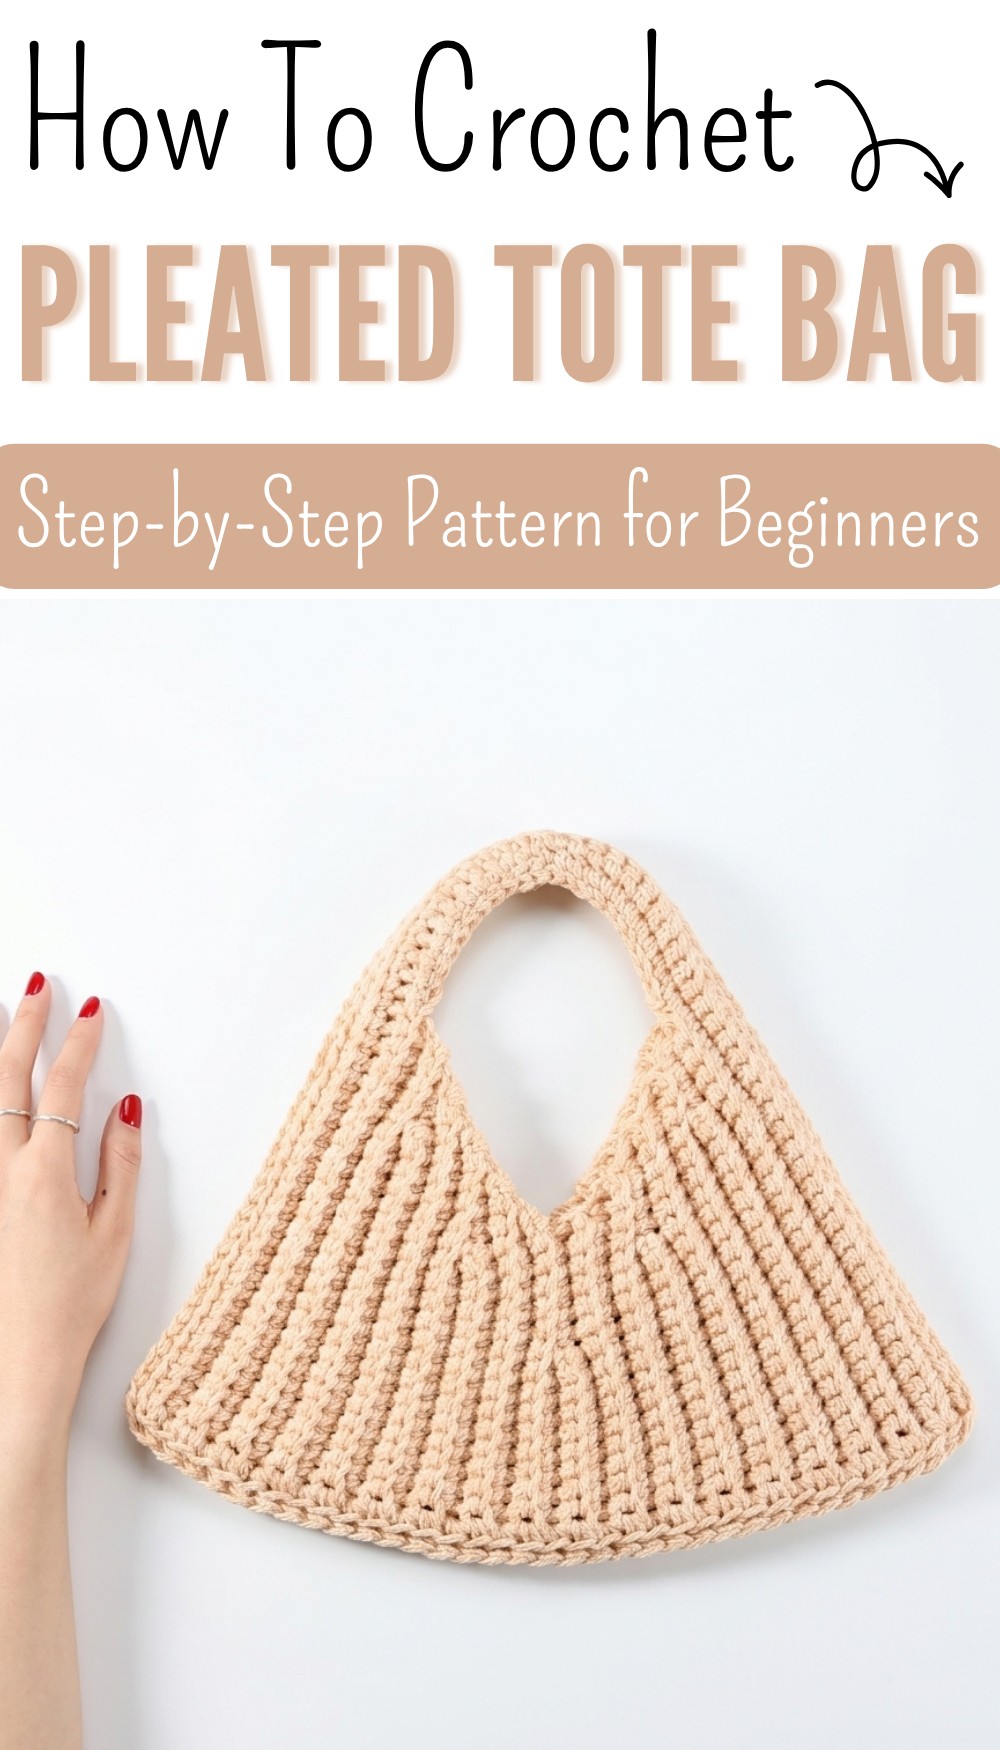
Free Pleated Tote Bag Crochet Pattern With Backstitch
Follow simple steps to crochet a pleated tote bag suitable for all skill levels offering both style and functionality to enhance your daily wardrobe effortlessly.
A stylish bag can transform an ordinary day into something special, and the pleated tote bag is a perfect example. Designed with care and creativity, this practical yet beautiful accessory combines function and elegance flawlessly. With its unique pleated texture, the bag adds a touch of sophistication to your everyday style, making it perfect for shopping trips, casual outings, or even as a project bag for your craft supplies.
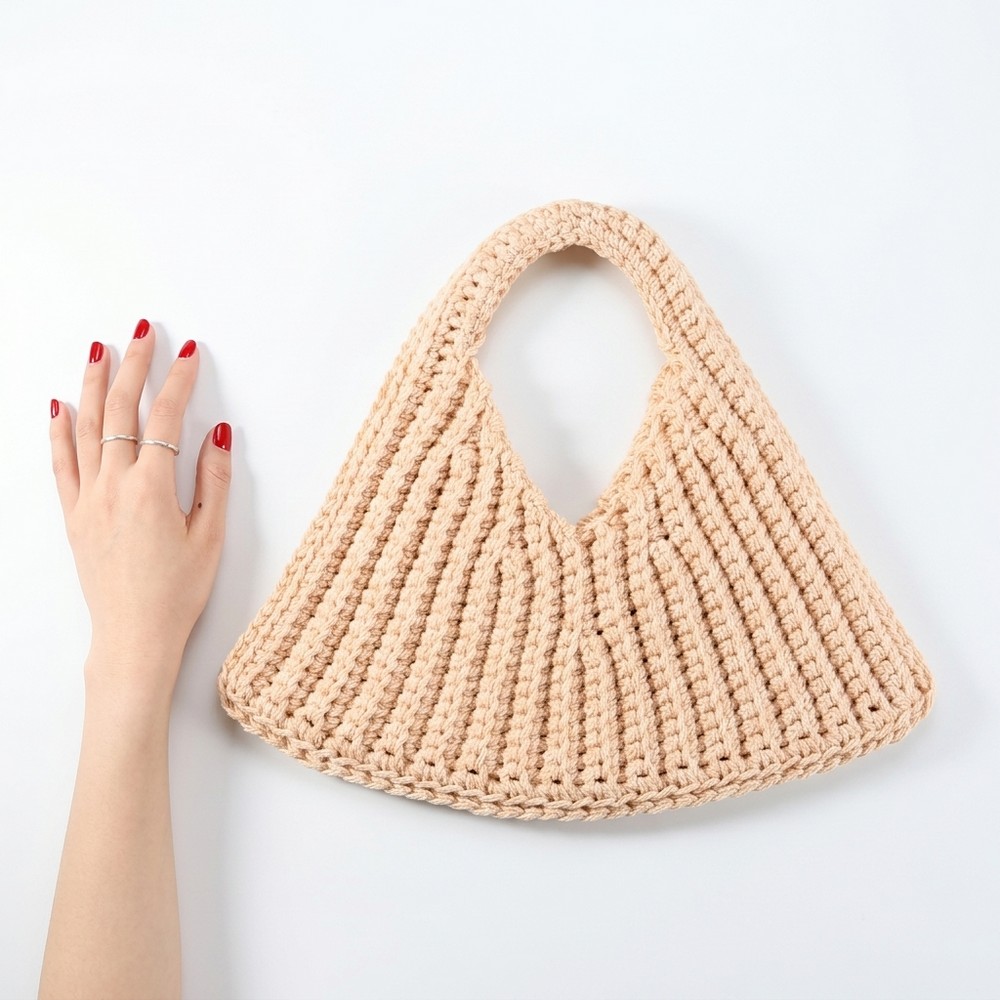
Crochet Pleated Tote Bag Free Pattern With Fluted Handles
Using a free crochet pleated tote bag pattern, you can easily create this lightweight yet spacious bag that suits your needs. Its versatile size and durable design make it ideal for carrying essentials, while the soft texture ensures it’s comfortable to carry. Whether made in subtle neutral tones or bold vibrant colors, the tote bag’s charming look makes it a fashionable and functional companion.
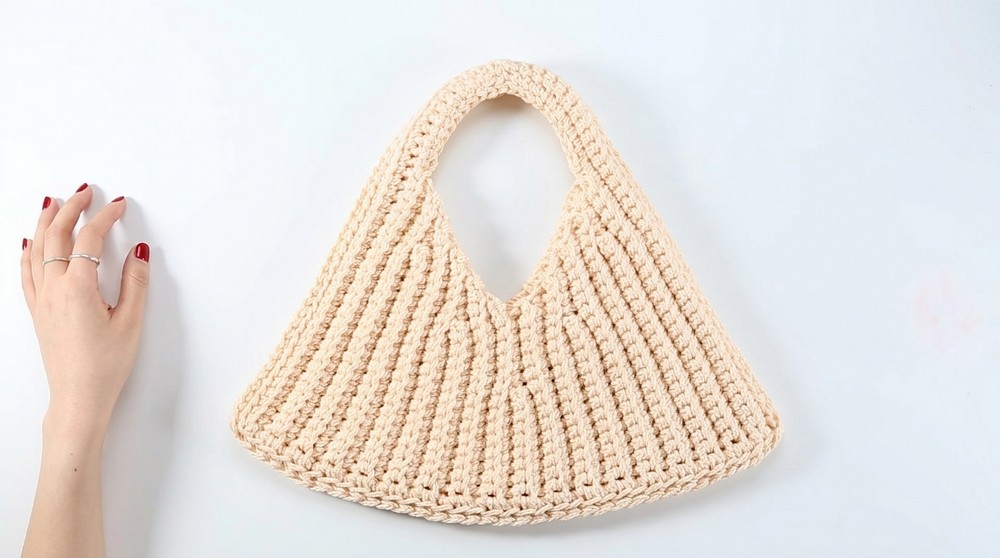
Fluted Tote Bag Crochet Pattern
Crocheting this bag allows you to weave your creativity into every stitch, resulting in a handmade accessory that’s practical, stylish, and uniquely yours. It’s more than just a bag – it’s an everyday statement of both beauty and utility.
Skill Level
Intermediate to Advanced
Materials List
- Yarn: Sixfly Cotton Yarn or a similar medium-weight cotton yarn, approximately 300g
- Recommended color : Natural Beige
- The combination of cotton ensures both softness and strength, making it great for a structured tote.
- Crochet Hook:
- 6mm (US J/10) for the entire project
- Tools:
- Scissors
- Tapestry Needle (for weaving in ends)
- Stitch Markers (optional, for marking stitches and sections)
Key Abbreviations
- ch: Chain
- sl st: Slip Stitch
- sc: Single Crochet
- blo: Back Loop Only
- st(s): Stitch(es)
- yo: Yarn Over
Special Notes
- Gauge: Ensure your chain stitches are loose to avoid the first row curling or shrinking.
- Sizing: The finished tote bag measures approximately:
- Width (bottom): 38 cm (15 inches)
- Height: 32 cm (12.5 inches)
- Center length: 15 cm (6 inches).
- Dimensions may vary slightly based on your crocheting tension.
- Structured Shaping: The unique back loop only (blo) technique creates the pleats and three-dimensional volume.
- Construction: The bag is worked in panels, and the body section will be assembled after creating two identical fan-like pieces.
Step-by-Step Pattern
Step 1: Create the First Panel
Foundation and Setup
- Create a foundation chain:
- Use the 6mm crochet hook.
- Chain 35 ch, ensuring chains are loose for easy first-row stitching.
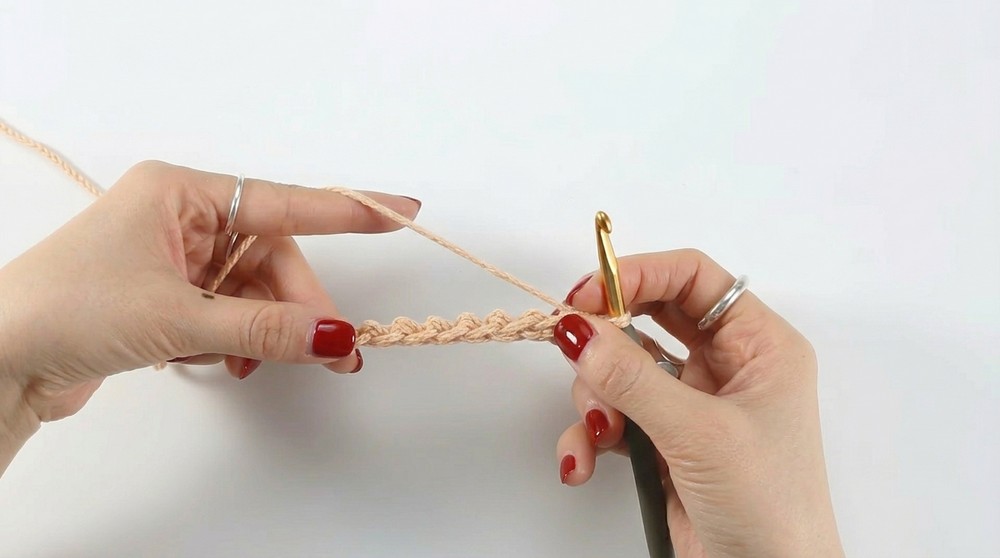
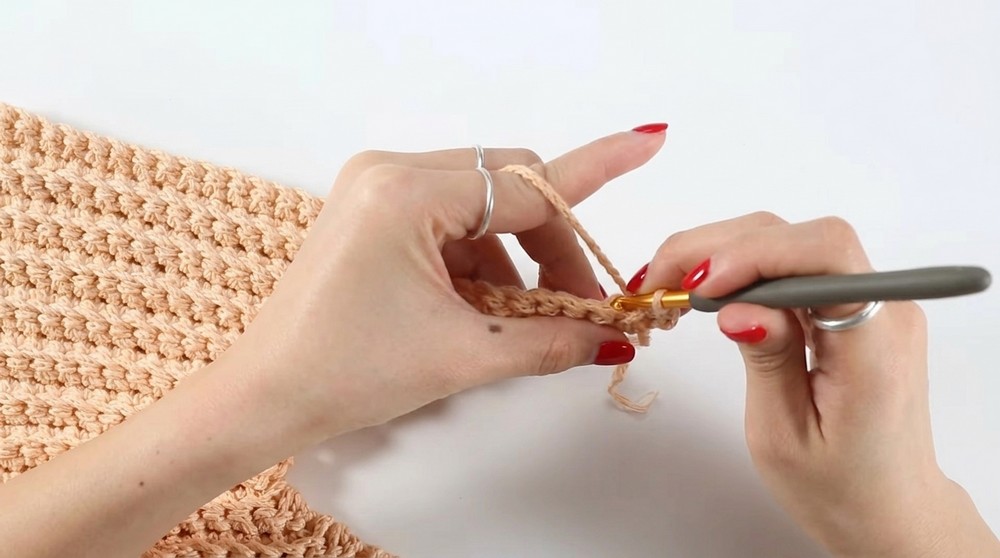
Row 1: Single Crochet in Back Bumps
- Turn the chain slightly, so the back bumps of the chain stitches (also called “humps”) are visible.
- Sc into each back bump:
- Skip the very first chain next to your hook. Starting in the 2nd chain, sc into each back bump of the foundation chain until you have worked into all 35 chain stitches. You should have 35 sc in total.
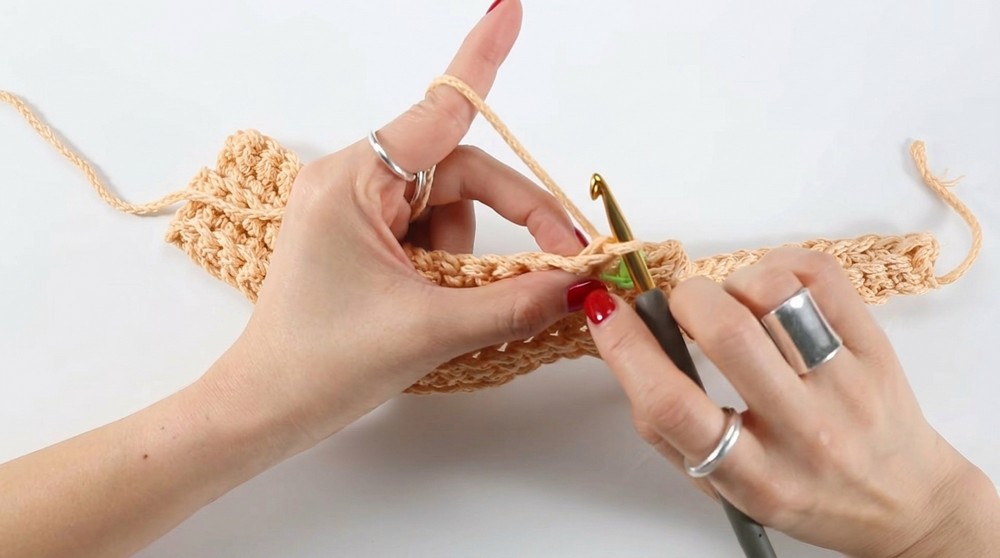
Rows 2–11: Back Loop Only (BLO) Single Crochet
- At the start of Row 2, chain 1 (this does not count as a stitch).
- Work 1 sc into the blo of each stitch across. You should always have 35 sts per row.
- Repeat this process for a total of 11 rows.
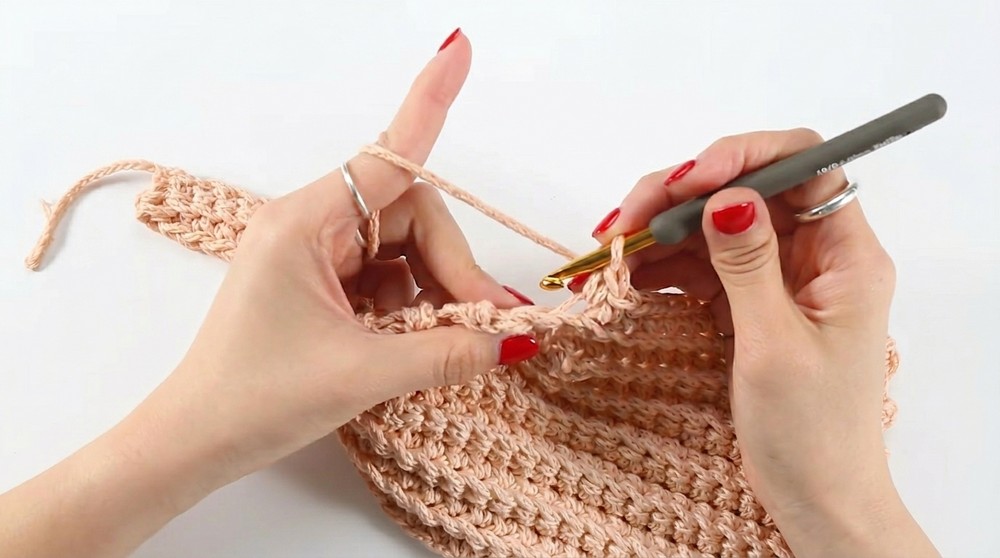
Rows 12–31: Shaping with Decreases (Back Stitching for Pleats)
Row 12:
- Begin shaping the fan structure with decreases in this row. Ch 1, turn, then:
- Sc in blo for the first 24 stitches.
- Leave the remaining 11 stitches unworked.
Rows 13–25:
Decrease 1 stitch per row following these steps:
- Odd rows (left side): Work sc in blo across, skipping the first stitch.
- Even rows (right side): Work sc in blo, stopping one stitch before the last unworked stitch from the previous row.
- Example:
- Row 13: Work 23 sc in blo, leaving 12 stitches unworked.
- Row 14: Work 22 sc in blo.
- Continue this pattern until Row 25, where you will work 2 sc in blo.
Rows 26–31: Shaping with Increases (Back Stitching for Pleats)
Switch from decreasing to gradually increasing stitches per row.
Row 26:
- Ch 1, turn. Work 2 sc into the first stitch, then sc in blo across for the remaining stitches. You should have 3 sts in this row.
Rows 27–31:
- Add one stitch per row by working 2 sc in the first stitch of each row, then sc in blo for the remainder of the row.
- Example:
- Row 27: Work 4 sc.
- Row 28: Work 5 sc.
- Continue increasing until Row 31, where you will have 35 sc again.
Step 2: Create the Second Panel
- Repeat all instructions for Step 1 to make a second identical panel.
- Do not cut the yarn after completing the second panel, as the panels will now be joined.
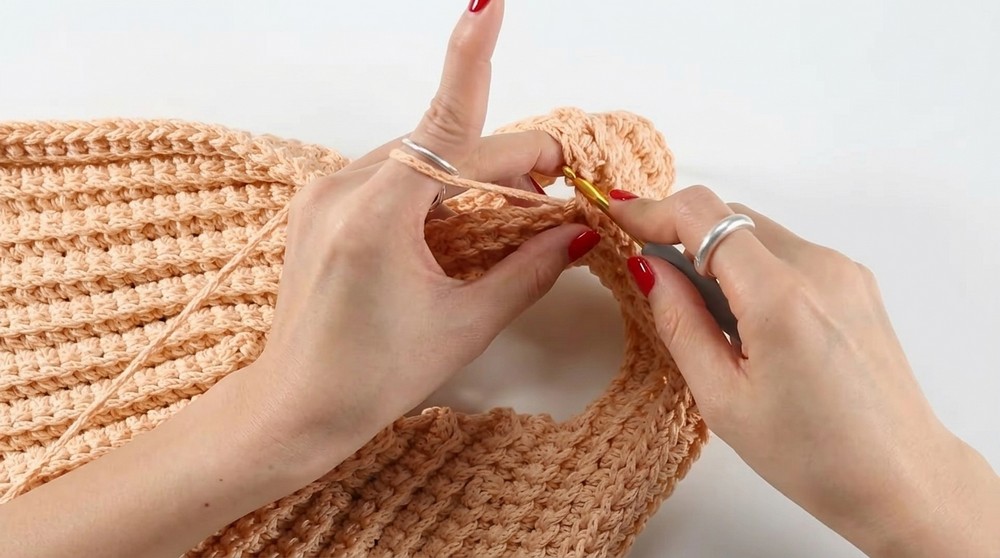
Step 3: Assemble the Bag
Side Seam Assembly
- Align Panels: Place the panels wrong sides together, ensuring that the top and bottom edges match perfectly.
- Slip Stitch Seam:
- Begin at the bottom left corner of the panels.
- Work sl st through the blo of both panels, joining them stitch by stitch.
- Continue along one side, across the bottom, and up the other side.
- Finish the Seam:
- Secure the last stitch with a knot and weave in all ends with a tapestry needle.
Step 4: Adding Handles
- Attach yarn to the top edge of the bag at one corner.
- Chain 40 (or desired strap length). Slip stitch the other end of the chain to the opposite corner on the same side.
- Repeat for the second strap.
- Reinforce the handles by working another row of sc along the chains.
Finishing Steps
- Weave in all loose ends using a tapestry needle.
- Block the bag lightly to shape the fan-like pleats. Optional: Apply a fabric stiffener for more structure.
Conclusion
Congratulations! You’ve finished your fluted tote bag, complete with a pleated design that adds dimension to its silhouette. The repetitive back-loop stitching and precise shaping contribute to its structured and elegant design.
Pattern Corrections
- Ensure the stitch count aligns to maintain balance when seaming the sides and bottom of the panels.
- Always match the panels precisely before starting assembly.
Tips for Success
- Gauge Check: Loose foundation chains make the first row easier to work into and prevent warping.
- Customization: Adjust the height, width, or strap length to meet your preferences. Consider using two-tone yarn for a unique look.
- Care: Hand wash or machine wash on a gentle cycle. Lay flat to dry for longevity.