How to Crochet Puffy Coin Purse for Ladies
Learn how to crochet a beautiful coin purse with a zipper closure, perfect for beginners, with this tutorial. Claire will guide you step-by-step through making the rectangular panel, side panels, edging using the cross-pop stitch, and assembling the zipper. The tutorial includes tips for neat stitches, aligning the zipper, and attaching metal embellishments for a polished finish. Ideal for beginners and experts!
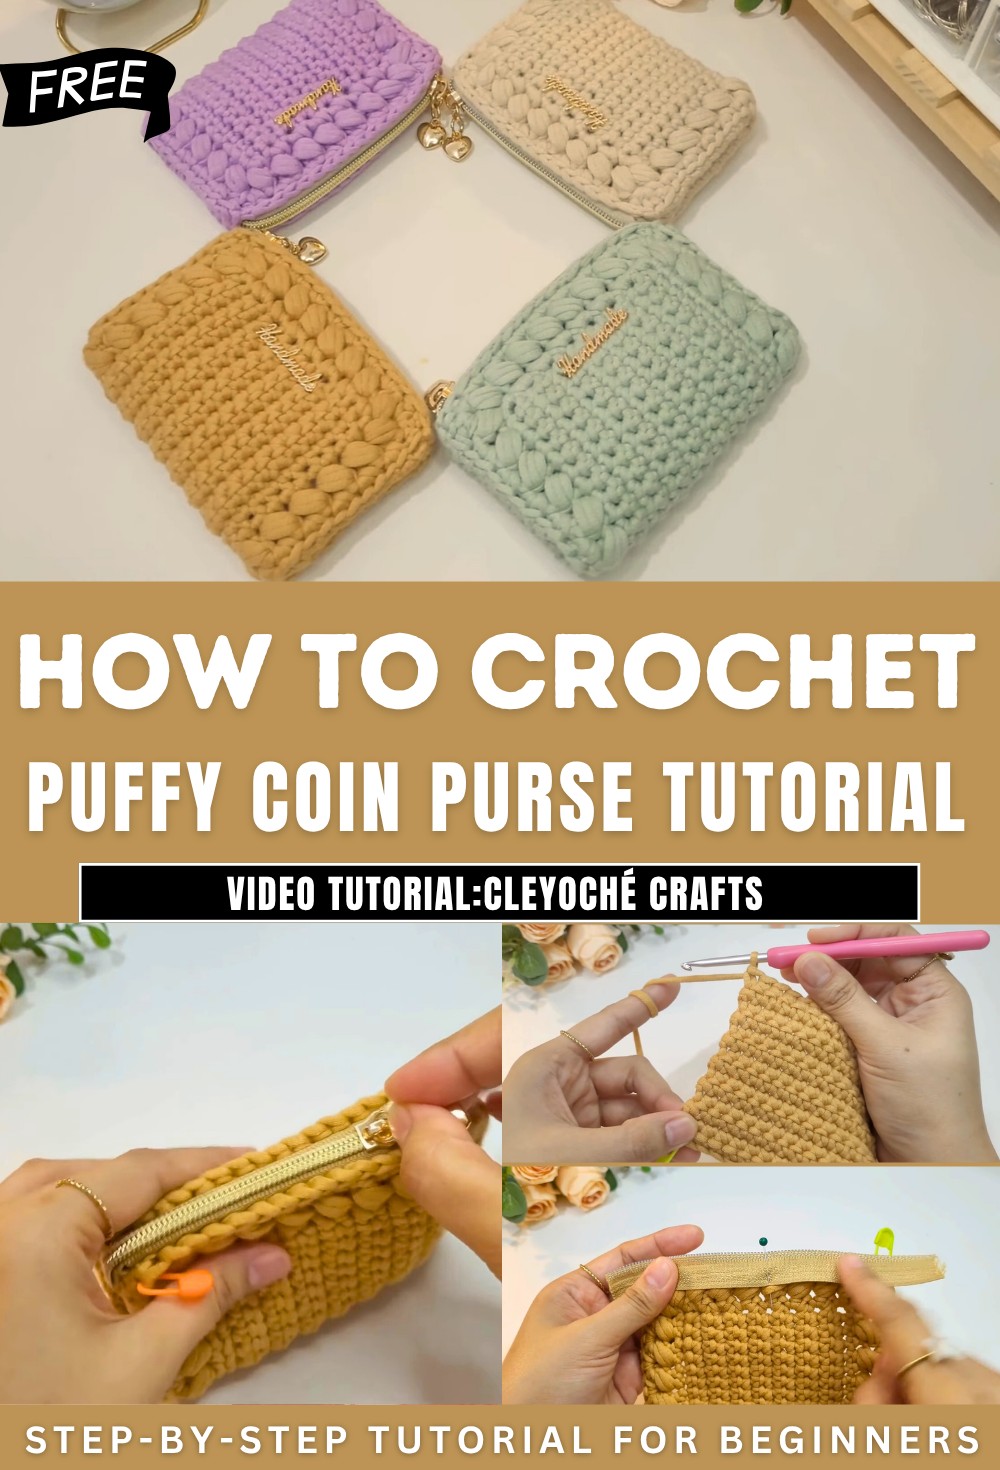
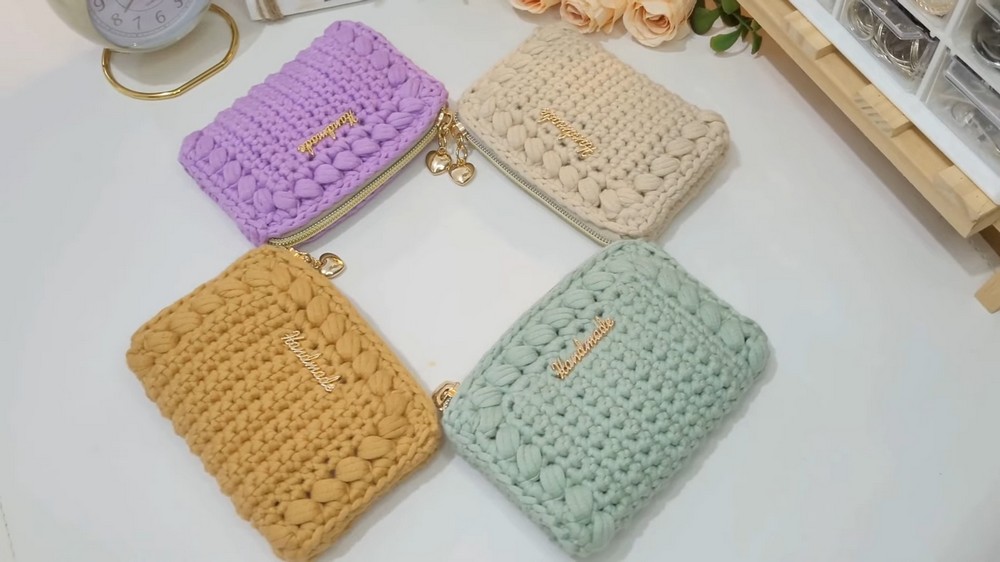
Crochet Puffy Coin Purse Tutorial
The video is a step-by-step crochet tutorial for creating a coin purse using a variety of stitches and crochet techniques. Hosted by Claire of GLA Crafts, the tutorial is beginner-friendly and walks viewers through the full process, including materials, stitches, and finishing touches. The project features a rectangular panel, decorative edging, cross stitches for the border, and zipper installation.
Materials Needed
- Yarn: Approximately 50g of soft, stretchable, medium-weight yarn (68% cotton, 32% nylon), classified as size 4.
- Hooks: A 4 mm crochet hook and a 5 mm crochet hook.
- Additional Items:
- Metal tag embellishment.
- #5 zipper tape and slider.
- Ball head pins, sewing thread, scissors, darning needle, and stitch markers.
- Note: The materials are available online, with links provided in the description box.
Getting Started
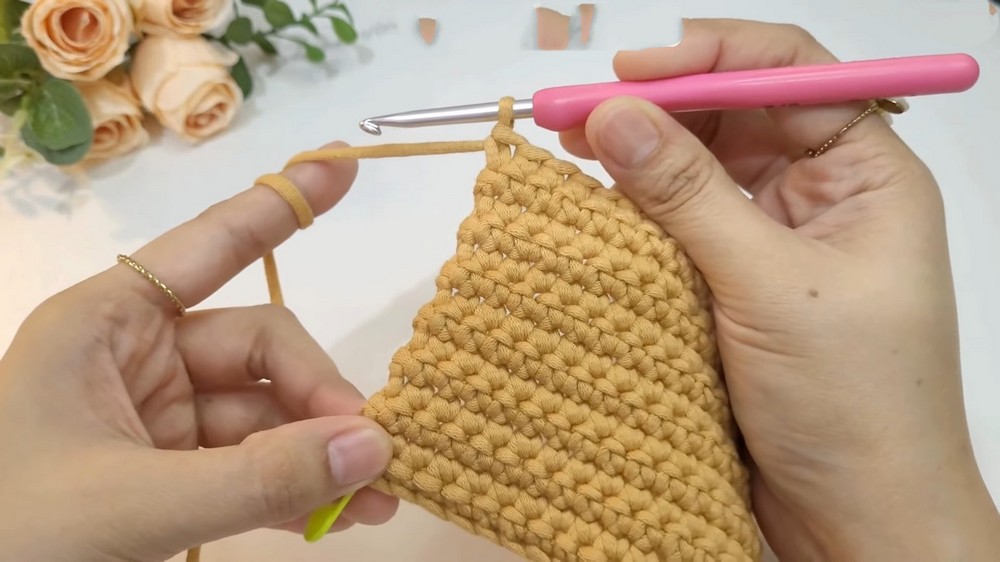
- The tutorial begins by crocheting a rectangular base panel using simple single crochet stitches.
- Claire explains how to create an even foundation chain and points out important tips for working into the back bumps of the chain.
- The first rows involve basic single crochet stitches to build the base.
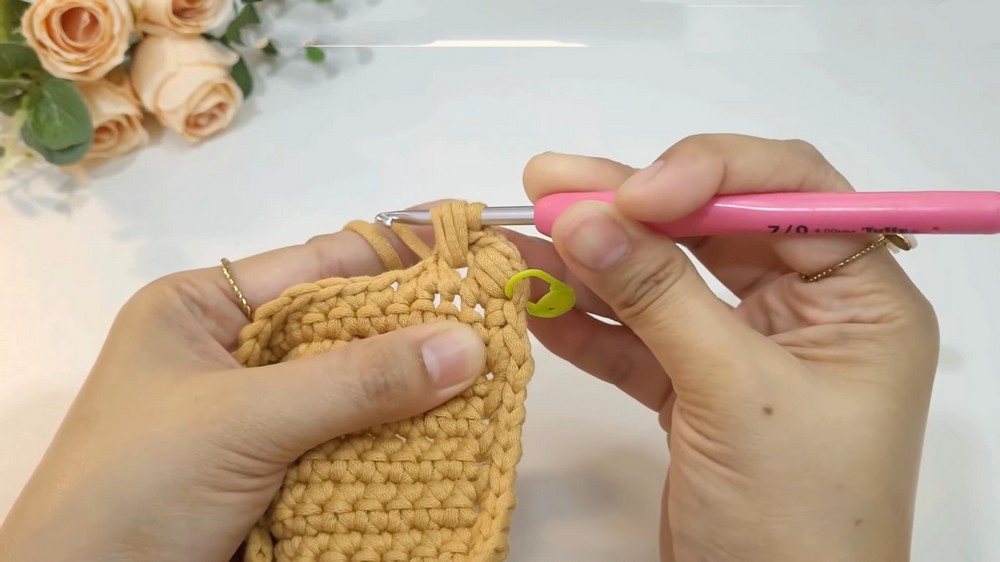
Edging and Cross Stitch Border
- Once the base panel is complete, edging is added with single crochet stitches, ensuring clean and sturdy edges.
- Claire introduces the cross stitch border to add decorative detail, which involves working specific stitch patterns into marked corners and edges.
- Techniques to mark corners and maintain symmetry are explained thoroughly.
Zipper Installation
- Claire demonstrates how to add a zipper to the crochet panel:
- The zipper is aligned centrally and pinned in place along the edges of the panel.
- The corners of the zipper are adjusted for a curved finish.
- A running stitch is used for sewing, with careful attention to avoid stitching through working loops.
- Tips for properly aligning the zipper teeth and sealing the edges with a lighter are shared.

Side Panels
- The side panels are crocheted to give the coin purse a 3D structure.
- Techniques for creating these panels involve working regular single crochets and slip stitches to join edges.
- Claire demonstrates how to fold and secure the panels for a clean, professional finish.
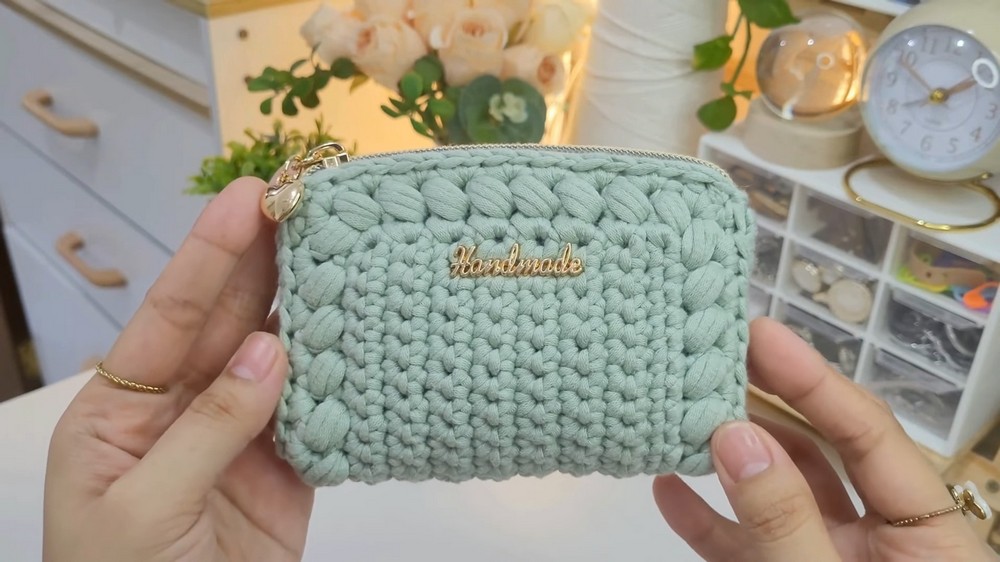
Finishing Touches
- Final assembly of the purse:
- Attaching the zipper slider to ensure smooth functionality.
- Adding a decorative metal embellishment tag to the center of the purse and securing it with a back plate.
- The edges are reinforced for durability.
Closing Remarks
- Claire encourages viewers to practice the techniques for better mastery, acknowledging that some steps (such as zipper installation) may require repetition to perfect.
Key Features of the Tutorial
- Beginner-Friendly Instructions: The tutorial breaks down complex techniques into simple, actionable steps.
- Decorative Detailing: Emphasis is given to styling elements like cross stitch borders and embellishments.
- Practical Tips: Techniques to avoid skipped stitches, ensure proper alignment, and achieve professional results are shared.