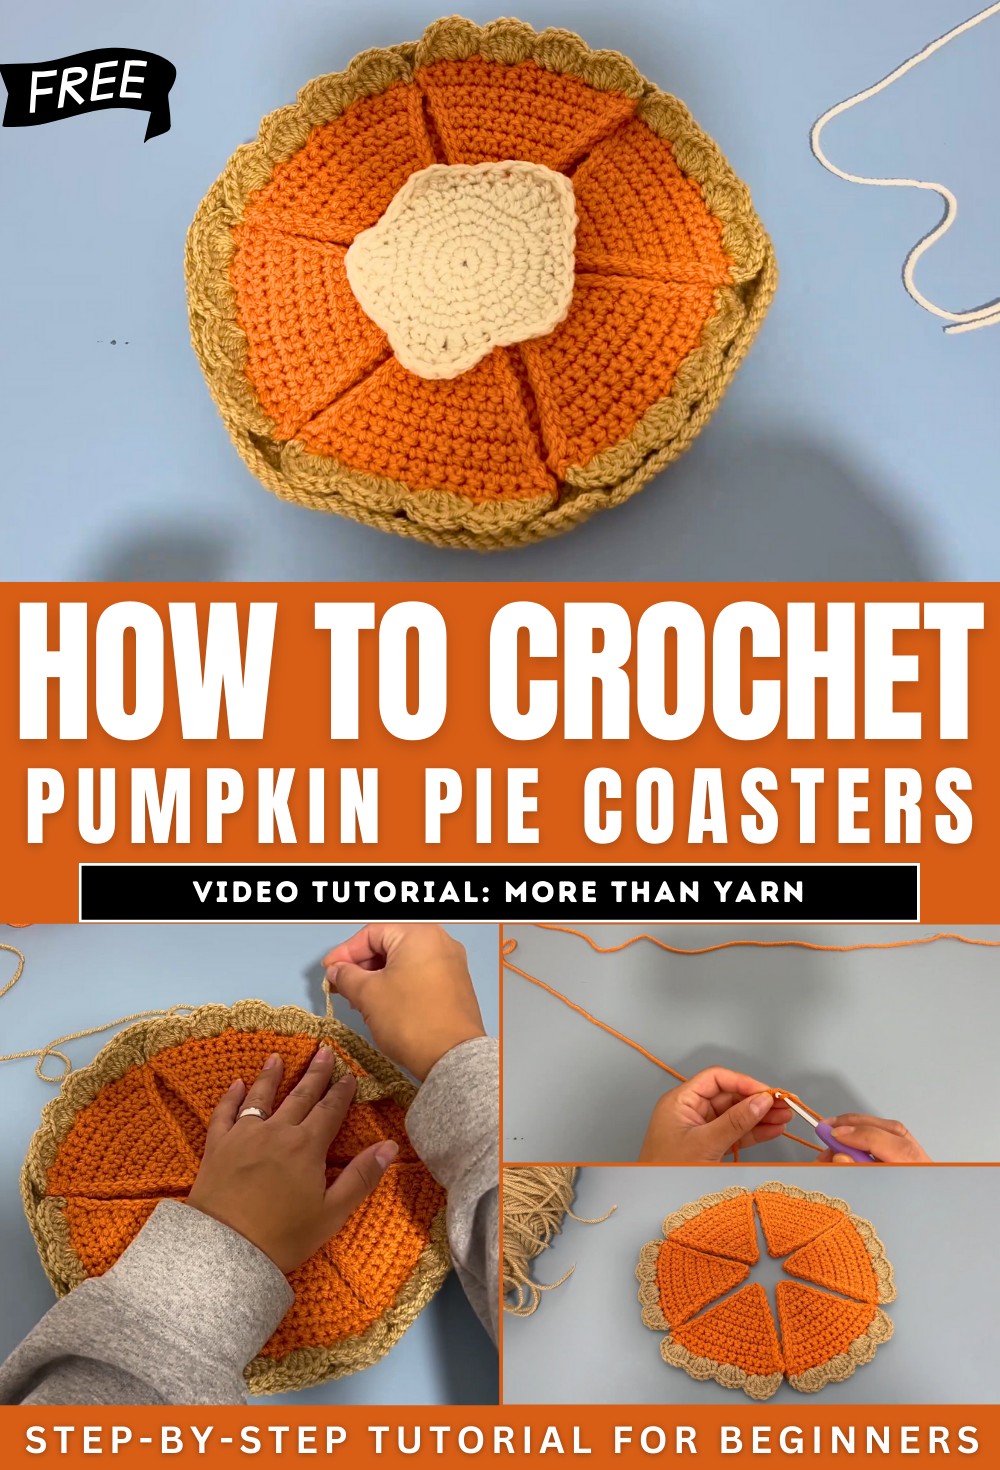
How To Crochet Pumpkin Pie Coasters for Fall
With a step-by-step tutorial, learn how to crochet an adorable pumpkin pie coaster using simple crochet techniques. Using weight 4 acrylic yarn and a 4 mm hook, the tutor walks through chaining, single crochet increases, and forming triangles, followed by adding “crusts” with double crochets. She also demonstrates making a whipped cream topping, adding creative tweaks for a realistic touch.
The project is perfect for fall and Thanksgiving, utilizing leftover yarn to crochet charming and functional home decor. Alexis’s easy-to-follow instructions and personal tips make this a fun, beginner-friendly project for crocheters of all levels.
Pumpkin Pie Coaster Crochet Tutorial
The tutorial by Alexis demonstrates how to crochet adorable pumpkin pie coasters using simple materials and basic crochet techniques. Perfect for fall or Thanksgiving decor, this project is beginner-friendly and uses scrap yarn, making it budget-friendly as well.
Materials Needed
- Acrylic yarn in two colors: orange (for the pie filling) and tan (for the crust).
- A 4mm crochet hook.
- Stitch marker (optional for beginners).
- Scissors and a yarn needle for weaving in ends.

Steps to Crochet the Pumpkin Pie Slice
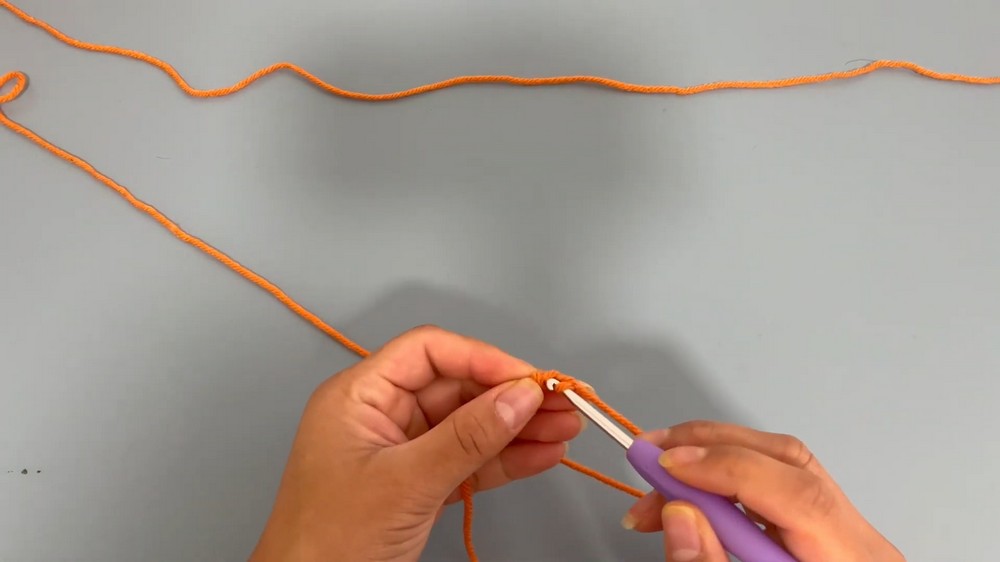
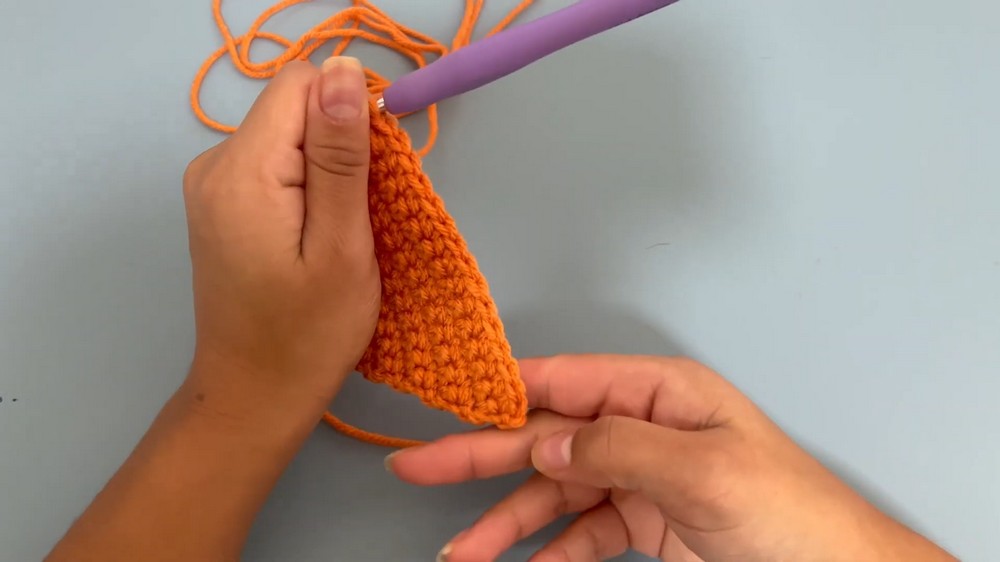
1. Making the Triangular Base
- Start with a slip knot and chain two.
- Create a triangle shape by single crocheting, turning your work, and incrementally increasing at the end of each row.
- Repeat this pattern until you reach the desired width for the slice.
- Finish the edges with slip stitches to create a cleaner look (optional).
2. Adding the Crust
- Attach the tan yarn to the triangular edge of the orange slice.
- Work in a pattern where you alternate sections of double crochets (to form “bumps”) and half-double crochets, skipping stitches in between to give the crust its wavy texture.
- Finish the crust edge with a single crochet at the end to curve the design neatly.
Finishing the Pumpkin Pie Slice
- Weave in all the loose ends at the back of the pie slice.
- Secure them strategically to maintain the overall shape and smooth texture of the piece.
- Optional: Steam-block the slice for a polished, flat finish.

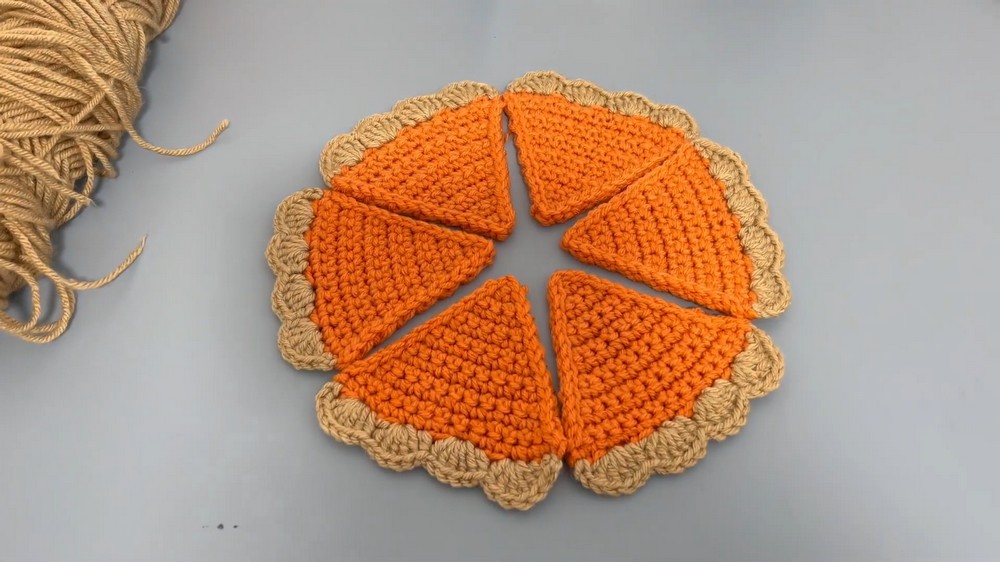
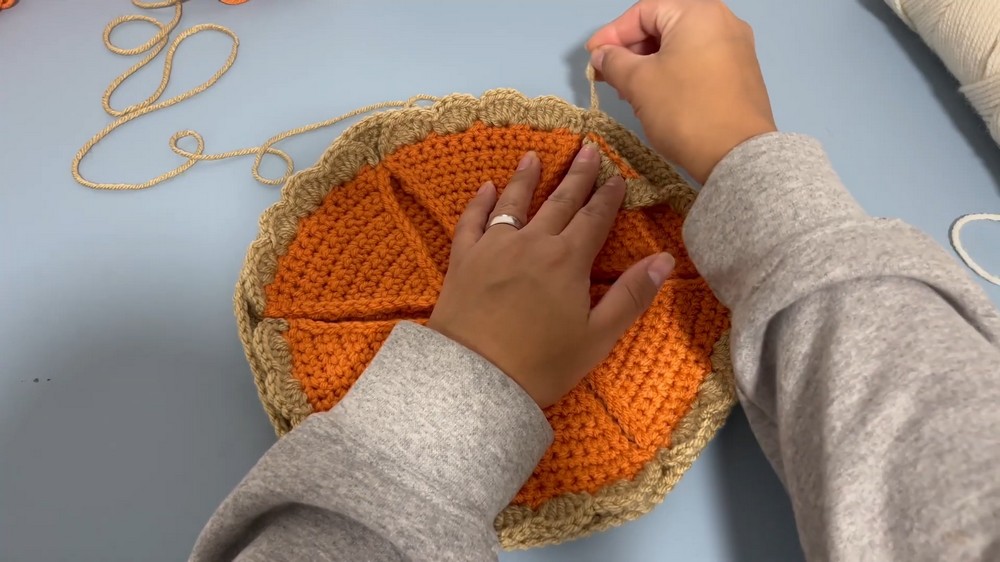
Assembling the Pie
- Create multiple slices (Alexis makes six) to form a complete pumpkin pie.
- Crochet a circular base in orange to place under the pie slices. This ensures that gaps between slices appear uniform and cohesive.
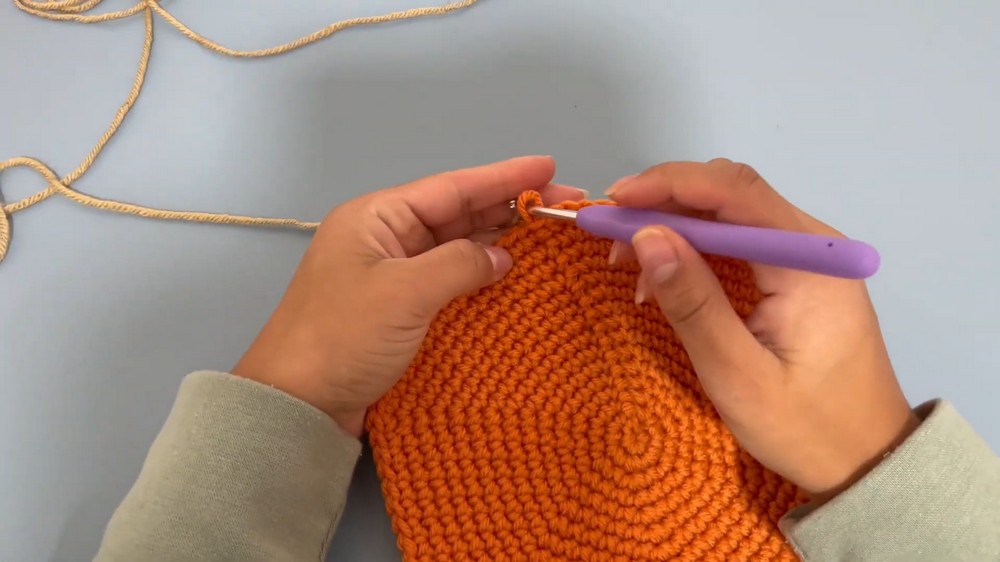
Steps to Create the Orange Circle:
- Use a magic ring and start with six single crochets.
- Gradually increase stitches following the formula: add more single crochets between increases with each new round.
- Continue until the circle is large enough to fit the assembled slices.
Adding the Pie Crust to the Circle:
- Switch to tan yarn and crochet one round without increases.
- Add 2-4 rounds of increases in the tan color to ensure the crust has enough height to hold the slices.
- Work additional no-increase rounds as needed to refine the crust edge.
Adding Whipped Cream
- Start with a small circle using basic crochet techniques (similar to the orange circle with increases).
- Add character by freehanding “squiggly” edges with variations of single, half, and double crochets.
- Alternatively, scrunch the whipped cream circle and secure it from behind to add texture and fluffiness.
Final Assembly and Variations
- Arrange the completed pie slices on the orange base and steam-block the entire pie for structure.
- Place the whipped cream in the center for a decorative touch. Alternatively, it can be used as a standalone coaster.
Conclusion
The pumpkin pie coaster project is fun, creative, and ideal for using up yarn scraps. The tutorial makes the task simple and approachable, even for beginners. The finished product doubles as seasonal decor or functional coasters, making it a unique addition to any fall celebration.