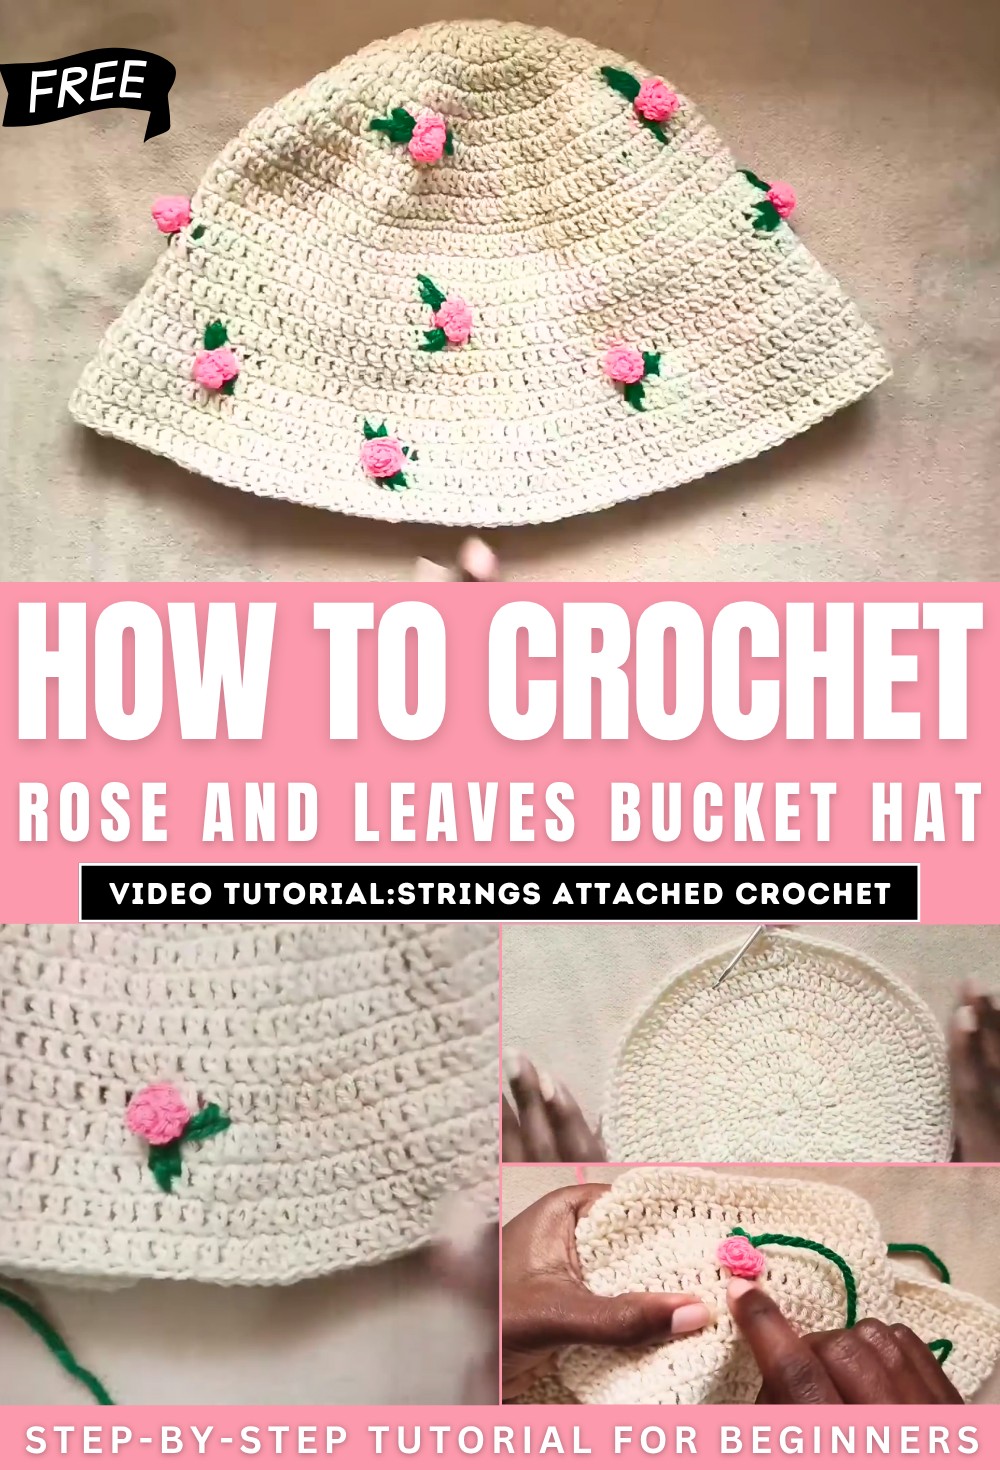
How to Crochet Rose and Leaves Bucket Hat -Embroidered Hat

Perfect for spring, learn how to crochet a bucket hat decorated with roses and embroidered leaves for all skill levels. From creating the hat’s base using double crochet stitches, gradually increasing the rows for the desired depth to shaping, you will learn everything. The tutorial then covers crocheting roses using super fine yarn, detailing steps like forming the petals, rolling the flower, and securely attaching it to the hat with a tapestry needle.
Lastly, it demonstrates how to embroider leaves around the roses to add a delicate touch. For the complete tutorial, follow along with us!
Crochet Rose Bucket Hat Tutorial
This tutorial is a step-by-step guide to creating a stylish crochet bucket hat, complete with decorative roses and embroidered leaves. The instructor provides detailed instructions for each step, including crocheting the hat’s base, making the roses, and attaching both the roses and leaves. You will want this bucket hat even for summer as it is so beautiful.
1. Creating the Bucket Hat Base
-
Starting with the Magic Ring:
The tutorial begins by creating a magic ring as the foundation of the hat. Chains and double crochets are added to form the first round. -
Building the Crown:
Successive rounds are worked by increasing stitches as required. The process includes double crochets and specific patterns to ensure the crown takes the desired shape and size. -
Shaping the Depth of the Hat:
After completing the crown, straight rows are worked without additional increases to form the deeper section of the bucket hat. The number of rows here determines the final depth of the hat. -
Creating the Brim:
The brim of the hat is shaped by gradually decreasing the increases. This gives a slight outward flare characteristic of bucket hats.
2. Crocheting the Decorative Roses
-
Starting the Rose:
Roses are created separately using super fine pink yarn and a small crochet hook. The process begins with a long chain as the base. -
Adding Petals:
The rose petals are formed by working a series of double crochets, half-double crochets, and single crochets into specific stitches along the chain. Some stitches are worked multiple times into the same space to give the petals a fuller look. -
Shaping the Rose:
Once the petals are made, the rose is formed by rolling up the completed piece. A tapestry needle and long tail of yarn are used to sew the rolled rose together, ensuring it holds its shape.

3. Attaching the Roses to the Hat
-
Positioning the Roses:
Before securing the roses, the tutorial advises choosing the placement for each flower carefully to achieve symmetry or a preferred design. -
Securing the Roses:
Using a tapestry needle, the roses are sewn onto the hat by stitching through the base of the rose and into the hat. This ensures the flowers are securely in place.

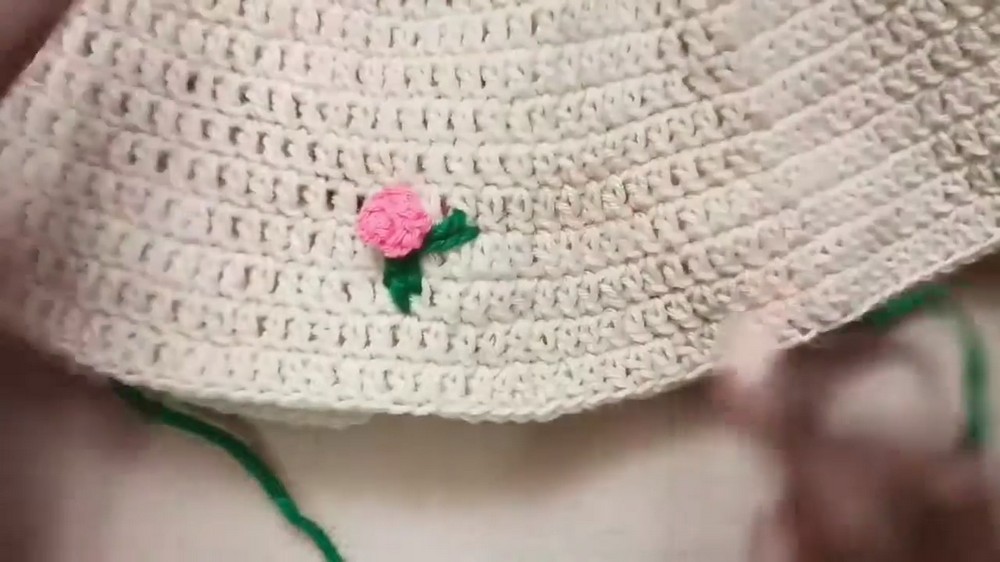
4. Embroidering the Leaves
-
Starting the Embroidery:
Thick green yarn and a tapestry needle are used to embroider decorative leaves around the roses. The process begins at the base of a rose. -
Stitching the Leaves:
The leaf is created with stitches that extend outward, creating points to mimic the natural shape of leaves. The embroidery can be adjusted for placement and direction based on personal preference. -
Optional Alternative:
For a cleaner look on the underside of the hat, appliqué leaves can be crocheted separately and sewn onto the hat instead of direct embroidery.

5. Final Adjustments
- Check the hat’s fit and make any necessary adjustments to ensure comfort.
- Add final decorative touches as desired.