How to Crochet Rose Bud Keychain for Beginners

In this post, you’ll learn how to create a crocheted rosebud keychain for beginners and experts. The process begins with making a magic ring and then working half-double crochets to expand the base of the rosebud, with a color change for the top. The crocheted piece is then folded and tied to form the rosebud shape. The tutorial also shows how to create the leaf portion using half-double crochets and a combination of other stitches.
Finally, it demonstrates how to assemble the rosebud and leaf components onto the keychain ring. So, follow through with us for the complete tutorial.

DIY Rose Bird Keychain
This tutorial by Neha from the YouTube channel Time Pass with Crafts Neha demonstrates how to create a beautiful rose bird keychain using simple crochet techniques. It is suitable for beginners and allows customization depending on your choice of colors and materials.
Materials Needed
- Woolen yarn (multiple colors for customization)
- Crochet hook
- Scissors
- Keychain ring
- Feviquick (or any adhesive for assembly)
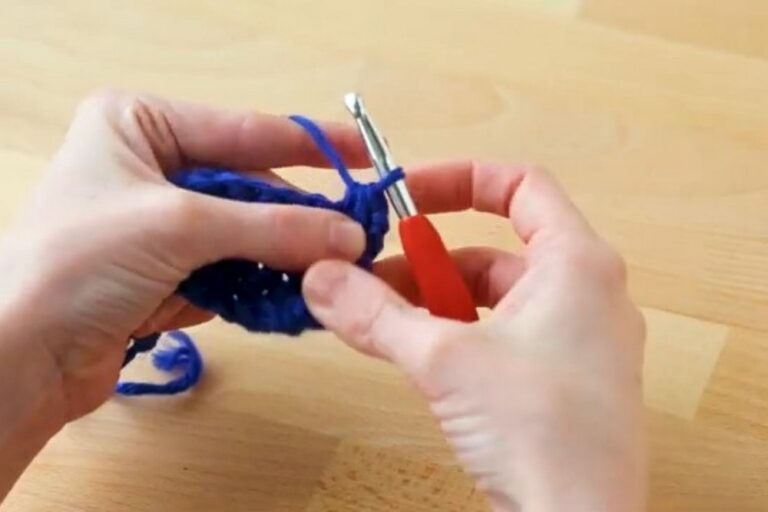
Step 1: Making the Base
- Begin by creating a magic ring using wool yarn.
- Crochet 10 half double crochet loops into the magic ring.
- Seal the round with a slip stitch to form the base of the keychain.

Step 2: Building the Foundation with Half Double Crochet Rounds
- Work in rounds, incrementally increasing the number of half double crochets to expand the circle.
- Alternate between rows of two half double crochets in one stitch and single half double crochet stitches to achieve the desired structure.
- Keep adjusting the stitches based on the desired size and wool thickness.

Step 3: Incorporating Additional Colors
- Once the base is of the desired size, introduce a second color of wool.
- Work rows of half double crochet stitches with the new color to create a layered look.
- Ensure the stitch count remains consistent to maintain a smooth design.

Step 4: Final Design Adjustments
- Fold the circular crochet piece and thread another piece of yarn to create the bird base.
- Securely tie the ends to ensure structure and adjust for shape.
- Add details like a beak or tail using additional crochet techniques or leftover yarn.

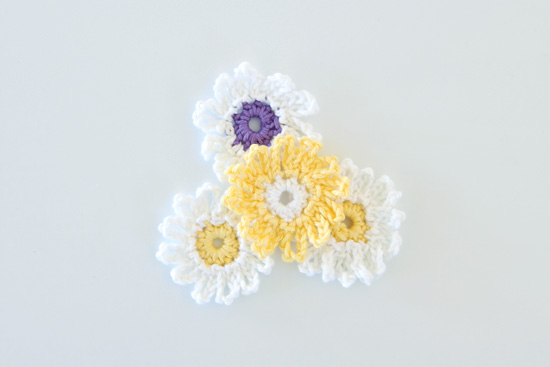
Step 5: Creating and Attaching the Flower
- Start with a magic ring and alternate between slip stitches, single crochet, and half double crochets to shape flower petals.
- Create 6 petals to complete the flower design.
- Attach the flower to the bird base with either adhesive (Feviquick) or by stitching.

Step 6: Adding the Keychain Ring
- Insert the keychain ring through the middle part of the bird base.
- Secure it tightly to ensure it can be used practically.
Customization Options
- Different combinations of wool colors can make each keychain unique.
- Adjust the size by changing the yarn thickness or stitch count.

Conclusion
The final creation is a charming, handmade rose bird keychain that is both functional and decorative. Neha encourages viewers to try this simple, quick, and beginner-friendly project. With a bit of creativity and practice, you can customize designs for personal use or as gifts.