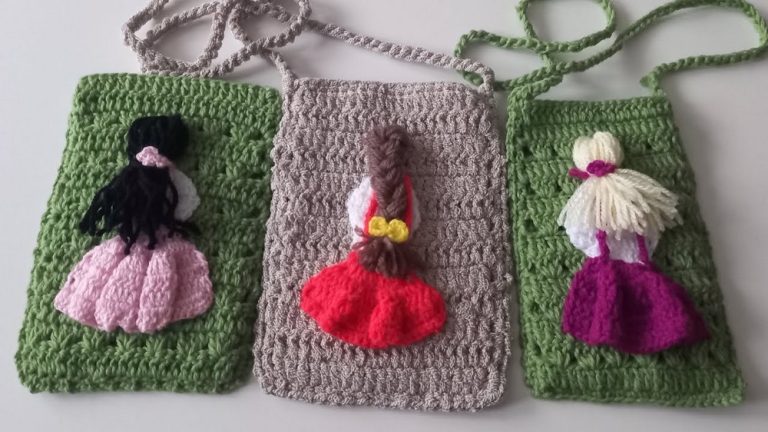
How to Crochet Rose Drawstring Pouch for Spring

Learn how to crochet a stunning drawstring pouch adorned with rose accents with a complete tutorial. Decorative fans and roses with ribbon complete the design, making it perfect for spring. The step-by-step guide ensures even beginners can enjoy crocheting this elegant and versatile accessory.

Rose Pouch Crochet Tutorial

Introduction
- The tutorial creates a beautiful crochet pouch featuring decorative roses and fans.
- Required materials:
- Three yarn colors: cream (pouch), green (rim/fans/ribbon), and rose-colored (roses).
- 4mm crochet hook and a darning needle.
- Suitable for beginner to intermediate crocheters.

Steps to Crochet the Pouch
1. Bottom Part of the Pouch
- Begin with the cream-colored yarn and create a magic ring:
- Wrap yarn around two fingers and use steps to form a secure starting circle.
- Round 1: Crochet 12 double crochets into the magic ring. Pull the short end to close the ring and connect the round with a slip stitch.
- Round 2: Increase by crocheting two double crochets into each stitch (24 total).
- Subsequent Rounds:
- Round 3: Alternate single double crochets and increases.
- Round 4: Two double crochets followed by one increase.
- Round 5: Three double crochets followed by one increase.
- Round 6: Four double crochets followed by one increase.
- After completing the rounds, the flat base of the pouch is done.

2. Building the Pouch Height
- Chain two to start the next round.
- Work double crochets into the back loop only to create a base edge for the pouch shape.
- For the next 20 rounds:
- Crochet double crochets under both loops, working one stitch into each previous round stitch without increases.
- Finish each round with a slip stitch.
- Adjust the number of rounds to achieve desired pouch height
Adding Decorative Elements
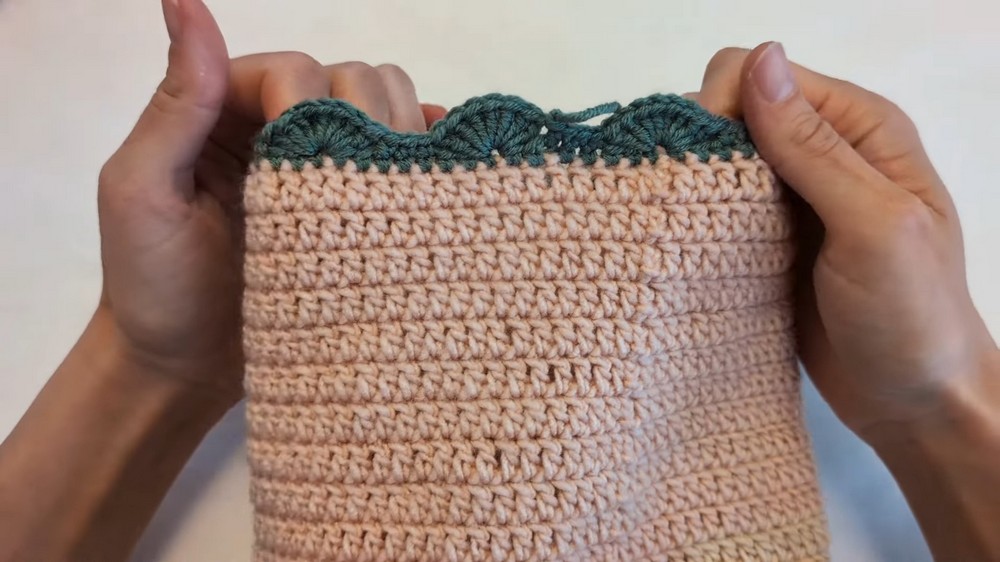
3. Green Rim and Fans
- Switch to green yarn and start with a slip knot.
- Single Crochet Round:
- Work one single crochet into every stitch of the topmost round.
- Fan Decoration:
- Skip two single crochets, then work eight double crochets into the next stitch to form a fan.
- Insert a single crochet after skipping two single crochets, add two more single crochets between each fan.
- Repeat around the rim and finish with a slip stitch.

4. Green Ribbon
- Create a 50cm-long chain with green yarn.
- Work single crochets into the back loops of the chain to add texture.
- Insert the ribbon into the pouch:
- Count five rounds from the top and weave the ribbon through every sixth double crochet stitch, skipping two between each insertion.
- Leave ends of the ribbon exposed to pull and close the pouch.
Creating Decorative Roses
- Use rose-colored yarn and start with a slip knot.
- Chain 12 stitches:
- For each stitch, work three double crochets until reaching the end.
- Form the rose:
- Chain three at the end and connect with a slip stitch.
- Roll the piece and sew through layers to secure.
- Attach roses to the pouch:
- Sew roses spaced between each fan and at the ends of the ribbon using the darning needle.
Assembly and Finishing
- Secure all loose ends by sewing them into the pouch.
- Add knots to ensure decorations and the ribbon remain intact.
- Final pouch appears elegant with intricate fan and rose accents.