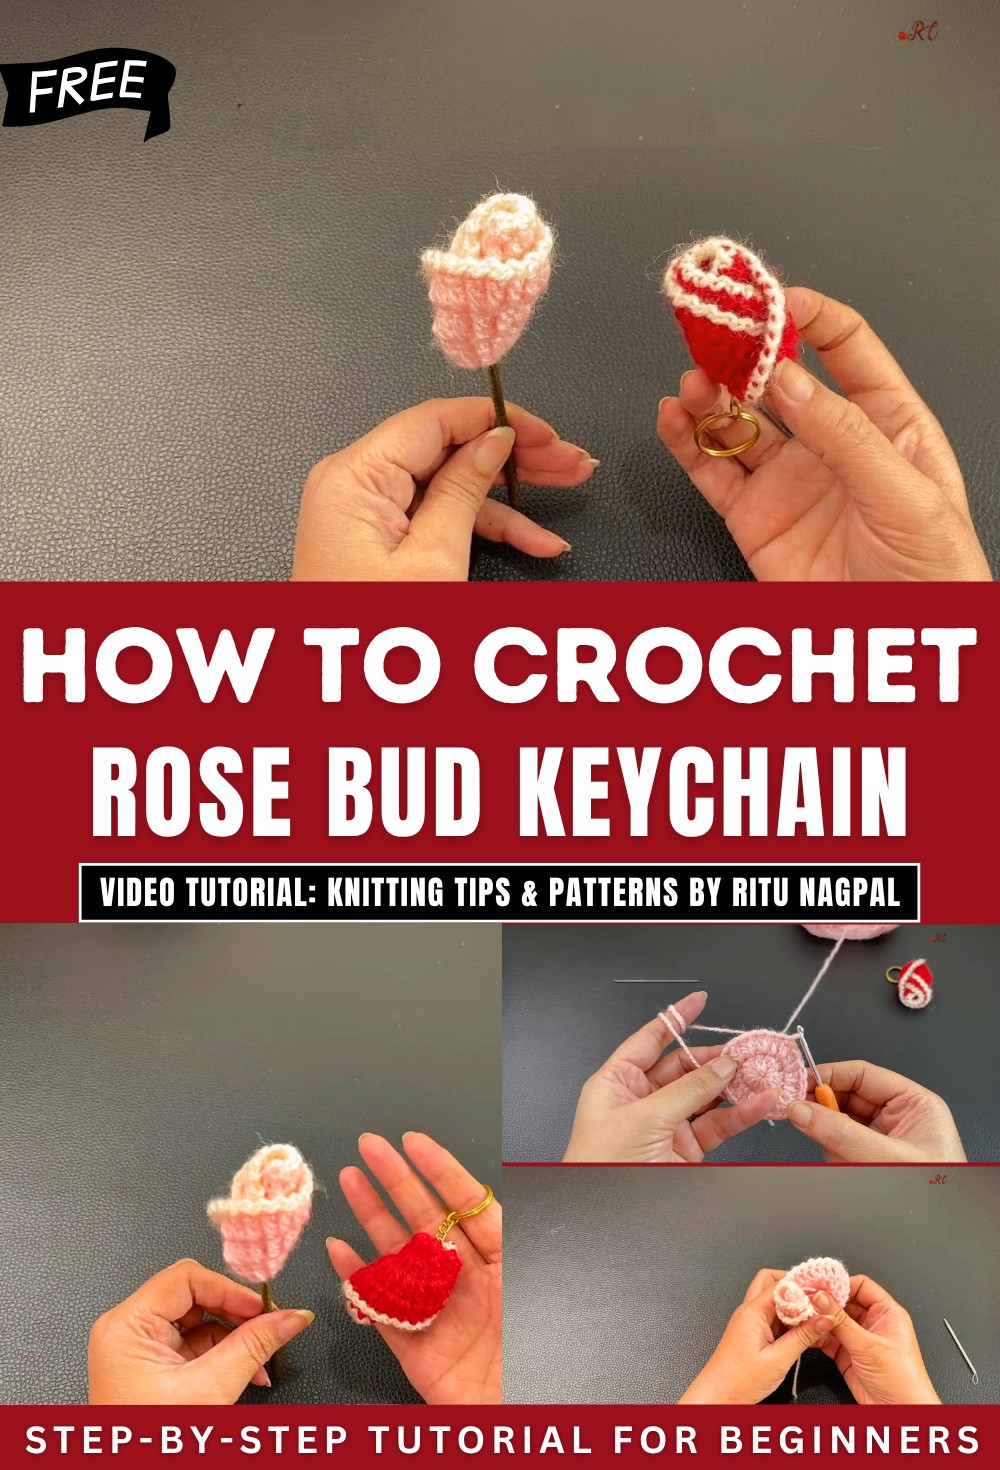
How to Crochet Rosebud Keychain (Tutorial for Beginners)
Learn how to crochet a beautiful rosebud, which can be used as a keyring or home decor. Using cotton or thin thread, the tutorial explains every step, starting with creating loops and chains, followed by rounds of double crochets. The rosebud is shaped through careful layering and stitching, and you can choose single or double colors for added flair.
The finished rosebud is versatile, washable, and customizable, making it a creative and functional handmade accessory. Follow through with us for the complete tutorial for crocheting this rosebud.
Crochet Rose Bud Tutorial
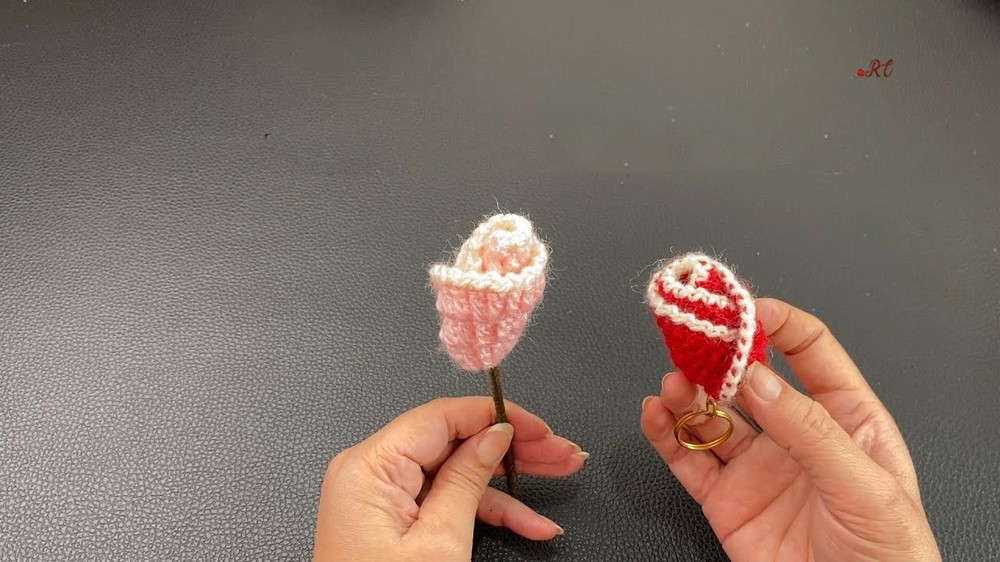
- The final product is versatile—used as a keyring, decorative item for your home, or other creative purposes.
- The rosebud can be made in single color or double color, with double color adding an extra decorative touch.
Materials Needed
- Thread: Either cotton or thin thread.
- Crochet Hook: Suitable for the chosen thread size.
- Scissors: For cutting the thread.
- Optional: A keyring or thin wire for finishing and transforming the project.

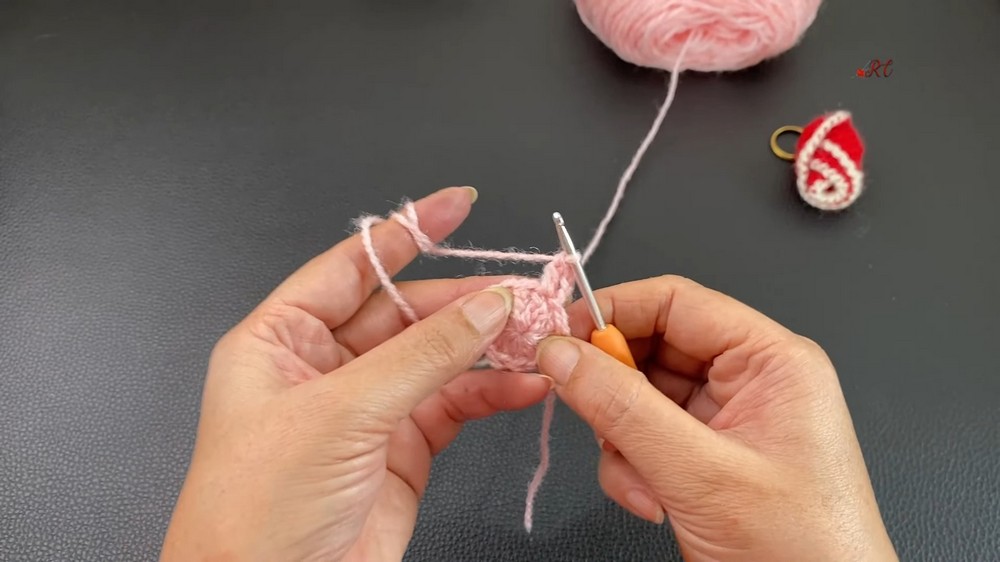
Creating the Foundation
- The process begins by creating a loop and stitching chains for the base.
- The speaker demonstrates how to insert the thread into the loop and pull it to form the foundation.
- This forms the starting structure for the rosebud.
Building the Rosebud
-
First Round:
- Double crochet stitches are used to create the initial rows of the rosebud. The presenter explains how to insert the hook, pull the thread, and complete the stitches.
- After completing the round, the base is pulled tightly and locked to secure the shape.
-
Second Round:
- A new round is built by adding two double crochets into each stitch, effectively doubling the stitches in this round.
- This process builds the first layer of petals, giving the rosebud its foundational shape.
-
Third Round:
- Continuing in a similar pattern, some stitches are worked as single double crochets, while others involve adding two double crochets to increase the size.
- This creates natural curvatures in the shape, resembling layered petals.
Adding a Second Color (Optional)
- The presenter explains that a second ball of thread can be used to add a new layer in a contrasting color.
- While optional, this step enhances the decorative appeal of the rosebud.
- The second color is introduced seamlessly into the crochet process.

Shaping the Rosebud
- Once the stitching is complete, the crocheted piece is rolled tightly to form the rosebud shape.
- The presenter explains how to close the rosebud securely by stitching or using a needle to hold it in place.
- Care is taken to ensure the center is tight and the petals unfold beautifully around it.

Finishing Touches
- The smaller portion is kept tight, while the larger portion is unfolded to complete the rosebud design.

- For a keyring, a ring can be attached to the center. Alternatively, thin wire wrapped in thread can be inserted, turning the rosebud into a home décor piece.
- The completed rosebud is described as washable, reusable, and highly versatile.