How to Crochet Simple Flower Bookmark for Beginners
Learn how to crochet a stunning and simple flower bookmark featuring intricate picot stitches and a decorative chain with this step-by-step tutorial. Perfect for beginners and advanced crocheters, this guide makes crocheting a classic bookmark easy and enjoyable. Follow through with us for the complete tutorial!
Easy Bookmark Tutorial
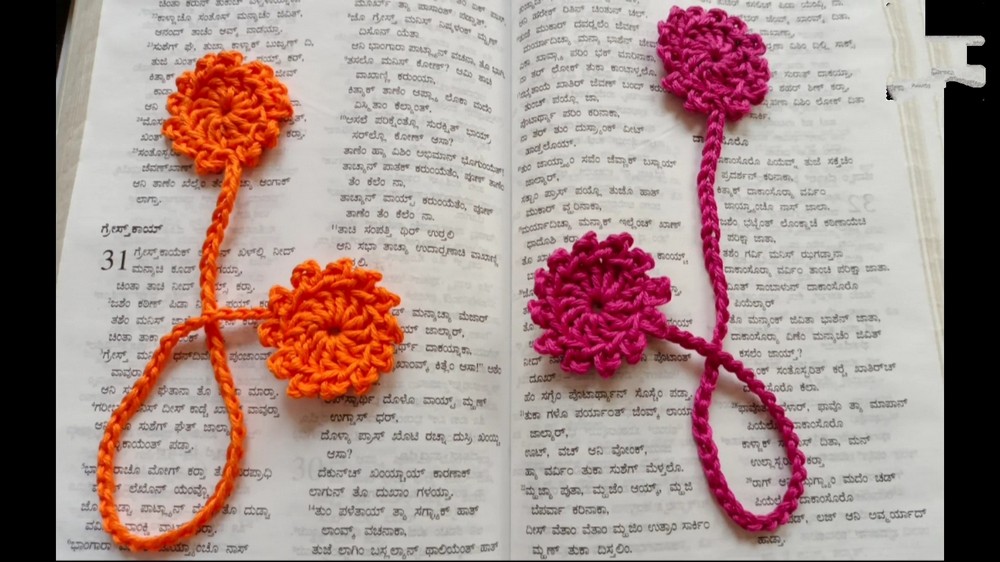
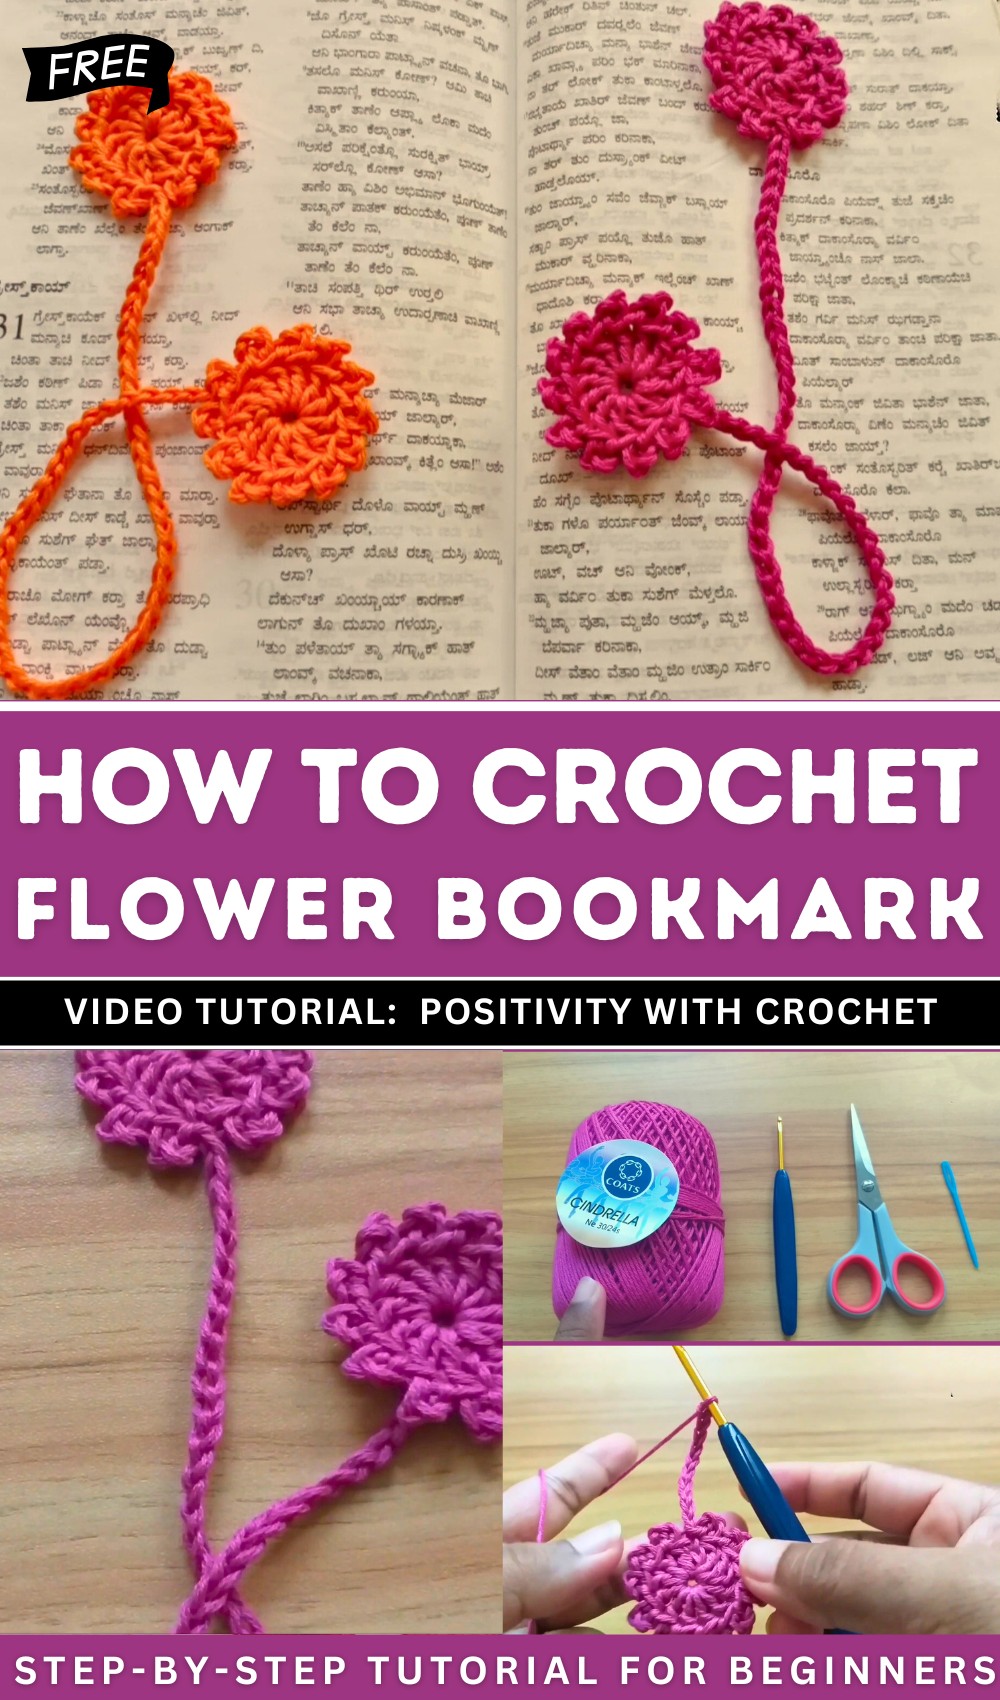
The Positivity with Crochet tutorial provides comprehensive instructions for crocheting a decorative bookmark. The tutorial begins with creating a small ring, followed by a series of double crochets, chain stitches, and picot accents to form a circular motif. A long chain is then added for the bookmark tail, ending with another decorative circle.
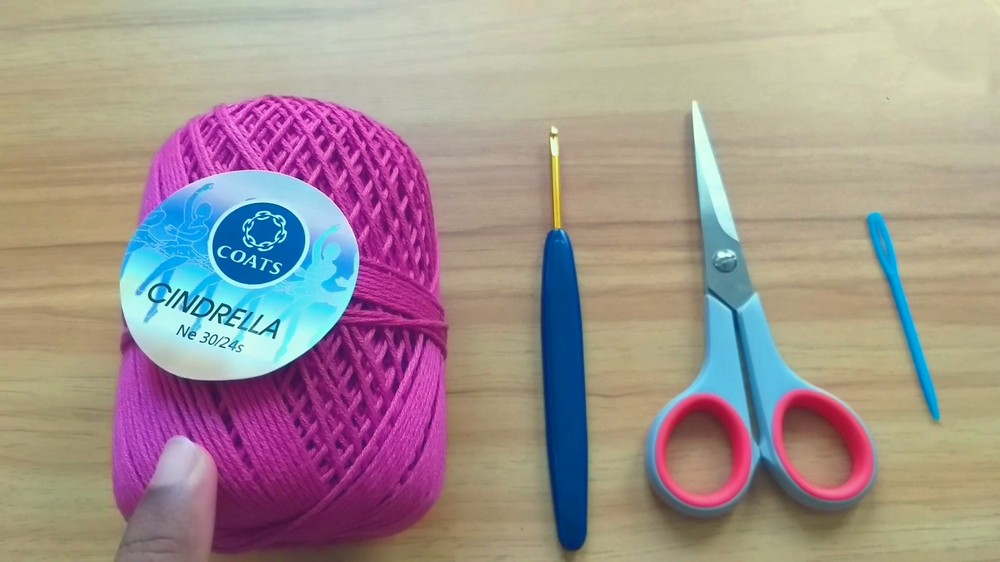
Materials
- Materials required for this project include:
- Yarn of your choice.
- A 3.5 mm crochet hook.
- Scissors and a yarn needle for finishing touches.
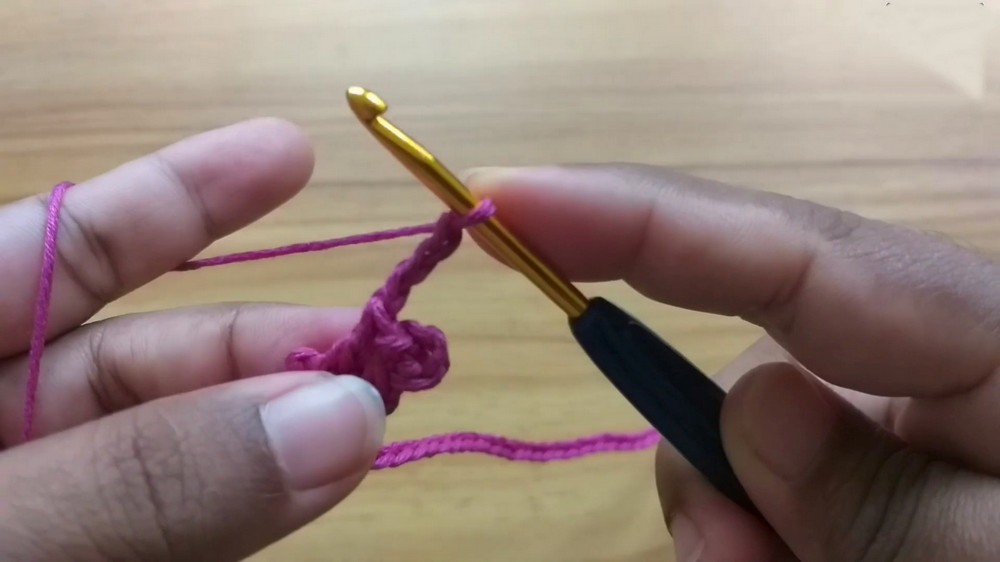
Creating the Initial Circle
Step 1: Forming the Ring
- Begins with a slip knot and a series of chains to create a small ring.
- A slip stitch is used to join the chain into a loop.
Step 2: Setting the Foundation
- Additional chains are worked to set the foundation for subsequent patterns.
- The tutorial emphasizes working within the ring created to ensure the proper shape.
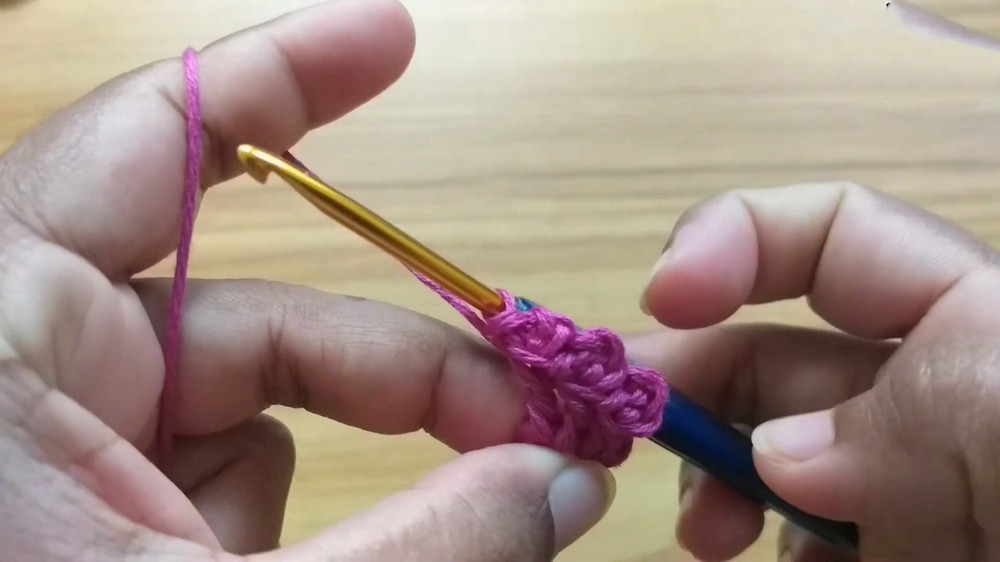
Building the Picot Stitches
Step 1: Understanding the Picot Stitch
- Introduces the picot stitch, which involves a combination of double crochet and chain stitches.
- Detailed instructions on inserting the hook correctly to form the picot.
Step 2: Creating the First Set
- Begins with a double crochet into the ring, followed by chain stitches and a picot.
- Instructions on repeating this pattern to build the desired number of picots around the ring.
Step 3: Completing the Initial Pattern
- Continues creating double crochet and picot stitches until the circle is filled.
- When completed, slip stitches are used to join the round, forming an attractive circle with picot edges.
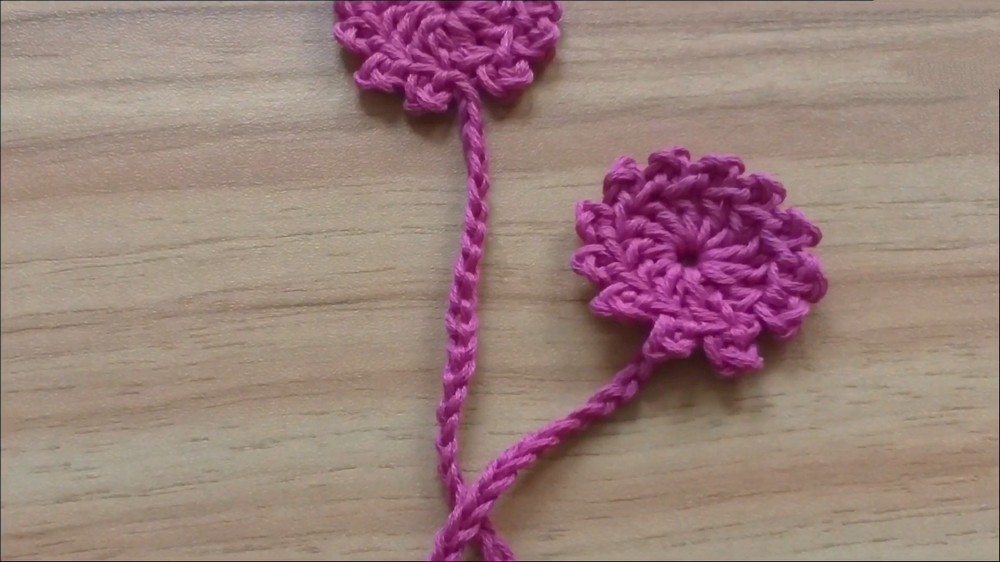
Forming the Bookmark Tail
Step 1: Adding Chain Stitches
- After completing the decorative circle, positions viewers to create the bookmark tail using chain stitches.
- Encourages customization of the chain length based on personal preference.
Step 2: Designing with a Second Circle
- At the desired length, forms another ring using slip stitches to add more decorative touches.
- Demonstrates how to work additional double crochets and picot stitches inside this new circle.
Step 3: Finalizing the Tail
- Instructs on finishing the pattern by completing the double crochet and picot sequence.
- A final slip stitch is made to close the round, ensuring the shape is secure and neat.
Finishing Touches
Step 1: Cutting and Weaving Ends
- Shows how to cut off excess yarn neatly and weave in ends using a yarn needle.
- Emphasizes taking care to hide yarn ends for a clean, professional finish.
Step 2: Displaying the Finished Bookmark
- Once finishes are done, the beautiful bookmark is displayed, showcasing its intricate design and functionality.
Closing Remarks
- The creator thanks viewers for watching and encourages engagement through likes and comments.
- Viewers are invited to subscribe to the channel for more crochet tutorials and hit the notification bell to receive updates.
This tutorial is particularly suited for those wanting to learn decorative crochet techniques, offering practice in double crochets, picots, and creating rings, culminating in a functional and aesthetically pleasing bookmark.