How to Crochet Snowflake Ornament for Christmas
In this post, you’ll learn how to crochet a simple and beginner-friendly snowflake ornament that can also double as a cute coaster. The pattern uses basic techniques like slip stitches, chains, and double crochets, making it quick and accessible. The tutorial covers each step in detail, from creating a magic ring to adding decorative spikes for the snowflake design.
Additionally, Maddie shares tips on turning the snowflake into an ornament, making it perfect for festive holiday decorations. Let’s get started!

Crochet a Snowflake Tutorial
This tutorial by Maddie provides a step-by-step guide to crocheting a snowflake that can be used as an ornament, a coaster, or a decorative winter project. The pattern is beginner-friendly and utilizes basic crochet techniques.
Introduction
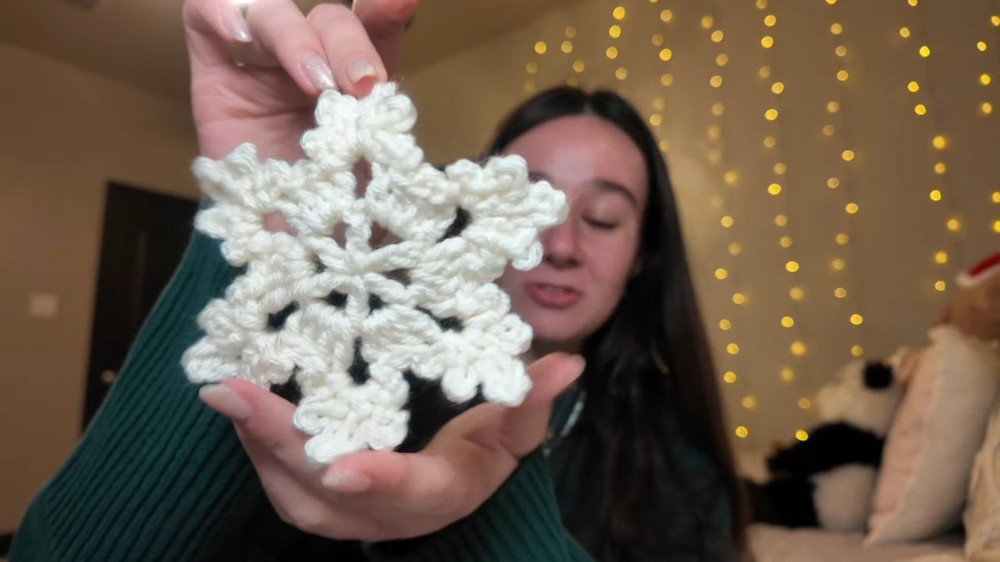
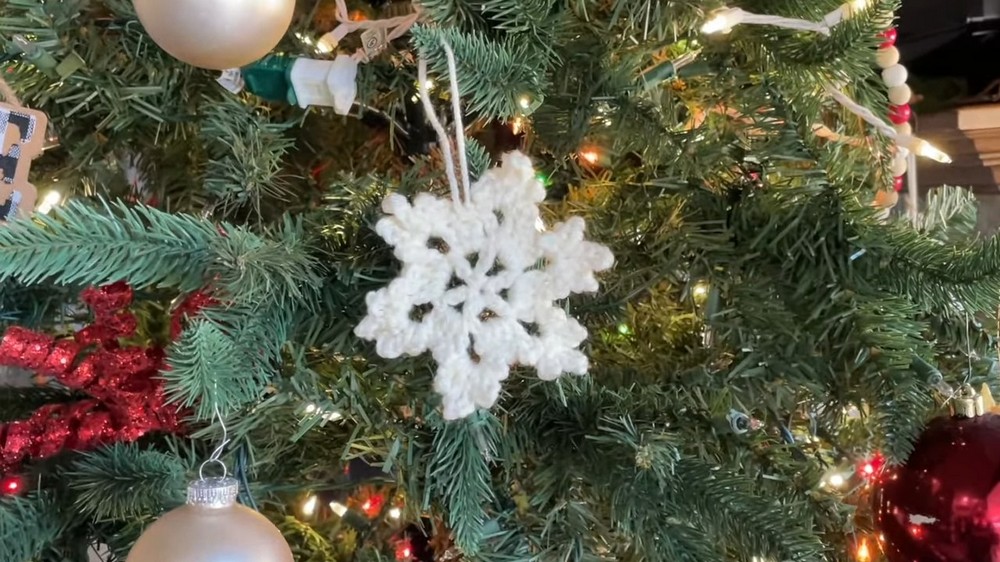
- Maddie introduces the project: a simple crocheted snowflake that can be used as a Christmas tree ornament or coaster.
- She highlights the pattern’s simplicity, mentioning it only requires slip stitches, chains, and double crochets, making it accessible for beginners.
Materials and Starting the Project
- The snowflake is created using yarn and a crochet hook.
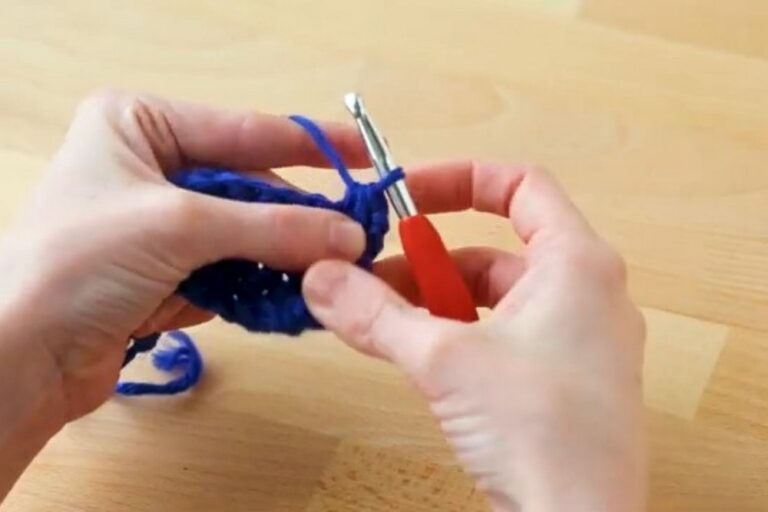
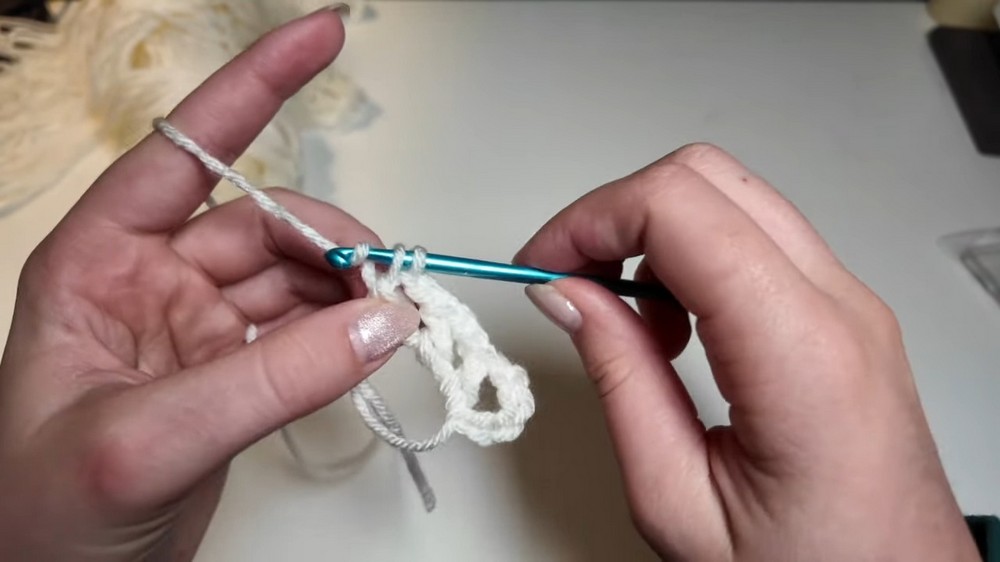
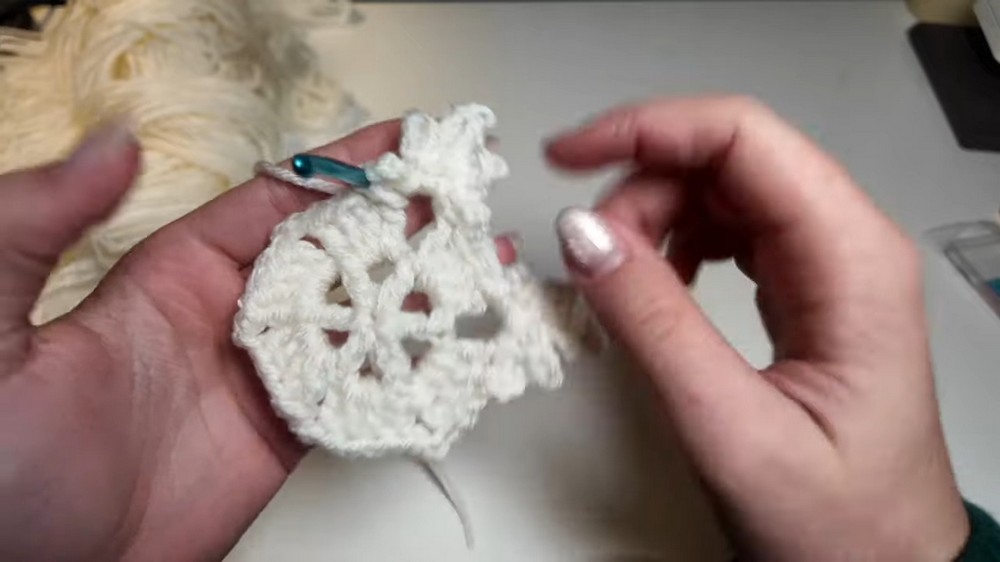
- Maddie starts by creating a magic ring and demonstrates the method: wrapping the yarn, making an “X” shape, inserting the hook, and pulling the loop through to begin forming the ring.
- She links a detailed external tutorial for viewers who may struggle with this step.
Round One: Building the Foundation
-
Chains and Double Crochets in the Magic Ring:
- Maddie begins the first round by chaining, then performing a series of double crochets into the magic ring.
- The process alternates between double crochets and chains, forming the base structure.
-
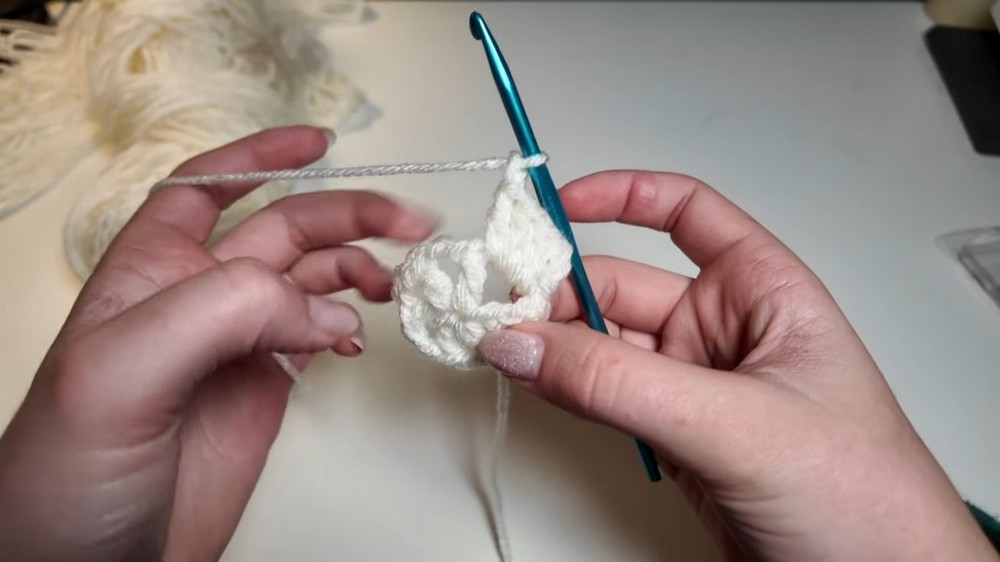
Closing the Round:
- To finish round one, Maddie tightens the magic ring by pulling the yarn’s tail, forming a closed circle.
- She demonstrates a slip stitch to secure the round, ensuring the foundation is complete.
Round Two: Creating the Snowflake Structure
-
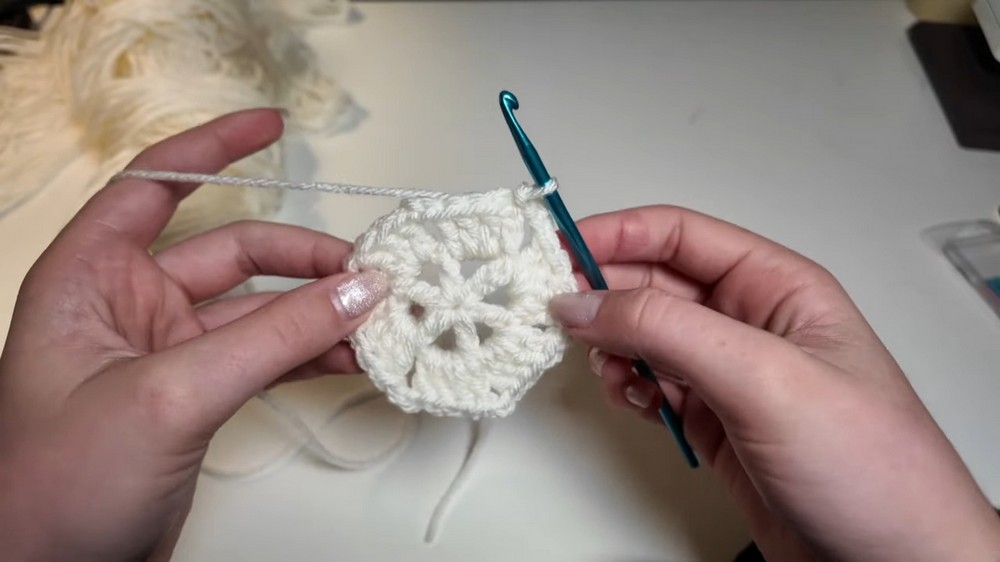
Building Clusters in Chain Spaces:
- Maddie slips stitches into chain spaces and begins to form clusters of double crochets.
- Between clusters, chains are added to create gaps that define the snowflake’s geometric structure.
-
Repetition Across the Round:
- The step of chaining and crocheting clusters continues around the circle, creating uniform sections across the snowflake.
- The round ends with a slip stitch for seamless transition.
Round Three: Adding Spikes to the Snowflake
-
Creating Decorative Spikes:
- In the final round, Maddie explains how to make the snowflake spikes by alternating chains and slip stitches in specific sections.
- The process creates intricate loops that add texture and detail to the snowflake.
-
Completing the Round:
- After finishing all spikes, Maddie secures the snowflake with a slip stitch and fastens off by cutting the yarn.
Finishing Touches: Turning the Snowflake into an Ornament
- Sewing the Ends:
- Maddie uses a yarn needle to weave in the loose ends for a polished finish.
- Making a Loop for Hanging:
- She demonstrates how to turn the snowflake into an ornament by sewing a loop at the center using the yarn tail.
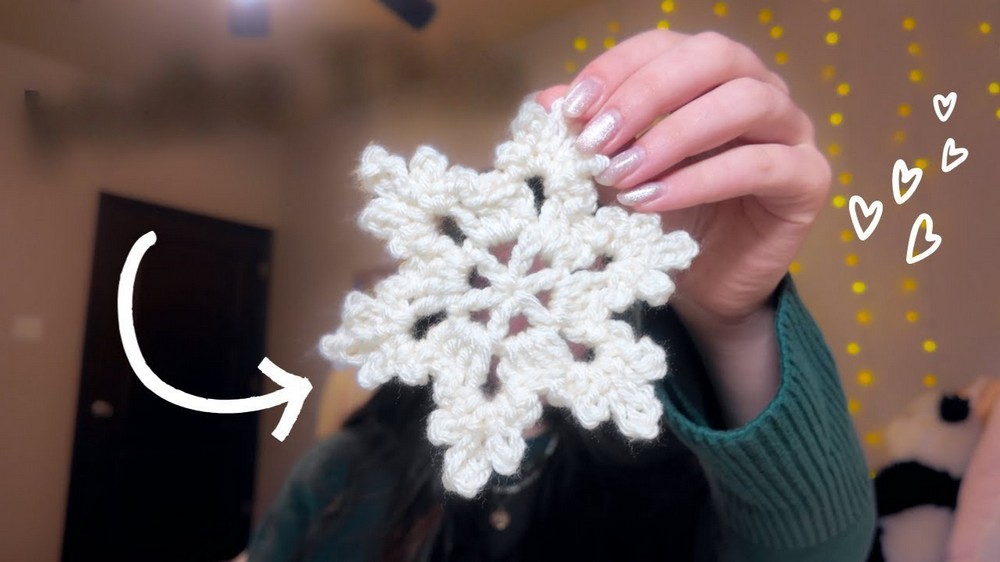
Final Remarks
- Maddie showcases the completed snowflake and its versatility as an ornament or coaster.