How to Crochet Twisted Handle Clutch Bag for Ladies

Learn how to crochet a twisted handle clutch bag, suitable for beginners, designed for ladies. It covers materials like polyester yarn and a 4mm hook. The tutorial details the base construction using alternating double and single crochet stitches, assembling the clutch by closing the sides, and finishing the top edge. It also includes instructions for adding a closure flap, attaching a metal clasp, and creating a simple hand strap. Follow through with us for the complete tutorial!
Crochet Clutch Tutorial

This video provides a tutorial on how to crochet a clutch bag, which is described as an easy project suitable for beginners.
I. Introduction and Materials
-
Project Overview: The video presents a tutorial for crocheting a clutch bag, emphasizing its suitability for beginners due to its ease.
-
Materials:
-
Yarn: Polyester yarn with a thickness of 4mm, demonstrated in an orange color.
-
Hook: A 4mm crochet hook.
-
II. Base Construction
-
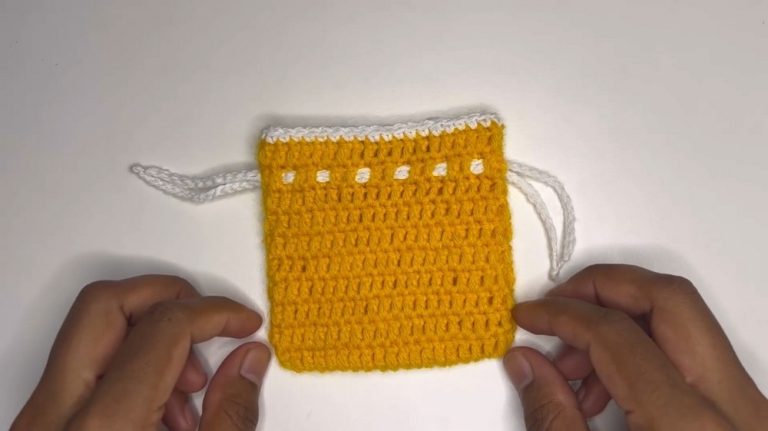
Foundation Chain: The process begins by creating a foundation chain.
-
Stitch Pattern: The base is then created by alternating between one double crochet and one single crochet stitch. The pattern starts and ends with a double crochet.
-
Rows: This alternating pattern is repeated for a specific number of rows, resulting in a piece with a consistent number of stitches across each row.
III. Assembling the Clutch
-
Folding the Piece: After completing the required rows for the base, the crocheted piece is folded inside out. The first row of the base is aligned with the last row to prepare for seaming.
-
Closing the Sides: The sides of the clutch are then closed using single crochet stitches. This is done by working into one loop from each side of the folded piece, creating a seam.
IV. Finishing the Top Edge
-
Contouring the Opening: Once the sides are sewn and the clutch is turned right side out, the top opening is contoured. This involves crocheting multiple rows of single crochet stitches around the opening.
-
Final Edge: These single crochet rows are followed by a final row of slip stitches to create a neat and polished finish for the top edge of the clutch.

V. Adding a Closure Flap
-
Flap Creation: A separate flap is crocheted to serve as a closure for the clutch. This flap begins with a specific number of chains.
-
Flap Pattern: It follows the same alternating double crochet and single crochet stitch pattern as the main base of the clutch, for a specific number of rows.
-
Attaching the Flap: Once the flap is completed, it is sewn onto the clutch, typically along one of the top edges, to create the closure mechanism.
VI. Hardware and Strap
-
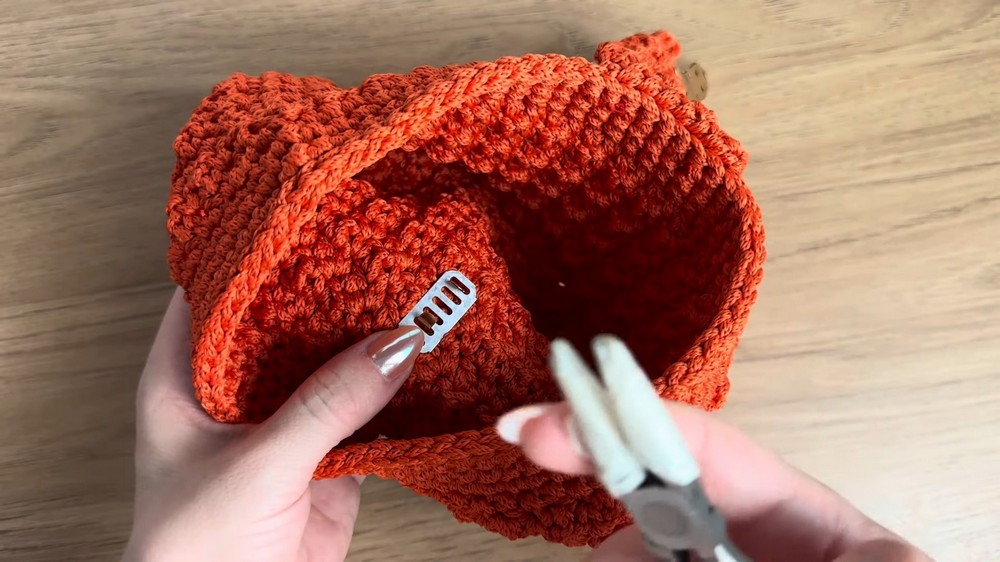
Attaching the Clasp: A metal clasp is then attached to the flap and the body of the clutch. This provides a secure closure for the bag.
-
Creating a Hand Strap: A simple hand strap is crocheted.
-
Attaching the Strap: This strap is then attached to the clutch using a metal ring and a screw-on clasp, allowing the bag to be carried easily.
VII. Additional Information
-
Material Sourcing: The creator mentions that the yarn and hardware used in the video can be found at a specific supplier, “Silvia Assunção,” providing a resource for viewers who wish to replicate the project.