How to Crochet Viral Mini Scarf – Tutorial for Beginners
Learn how to crochet a viral Sophie Viral mini Scarf by Petite Knit, tailored for crocheters with a step-by-step tutorial for beginners. Utilizing slip stitches to mimic garter stitch, the process involves DK-weight yarn and blocking for softness and drape. The creator shares yarn recommendations, details on increases and decreases, a midsection, and a polished border technique. The scarf’s versatility is highlighted with various styling options. Clear instructions make it beginner-friendly.
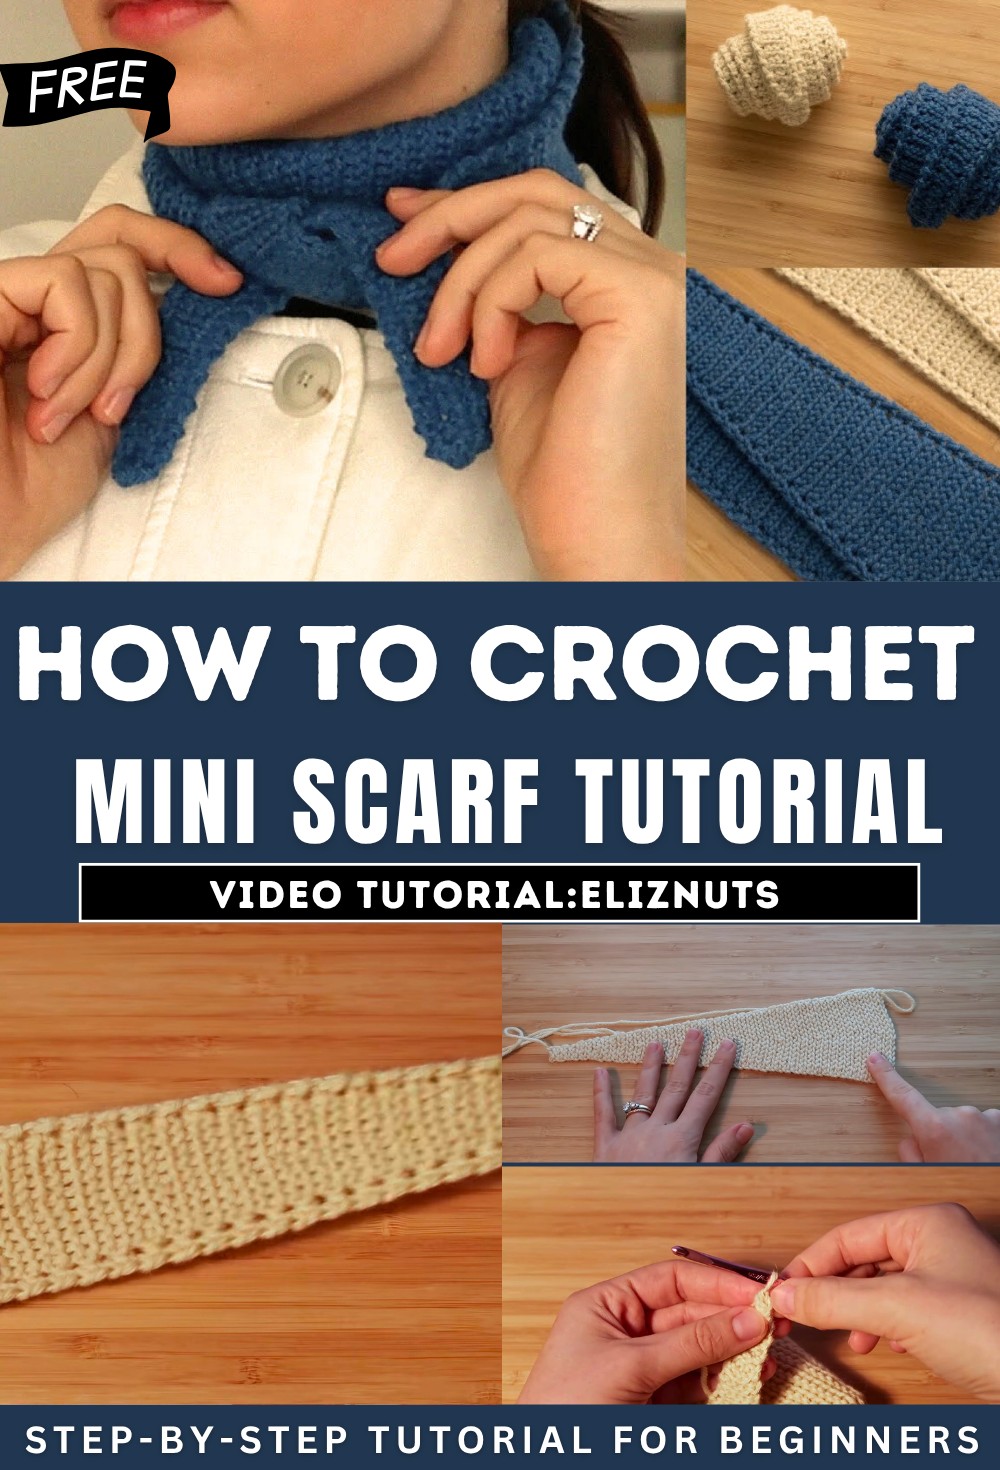
Easy Crochet Mini Scarf Tutorial
Introduction
- The video is centered on creating a crochet version of the “Sophie Scarf,” a viral knitting pattern by Petite Knit, which is not widely available for crochet enthusiasts.
- The creator aims to replicate the scarf using crochet techniques, producing a version that emulates the softness and drape of the knitted garter stitch.
Materials Used
-
Yarn Options:
- Used approximately 50g of DK weight yarn for each scarf.
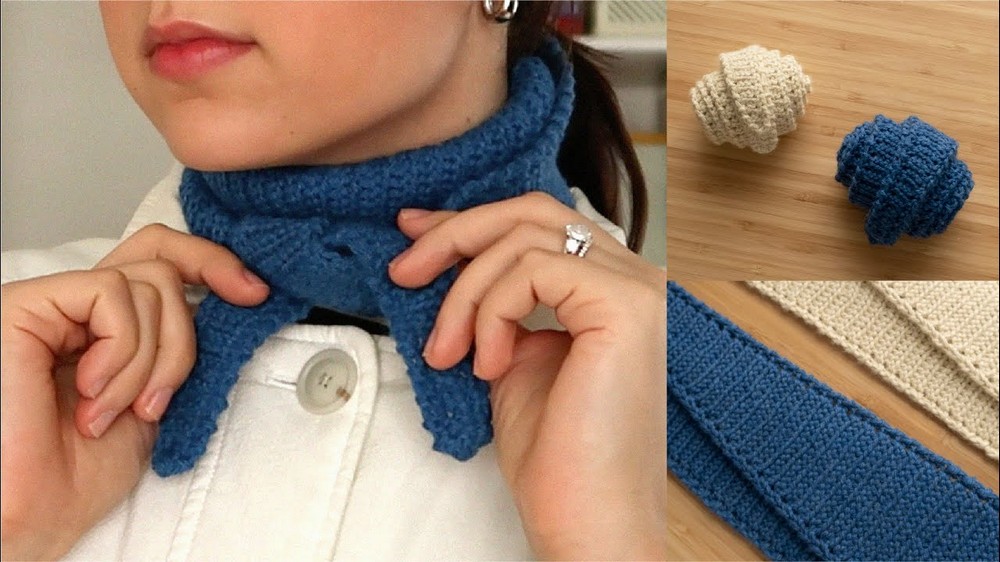
- Blue scarf: Pearl Soho’s merino wool yarn, which is soft but has a more robust feel.
- Cream scarf: Rowan’s Pure Alpaca yarn, which is softer, cozier, and has a halo texture.
- Advice on yarn selection: Choose a soft fiber, whether natural (e.g., merino, alpaca, cotton, or linen) or synthetic, as itchiness will make the scarf uncomfortable to wear.
-
Other Materials:
- A 4.5mm crochet hook.
- Wool wash (optional) for blocking.
- A yarn needle and measuring tape for finishing and measurements.
Key Features of the Scarf
- The scarf is versatile and functional, offering multiple wearing styles:
- Tied around the neck in a French-inspired style.
- Wrapped as a headband for walks.
- Styled under a coat like a turtleneck.
- The drape and softness of the scarf are significantly improved through blocking, which is non-negotiable for this project.

Project Overview
- The scarf is simple and beginner-friendly.
- Consists of a slip stitch technique in the front loops, which mimics the texture of knitted garter stitches.
- The design includes increases on one side to create a triangular shape, a uniform midsection, and decreases on the opposite side for symmetry.
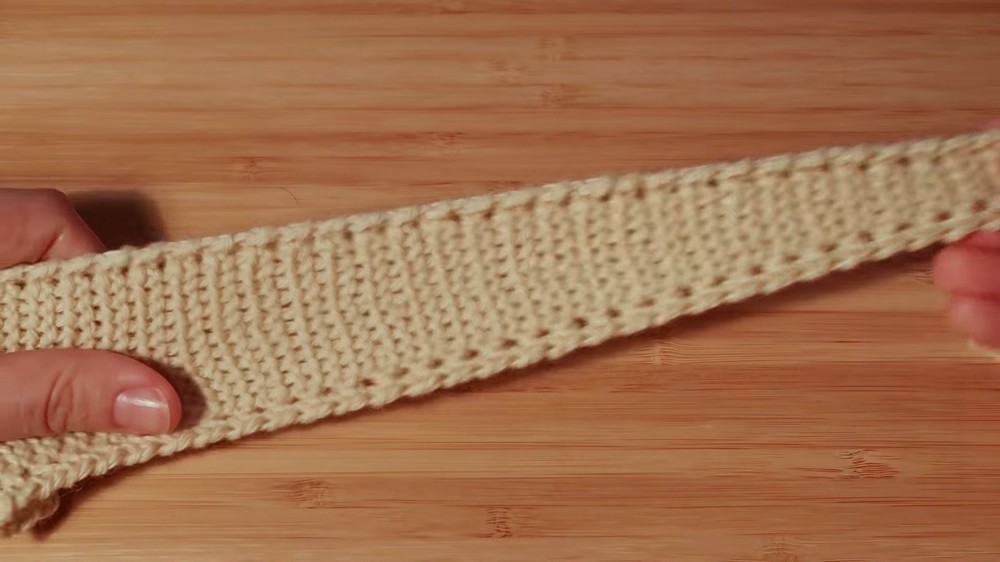
- The final product is polished off with a decorative border that mimics the look of an I-cord edge.

Step-by-Step Process
-
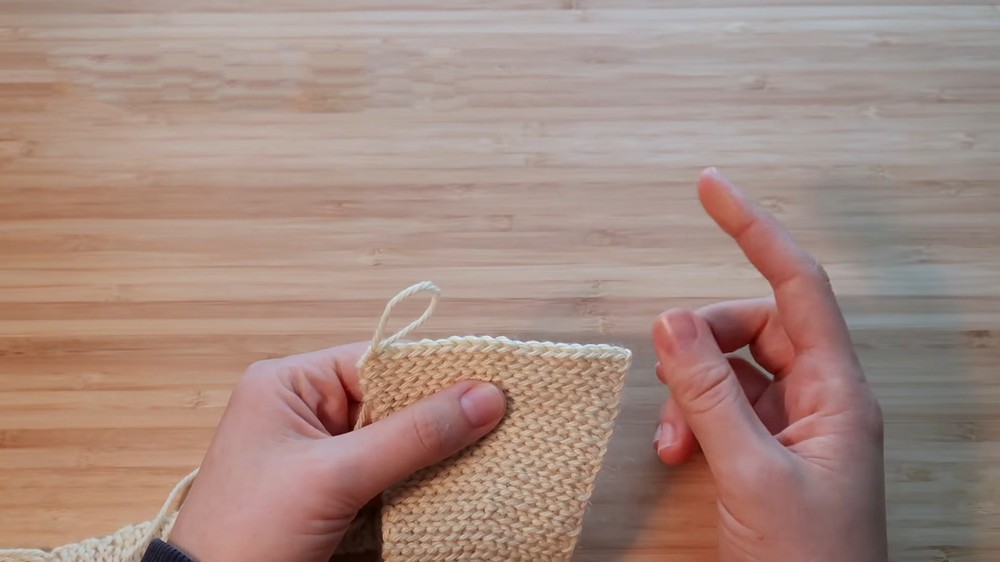
Starting the Scarf:
- Begin with a slip knot, create a small number of foundation stitches, and work slip stitches in the front loops. Increase the stitch count incrementally every few rows to create the triangular shape.
-
Main Section:
- Once the desired width is achieved, maintain the same number of stitches for a uniform midsection.
-
Decreasing Rows:
- Mirror the increase method in reverse to taper the scarf and complete the triangle.
-
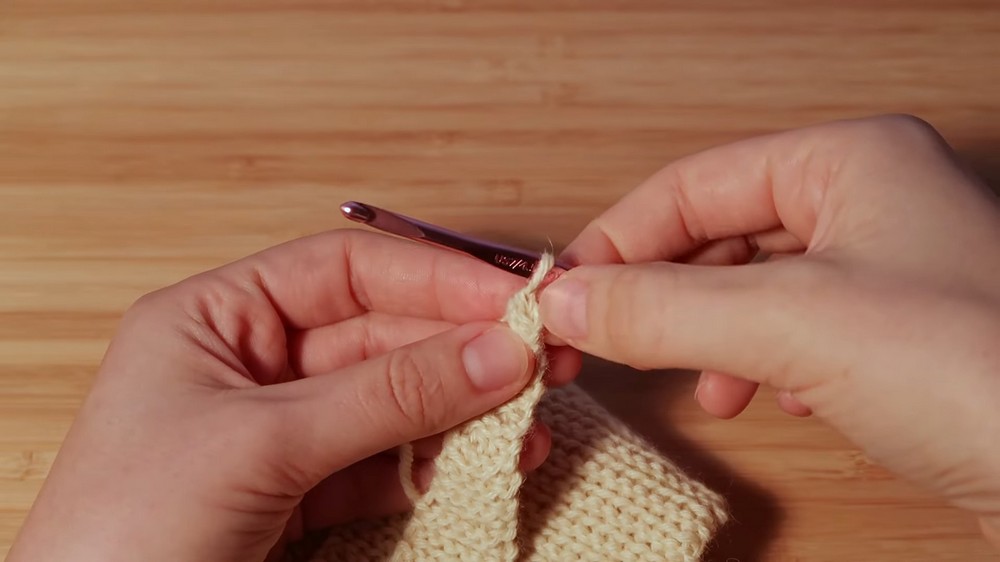
Adding the Border:
- Use a modified single crochet to add a rounded and polished edge to the scarf.
-
Blocking Process:
- Submerge the scarf in lukewarm water with a wool wash or mild detergent to soften fibers.
- Remove excess water by rolling the scarf in a towel and stepping on it to get it as dry as possible.
- Stretch and pin the scarf to desired dimensions on a blocking mat and let it dry overnight.
Tips and Advice
- Avoid tight tension to ensure the stitches remain manageable and flexible.
- Blocking the scarf improves its length, softness, and overall shape dramatically, making it a crucial step.
- Measurements before blocking are smaller and stretch substantially during and after the blocking process.
Conclusion
- The creator concludes by highlighting the scarf’s adaptability, comfort, and quick completion time, making it a fun and accessible project.