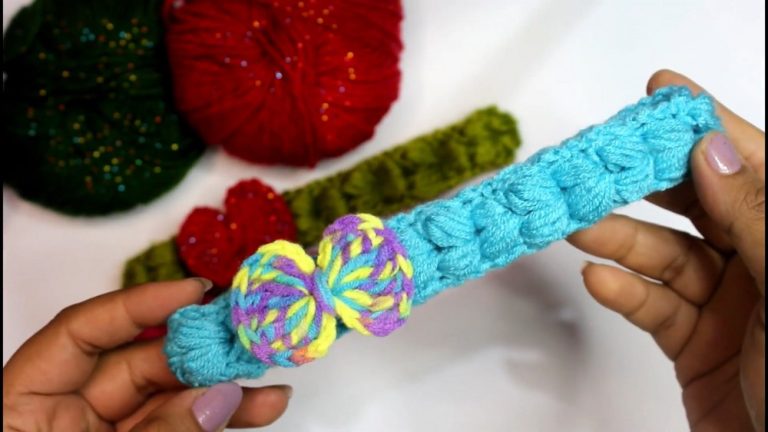
How to Crochet Winter Slippers with Texture

In this post, we have a detailed tutorial on crocheting textured winter socks, boots, or slippers using a blanket stitch pattern from Anutha. With 100% cotton yarn and a 3 mm crochet hook, the instructor guides viewers through every step. The tutorial is beginner-friendly, offering tips like using stitch markers for precision. The outcome is a cozy, perfect for winter.

Winter Slippers/Winter Boots Tutorial
Focuses on creating winter socks or boot-style slippers using a cozy and textured crochet pattern. Requests viewers to like, share, and subscribe to the channel to support her work.
Materials Used
- Yarn: 100% cotton yarn used for the project.
- Hook Size: 3 mm crochet hook recommended for better control and stitch definition.
Pattern Overview
- The tutorial follows the Blanket Stitch pattern.
- Consists of repeating a sequence of single crochet and two double crochets in rounds.
- This creates a textured zigzag style design that is visually appealing and provides warmth.
- The pattern involves creating a base and shaping the ankle for a comfortable fit.
Step-by-Step Process
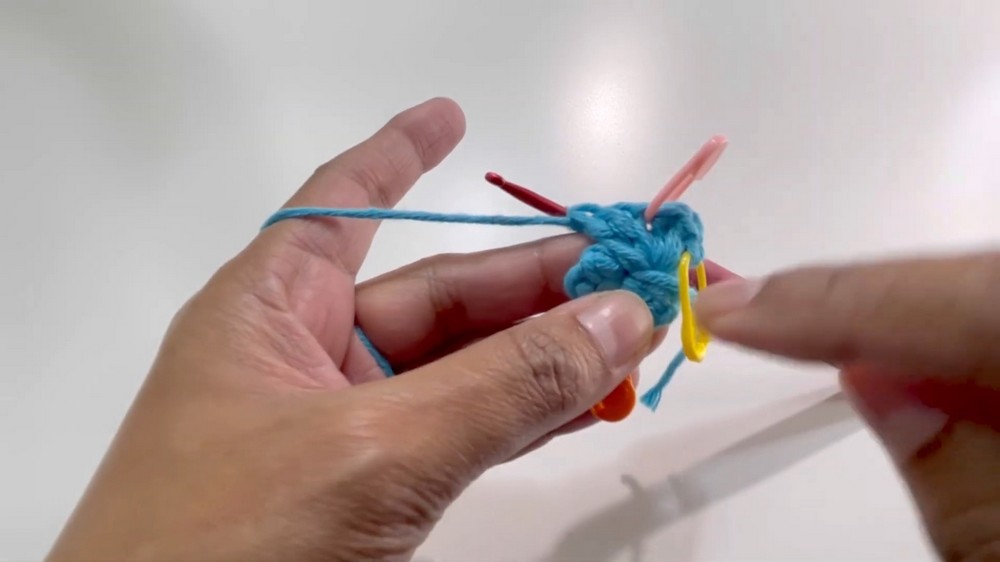
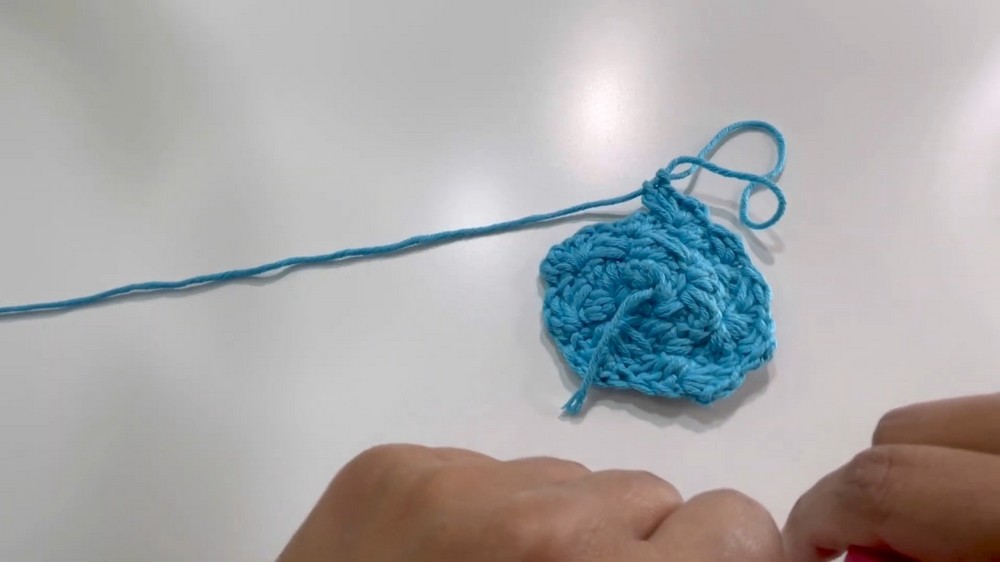
1. Creating the Magic Circle and Foundation
- Begins with forming a magic circle, a fundamental technique for crocheting in the round.
- Secures the circle with a chain stitch to stabilize it.

- The first round establishes the pattern: one single crochet followed by two double crochets to form six stitches.
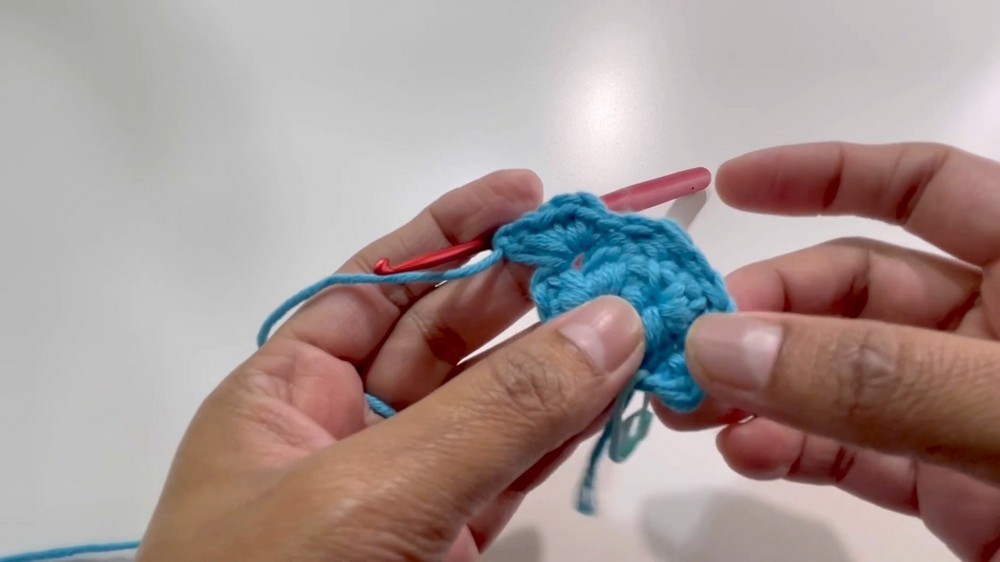
2. Building the Stitch Rounds
- Nuta continues the sequence of single crochet and two double crochets, working in a circular motion.
- Stitch markers are suggested to track single crochet positions, especially for beginners.
- The number of stitches increases progressively with each round to create the base of the sock.
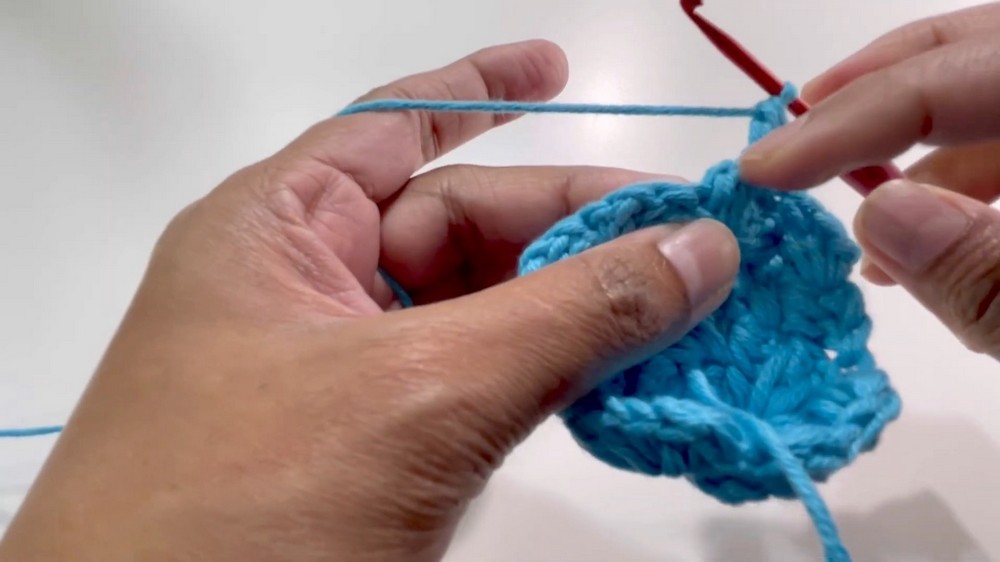
3. Maintaining Zigzag Pattern
- Beginning from round two, introduces a zigzag pattern by alternating directions (clockwise and anticlockwise) for each successive round.
- Each single crochet serves as the foundation for new stitch patterns, continuing the one single crochet and two double crochet sequence.
- The zigzag technique adds dimension and flexibility to the fabric.
Shaping the Sock Design
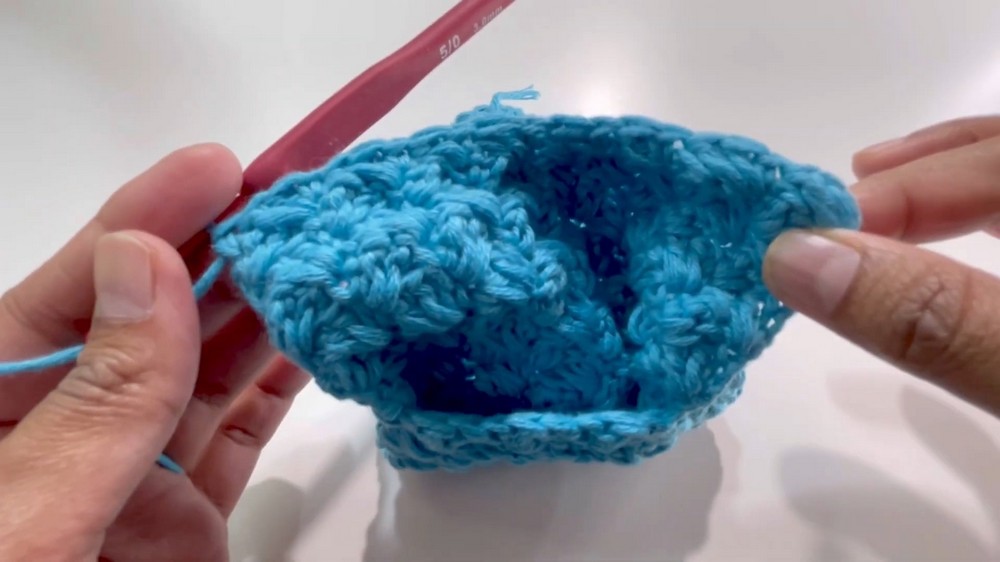
1. Repeating and Expanding Rounds
- The stitch pattern is repeated across rounds, gradually increasing the stitch count to build the sock’s body.
- By round 22, the main body is completed, with consistent stitch placement ensuring durability and structure.
2. Adjusting for the Ankle
- Round 23 onwards focuses on shaping the ankle portion.
- Slip stitches are incorporated into the design to reduce bulk and tailor the fit.
- Ensures a snug fit by narrowing the opening while maintaining the textured pattern.
Final Assembly and Finish
1. Attaching the Seam
- The sock is folded, and both sides are stitched together using a needle.
- Clear instructions are provided to attach the sides neatly and cover any gaps or loops that might appear during the process.
2. Ankle Extension
- Adds additional rounds for the ankle section using the slip stitch technique.
- Advises viewers to adjust the length of the ankle based on personal preference.
3. Securing the Work
- Ends are secured by cutting the yarn and weaving it into the piece with a needle.
- Careful finishing ensures a neat and polished look.
Conclusion and Closing
- Final product is a warm, textured pair of winter socks/slippers ideal for home use.
- Encourages viewers to customize the design by changing yarn colors or expanding the ankle length.
- Thanks viewers for watching, shares gratitude for their engagement, and invites them to check out future tutorials.
Key Takeaways
- This pattern is beginner-friendly with the option for advanced customization.
- Creative use of blanket stitch and magic circle techniques result in a functional and stylish crochet project.