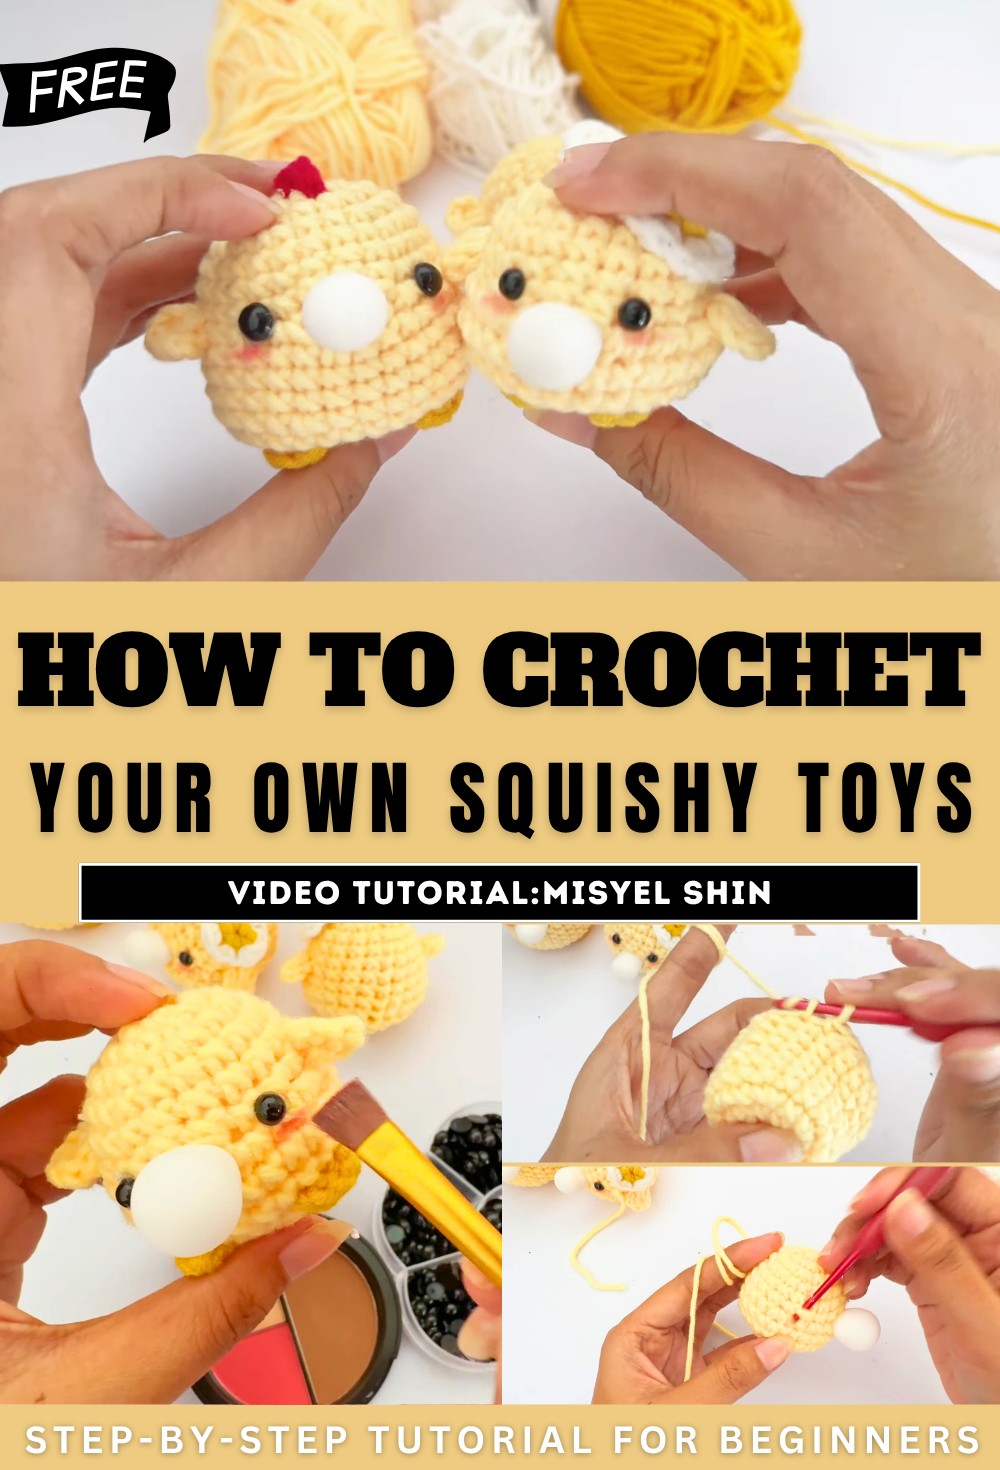
How to Crochet Your Own Squishy Toys for Kids
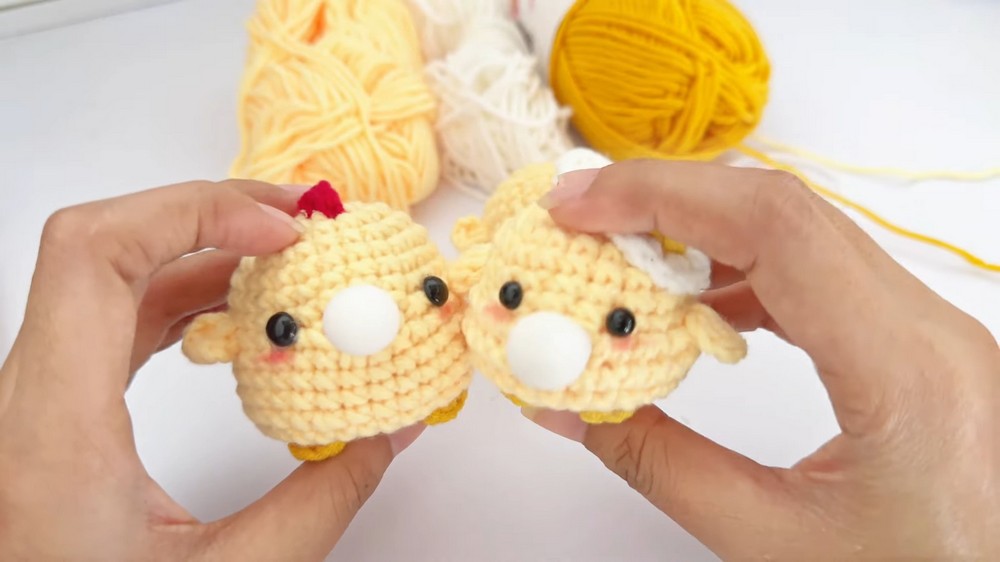
In this post, you’ll learn how to crochet an adorable stress relief toy using crochet techniques with a step-by-step tutorial for beginners. The project involves using Sakura Milk Cotton thread in three colors, a bubble press, eye sticks, and a balloon-like insert. The step-by-step guide covers forming a Magic Ring, single crochet stitches, and adding features like wings, legs, and a cute fried egg decoration.
The end result is a squeezable, charming miniature toy that’s both fun to make and visually appealing. So, follow through with us for the complete tutorial.
Your Own Squishy Toys Tutorial
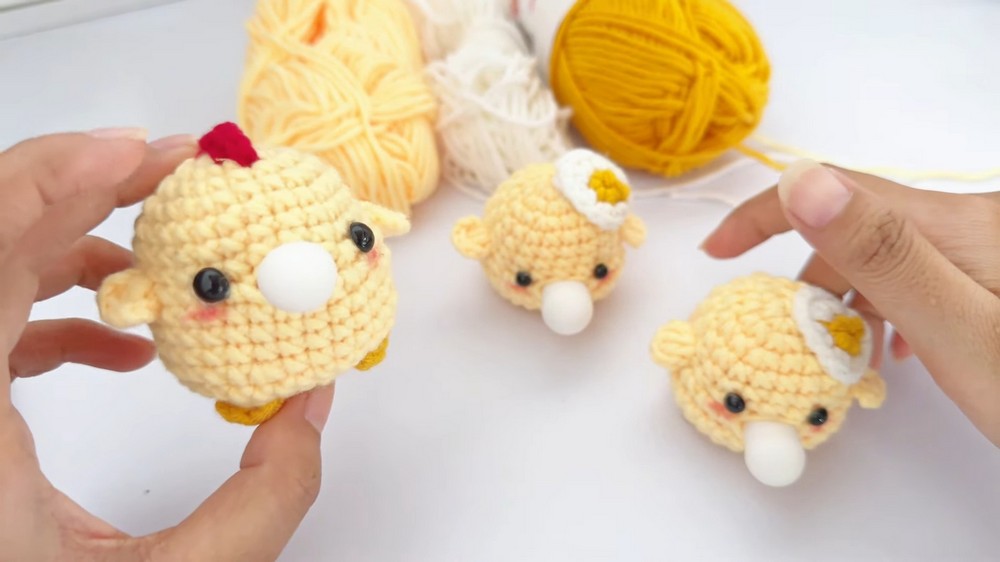
The project involves creating a cute stress relief toy. This toy is small, squeezable, and has a balloon-like interior, resembling chewing gum. Two sizes for the gum-like interior are mentioned: 5 cm and 4.5 cm.
Materials Needed
- Thread: Sakura Milk Cotton thread in three colors.
- Tools: Crochet hook (number 5) and bubble press.
- Accessories:Eye sticks.
- Lim glue for assembly.
- Other Supplies: Balloon-like insert.
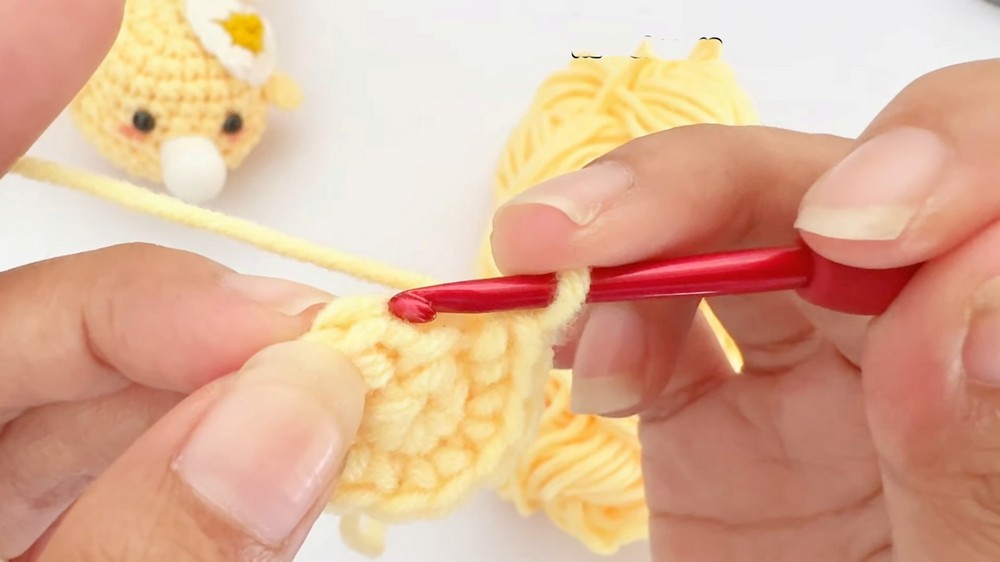
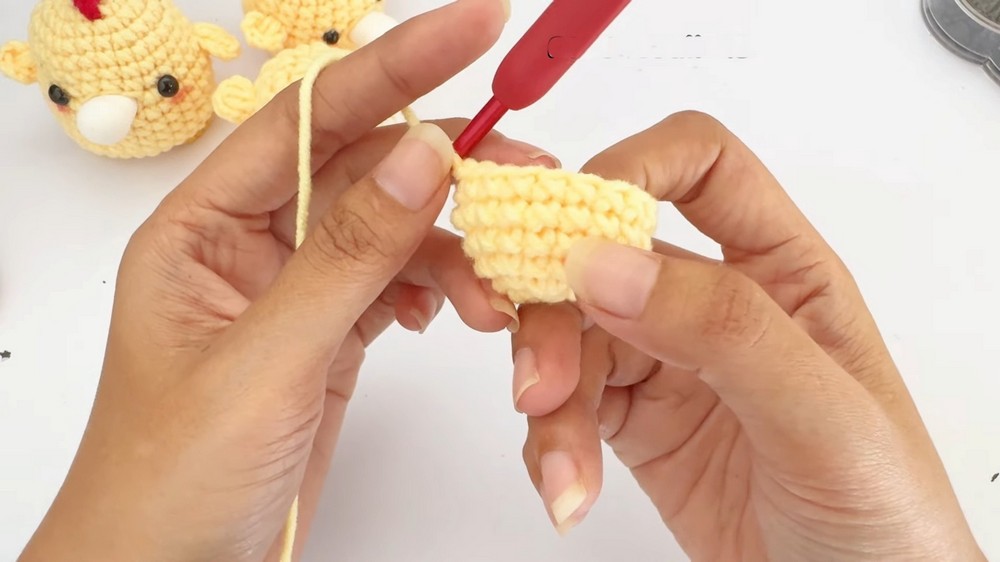
Crochet Process
Start with a Magic Ring: Use any preferred method to form the ring. Fill the ring with single crochet stitches, ensuring no gaps. Close the ring with a slip stitch.
Continue adding rows: Each row builds upon the previous one, expanding and shaping the base. The final shape adjusts incrementally as single crochet and increase stitches (Inc) are added. Maintaining uniform stitches for stability:
- Specific rows only use single crochet stitches to stabilize the structure.
- Progressively adjust rows to form the desired shape.
- Adding the Balloon Interior
- Insert the bubble press before the stitches narrow.
- Position and secure the balloon carefully to ensure proper fit.
Decorative Features
- Making the Wings
- Position the wings by counting rows from the central bubble.
- Use chain stitches and double crochet techniques:Create symmetrical small wings on both sides of the toy.
- Secure and integrate the threads neatly.
- Adding the Legs
- Legs are formed by creating three single crochet stitches spaced apart.
- Position the legs correctly to give the toy balance and a playful appearance.
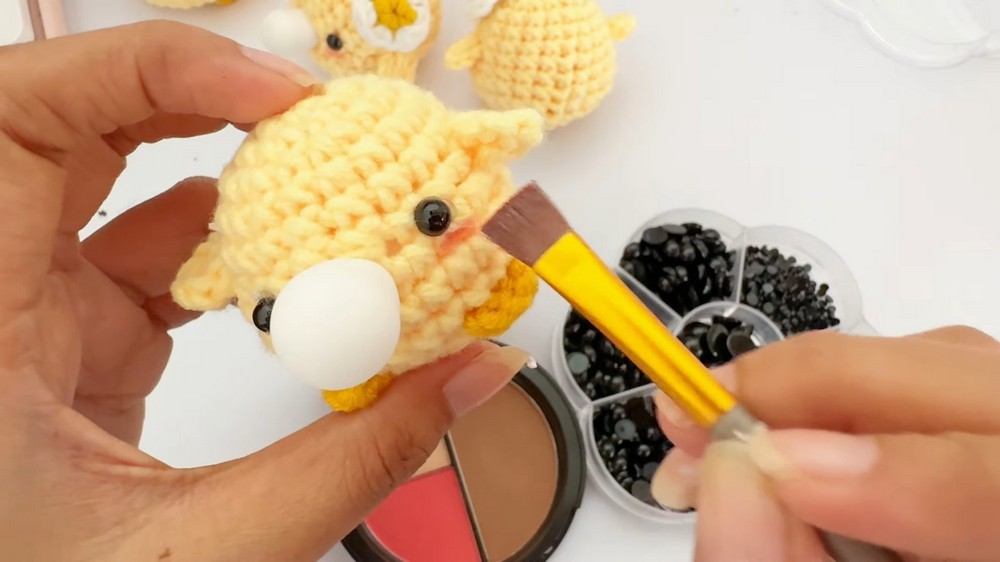
- Adding the Eyes
- Attach the eye sticks using hot glue to enhance the toy’s cuteness.
- Optional: Add small decorative elements under the eyes for extra charm.
- Creating the Fried Egg Decoration
- Begin with a Magic Ring for the base of the fried egg.
- Switch thread colors for the yolk and the white part.
- Use combinations of single crochet and double crochet stitches to shape the egg.
- Securely attach the fried egg to the top of the toy’s head.