Free Crochet Granny Square Bag Pattern for Vintage Vibes
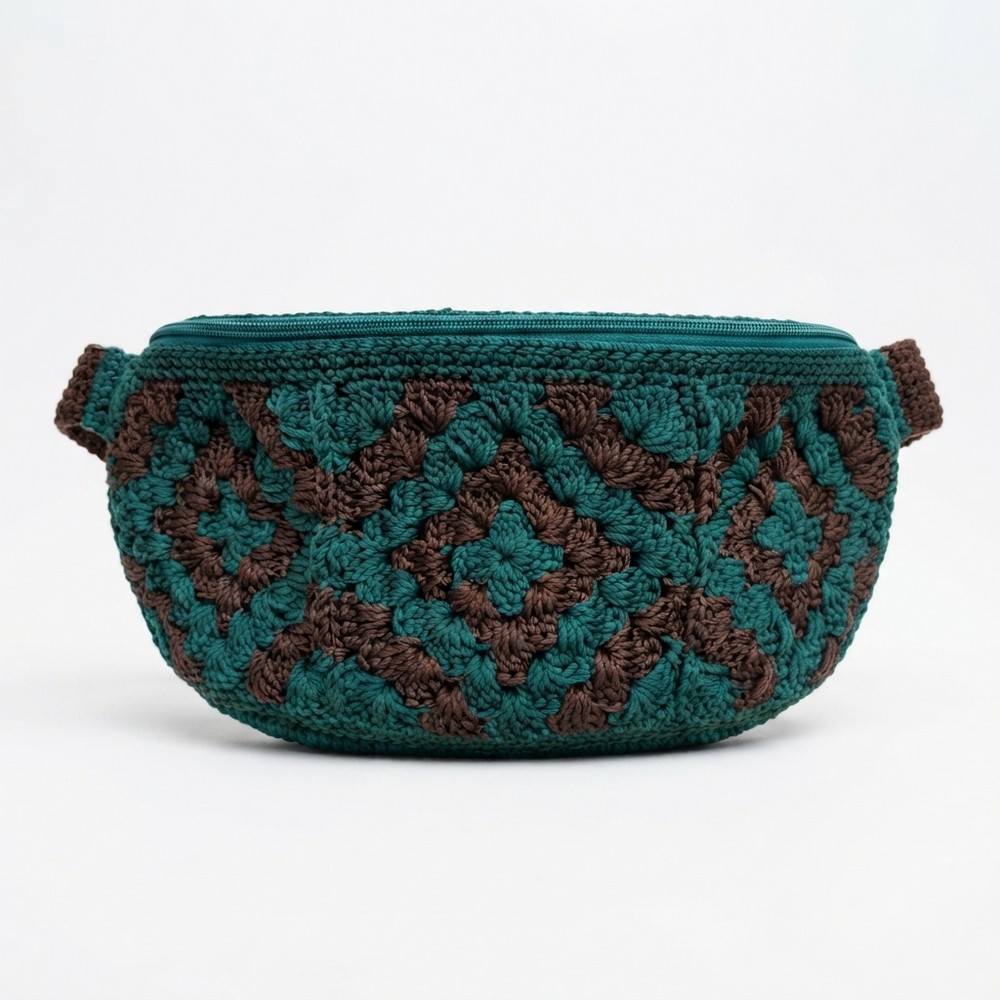
Turn classic style into modern charm with this free crochet granny square bag pattern, perfect for crocheting a functional and trendy accessory you’ll love.
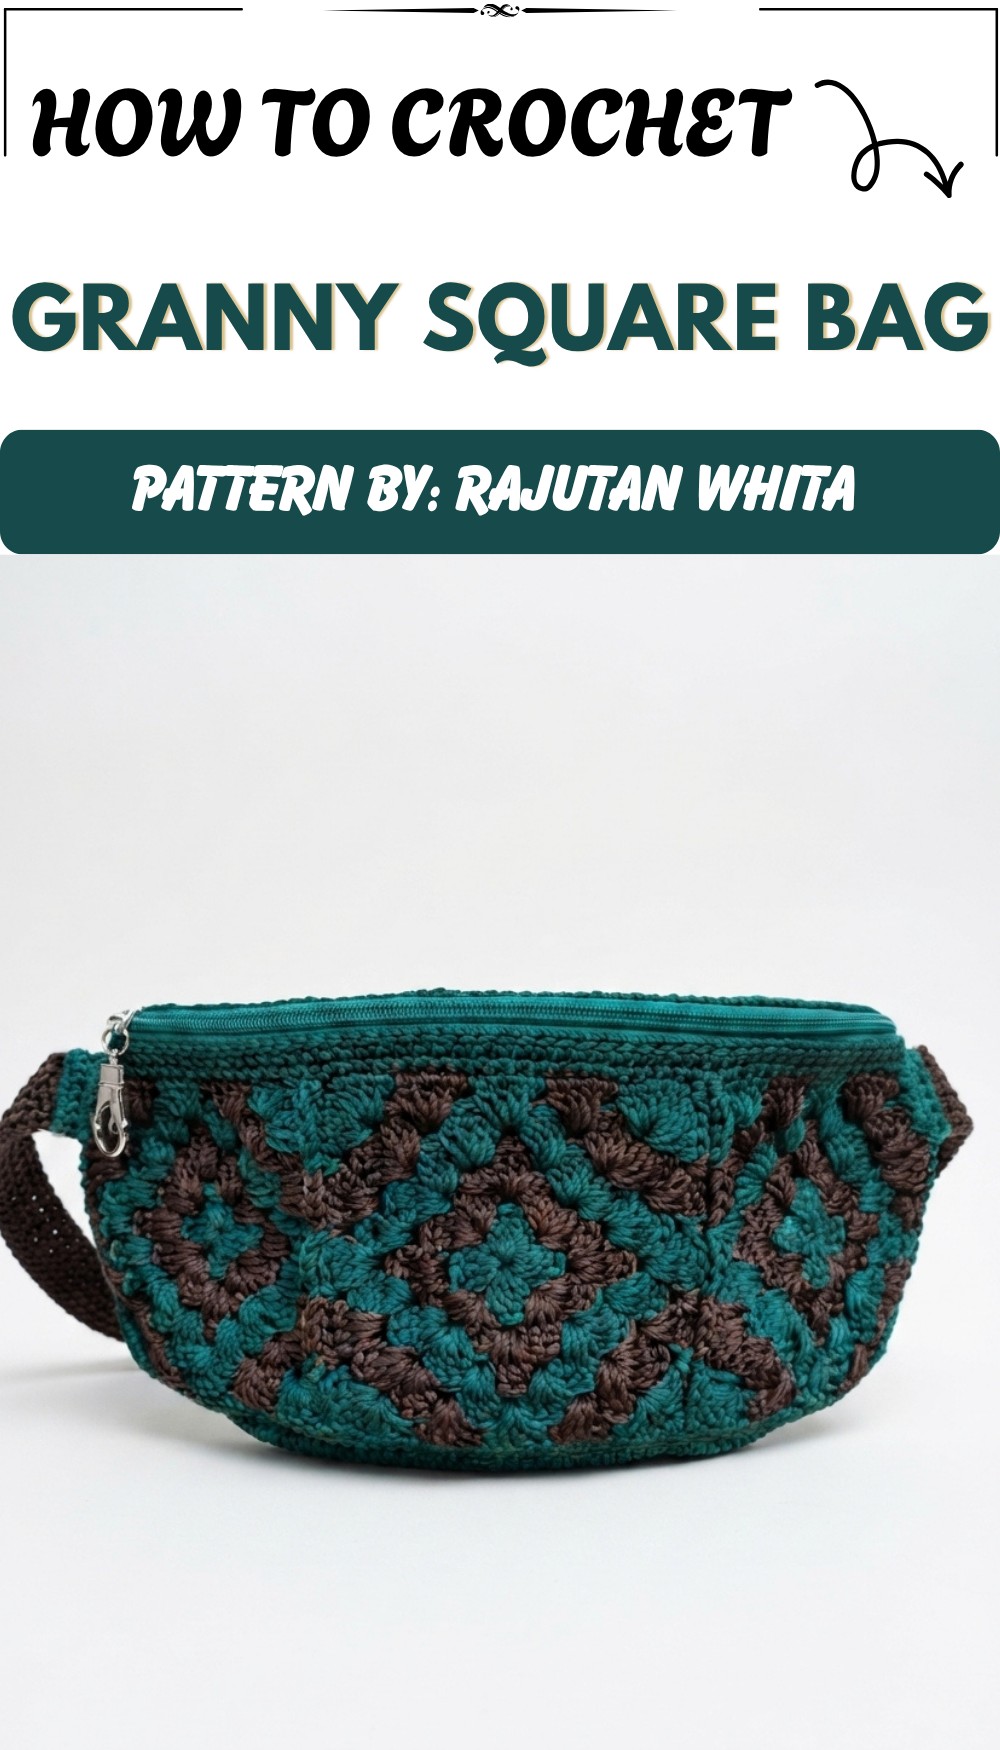
Adding a handmade bag to your collection brings both function and style to your daily routine. The Free crochet Granny Square Bag Pattern is a wonderful project that lets you create a charming and useful fanny pack. Rajutan Whita offers easy-to-follow instructions that make this pattern enjoyable for crocheters of all skill levels.
Easy Free Crochet Granny Square Bag Pattern for Beginners
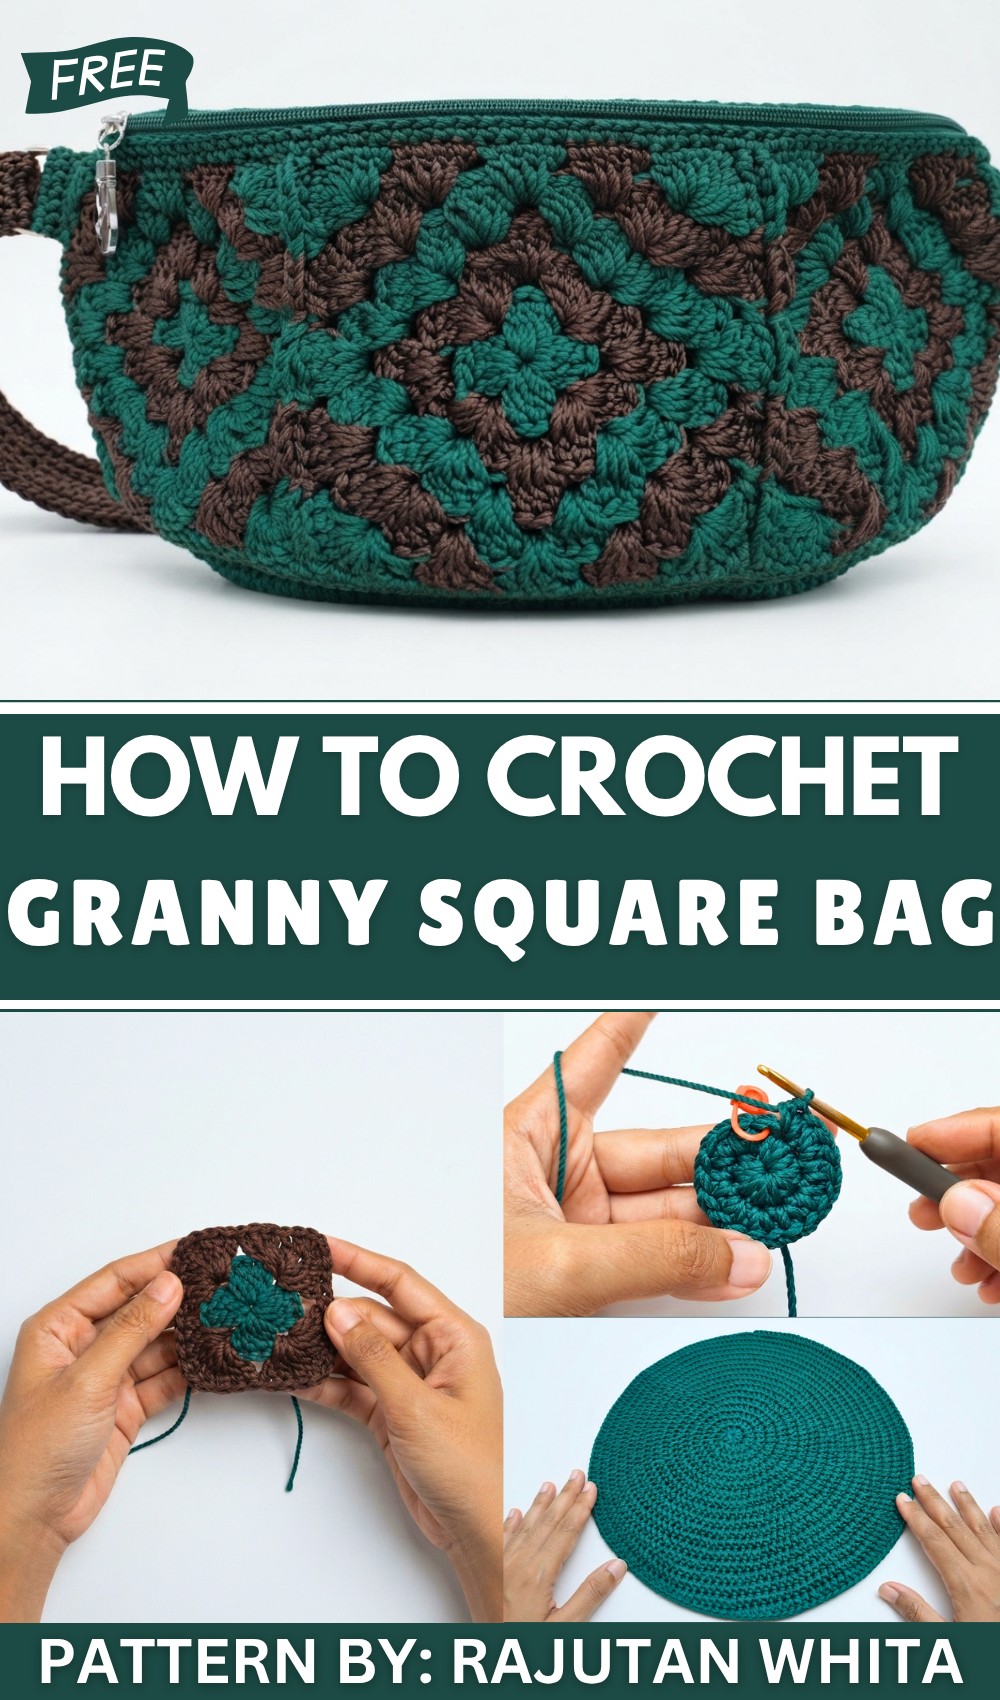
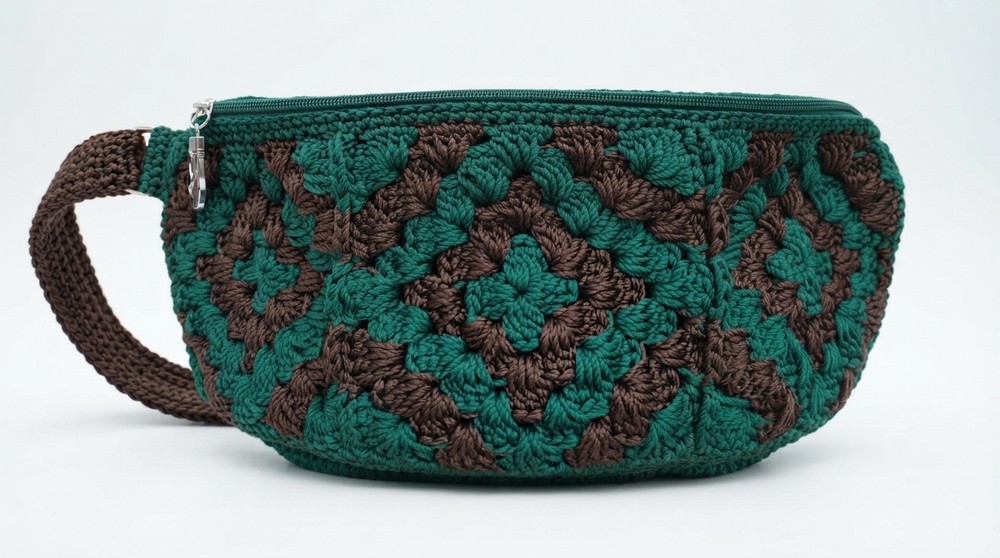
The bag features the timeless granny square design, combining classic stitch patterns into a beautiful patchwork look. Its shape is compact and rectangular, perfect for carrying essentials while keeping your hands free. Earthy green and brown tones give the bag a warm, inviting feel, while the firm yet soft texture comes from using half-double and double crochet stitches.
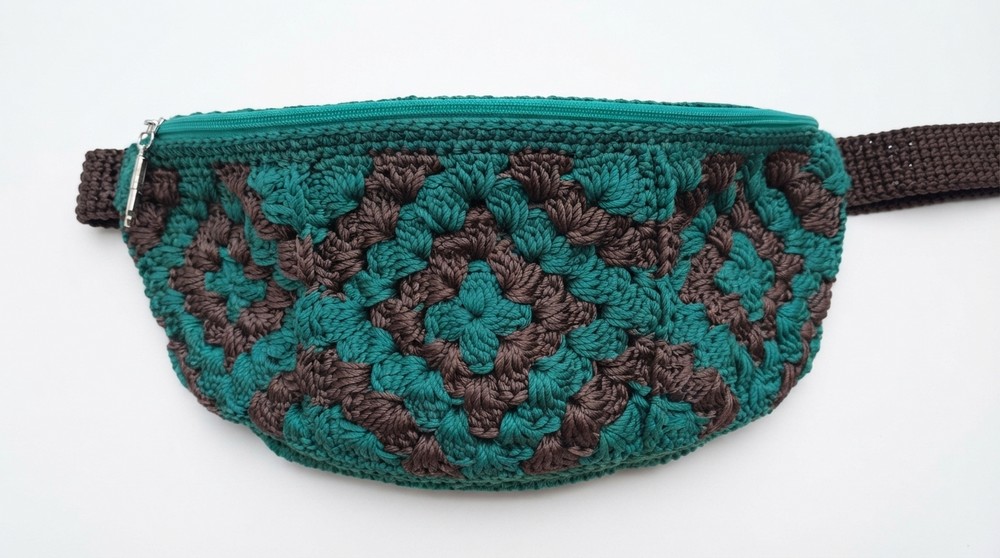
This accessory isn’t just attractive, it’s also very practical. A sturdy zipper keeps your items safe, and the adjustable strap ensures a comfortable fit around your waist. It’s ideal for everyday use, outdoor adventures, or as a stylish travel companion. Plus, its handmade nature makes it a thoughtful gift that loved ones will appreciate.
What makes this pattern special are the neatly joined granny squares and well-crocheted finishing details. The bag’s vintage-inspired look blends beautifully with modern functionality, making it a fun and rewarding project for anyone looking to add a bit of crochet charm to their wardrobe.
Waistbag Fanny Pack Crochet Pattern
Introduction
A contemporary waistbag design merges classic crochet techniques with practical features. This fanny pack includes a circular base, dynamic diamond granny squares, sturdy attachments for hardware, and an adjustable strap. The bag offers ideal dimensions for everyday essentials, detailed colorwork, and reliable construction, making it suitable for frequent use.
Pattern Basic Points
- Circular Base Construction: Work in rounds for a stable and structured bottom using half double crochet increases.
- Diamond Granny Squares: Three granny squares are worked with alternating colors, then joined to form the main panel.
- Panel Edging: Reinforced with rounds of single crochet to provide shape and assembly points.
- Hardware Attachments: Small rectangles for D-ring and zipper ends ensure strong connections and clean finishing.
- Assembly: Use strategic sewing techniques for seamless joining and accurate fit of all parts.
Special Notes
- Colour changes within granny squares give a visually striking effect; ensure yarn tails are securely woven for durability.
- Attach stitch markers each round for counting accuracy and clean alignment, especially when joining granny squares.
- When sewing, match wrong sides and carefully align stitches to minimize bulk at seams.
- Using polyester thread produces durability and ease of finishing when melting ends.
- Measure zipper length precisely to ensure a snug fit and professional finish.
Skill Level
Intermediate – Requires knowledge of rounds, granny squares, increasing, color changes, sewing, hardware attachment, and basic technical finishing.
Materials
- Yarn: Big Ply polyester (2 rolls green, 1 roll brown)
- Hook: 3.0 mm (5/0)
- Other Tools: Scissors, matches/lighter, tape measure, tapestry needle, stitch markers
- Hardware: 1 pair D rings, zipper buckle, zipper head (green)
Measurements / Sizing
- Base Circle: Diameter approx. as desired (up to 18 rounds)
- Granny Squares: 12 x 12 cm each
- Panel Length: approx. 36 cm
- Panel Width: approx. 14 cm
- Zipper: 33 cm including extra for ends
- Strap: 3 cm wide, up to 100 cm or desired length
Gauge and Stitch Pattern
- Base: HDC increases in rounds, keep tension consistent for flatness.
- Granny squares: Standard corner clusters (4 DC, 1 CH, 4 DC in 1-CH space); colorwork alternates between green and brown.
- Edging: 1 SC in each stitch, inc in corners.
- Strap: 4 SC per row, worked back and forth for set width.
Stitch Abbreviations
| Abbreviation | Stitch Name |
|---|---|
| ch | Chain |
| sc | Single Crochet |
| hdc | Half Double Crochet |
| dc | Double Crochet |
| inc | Increase (2 or more sts in one st) |
| sl st | Slip Stitch |
Special Stitches
- Magic Ring: Adjustable loop to start circle or square.
- HDC Inc: 2 HDC in the same stitch for increasing in rounds.
- Corner Cluster: [4 DC, 1 CH, 4 DC] in one chain-space for granny square corners.
- SC Inc: 2 SC in the same stitch (corner increases).
Pattern
Bag Base: Circular Part
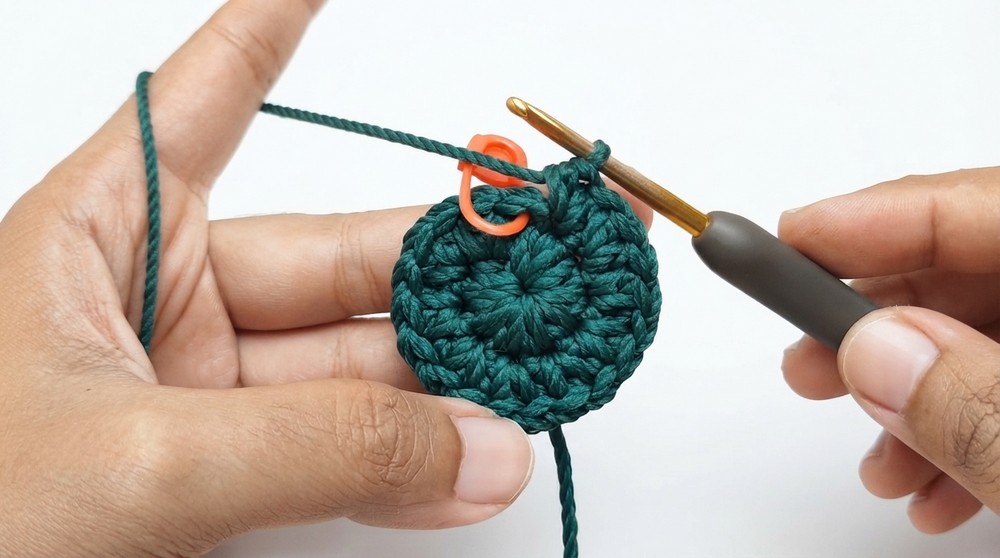
Round 1
- Start with green thread.
- Make a magic ring, then 1 ch to lock.
- Work 10 hdc into ring, mark first stitch.
Round 2
- Work 2 hdc in each stitch around (20 hdc).
Round 3
- [2 hdc inc in first stitch, 1 hdc in next] – repeat around (30 hdc).
Round 4
- [1 hdc in next, 2 hdc inc in following stitch, 1 hdc in next] – repeat (40 hdc).
Round 5
- [2 hdc inc in first stitch, 1 hdc in next 3 stitches] – repeat (50 hdc).
Round 6
- [1 hdc in first two stitches, 2 hdc inc in third stitch, 1 hdc in next two stitches] – repeat (60 hdc).
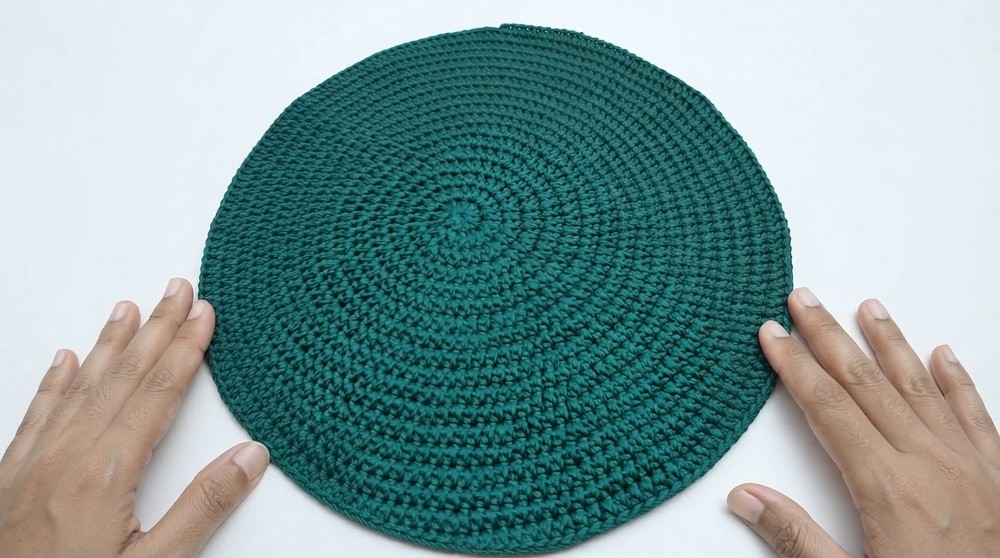
Continue increasing by following the pattern above, until the desired diameter is reached (up to 18 rounds for large base).
- End with sl st into first hdc. Cut and secure thread.
Diamond Granny Squares
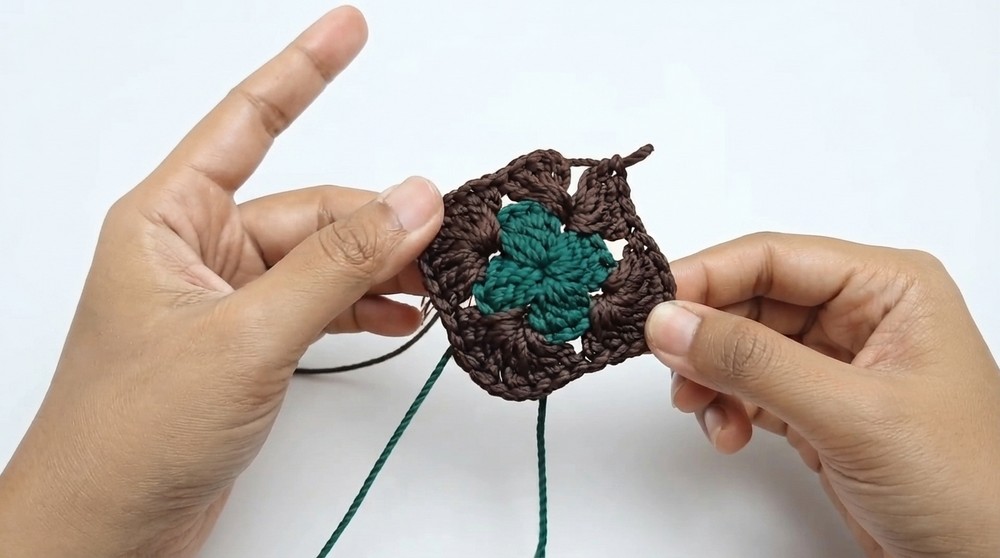
Square 1 (Full Square)
- Begin with green thread.
- Magic ring. 1 ch to lock.
- 3 ch (counts as first dc), then 3 dc into ring (total 4 dc).
- 1 ch.
- Repeat [4 dc, 1 ch] in ring 4 times, join with sl st to first ch.
- Switch to brown thread for next round:
- Sl st to corner, ch 3, 3 dc in corner ch-space, 1 ch, 4 dc in same space.
- Repeat for each corner.
- Switch back to green for next round, alternating color for sets of 4 dc across sides.
- Continue alternating colorwork, repeating above structure for a total of 5 rounds. Finish with green thread.
- Weave ends and trim.
Squares 2 and 3 (Partial Join)
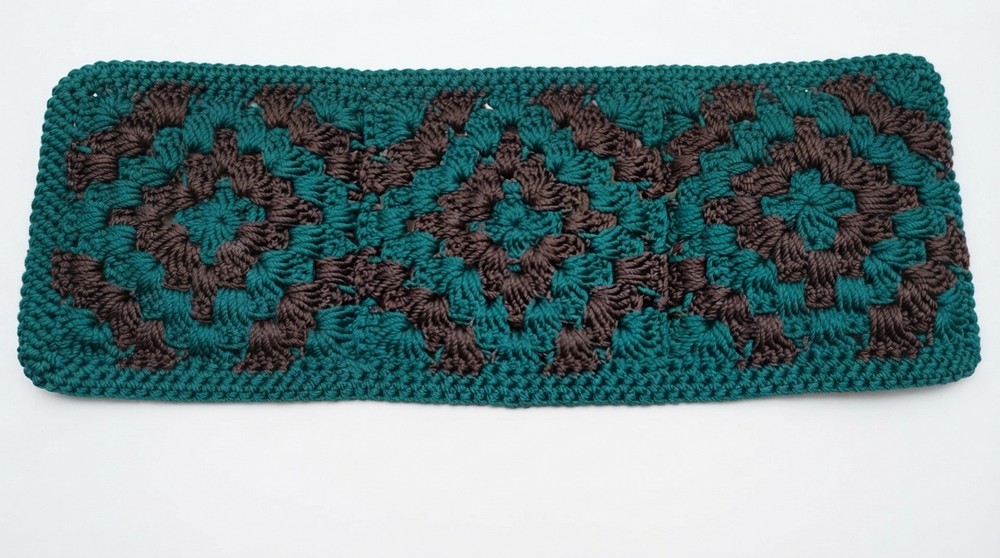
- Crochet up to 4 rounds.
- On 5th round, join to previous square using slip stitches in corners and sides, following pattern for colorwork. Align corners, work 4 dc in the chain space, slip stitch into joined square, continue along edge. Repeat for both squares, joining to each other on shared sides.
- Finished size: Each square should measure 12 x 12 cm.
Panel Edging
- With green, work sc around entire perimeter of joined granny squares.
- For sides: 1 sc in each stitch (22 per side).
- In corner chain spaces, make 2 sc inc.
- At junctions between granny squares, 1 sc in the shared stitch.
- End of round: Join with sl st.
- First round total: 172 sc
Second Round
- Work sc around, making sc inc in each marked corner.
- Use stitch markers to identify corner stitch for inc.
- Second round total: 180 sc
- Cut and secure thread.
D Ring and Zipper Attachments
- With green, ch 7.
- Sc in second ch from hook, sc across (6 sc).
- Ch 1, turn.
- Work 6 sc across for 7 rows.
- Cut and weave ends.
- Make 4 pieces: 2 for D rings, 2 for zipper ends.
Sewing and Assembly
- Determine sewing points: match wrong side of circle to right side of square panel.
- Use tapestry needle and green yarn, begin at corner, align 4 stitches from granny square with corresponding 24 stitches of circle base.
- Secure sides, then bottom (66 stitches).
- Use stitch markers to divide up sides and ensure symmetry.
- For top, leave open 7 stitches on each side (attach markers).
- Attach D ring rectangles at right and left sides, sewing through both panel and circle, threading through the rings.
Zipper Installation
- Measure desired zipper length: 29 cm on panel, add 2 cm on each side – total 33 cm.
- Attach zipper head, sew ends using attachment pieces.
- Secure zipper to panel openings, sew around with tapestry needle and green yarn.
Strap Tutorial
- With brown thread, make a knot.
- Ch 5.
- Sc in second ch, sc across (4 sc).
- Ch 1, turn.
- Work back and forth, maintaining 4 sc per row, until strap reaches 100 cm or desired length (width: 3 cm).
- Sew one end to buckle, attach to bag.
- Thread other end through D rings and buckle for adjustable fit.
Assembly
- Check alignment; weave all loose ends inside bag.
- Secure D rings and zipper, ensure all seams are neat and strong.
- Verify strap adjuster placement and test for fit.
- Use matches/lighter to melt ends of polyester yarn for tidy finish.
Conclusion
This waistbag fanny pack pattern utilizes robust construction, practical colorwork and reliable hardware incorporation for everyday functionality. The modular layout of the circular base, diamond panel, and adjustable accessories result in a comfortable yet stylish accessory with ample storage space. Attention to structural joining, edgy motifs, and utility details ensures its appeal for both aesthetic and practical needs. The pattern balances visual interest with durability, offering an engaging crocheting experience.